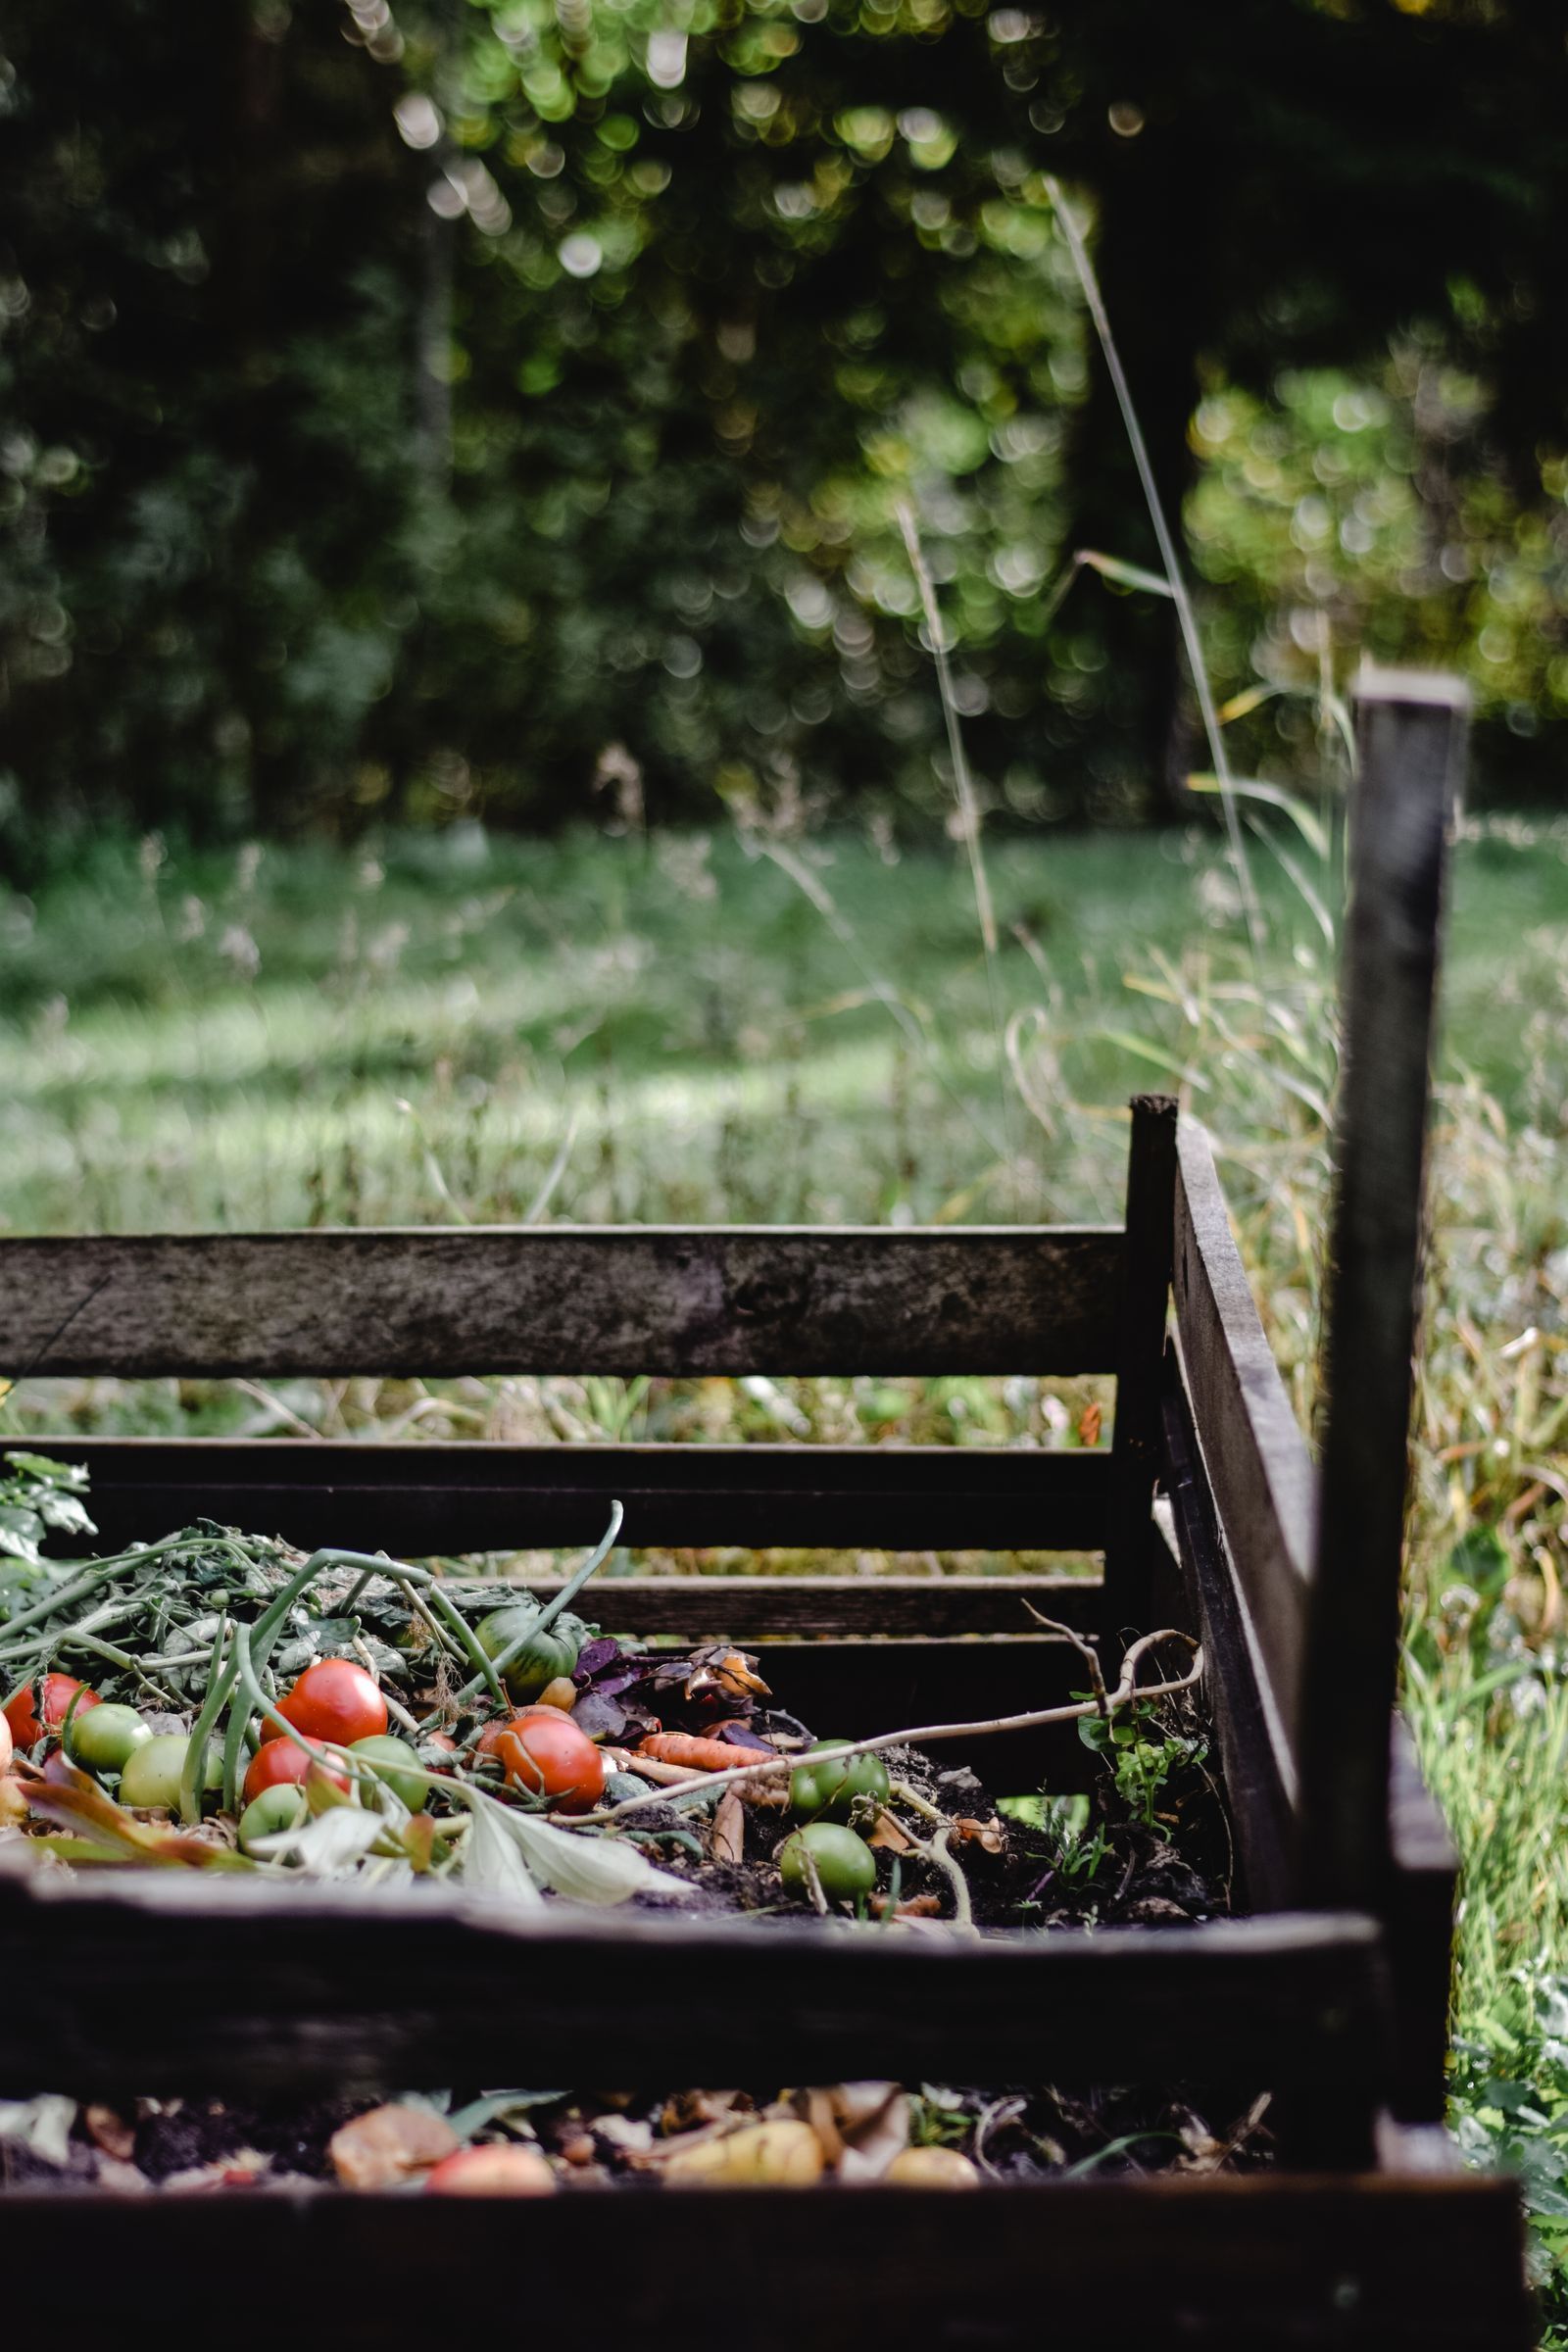
A compost bin is the least complicated structure in the garden and the one beginners most overthink, because the composting itself does not care about the bin at all. Microbes will rot your leaves and kitchen scraps in a bare heap on the ground, given time. The bin exists for the gardener: to keep the pile tidy, the heat in, the dogs out, and the neighbors calm. So the right question is not which bin composts best. It is which bin fits your yard, your budget, and how you honestly intend to turn the pile, because the bin you will actually use beats the perfect bin you avoid.
This guide builds three, in ascending order of carpentry: a wire hoop that takes fifteen minutes, a pallet bin that takes an hour, and a wooden slat bin that takes an afternoon and lasts a decade. One rule governs all three, and it is about size rather than construction: a pile needs to be at least 3 feet in each dimension to hold the heat that makes composting fast, and not much over 5 feet wide, or air cannot reach its middle. Every build below lands inside that window.
The Compost Bin Build Checklist on this page covers choosing, building, siting, and the first fill. Composting fails socially more often than biologically, a bin in the wrong spot gets abandoned, so the checklist spends as much attention on where the bin stands as on how it is built.
Interactive tool
Compost Bin Build Checklist
Check off each step as you finish it. Your progress stays on this page.
0 of 7 complete
0% done
Before You Build: Site the Bin Like You Will Use It Daily
A compost bin is visited in all weathers with a bucket of kitchen scraps in one hand, so site it for the worst day, not the best: on level ground, in partial shade if you have it, within a hose's reach for dry spells, on a path you will walk in February, and close enough to the kitchen door that the trip is trivial and far enough that a summer pile's occasional aroma is not a dining feature. On soil rather than pavement, ideally, so worms and microbes can commute up into the pile and finished compost's leachate feeds the ground rather than staining it.
Check the unglamorous constraints: clear of tree roots that will invade the pile from below, out of the low spot where water stands after rain, and in line with whatever your local rules say about bins near boundaries, which is usually nothing, but a conversation with the neighbor whose fence it backs onto is worth more than the regulation either way. A bin sited well gets fed daily and turned willingly. A bin sited badly becomes a monument.
Build 1: The Wire Hoop, Fifteen Minutes, Almost No Money
Buy a length of sturdy wire fencing or hardware cloth 10 to 12 feet long and 3 to 4 feet tall. Form it into a circle about 3 to 4 feet across, overlap the ends, and fasten them with wire ties, zip ties, or short lengths of wire twisted tight. Stand the hoop on its site. You have built a compost bin.
The hoop is the honest beginner's bin: it costs almost nothing, vents perfectly, comes apart in a minute when you want the compost, simply unfasten and lift the hoop off the pile and set it up beside the heap for the next batch, and it holds exactly the minimum efficient volume. Its limits are looks and containment: a wire hoop is visibly a cylinder of rotting leaves, which some yards and some households accept happily and others do not, and determined dogs can push into it. For leaves alone, which are half of many gardens' compost stream, the hoop is not a compromise at all. It is the ideal tool, and leaf mold made in a hoop over a year is one of the finest soil conditioners a garden gets.
Build 2: The Pallet Bin, One Hour, Free Wood
Four pallets of the same size, stood on edge, make a three sided bin with a pallet's width per side, about 4 feet, which lands squarely in the size window. Stand three pallets as the back and two sides, wire or screw them together at the corners, and hang the fourth pallet as a loose front, wired at one side like a gate or simply leaned and removable, so you can open the bin to turn and empty it. Use pallets stamped HT, heat treated, by the same stamp rule as any garden pallet project: never MB, never stained or chemical smelling.
The pallet bin is the workhorse of real gardens: free, sturdy, ventilated by its own slats, big enough to heat up properly, and repairable with another free pallet when a side softens in a few years. Its slats let air in and let small material out; line the inside with wire mesh or landscape fabric if your mix is fine and escapist. A second pallet bay beside the first, sharing a wall, is the classic upgrade, one bin cooking while the other receives, and it costs one more hour and three more pallets.
Build 3: The Wooden Slat Bin, One Afternoon, a Decade of Service
The slat bin is carpentry: four corner posts, with horizontal boards screwed to them in tiers, gaps of an inch or so between boards for air, and the front boards made removable, sliding in channels or held by cleats, so the bin opens board by board as you empty it from the top down. Build it 3 to 4 feet in each dimension from rot resistant or pressure treated lumber, and it will stand for ten years and look like it belongs in a magazine while doing the same microbial work as the wire hoop.
The slat bin suits the gardener who wants the compost corner to be handsome, who turns with a fork and appreciates a front that comes away in sections, and who is building once. Its costs are money and the afternoon, and its one design sin to avoid is tight, gapless boards, which starve the pile of air and turn the bottom anaerobic and sour. Air gaps are not sloppiness in a compost bin. They are the ventilation system.
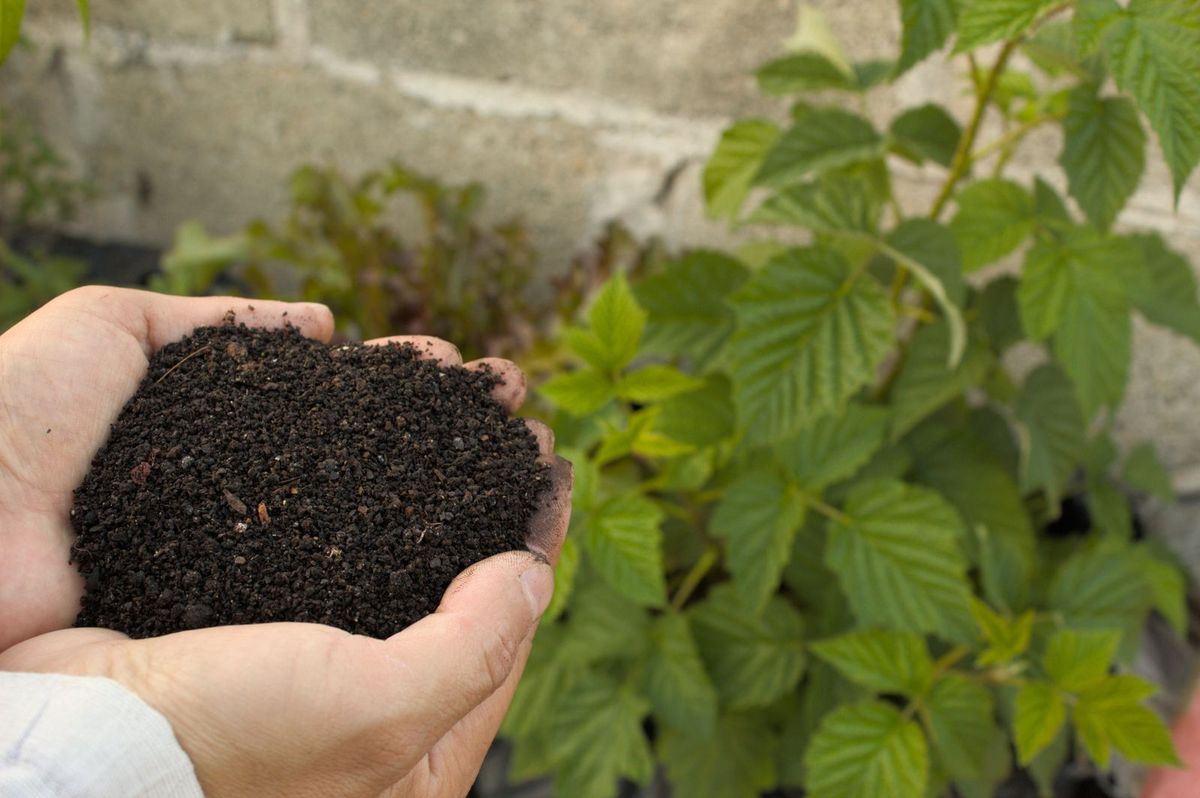
Hands holding rich finished compost beside a green plant
The First Fill: Browns, Greens, and the Wring Test
A bin is filled, not just built, and the first fill teaches the whole method. Compost runs on a mixture of browns and greens: browns are the dry, carbon rich materials, fallen leaves, straw, shredded cardboard, wood chips; greens are the wet, nitrogen rich ones, kitchen scraps, coffee grounds, grass clippings, garden trimmings. The working recipe is more browns than greens, roughly three parts browns to one part greens by volume, erring toward browns whenever you are unsure, because a pile with too many greens goes slimy and smells, while a pile with too many browns merely composts slowly and forgives you.
Layer or mix the first fill to the bin's brim if you have the material; a full bin heats better than a half one, and it will slump to half within weeks as the microbes eat. Keep out meat, dairy, oils, and pet waste, which cause the smells and visitors that give composting its undeserved reputation. Then set the moisture: the pile should feel like a wrung out sponge, damp throughout and dripping almost nothing when squeezed. Too dry, and the microbes sleep; water it as you fill. Too wet, and it suffocates; fork in dry browns. That sponge test, done with a handful whenever you pass the bin, is the whole of compost quality control.
Turning is the last variable, and it is a choice rather than a duty. A turned pile, forked over every week or two to move the outside in and the middle out, heats evenly and finishes in a couple of months. An unturned pile finishes in a season or a year, in layers, and asks nothing. Both produce compost. Choose by your temperament, buy the bin that matches it, and let the microbes, who have been doing this since before there were gardens, handle the rest.
Troubleshooting the Pile: Smells, Flies, and Slowness
A compost pile has a short list of complaints, and each one names its own cure. A pile that smells of ammonia or rot is a pile with too many greens and too little air: fork in a generous load of dry browns, leaves or shredded cardboard, and turn the pile to open it up; the smell should fade within days as the balance rights itself. A pile swarming with fruit flies is broadcasting the location of exposed kitchen scraps: bury every addition of greens under a layer of browns, the compost equivalent of closing the pantry door, and the flies lose their invitation within a week.
A pile that does nothing, sitting cool and unchanged for months, is usually dry, too heavy on browns, or too small, and the three causes have three distinct fixes: water it to the wrung out sponge standard, mix in greens or fresh grass clippings to feed the microbes, or consolidate two small piles into one honest 3 foot mass that can hold heat. A pile invaded by roots from a nearby tree wants a barrier of landscape fabric beneath it or a move of a few feet. Ants in a pile mean it is too dry, and they leave when the moisture is right. Rats and raccoons mean meat, dairy, or oils got in, or the bin is too open; remove the attractant, enclose the bin, and the visitors lose interest.
Notice that no cure on this list is a product. Compost troubleshooting is ratio, moisture, and air, adjusted with a fork. The pile is a livestock operation of microbes, and like all livestock, it thrives on a steady diet, water, and shelter, and complains, audibly and aromatically, about exactly the thing it lacks.
Frequently Asked Questions
How big should a DIY compost bin be?
At least 3 feet wide, deep, and tall, because a pile smaller than that cannot hold the heat that makes composting fast. Not much over 5 feet wide, because air cannot reach the middle of a wider pile and the core goes anaerobic. All three builds in this guide, the wire hoop, the pallet bin, and the slat bin, land inside that 3 to 5 foot window.
Which compost bin is best for a beginner?
The wire hoop, if your yard tolerates its looks: a 10 to 12 foot length of fencing formed into a 3 to 4 foot circle, fastened with wire ties, built in about fifteen minutes for almost nothing, and lifted off the finished pile in one motion. Gardeners who want a tidier corner should build the pallet bin, an hour's work from four HT stamped pallets, which is the workhorse design most real gardens use.
What is the right mix of browns and greens?
More browns than greens, roughly three parts browns to one part greens by volume. Browns are dry carbon materials like fallen leaves, straw, and shredded cardboard; greens are wet nitrogen materials like kitchen scraps, coffee grounds, and grass clippings. When unsure, add browns: too many greens make a slimy, smelly pile, while too many browns only slow things down. Keep meat, dairy, oils, and pet waste out entirely.
How wet should a compost pile be?
Like a wrung out sponge: damp throughout, yielding almost no drips when a handful is squeezed. Too dry and the microbes go dormant, so water the pile as you fill it and during dry spells. Too wet and the pile suffocates and sours, so fork in dry browns to absorb the excess. The handful test takes five seconds and is the whole of compost moisture management.
Do I have to turn my compost pile?
No. Turning every week or two moves the outside of the pile to the hot middle, evens the process out, and finishes compost in a couple of months. An unturned pile finishes in a season to a year and asks nothing of you. Both work; the honest choice is the one matching your temperament, because the best compost system is the one you will still be feeding next year.
Where should I put a compost bin?
On level soil in partial shade if possible, within reach of a hose, on a path you will walk in bad weather, close enough to the kitchen that carrying scraps out is trivial, and out of any low spot where water stands. A bin you visit daily gets fed and thrives; a bin at the far end of a muddy yard gets abandoned by February, which is a siting failure, not a composting one.
Photo credits: Eva Bronzini (Pexels); Silva Montanis (Pexels). Photos are served from this site; follow the credit to the library page for the original.