DIY Raised Bed Irrigation System: One Bed, One Afternoon, Drip Done Right
By the Windchime Walker editorial team
Photo: Anil Sharma / Pexels
Hand watering a raised bed is pleasant for exactly one season. By the second summer, the bed that drinks every other day in July owns your mornings, and the plants can tell the difference between your watering and a system's: yours varies with your schedule, mood, and vacations. A simple drip system on one bed fixes the rhythm permanently, delivers water to the roots instead of the leaves, and uses 20 to 50 percent less water than sprinkling, the EPA WaterSense figure range quoted for drip done right. This page builds one bed, a standard 4 by 8, in one afternoon, with the parts in the order they must go and the two components beginners skip explained until skipping them feels impossible.
Our rain barrel guide owns the water source side of garden water. This page owns the delivery build. If your water will come from a barrel rather than a pressurized tap, read the gravity section before buying anything, because it changes the parts list.
Interactive tool
Raised Bed Drip Setup Checklist
Check off each step as you finish it. Your progress stays on this page.
0 of 8 complete
0% done
The Head Assembly, In Order, No Substitutions
Every drip system begins with a chain of parts at the hose bib, and the order is functional, not fussy. Water flows through them in this sequence:
The hose bib on the house or a splitter, so the garden hose still exists for other jobs.
The timer, battery powered, which is what makes the system a system instead of a slower way to hand water. Simple dial timers are fine; the feature that matters is a rain delay or an easy off.
The backflow preventer, a small fitting that stops garden water from ever siphoning back into the house supply. It is cheap, often required by local code, and non negotiable in this build.
The filter, the most skipped and most critical part in the whole assembly. Drip emitters have tiny passages; one grain of sand or flake of rust is a clog, and clogged emitters are the top maintenance issue in drip systems, per Clemson Extension guidance. The filter is what stands between your water supply's debris and forty tiny holes. Buy the filter. Clean the filter.
The pressure regulator, set to the drip standard of 25 PSI. Household water pressure runs 40 to 80 PSI, and drip tubing and emitters are built for the 15 to 30 PSI range; unregulated pressure blows fittings apart and turns emitters into fountains. The 25 PSI regulator is the second non negotiable.
The mainline, 1/2 inch poly tubing, which carries water from the head assembly to and through the bed. A 1/2 inch mainline handles up to about 200 gallons per hour, which is several beds' worth; one bed will never challenge it.
From the mainline, 1/4 inch branch lines and the emitters themselves finish the run. Every connection in drip is a push fit or a barb; no glue, no tape, no plumber. If a joint resists, warm the tubing end in the sun or hot water and push again.
The Layout for One 4 by 8 Bed
Run the 1/2 inch mainline down the center of the bed lengthwise, or along one long edge if your crops run in rows that direction; for a mixed bed, the center line with branches both ways is the flexible choice. From the mainline, take 1/4 inch lines out to each plant row or cluster, ending in emitters at the plants. Emitter choice by crop, using the standard flow rates:
Emitter
Flow
Best for
Drip emitter, low
0.5 gallons per hour
Herbs, small plants, closely spaced greens
Drip emitter, standard
1 gallon per hour
The vegetable default: tomatoes, peppers, squash at their stations
Drip emitter, high
2 gallons per hour
Large, thirsty plants and fast draining soil
Inline drip line (emitters built in)
Per its rating
Rows of small crops: carrots, lettuce, beans
Cap the mainline's far end with a figure eight closure or an end cap you can remove, because that open end is your flushing port, and flushing is the maintenance ritual below. Stake the lines down; tubing that wanders in the sun ends up watering the path with great reliability.
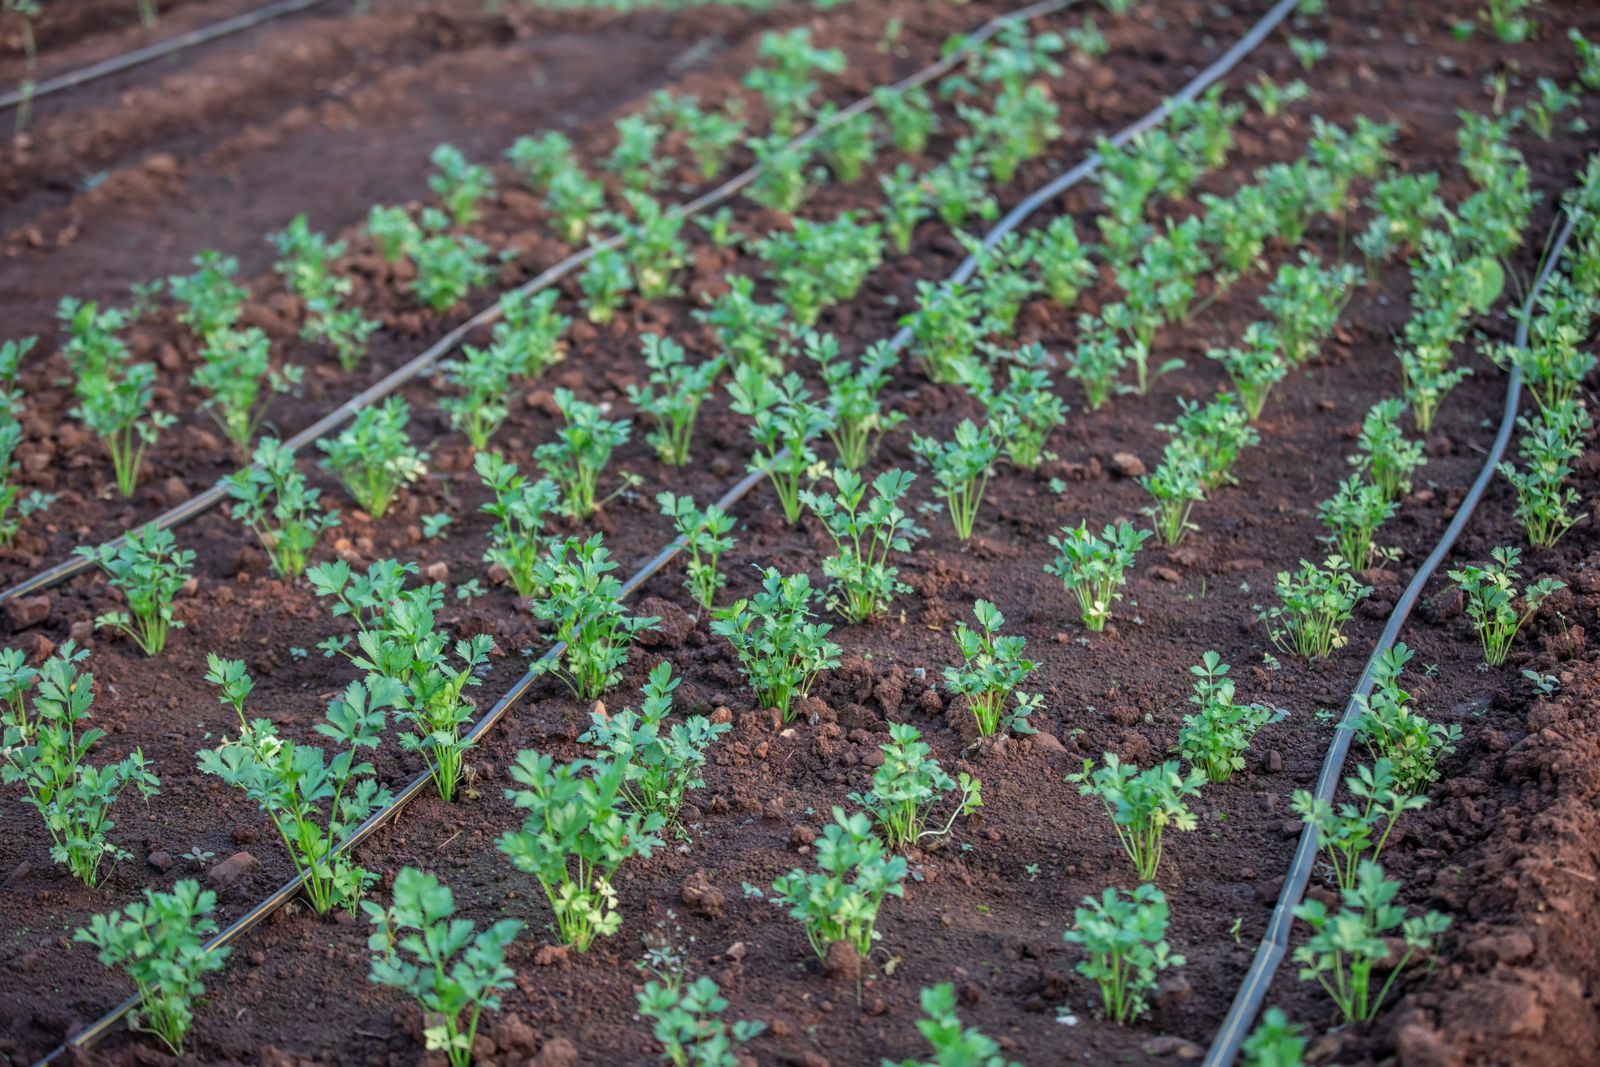
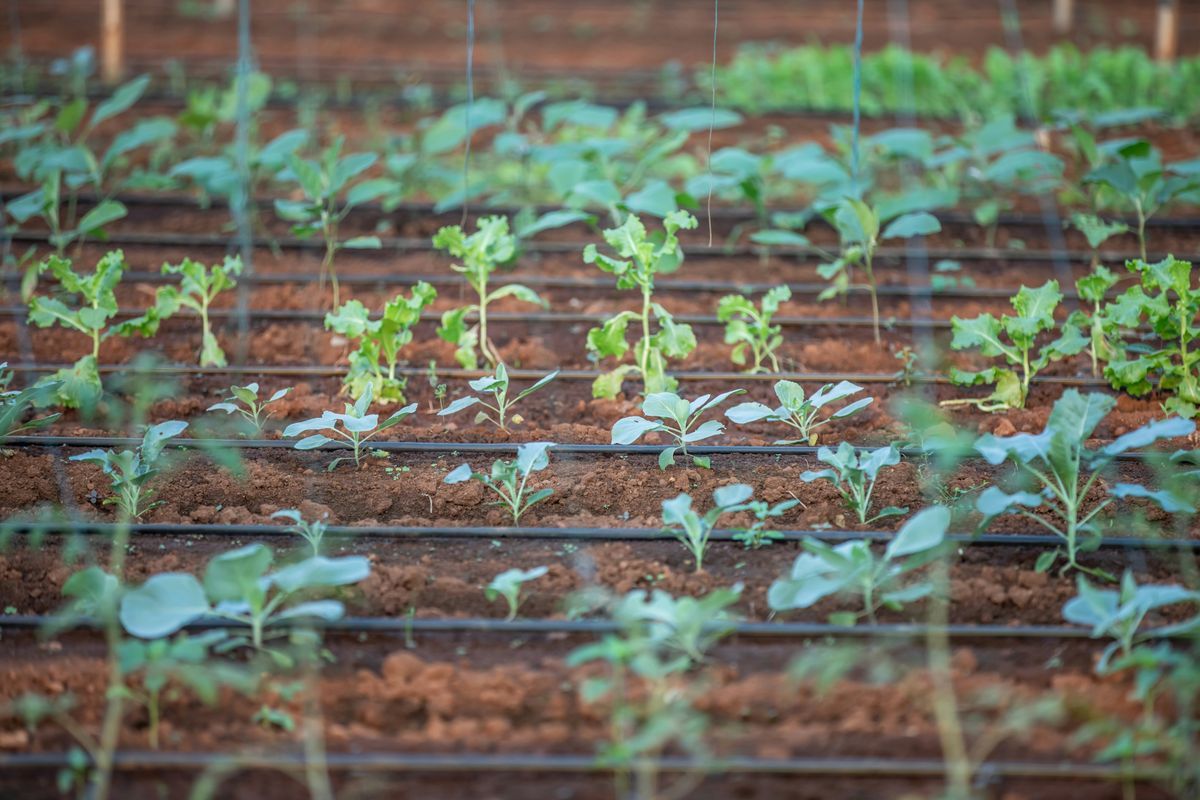
Green plants growing in neat garden rows being watered
Setting the Timer: Deep, Early, and by the Plant's Clock
Run the system in the early morning, when evaporation is lowest and foliage stays dry. Duration follows the bed rule of about an inch of water a week in ordinary weather, more in heat: with 1 gallon per hour emitters, that translates to longer, less frequent sessions rather than daily sips, because the goal is a deeply wetted root zone. The first run is a calibration, not a guess: run the system for your planned session, then dig down beside an emitter and look at how deep the moisture actually went. Adjust the minutes until the wetting front reaches the roots and no further. Every bed, soil, and emitter combination has its own number, and the trowel knows it and the internet does not.
The First Run Test, and the Two Maintenance Rituals
Before you bury anything under mulch, run the system and walk it: every emitter dripping, no fountain at any fitting, no dry corner at the far end. Pressure falls along a line, and the far emitters tell you the truth about your layout. Then mulch over the lines, which shades the tubing, holds the moisture you delivered, and makes the whole installation disappear.
Maintenance is two rituals. Flush the lines a few times a season: open the end cap, run the water until it flows clear, close it up. This evicts the sediment the filter missed. Clean the filter on the same schedule: unscrew the housing, rinse the screen, and think kindly of the emitters it just saved. When an emitter does clog, and one eventually will, the fix is usually a soak in vinegar or a swap for a spare, which is why you buy emitters by the bag and keep the spares in the same box as the timer batteries. In freezing climates, drain the system before winter: open the end cap, lift the lines, let gravity empty them, and bring the timer and filter assembly indoors.
The Gravity Honesty: Barrel Fed Systems
Everything above assumes pressurized tap water. A rain barrel changes the physics: gravity gives you about 0.43 PSI per foot of height, so a barrel on a two foot stand delivers under 1 PSI at the outlet, against a standard drip system's expectation of 15 to 30. Standard emitters on gravity feed dribble unevenly or not at all, and the 25 PSI regulator comes off the parts list entirely. What works on gravity is low pressure drip tape and gravity rated emitters, short runs, and a barrel raised as high as is safe and practical, with the bed close by. It is a legitimate system, our rain barrel guide covers the source side, but buy gravity rated parts on purpose rather than discovering the distinction with a cart of standard emitters.
Soaker Hose: The Honest Alternative, Priced and Judged
The soaker hose deserves its paragraph because it is the system many beginners actually buy first: a porous hose laid along the row that weeps water along its length, no emitters, no assembly, a tenth of the fuss. Its virtues are real: cheap, silent, forgiving of low skill, and perfectly adequate for a single bed of row crops for a season or two. Its honest limits are distribution and lifespan. A soaker delivers more water near the tap than at its far end, so plants along its length drink unequally, and it clogs internally over seasons in ways you cannot flush or repair, becoming a hose that waters its first half. It also wants the same head assembly discipline as drip, a timer and a backflow preventer and gentle pressure, though it tolerates the absence of the fine filter that drip demands. The verdict this page offers: a soaker is a fine first year on one bed, and drip is the system you build when the bed count grows or the second soaker dies. Gardeners who start with drip rarely go back; gardeners who start with a soaker learn their bed's watering geography cheaply, which is its own education.
Growing the System: From One Bed to the Garden
The build above is deliberately one bed, and it is designed to be a first module rather than a finished empire. The head assembly you installed, timer, backflow, filter, regulator, serves every bed you will ever add; expansion is mainline and emitters, the cheap parts. A 1/2 inch mainline carries up to about 200 gallons per hour, which at 1 gallon per hour per emitter is a great many plants, so a typical home garden never outgrows its first head assembly. Expand one bed per season, in spring, running the new line before the bed is planted and testing it on the same first run ritual. Keep a simple map of what you buried where, drawn on the back of the seed box if necessary, because the gardener who expands a system yearly will eventually drive a fork through a mainline laid by a previous self, and the map is the difference between a ten minute repair and an afternoon of archaeology. Keep the spare parts box stocked as the system grows: emitters, end caps, a few connectors, and the punch tool. A drip system maintained on those terms is not a project with a lifespan; it is plumbing, in the best sense, installed once and quietly outlasting the beds it serves.
Frequently Asked Questions
What parts do I need for a basic raised bed drip system?
In order from the tap: a timer, a backflow preventer, a filter, a 25 PSI pressure regulator, 1/2 inch mainline tubing, 1/4 inch branch lines, and emitters. The filter and the regulator are the two parts beginners skip and the two that decide whether the system works all season.
Why does drip need a pressure regulator?
Household water pressure runs 40 to 80 PSI, while drip tubing and emitters are built for 15 to 30 PSI. The standard regulator brings pressure down to 25 PSI. Without it, fittings blow apart and emitters spray instead of dripping. It is a small, cheap fitting that protects every part downstream.
What size emitters should I use for vegetables?
Emitters run 0.5 to 2 gallons per hour. One gallon per hour is the vegetable default for tomatoes, peppers, and squash at their stations; 0.5 suits herbs and small plants; 2 suits large plants and fast draining soil. Inline drip line, with emitters built in, suits rows of small crops like carrots and lettuce.
How long should I run the system each time?
Long enough for the moisture to reach the roots and no further, in an early morning session, delivering roughly an inch of water a week in ordinary weather and more in heat. Calibrate on the first run: water, then dig beside an emitter and measure the wetting depth with a trowel, and set your minutes from evidence.
How do I stop emitters from clogging?
Start with the filter at the head assembly, the part Clemson Extension guidance identifies as the defense against the top drip maintenance problem. Then flush the mainline a few times a season by opening the end cap and running water until it clears, rinse the filter screen on the same schedule, and keep spare emitters for the occasional swap.
Can I run drip irrigation from a rain barrel?
Yes, with gravity rated parts. A barrel gives about 0.43 PSI per foot of height, far below the 15 to 30 PSI standard emitters expect, so use low pressure drip tape or gravity emitters, keep runs short, raise the barrel as high as is safe, and skip the pressure regulator. Our rain barrel guide covers the source side of the setup.
Photo credits: Anil Sharma (Pexels); Anil Sharma (Pexels). Photos are served from this site; follow the credit to the library page for the original.