Front Yard Landscaping Ideas: Buildable Layouts With Real Dimensions
By the Windchime Walker editorial team
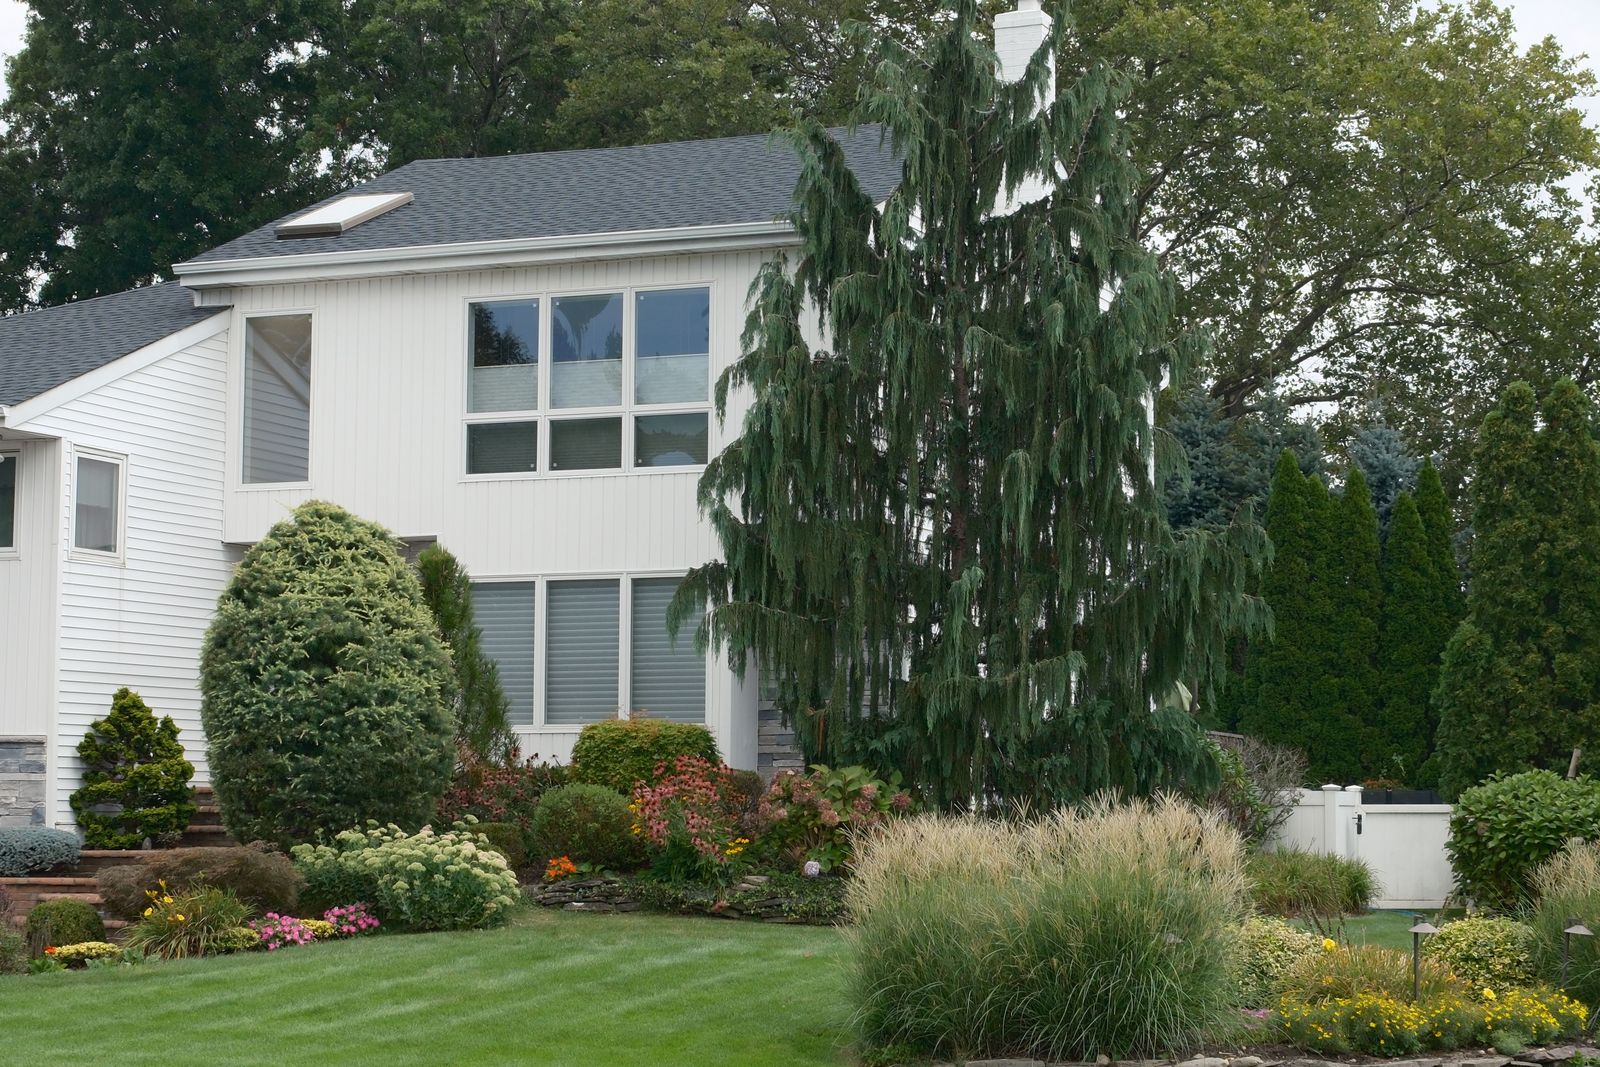
Photo: Mingyang LIU / Pexels
Front yard inspiration is the easiest content in gardening to find and the hardest to use. The galleries show eighty beautiful fronts and give the homeowner standing at the curb nothing to build from: no widths, no depths, no plant counts, no order of work. A front yard, though, is not a mood. It is a small designed system with measurable parts, an entrance sequence, a walk, foundation beds, and layers, and it can be specified like one. This page does the specifying: three staged layouts at three budgets, built on real dimensions, that a beginner can install across a season or two and that will read as designed from the street, because they follow the same structure the gallery photographs are secretly using.
Our landscaping for beginners guide owns the first garden bed, and our garden bed ideas article owns bed layouts in the garden proper. This page owns the front of the house.
Interactive tool
Front Yard Layout Checklist
Check off each step as you finish it. Your progress stays on this page.
0 of 7 complete
0% done
The Dimensions That Make It Look Designed
Four measurements do most of the work in every front that looks intentional. The walk: Clemson University's HGIC guidance puts an entrance walk at at least 4.5 feet wide, wide enough for two people to walk side by side to the door, and the difference between a 3 foot builder path and a 4.5 foot walk is the difference between a house that admits visitors single file and one that welcomes them. The foundation bed depth: beds against the house should run 4 to 6 feet deep, not the 18 inch ribbon builders install, because depth is what allows layers, and layers are what the eye reads as landscaping rather than garnish. The layer heights: plant in descending strata from the house outward, tall shrubs against the wall, midsize in the middle, perennials and groundcover at the edge, so every plant is visible and the bed reads as a slope of green rather than a row of soldiers. The lawn's shape: what lawn remains should be a clean, deliberate shape with smooth curves or straight lines, because the lawn is the negative space that shows the beds off, and a wobbly leftover strip makes the whole front look accidental.
The Layer System, Plant by Plant
Build every bed, whatever the plan, in the same four layers. Layer one, the small tree or anchor: one small ornamental tree or large shrub per bed end or corner, the vertical accent that gives the front its height; plant it at least 6 to 8 feet from the foundation so its mature canopy clears the eaves. Layer two, the evergreen structure: shrubs that hold their leaves and shape all year, boxwood, holly, inkberry, or their regional equivalents, placed against the foundation at their mature spacing, not their nursery spacing. This layer is the winter front, and it is the layer beginners skip because it looks plain in the spring photographs; it is also the layer that makes the house look landscaped in February. Layer three, the perennial middle: flowering perennials and ornamental grasses in drifts of three or five of a kind, never single specimens dotted along the bed, because drifts read as design and dots read as shopping. Layer four, the edge: a groundcover or a crisp edge of low plants or stone that finishes the bed's outline against the lawn. Repeat the same few plants across both sides of the walk and the door: repetition is the cheapest design tool there is, and a front planted with ten kinds of plant, repeated, looks calmer and richer than one planted with thirty kinds used once.
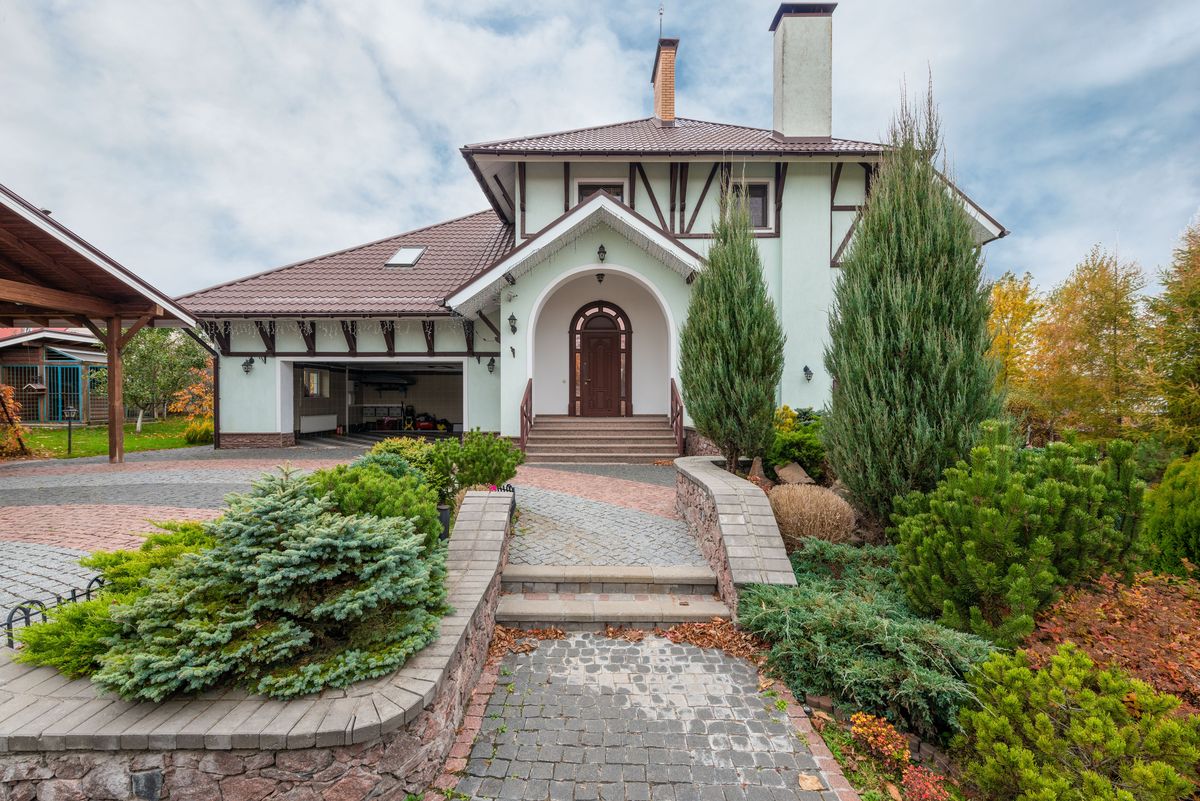
A house front with decorative plants and a paved driveway
Plan One: the Weekend Refresh (Lowest Budget)
For a front that is structurally fine and merely tired. Widen nothing; instead, deepen the existing beds to at least 3 to 4 feet by moving their front edge out into the lawn with a smooth curve, which costs an afternoon and a roll of hose to lay the curve, and instantly makes the planting look intentional. Edge every bed cleanly. Plant the evergreen layer where the foundation shows bare, add one drift of perennials on each side of the door in the same variety, and mulch everything 2 to 3 inches. Finish with the two highest return small objects in front yard design: a pair of matching planters flanking the door, and a house number and mailbox that match each other. This plan is mostly labor and mulch, and it routinely produces the before and after photographs that sell the bigger plans.
Plan Two: the Layered Entry (Middle Budget, the Standard Build)
For a front being built properly once. Rebuild the walk to the 4.5 foot standard if the budget allows any hardscape at all, in pavers, stone, or fresh concrete, with a gentle flare where it meets the porch or step. Set foundation beds 5 to 6 feet deep on both sides of the entry and plant the full four layers: anchor trees at the corners, evergreen structure against the wall, perennial drifts in the middle, groundcover edge. Add one bed as an island in the lawn if the front is wide, planted with the same anchor and drifts, to break the lawn's rectangle. Run low voltage lighting on the walk's edge and one uplight into the anchor tree, because a front that works at night doubles its hours of being enjoyed, and walk lighting is safety equipment as much as decoration. This is the plan most fronts should build, in the order given: walk, beds, structure, drifts, light.
Plan Three: the Full Front (Highest Budget, Staged Over Two Years)
For a front being remade entirely. Everything in Plan Two, plus the lawn itself redesigned: its shape redrawn as a deliberate figure, its grass replaced or renovated, and a low hedge, fence, or wall segment at the street edge where the neighborhood's style supports one, which gives the front a threshold and makes everything inside it read as a garden room. Add a second seating or standing moment if the front is large, a small bench pad near the door or a widening in the walk, and irrigation or at least a drip line to the foundation beds, because new layered plantings fail on watering logistics more than on any design question. Stage it honestly: hardscape and trees in year one, structure and drifts in year two, because trees and walks are the parts that cannot be redone cheaply, and plants forgive being planted a year later into a finished structure.
Plant Choices That Carry the Front
Within the layers, choose for the front's special conditions: it is the most seen and least tended part of most properties, so durability and four season manners outrank rare blooms. Evergreens that hold a shape without shearing, perennials that do not flop by August or need staking at the curb, and grasses that stand into winter are the front's workforce. Keep the palette to two or three bloom colors repeated, and let foliage texture do the rest. Respect the sight lines and the utilities: nothing tall under the front windows' sills at maturity unless it is meant to be pruned there forever, nothing with thorns beside the walk, and the mature size on the tag treated as a promise, because the front yard's commonest ten year problem is a shrub planted at nursery size against a window it now eats. Our shade and sandy soil seed guides apply to the lawn portion of any of these plans where those conditions rule, and the front is where those conditions most often meet the street.
The Build Order, Whatever the Budget
Every plan above succeeds or fails on sequence. Hardscape first, because a walk built after planting tramples the planting. Trees and structure next, while access is easy. Beds shaped and soil amended before anything goes in, because amending around planted shrubs is misery. Drifts and edges after, mulch last and always, and lighting whenever the trenches are open anyway. Photograph the front from the street before you start and at each stage: the curb is the viewpoint the design is for, and it is the one viewpoint the builder, standing in the bed with a shovel, never uses. That single habit, judging the work from across the street, is the difference between a front that was gardened and a front that was designed.
Keeping It: the Finished Front's Small Calendar
A designed front stays designed on a short list of recurring acts, and naming them completes the plans above. In spring, cut back the grasses and perennials before new growth, refresh the mulch to its 2 to 3 inches, and edge the beds, because the edge is the line the whole design is judged by. Through summer, deadhead the drifts that reward it, water the foundation beds deeply in drought rather than sprinkling the lawn's surface, and prune evergreens only at their proper season, since a sheared at the wrong moment shrub is a season long eyesore at the most seen address on the property. In fall, plant the additions the summer exposed, divide the drifts that have outgrown their spacing and use the divisions to extend the repetition, and let the grasses and seed heads stand into winter, where they are the front's cold season architecture. In winter, judge the evergreen layer from the street and write down what February says is missing, because February is the front's honest critic and its notes are next spring's shopping list. An hour a month, aimed by that calendar, is the true maintenance cost of the fronts in the galleries.
Frequently Asked Questions
How wide should a front walkway be?
At least 4.5 feet, per Clemson University HGIC guidance, so two people can walk side by side to the door. The standard 3 foot builder path is the single most common dimension that makes a front feel mean, and widening the walk, or flaring it at the porch, is the highest value hardscape change most fronts can make.
How deep should foundation beds be?
Four to six feet, deep enough to hold layers: evergreen structure against the wall, perennials in the middle, groundcover at the edge. The 18 inch ribbon bed most houses are built with can hold only a single row, and a single row is what makes foundation planting look like garnish instead of landscaping.
What is the cheapest way to make a front yard look better?
Deepen and edge the beds, mulch them, and repeat a few plants instead of adding kinds. Moving a bed's front edge out to 3 or 4 feet on a smooth curve, planting the missing evergreen layer against the foundation, adding one matching perennial drift on each side of the door, and finishing with matching planters at the door transforms most fronts for the price of mulch and a weekend.
What plants are best for the front yard?
Durable, four season plants in layers: evergreen shrubs for year round structure, a small ornamental tree as the anchor, perennial drifts in groups of three or five, and a groundcover edge. Choose by mature size, keep bloom colors to two or three repeated, and avoid anything thorny beside the walk or destined to outgrow the windows.
Should I remove lawn in the front yard?
Often, some of it. The best fronts usually keep a smaller lawn in one clean, deliberate shape and give the rest to layered beds, especially under trees and against the house where grass struggles anyway. Judge from the curb: the lawn is the negative space, and its shape should look chosen, not leftover.
In what order should I build a front yard project?
Hardscape first, then trees and evergreen structure, then bed shaping and soil work, then perennial drifts and edges, mulch last, and lighting whenever trenches are open. Photograph from across the street at each stage, because the curb view is the one the design serves and the builder never naturally stands in it.
Photo credits: Mingyang LIU (Pexels); Max Vakhtbovych (Pexels). Photos are served from this site; follow the credit to the library page for the original.