Garden Border Ideas: Plants and Edging as One Plan, With Depths and Named Layers
By the Windchime Walker editorial team
Photo: Neville Hawkins / Pexels
Border advice comes in two halves that never meet. The plant people give you lists organized by height and color and say nothing about the edge. The edging people sell you stone, brick, steel, and wood and say nothing about the plants. A real border is both at once, a planted frame with a finished edge, and it succeeds or fails on dimensions neither half mentions: how deep the bed is, how the plants repeat, and whether the mower and the border have agreed on their boundary. This page designs borders as plans, with the numbers in.
Our garden bed ideas page owns bed layouts inside the garden. This page owns the border: the frame around the lawn, along the fence, and against the house, where the yard's design is decided.
Interactive tool
Garden Border Checklist
Check off each step as you finish it. Your progress stays on this page.
0 of 8 complete
0% done
Depth First: the Dimension That Decides Everything
A border's depth, front to back, is its destiny. Under about 2 feet deep, a border cannot layer; it can only line up, which is why so many foundation plantings look like a row of soldiers against the wall. At 3 feet, two layers become possible. At 4 to 6 feet, the full three tier system breathes, plants can sit in drifts rather than rows, and the border starts to look like the photographs. Measure your intended border and be honest about the number; then design for the depth you have, because a well planted 2 foot border, treated as a single layer ribbon of one or two plants repeated, beats a 2 foot border pretending to be three layers deep in specimens. Where the lawn can spare it, stealing an extra foot of depth is the highest value change available to an existing border, worth more than any plant purchase. Curve the front edge where the yard allows it; a gentle curve is more forgiving to plant in drifts and easier to mow than a straight line with corners, and it makes a small yard feel larger.
The Three Tier System, With Named Plants
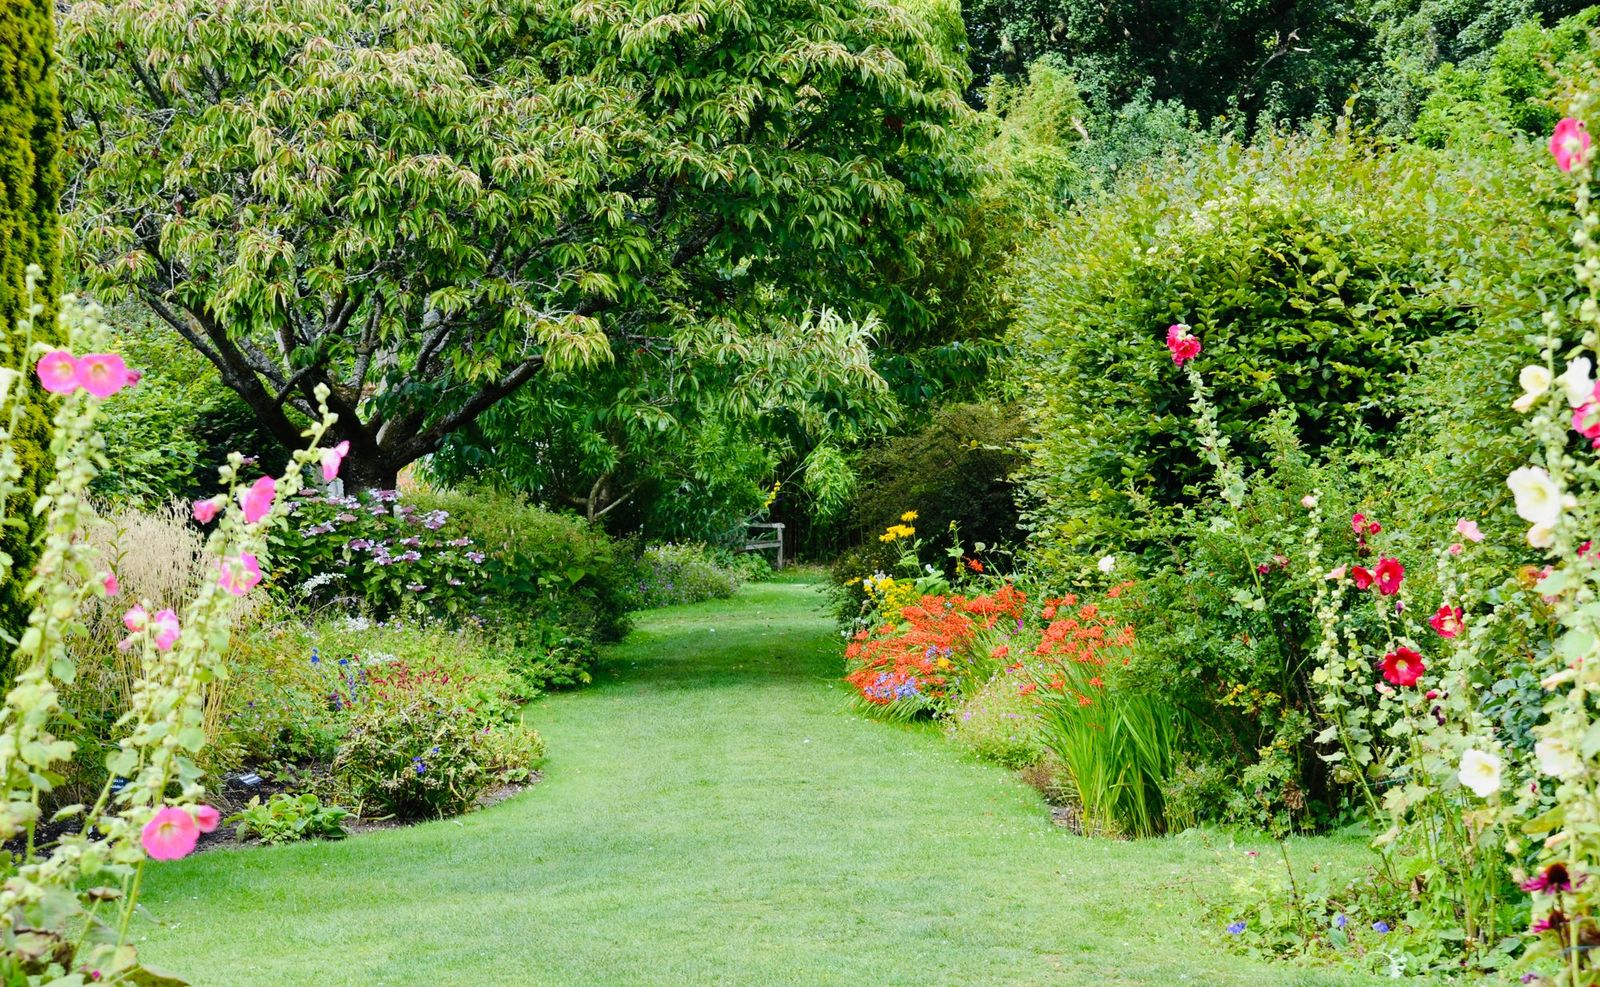
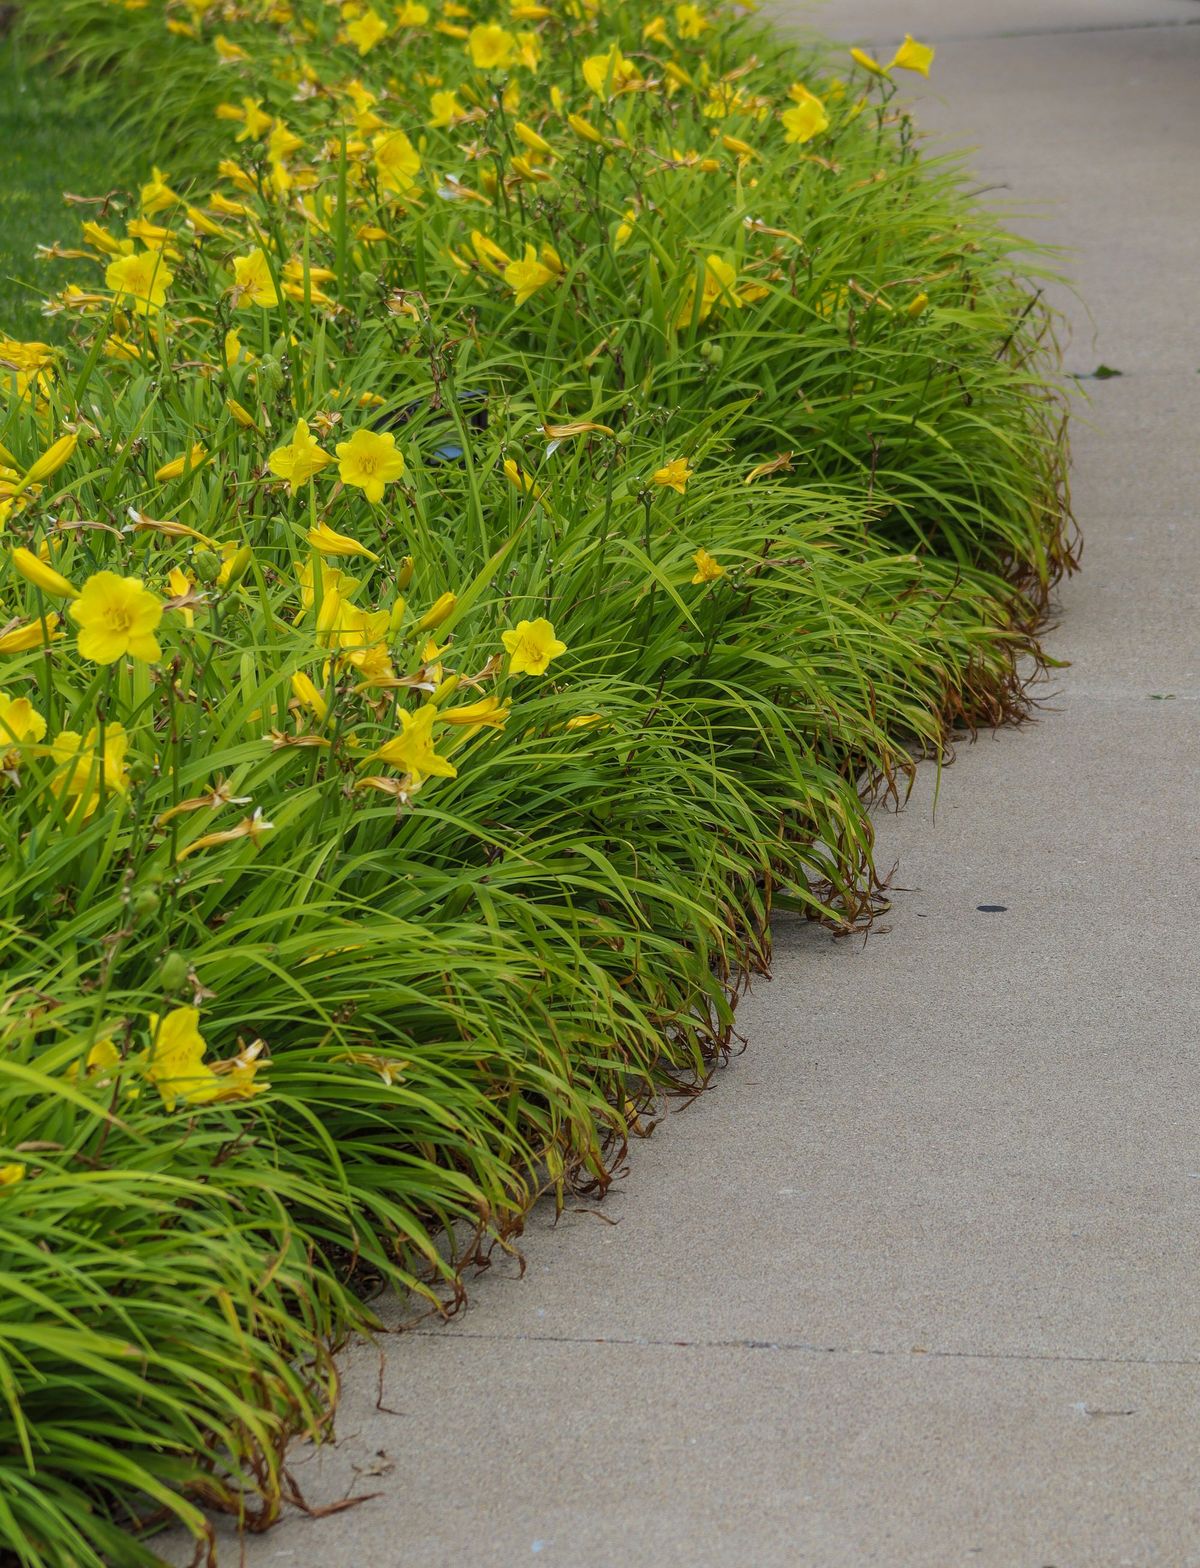
The classic border is built in three heights. The back tier, 4 to 8 feet, is the backdrop and the privacy: tall ornamental grasses, hydrangea, lilac, tall garden phlox at its lower edge, hollyhocks and delphiniums in cottage style, or evergreen shrubs where winter structure matters. The middle tier, 2 to 4 feet, is the body of the border and carries most of the flower: daylilies, coneflower, black eyed Susan, salvia, peonies, small spireas, Russian sage at the tall end. The front tier, under 18 inches, is the finish: creeping phlox over the edge in spring, cranesbill geranium, coral bells, lamb's ear, dwarf catmint, lavender in sunny dry borders, hosta in shade. Plant each tier in drifts, groups of three, five, or seven of the same plant, repeated down the border's length, rather than one of everything in a row. Repetition is the invisible rule under every border you have ever admired in a photograph: the same drift appearing three times along a fence reads as design, while twenty different plants in a line reads as a collection, no matter how fine each plant is. Leave the mature size on the tag as your spacing law; a border planted at mature spacing looks thin for one season and right for ten, while a border planted for instant fullness is a dividing and thinning chore by year three.
Yellow daylilies planted as a repeating front tier along a path
The Edge: Where the Border Meets the Mower
The edge is a maintenance contract. Its job is to hold the bed's line against the lawn's ambitions and to give the mower or trimmer a clean way to work. Steel or aluminum edging is the minimalist professional choice, nearly invisible, durable, and the best grass barrier per dollar; it suits the planted border that wants no visible frame. Brick and stone are the visible, traditional edges, warm against plantings and repairable piece by piece, at the highest cost and the most labor; a mowing strip of flat stone or brick laid at lawn level lets the mower wheel run on it and ends trimmer work entirely, which is the single best labor saving detail in border design. Wood edges warmly and cheaply and rots on a schedule you should accept at purchase. The living edge, a maintained trench cut between lawn and bed, the Victorian edge, costs nothing but an annual re-cutting with a half moon edger and looks sharp in the hands of someone who enjoys it. Choose by the border's style and by who maintains it: the best edge is the one whose upkeep you will actually do, because a failed edge, grass running into the beds in fingers, is what makes a whole yard look tired.
Three Worked Plans
The sunny fence border, 4 feet deep, 24 feet long. Back tier: three clumps of tall ornamental grass at the thirds, or a row of hollyhocks for a cottage read. Middle: drifts of five daylilies, five coneflowers, five black eyed Susans, repeated. Front: cranesbill or dwarf catmint in drifts of seven, spilling to a steel edge. One spring bulb layer tucked through the middle tier extends the season backward. The foundation border, 3 feet deep. Evergreen structure first, two or three compact shrubs as the bones, spaced at mature size however bare it looks in year one. Middle and front merged into one flowering layer of perennials and ground cover, with the downspouts and meters left accessible and the mulch kept off the siding. The shade border under trees, 3 to 5 feet. Hostas in three sizes as the architecture, ferns and astilbe as the middle, sweet woodruff or wild ginger as the living front edge, and the edging question answered by the trees themselves: a simple trench edge, because roots will heave stone and steel alike. Each plan names its plants, states its depth, and repeats its drifts, which is the whole method; the checklist below converts your fence line, foundation, or tree circle into the same kind of plan.
The Season Round: Keeping the Border a Border
A border is a system that drifts, and the year's maintenance is mostly the prevention of drift. In spring, the edge gets its annual re-cut or its inspection, the mulch is topped to 2 to 3 inches and pulled back from crowns and stems, and the drifts are edited: perennials that have wandered out of their groups are lifted and returned, and the gaps where a plant failed are filled from the same plant's divisions, which keeps the repetition true for free. Early summer is the staking and the first deadheading round, tall back tier plants supported before they need it rather than after they flop. Midsummer is the honest appraisal: photograph the border from the house and from the street, because the camera shows the holes and the one note repetitions the eye edits out, and write the fall division list from the photograph rather than from memory. Fall is when the list is executed, divisions moved, the new plants from the garden center's clearance tables planted at the spacing law, and bulbs tucked through the middle tier. Winter is the structure audit: with the perennials down, the evergreen bones and the edge carry the border, and if the border reads as nothing in January, the fix is named then, an evergreen or a grass clump with winter presence, planted in spring. None of this is heavy work; all of it is the difference between a border that compounds in beauty yearly and one that dissolves into the collection it was rescued from being.
Frequently Asked Questions
How deep should a garden border be?
At least 2 feet for a simple single layer ribbon, 3 feet for two layers, and 4 to 6 feet for the full three tier system with drifts. Depth decides what designs are physically possible. If you can steal one extra foot from the lawn, it improves an existing border more than any plant purchase.
What are the three layers of a border?
Tall plants at the back, 4 to 8 feet, for backdrop and privacy; medium plants in the middle, 2 to 4 feet, carrying most of the flower; and low plants at the front, under 18 inches, finishing the edge. Plant each layer in repeating drifts of three, five, or seven of a kind rather than one of everything.
What is the best edging for a flower border?
The one whose upkeep you will do. Steel edging is the durable, nearly invisible grass barrier. Brick or stone with a flat mowing strip at lawn level ends trimmer work and suits traditional borders. A cut trench edge costs nothing but an annual re-cutting. All of them fail the same way when neglected: grass running into the bed.
How do I stop a border looking like a row of specimens?
Repetition. Choose fewer plants and more of each: drifts of the same plant repeated down the border's length read as design, while one of everything reads as a collection. Spacing at mature size, however thin it looks in year one, is the other half of the fix.
What can I plant in a border under trees?
Hostas in varied sizes as the structure, ferns and astilbe in the middle, and a ground cover like sweet woodruff as the front. Use a simple trench edge, since tree roots heave stone and steel. Expect to water more than the shade suggests; the tree roots compete for every drink.
Photo credits: Neville Hawkins (Pexels); Karen F (Pexels). Photos are served from this site; follow the credit to the library page for the original.