Garden path articles are usually photo galleries: twenty seven lovely paths, none of them in your yard, and no help deciding anything. A path is not a decoration that happens to be flat. It is a route, worn by real trips to the compost bin, the vegetable bed, and the back gate, in wet weather, carrying things. The paths that work are designed in that order: route first, because a path where nobody walks is lawn furniture; width second, because a path too narrow for its job gets walked around; material third, because almost any material succeeds on the right route at the right width, and almost any material fails on the wrong one. This page works in that order, compares the honest materials, and finishes with one complete beginner build, a stepping stone path, done properly.
The Garden Path Planning Checklist on this page follows the same sequence. UF/IFAS walkway guidance, the extension reference in our research, sets 3 feet as the minimum for a main garden walkway, which matches the working figures below.
Interactive tool
Garden Path Planning Checklist
Check off each step as you finish it. Your progress stays on this page.
0 of 6 complete
0% done
Step 1: Read the Route Your Feet Already Wrote
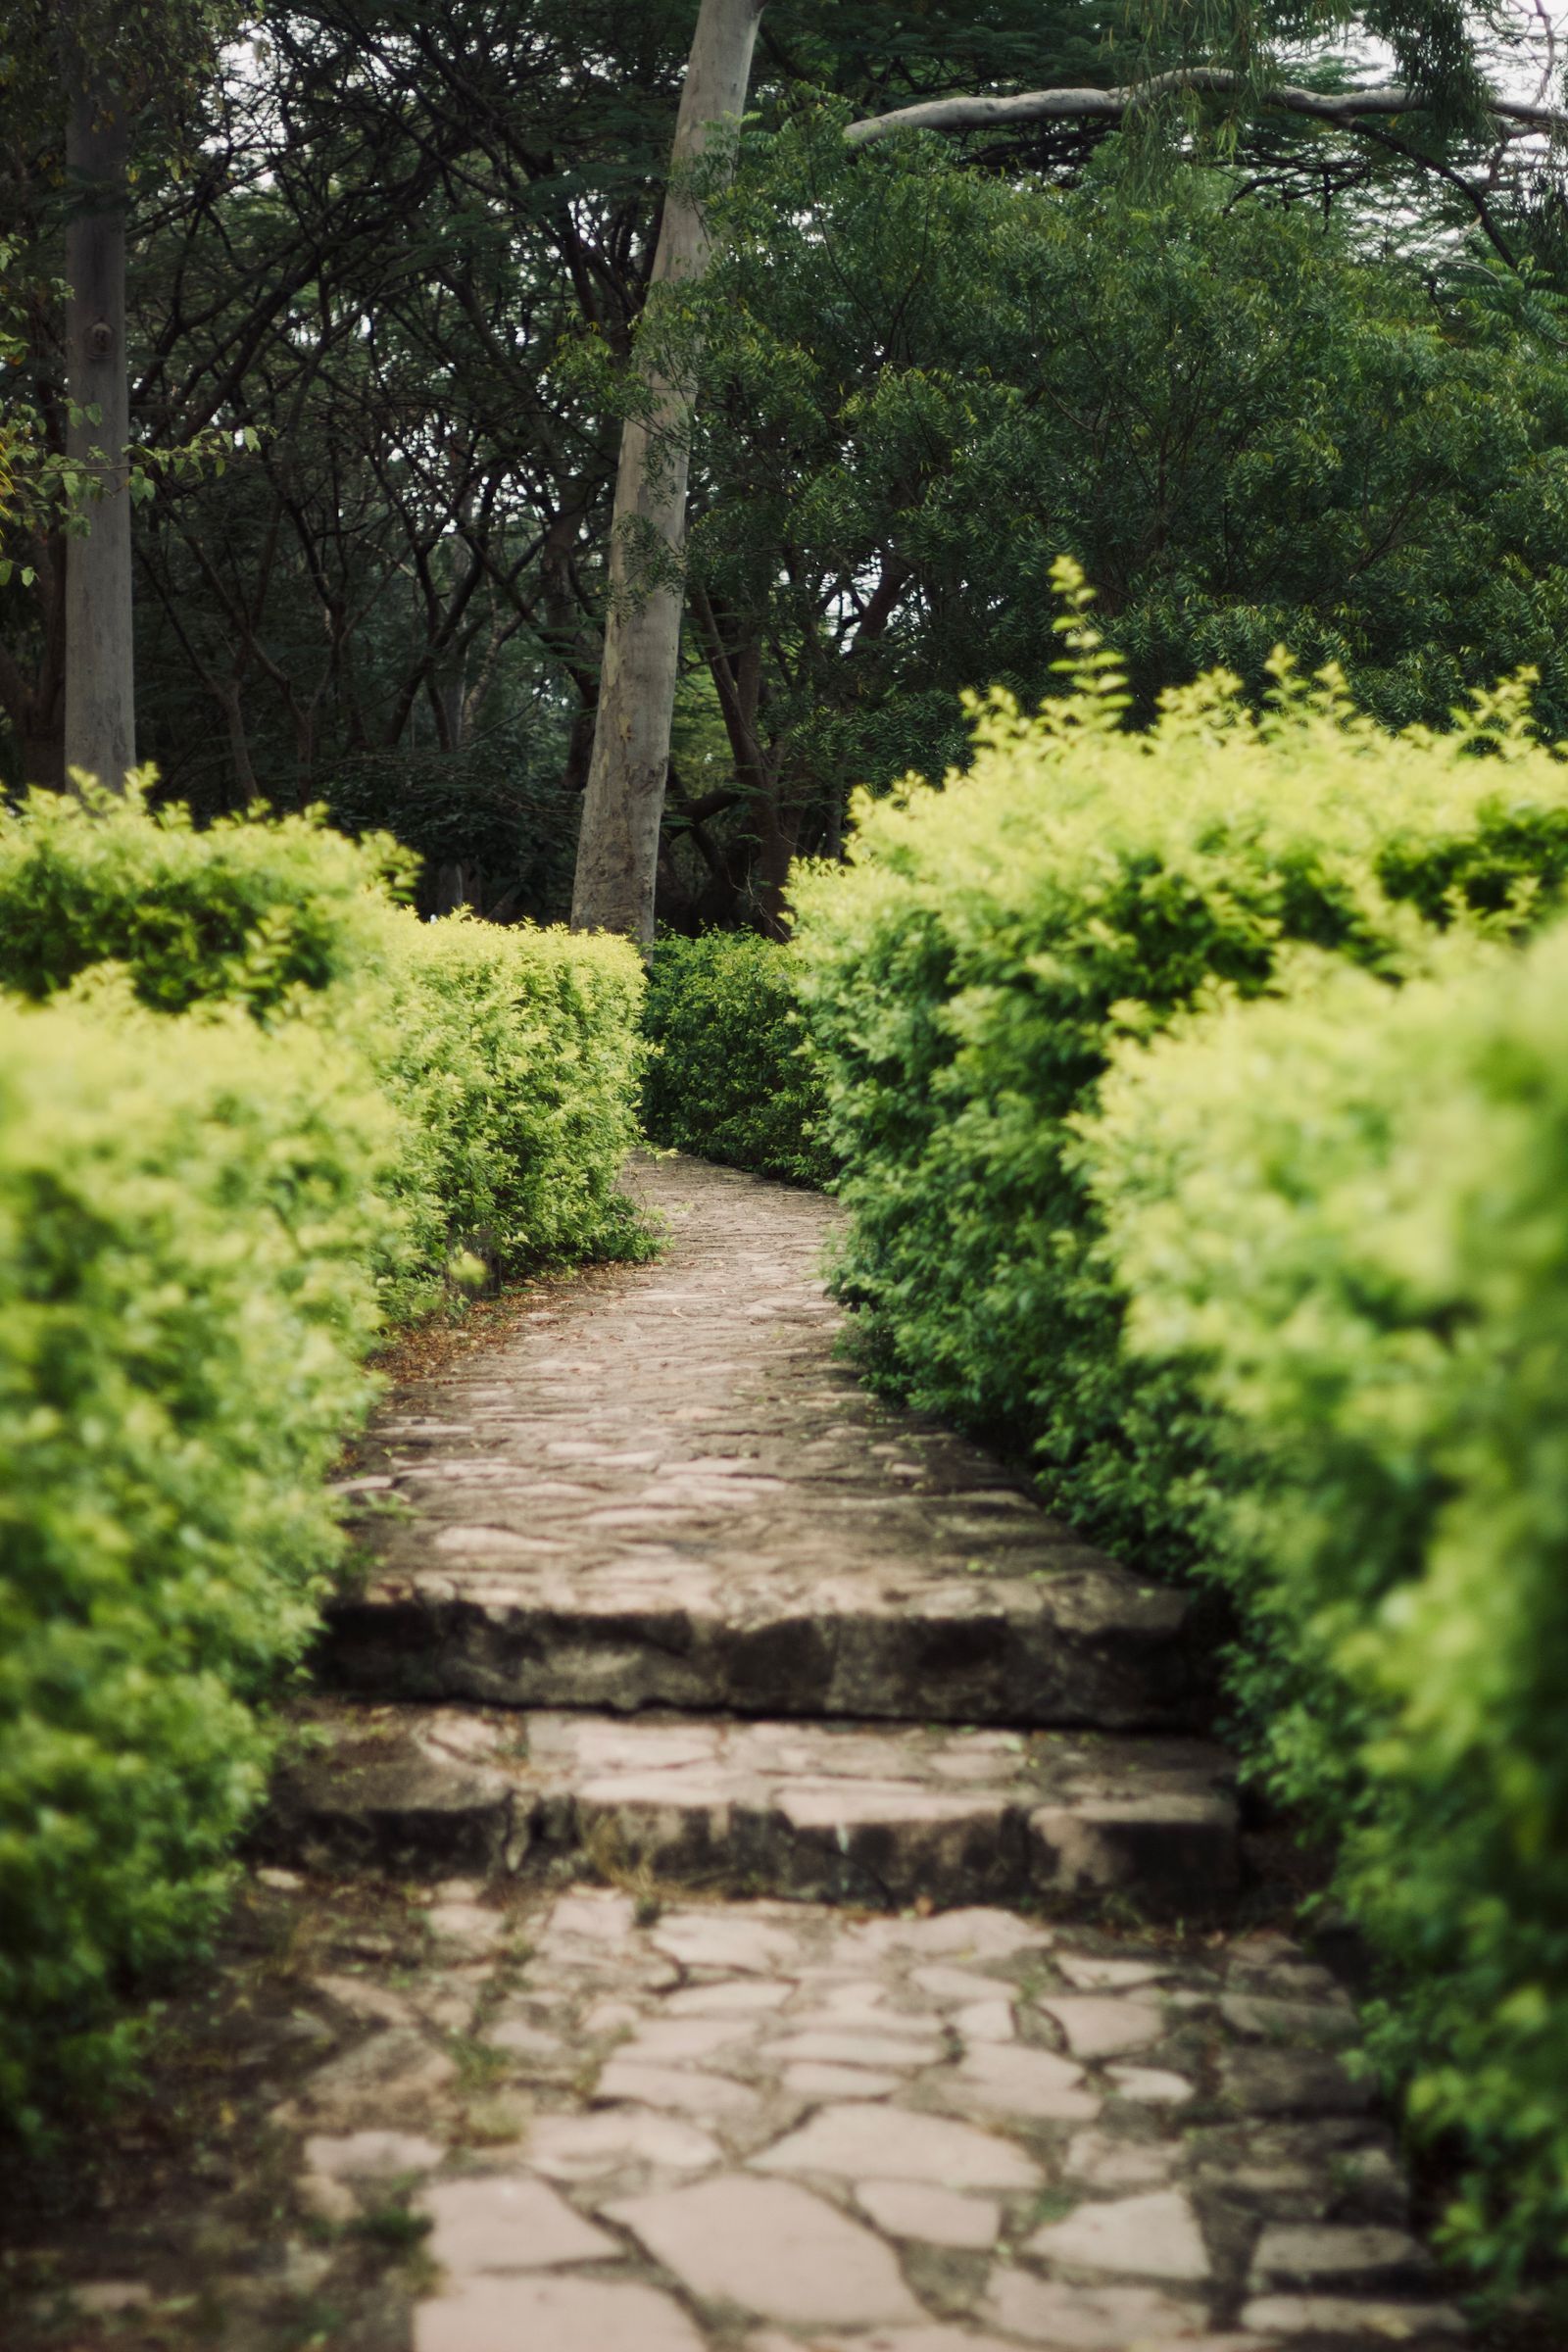
Stand at your back door and look at the yard the way a dog does. The route to the compost bin, the shed, the vegetable beds, and the gate is already there, visible as a worn line in the grass after rain, a slightly paler track in summer, the line you take without thinking when your hands are full. That line is your path's route, and fighting it is the classic beginner error: a path laid on a designer's curve while the household keeps cutting the corner will be defeated by the corner within a month, and the yard will have two paths, one built and one worn.
Straighten the worn line only where it is genuinely awkward, a swampy dip or a route through a bed you are expanding. Where the line passes through lawn that turns to mud in winter, that is precisely where the path earns its cost. Mark the route with a hose or rope, live with it for a week, walk it carrying something, and adjust before you dig anything. A path's route is the one decision that cannot be improved later without starting over, so it gets the week.
Step 2: Width by Job, Not by Guess
The path's job
Working width
Why
Main route: door to garden, wheelbarrow and cart traffic
About 3 feet
A wheelbarrow plus walking room; the UF/IFAS minimum for main walkways
Social route: two people walking side by side
About 4 feet
Shoulders and conversation need the fourth foot
Side path: between beds, to a tap or bin
About 2 feet
One person, no loads, occasional use
Stepping stone spacing
Stones set at a natural stride, roughly 24 to 28 inches center to center
Matched to your gait, tested by walking it
Measure your own stride for the stepping stone figure; legs differ, and a path spaced for a stranger's stride makes every walker hop or stretch. Lay the stones out on the grass, walk the line at your normal pace a dozen times, and nudge until the walk feels thoughtless. That feeling is the specification.
Step 3: Materials Compared on Cost, Effort, and Aging
Stepping stones are the beginner's material: the lowest cost per route, laid one stone at a time with no base engineering, easy to adjust, and kind to lawns because grass grows between them and the route still mows. They fail when set loose on soft soil, where they rock and sink; the build below fixes that. Gravel is the fast, forgiving surface: cheap, quick to lay over a dug and edged bed, and pleasant underfoot when it is angular crushed stone, which locks together and compacts firm. Rounded pea gravel is the trap in this family; it shifts and rolls underfoot like ball bearings and migrates into the lawn forever. Brick and pavers are the durable middle: real work to lay on a proper base, decades of life, and a formal look that suits front gardens and herb beds. Flagstone is the beautiful, expensive option, large natural slabs with the same laying labor as brick and more fitting. Wood chips and bark are the soft, cheap, temporary path for between vegetable beds and through woodland corners; they suppress mud beautifully, decompose in a season or two, and are renewed by the barrow load, which gardeners treat as a feature, since the old path becomes mulch. Grass paths, mown strips between beds, cost nothing and are lovelier than any of them in summer, and honest gardeners admit they are mud in a wet winter; they suit low traffic routes in well drained soil.
Choose by the route's traffic and your maintenance temperament. The daily compost route in a wet climate wants stone or gravel. The vegetable garden's interior paths want chips or grass. The front garden wants brick or flagstone, because it is the yard's public face. There is no single best material, which is why the listicles cannot decide for you.
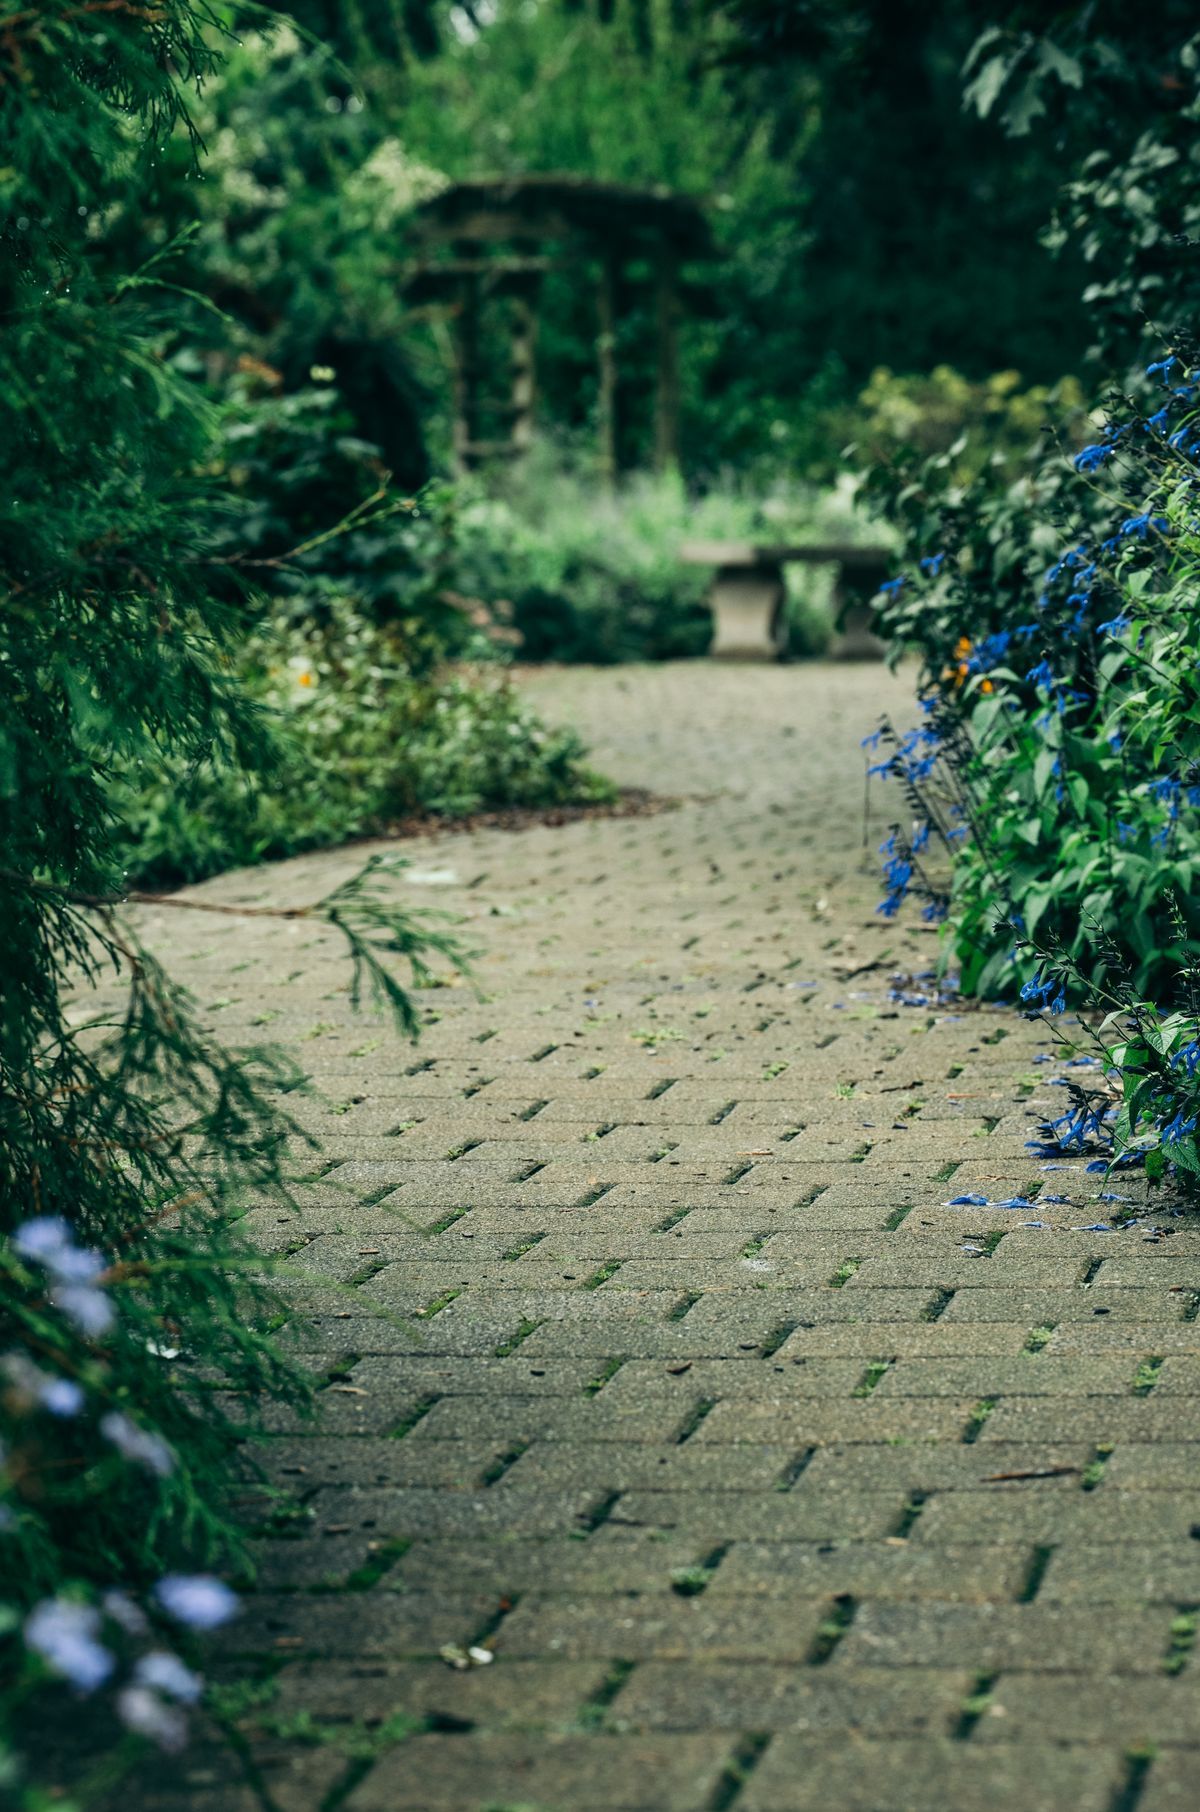
A brick pathway winding through a lush garden
Step 4: The Stepping Stone Build, Done in Full
For each stone: set it on the route at your tested stride, cut around its outline with a spade, and move it aside. Dig out the marked area about an inch deeper than the stone's thickness, so the stone will sit with its top roughly level with the surrounding soil, a touch above the dirt and a touch below the mower's ambitions. Put an inch of coarse sand or fine gravel in the hole and level it; this bedding layer is what stops the rocking. Set the stone, stand on it, and shift it until it does not move under your full weight at any corner. Check that it sits level and at the height of its neighbors in feel, backfill the edges with soil, and firm them. Repeat, walking the whole line after every few stones, because stride drift is real. A line of stones set this way stays put for years, can be lifted and reset in minutes if the ground heaves, and asks only that the grass between them be trimmed when you mow. That is the entire build, and it scales: the same method, stone by stone, makes a path of six stones to the compost bin or thirty to the back gate.
Whatever material you choose, two details decide whether the path ages well. Edging: a defined edge, metal, brick on edge, or a clean cut trench, keeps gravel in and grass out and makes the path look intentional. Base: on soft or wet ground, even a simple path profits from digging out a few inches and laying landscape fabric under the material to slow sinking and mixing with the mud below. Skip both on a dry, firm, low traffic route and the path still works; skip them on a wet main route and you will rebuild in two years. Match the engineering to the traffic, walk the route for a week before you commit it, and the path will quietly become the most used structure in your garden.
Paths Through the Vegetable Garden and Work Areas
The working parts of the garden have their own path logic, and it is worth stating separately because the priorities invert: here, function is everything and the path is a tool. Between vegetable beds, the path's jobs are to carry a wheelbarrow, to give you dry footing for harvesting in wet weeks, and to never steal light or root room from the beds. Wood chips win this role most often, laid a few inches deep on bare soil or fabric, because they are cheap at this scale, soft to kneel beside, and destined to become mulch themselves. Keep work paths at the 2 foot side path width for walking rows, and give the garden's main spine, the route the barrow takes from gate to compost to beds, the full 3 feet, surfaced in something firmer, gravel or stones, since the barrow's single wheel in wet weather will trench a chip path into a canal.
Around taps, compost bins, and potting areas, the ground takes concentrated traffic and turns to mud faster than anywhere else in the yard; a small paved stance, a few pavers or a square of gravel at the work spot itself, pays for itself in one wet autumn. And at the garden's threshold, where the path meets the house, one flat stone or a small landing gives boots a place to be scraped and left, which the household will appreciate more than any other path decision you make. Work paths are not the garden's beauty, but they are its ergonomics, and a gardener whose paths serve the work keeps gardening years longer than one who fights mud to reach the beds.
Maintenance by Material, Honestly Stated
Every path material has a maintenance personality, and choosing yours is choosing your chores. Stepping stones ask for almost nothing: an occasional reset of a stone that heaved, and trimming of the grass that creeps over their edges, which a half moon edger handles twice a year. Gravel asks for a top up every few years as it compacts and migrates, a raking back into line after heavy rain, and weeding through the fabric's failures; an annual hour keeps it handsome. Brick and pavers ask for the least yearly attention and the most occasional: joints re sanded when they empty, a mossy surface scrubbed if your climate grows it, and a settled paver lifted and re bedded when one dips.
Wood chips ask for renewal, a fresh layer each year or two, which is genuinely a feature since the old layer becomes the beds' mulch, but it is a recurring barrow job and should be chosen by gardeners who enjoy it. Grass paths ask for mowing with the lawn and honesty in winter: in a wet climate they will be mud routes from November to March, and the gardener who cannot abide that should surface the main line and keep grass only for the summer routes. No material is maintenance free; there is only maintenance you find pleasant, scheduled, and light because the route and width were right. That sentence, applied at the planning stage with the checklist on this page, is the entire secret of paths that still please their owners in year ten.
Frequently Asked Questions
How wide should a garden path be?
By its job. A main path carrying a wheelbarrow needs about 3 feet, which is also the UF/IFAS minimum for main garden walkways. A path for two people side by side needs about 4 feet. A side path for one person between beds works at about 2 feet. Stepping stones should be spaced at your own natural stride, roughly 24 to 28 inches center to center.
What is the cheapest garden path material?
Wood chips and bark are cheapest by the yard and ideal between vegetable beds, renewed every season or two as they decompose into mulch. Stepping stones are the cheapest permanent option, bought one at a time and laid with no base work beyond a sand bed under each stone. Grass paths cost nothing but suit only well drained, low traffic routes.
Is pea gravel good for garden paths?
It is the common mistake in the gravel family. Rounded pea gravel shifts and rolls underfoot and migrates into lawns. Choose angular crushed stone instead, which locks together, compacts into a firm walking surface, and stays where it is laid. The price is similar and the difference underfoot is total.
How do I stop stepping stones from rocking and sinking?
Set each stone on a bedding layer: dig the outline about an inch deeper than the stone, add an inch of coarse sand or fine gravel, level it, set the stone, and stand on it to test every corner before backfilling the edges with firm soil. The sand bed, not the stone's weight, is what stops the rocking.
Where should a garden path go?
Where your feet already go. The worn line between the door, the compost bin, the beds, and the gate is the route; formalizing it with a path solves the mud without fighting the household's habits. Mark the route with a hose, walk it for a week carrying things, and only then build. A path nobody's route uses becomes an ornament surrounded by a worn shortcut.
Do garden paths need edging and a base?
On a main route or wet ground, yes: edging keeps material in and grass out, and a dug base with landscape fabric slows sinking into mud. On a dry, firm, lightly used route, stepping stones or chips laid simply will serve for years. Match the engineering to the traffic the path actually carries.
Photo credits: Flowers iso (Pexels); Chris F (Pexels). Photos are served from this site; follow the credit to the library page for the original.