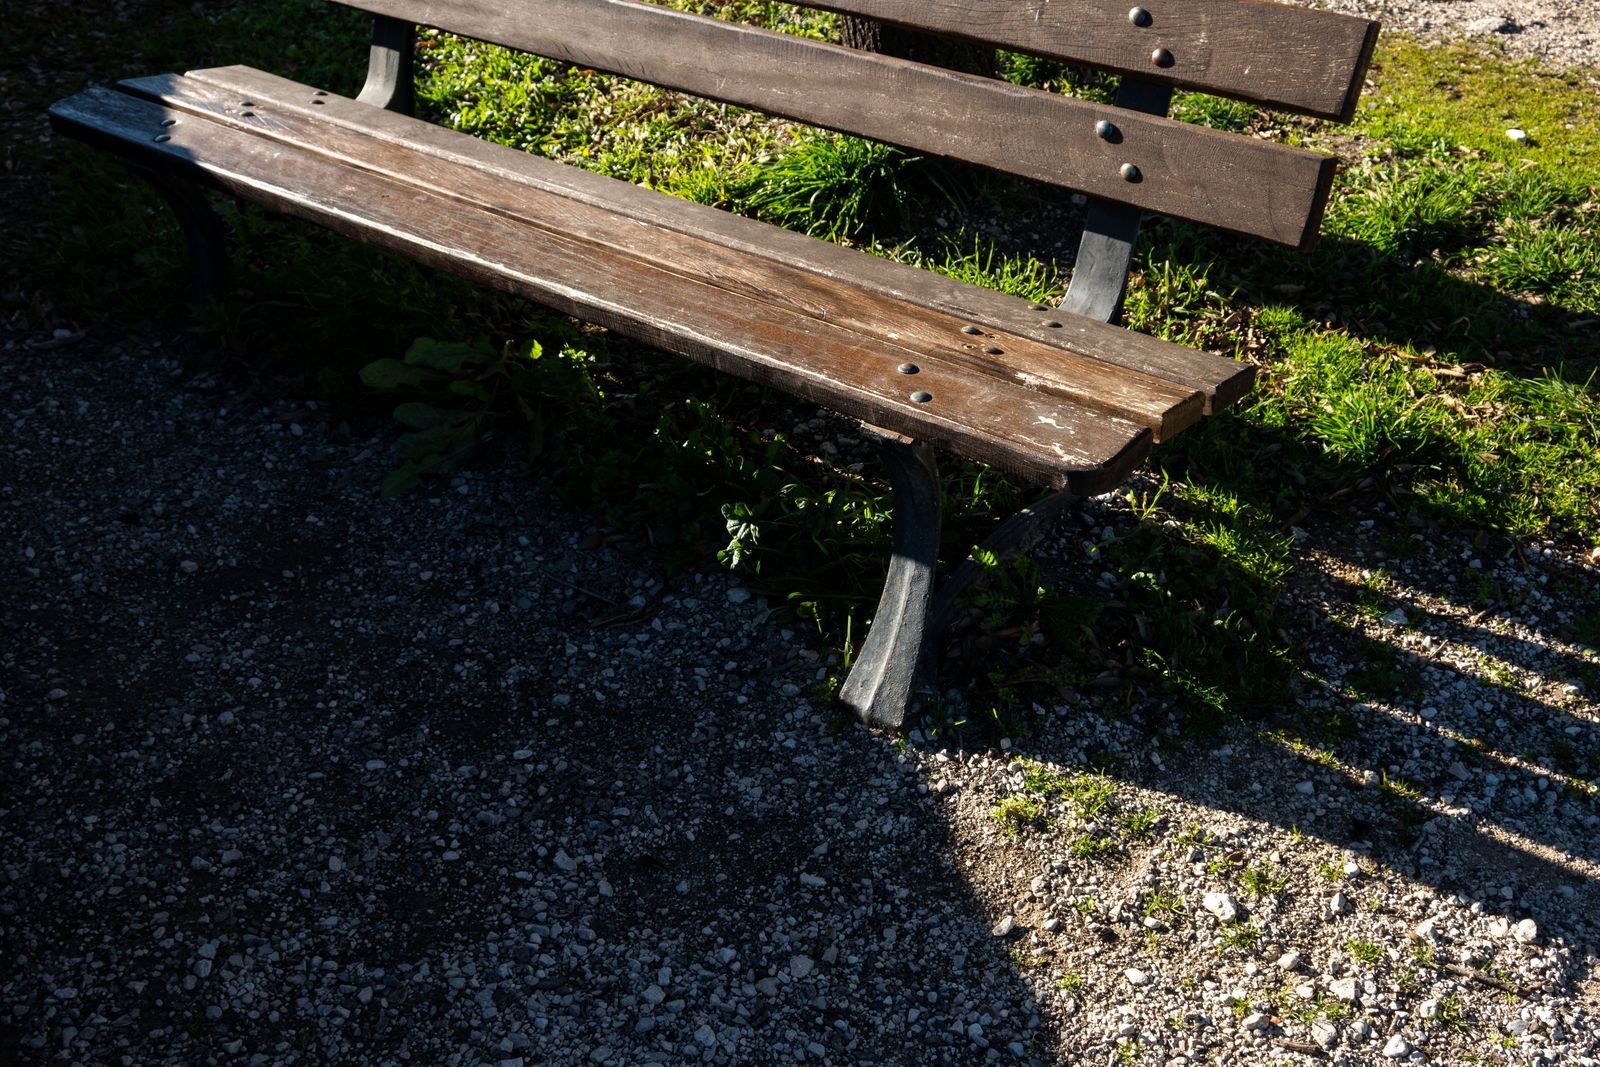
A garden without a seat is a workplace. A garden with one is a destination, and the difference shows up in how often you are in it, coffee in hand, noticing things. The bench in this guide is the simplest honest version of that seat: a backless bench about 4 feet long, built from standard lumber with a full cut list below, sturdy enough for two adults and a dog's ambitions, and buildable in an afternoon by someone who has never made furniture. No angled cuts, no joinery beyond screws, no tools beyond a saw, a drill, a square, and sandpaper.
Design decisions are made for you, on purpose. The seat sits just under 18 inches high, the height that suits most adults for sitting and for the gardener's real use, perching mid task. The seat is three boards with small gaps that shed rain instead of holding it. The legs are stout posts that will not rack or wobble when the frame is built square, and square is guaranteed by one measurement trick, the equal diagonals, that this guide teaches you to use on everything you ever build. Work through the Garden Bench Build Checklist on this page as you go; it sequences the afternoon from lumberyard to first sit.
Interactive tool
Garden Bench Build Checklist
Check off each step as you finish it. Your progress stays on this page.
0 of 6 complete
0% done
The Cut List
Buy the lumber a few days ahead if you can and stack it flat where it will be used, so it acclimates and any board that wants to twist declares itself before it is in your bench. Choose boards with straight grain and no large knots at the ends where screws will go. Cedar and pressure treated lumber are the outdoor choices; cedar is lighter and prettier, treated lumber is cheaper and heavier, and either outlasts plain softwood outside by years.
Part
Quantity
Material
Cut length
Seat boards
3
2 by 6
48 inches
Long aprons
2
2 by 4
42 inches
Legs
4
4 by 4
16 inches
Short aprons
2
2 by 4
9.5 inches
Side stretchers
2
2 by 4
9.5 inches
You will also need exterior screws in two lengths, a longer one for the leg frame and a shorter one for the seat boards, exterior wood glue if you want belt and braces, and sandpaper. The arithmetic of the design: the legs at 16 inches plus the seat boards' thickness of 1.5 inches give a seat height of 17.5 inches, just under 18. The three seat boards, each 5.5 inches wide, with small gaps between them, make a seat about 17 inches deep. The aprons sit inset under the seat, tying the legs together below the boards, and the stretchers brace each pair of legs against racking. Every number in the list earns its place; change the length if you like, to fit a specific spot, and leave the rest of the geometry alone in your first build.
Step 1: Cut and Sand Before You Assemble
Cut every part to the list first, and mark each piece with its name in pencil on a hidden face. Cutting everything in one session, with the saw set up once, is faster and more accurate than cutting as you go, and a part cut wrong is discovered while the lumber pile can still replace it. Check the two long aprons against each other and the four legs against each other: parts that must match should be cut together or measured off the same stop, because a leg a quarter inch longer than its brothers is a wobble built in at birth.
Sand the seat boards now, tops and edges especially, while they are loose and easy to handle. Outdoor benches fail socially before they fail structurally: nobody sits twice on a bench that gives splinters. Round the seat boards' top edges slightly with the sandpaper so they are kind to legs and do not hold water in a sharp corner. The frame parts need only a quick pass to remove splinters and stamps.
Step 2: Build the Two Leg Frames
Each end of the bench is a frame: two legs, one short apron near the top connecting them on the inside, and one side stretcher connecting them lower down. Lay two legs flat on your work surface at the seat's depth apart, set the short apron across them flush with their tops, and check the assembly for square with your square and by eye. Drill pilot holes before driving screws, always, in lumber this size: unsplit wood is the difference between a joint that holds for a decade and one that loosens by August. Two screws per joint, driven true, with glue if you are using it.
Build the second frame to mirror the first, and here is the discipline: measure the second frame against the first, not against the tape. Stack them and compare. Two identical frames make a bench that stands flat; two almost identical frames make a bench that rocks, and rocking is forever, because you cannot adjust a screwed frame that was born twisted. Take the extra five minutes now, while the fix is a loosened screw and a nudge.
Step 3: Join the Frames With the Long Aprons
Stand the two leg frames upright at the bench's length apart, and connect them with the two long aprons, one along each side, set inside the legs and flush with the short aprons' height. This is the moment the bench becomes a structure, and the moment to run the check that guarantees it: the equal diagonals.
Measure diagonally across the top of the frame, corner to corner, in both directions. If the two diagonal measurements are equal, the frame is square, a true rectangle. If they differ, the frame is a parallelogram, and you push the longer diagonal's corners gently toward each other until the measurements match, then drive the remaining screws while it is held true. This one trick, equal diagonals, is how every frame, cold frame, raised bed, gate, and bench you ever build gets squared, and it works because geometry has no opinions. Learn it here and you own it for life.
Step 4: Attach the Seat Boards
Lay the three seat boards across the top, overhanging the frame evenly at both ends, with small, even gaps between them for drainage, about the width of a pencil. Fasten each board to the aprons and leg tops beneath it with screws, two per support point, driven through pilot holes. Sight along the seat from the end: the boards should lie in one plane. A board with a crown or twist can often be pulled flat by its screws; a board that fights hard goes back to the lumber pile's judgment and becomes firewood, replaced by a straighter one.
Step back and do the first test that matters: sit on it. Then stand on it, carefully, because a garden bench will be stood on, for pruning and for reaching, whatever the designer intended. A bench built to this list takes both without a creak worth mentioning. If there is movement, the wobble table below finds its source.
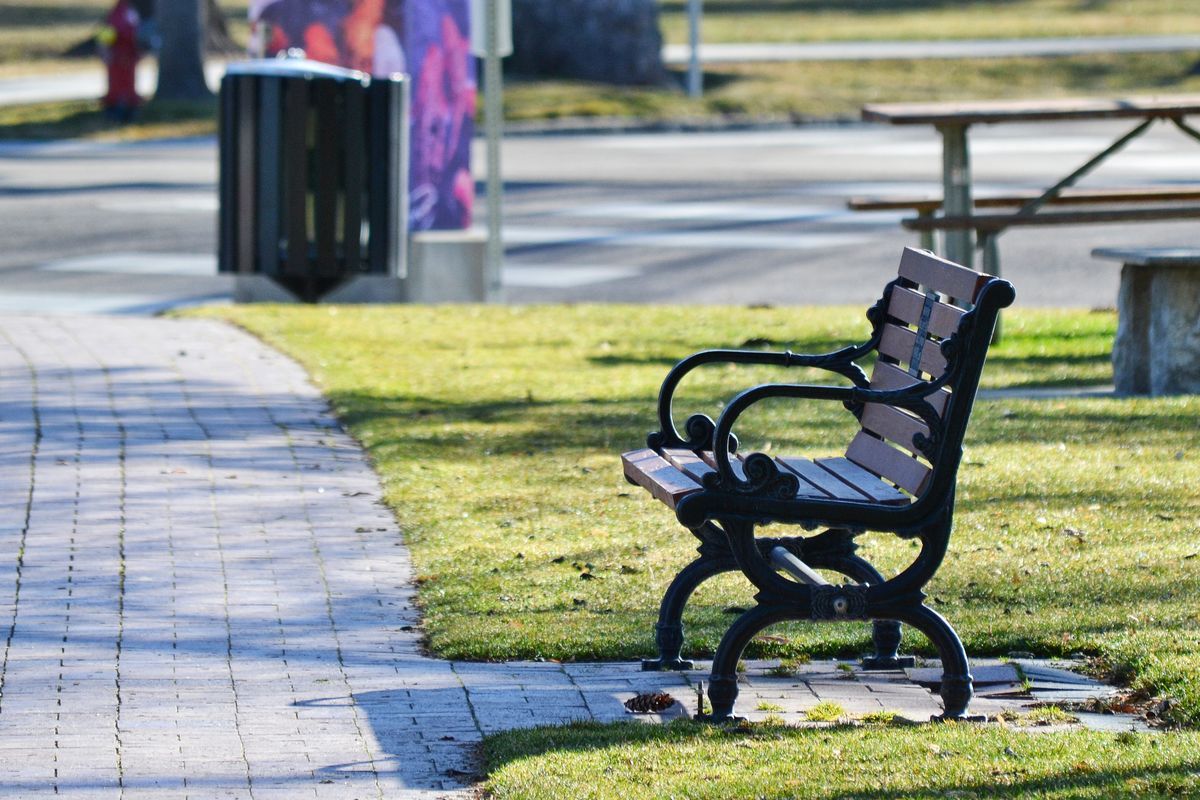
A wooden bench on a sunlit pathway in a park, the simple form this build produces
The Wobble Diagnosis Table
Symptom
Likely cause
Fix
Rocks corner to corner on a flat floor
One leg slightly long, or a frame born twisted
Sand or plane the long leg's foot a shaving at a time until all four feet share the floor
Rocks only on its garden spot
The ground, not the bench
Level the spot or set the feet on pavers, which the bench wants anyway
Flexes side to side when pushed
Racking: aprons or stretchers loose or missing
Tighten screws, add glue, confirm both stretchers and all four aprons are present and snug
One seat board moves or creaks
A missed or stripped screw
Add a screw beside the failed one into fresh wood through a new pilot hole
Whole bench feels springy under two people
Seat boards spanning too far unsupported
The design's apron spacing prevents this; if you lengthened the bench, add a center leg frame
Notice how many wobbles are born in the frame stage and merely discovered later. The bench teaches the woodworker's oldest lesson: accuracy compounds. Five careful minutes in Step 2 are worth an hour of shimming in Step 5, and a bench that stands dead still on concrete will stand still anywhere you put it.
Step 5: Finish It for the Weather
Untreated wood outdoors grays, checks, and eventually rots, fastest where water sits and where end grain drinks. A finish slows all of it. The practical choices are an exterior penetrating oil, which is easy to apply and renew without sanding, or an exterior sealer or paint, which lasts longer between coats and changes the look entirely. Apply whatever you choose to every surface, tops and bottoms and especially the end grain of the legs' feet, which are the bench's drinking straws. Two thin coats beat one thick one.
Renewal is part of the deal: an oil finish wants a fresh coat every year or two, an afternoon's light work with the bench in its garden spot, and a painted finish wants attention when it begins to crack and peel. There is no permanent outdoor finish, only maintained ones, and the gardener who accepts that keeps a bench for decades. Skipping finish entirely is also a legitimate choice for cedar, which grays gracefully and rots slowly; just know you have chosen the gray, weathered look on purpose, which many gardens wear beautifully.
Step 6: Site It With Its Feet Dry
Where the bench lives decides how long it lives. Set it on pavers, gravel, or stone, never with its feet standing in soil or mulch, because feet in constant damp rot years before the rest of the bench. The pavers also solve the only-on-this-spot wobble from the table above, giving the bench a flat, stable floor in any garden.
Place it where sitting is best, which is a design decision disguised as a chore: facing the garden's best view, at the end of a path, under the tree that shades the afternoon, or beside the bed you tend most, where a perch multiplies your short rests. A bench facing a wall teaches nobody to sit. A bench facing the sunset over your own work will be used daily, and a used bench justifies every minute of its build. Add the small civilities if you like: a level spot beside it for a mug, a cushion that lives indoors, and a hook nearby for a hat. Then sit down. The garden looks different from bench height, lower and closer, and noticing that difference is the first dividend.
Frequently Asked Questions
How long does this bench take to build?
An afternoon, including cutting, for a first time builder working unhurriedly, and less once the method is familiar. Most of the time is in the careful parts: cutting parts to match, building the two leg frames identically, and squaring the frame with the equal diagonals check. Rushing those steps to save twenty minutes is how a bench acquires a permanent wobble, so let the afternoon be the afternoon.
What wood should I use for an outdoor bench?
Cedar or pressure treated lumber. Cedar is lighter, naturally rot resistant, and finishes beautifully; treated lumber is cheaper, heavier, and extremely durable. Both outlast plain softwood outdoors by years, because the failure point of every bench is the feet and the ground line, where damp sits. Whatever you choose, set the finished bench on pavers or gravel so its feet stay out of standing damp.
How high should a garden bench seat be?
Just under 18 inches suits most adults, low enough for feet to rest flat and high enough to rise from easily, and it is the right height for perching during garden tasks. This build lands at 17.5 inches by arithmetic: 16 inch legs plus the 1.5 inch thickness of the seat boards. If the bench is mainly for a taller household or for dining, an inch taller is reasonable; for a child's garden corner, scale it down.
My bench wobbles. How do I find the cause?
Test it on a flat floor or patio first. If it rocks there, one leg is slightly long or a frame is twisted; sand the long leg's foot down a shaving at a time. If it is steady on concrete and rocks only in the garden, the ground is uneven, and pavers under the feet fix it. Side to side flex is racking: check that every apron and stretcher screw is snug. The diagnosis table in this guide walks each symptom to its fix.
Do I have to apply a finish?
No, but know what you are choosing. Cedar left unfinished weathers to a silvery gray and still lasts for years, which many gardeners prefer. A penetrating exterior oil or sealer slows graying, checking, and rot, especially on end grain and feet, at the cost of renewal every year or two. Paint gives the longest protection and a deliberate color. The only wrong answer is expecting any finish to be permanent; outdoor wood is maintained, not solved.
Can I make the bench longer?
Yes, with one structural condition. The seat boards and aprons span between the leg frames, and past about 5 feet that span grows springy under two people. For a longer bench, add a third leg frame in the center, built identically to the ends, and lengthen the seat boards and long aprons to your measure. Keep the seat height and depth as designed, and use the equal diagonals check on both halves of the longer frame.
Photo credits: Bingqian Li (Pexels); Brett Sayles (Pexels). Photos are served from this site; follow the credit to the library page for the original.