A trellis is the hardest working structure in a small garden. It turns a sprawling cucumber patch into a tidy wall, gives peas and beans the ladder they were born for, holds tomatoes and roses up to the light, and does it all in a strip of ground a few inches wide. It is also, in most gardens, the flimsiest thing standing: a panel leaned against a fence in May and lying across the cucumbers in August, because the build skipped the two steps that matter, matching the panel to the plant's way of climbing, and anchoring the posts like a structure instead of a suggestion.
This guide builds one simple flat panel trellis, start to finish, with the anchoring treated as part of the build rather than an afterthought. Before the build, a short table matches the three ways plants climb to the support each way needs, because the right lattice for a tendril climber is the wrong one for a twining bean. Work through the Trellis Build Checklist on this page as you build; it sequences the job from choosing your climb type to the first training session.
Interactive tool
Trellis Build Checklist
Check off each step as you finish it. Your progress stays on this page.
0 of 6 complete
0% done
First: Match the Trellis to the Climb
Plants climb in three distinct ways, and each way grips a different support. Build for the way your plant climbs and it ascends alone. Build against it and you will spend the summer tying up a plant that cannot hold on.
Climb type
How it climbs
Plants
Support it needs
Tendril
Thin curling tendrils wrap around slim supports
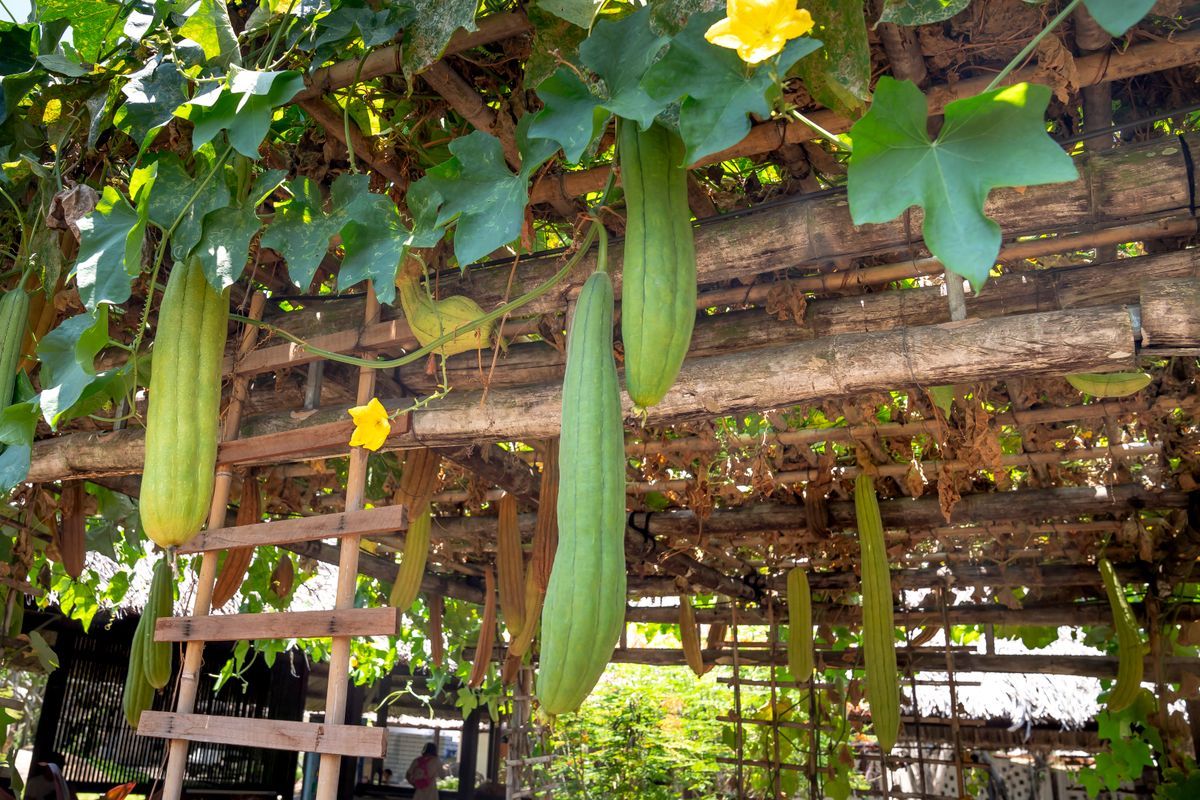
Peas, cucumbers, sweet peas
Mesh, netting, string, or narrow slats the tendrils can encircle
Twining
The whole stem spirals around a support as it grows
Pole beans, morning glory, hops
Poles, canes, or vertical strings with room to spiral
Tie in
Does not climb at all; must be fastened by you
Tomatoes, climbing roses, cucumbers on frames
A sturdy frame, cage, or panel strong enough to tie heavy growth to
The tendril row explains the commonest trellis failure: a beautiful wide slatted lattice that peas and cucumbers cannot grip, because their tendrils evolved to wrap things a few millimeters thick, not a two inch board. For tendril climbers, the panel of this build is wire mesh or netting. For twiners, a simpler frame of poles or strings does the job with less material. For tie in plants, strength is the whole question, because you are not helping a climber; you are building the skeleton a heavy plant will hang from.
The Simple Panel Build: What You Need
This build makes a flat panel about 6 feet tall and 4 to 6 feet wide, sized for a row of cucumbers, peas, or beans along a bed. Adjust the width to your bed; keep the method.
You need two sturdy posts, 4 by 4 lumber or stout 2 by 4s, cut long enough for about 6 feet above ground plus the depth they will be buried; a panel of galvanized wire mesh, welded wire fencing, or a cattle panel section for tendril climbers, or wooden lattice for tie in plants; screws or staples rated for outdoor use to fasten the panel; a post hole digger or spade; a level; and gravel or crushed stone for the post holes if your soil is soft or wet. Cedar and pressure treated lumber are the usual choices for anything touching soil, because untreated softwood rots at the ground line within a few seasons. Buy once, in the right material, and the trellis outlasts the garden plan that inspired it.
Step 1: Choose the Line and Mind the Sun
Set the trellis line along the north edge of the bed it serves, so the wall of vines it grows does not shade the rest of your planting. For a freestanding panel elsewhere in the garden, think about what stands south of it before you dig: a trellis is a shade machine by July, which can be a feature, shading a patio or a lettuce bed, if you place it on purpose. Check the line for level enough ground and for anything buried: know where your utility lines run before any digging, and call your local utility marking service if there is any doubt at all. That call is free and the alternative is not.
Step 2: Set the Posts Like a Fence, Not a Sign
Dig the two post holes at your panel's width apart. Depth is the anchoring decision, and the fence builder's rule of thumb is the guide: about a third of the post's total length goes underground. For a trellis standing 6 feet tall, that means posts around 8 feet long with about 2 feet buried, which is what separates a structure from a decoration, because a vine covered panel in a summer storm is a sail, and sails test anchors.
Set a few inches of gravel in the bottom of each hole for drainage, stand the post in, and check it for plumb with your level on two faces. Backfill in layers, tamping each layer firmly with the end of a spare board or a tamping bar as you go. Loose backfill is the usual failure: the post feels firm on build day and leans by midsummer as the soil settles. Tamp like you mean it. If your soil is very soft or your site very windy, setting the posts in concrete is the honest upgrade, and for a permanent trellis in a beloved bed it is worth it.
Step 3: Attach the Panel
With both posts plumb and firm, fasten the panel between them, its bottom edge a few inches above the soil so the material does not sit in the wet and rot or rust at the ground line, and so you can weed and mulch beneath it. Wire mesh and fencing panels fasten with heavy staples or screws through washers; a cattle panel, which is rigid enough to need no frame, can be wired or screwed to the posts and is the sturdiest version of this build. Lattice fastens with screws at close intervals, because it is weaker and flexes.
Check the panel for square against the posts as you fasten, and sight along it from the end. A panel that starts plumb and square stays handsome; a panel fastened in a hurry looks homemade in the unkind sense all summer. Step back and look at the empty trellis against the sky. This is the garden's new architecture, and it will hold up vines, fruit, and your opinion of your own carpentry for years.
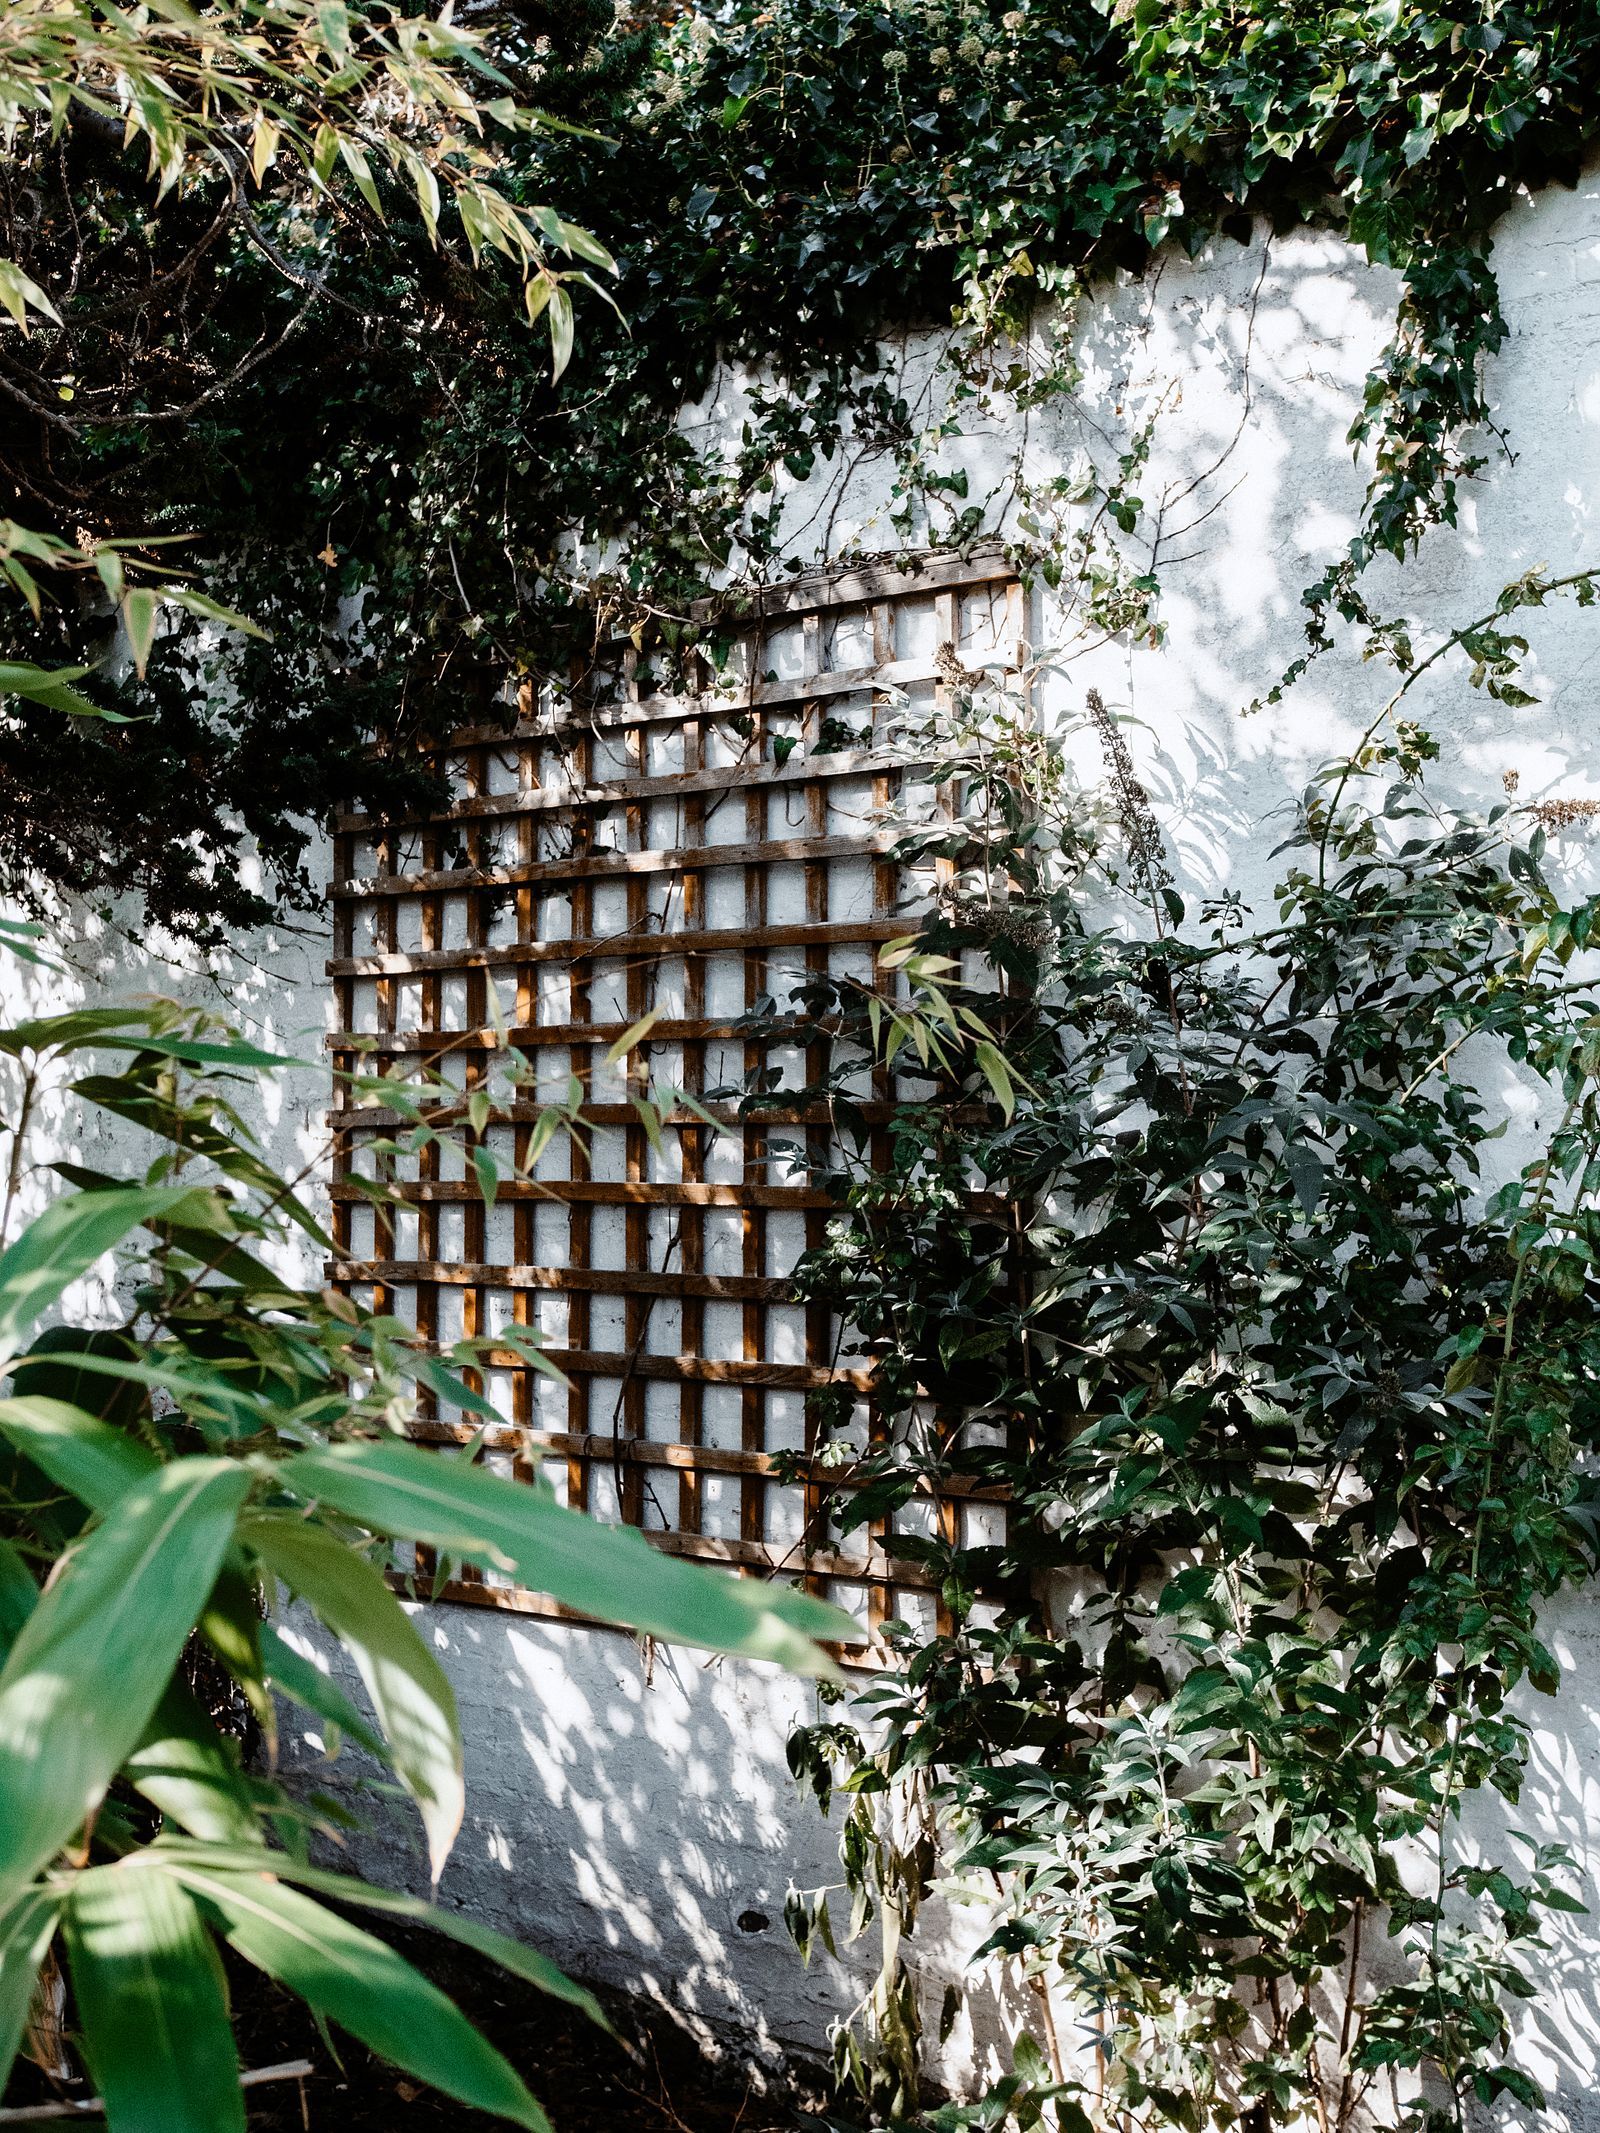
Green foliage climbing over a garden trellis against a white wall, a panel doing its summer work
Step 4: Plant and Train From the First Tendril
Plant or sow at the panel's base on the sunny side, at the spacing the crop's guidance gives: cucumbers at 12 inches along the line, peas and beans in their rows against the mesh or poles. Training begins when the plants are inches tall, not feet. Guide the first tendrils and stems to the mesh with your fingers, tucking them through so the plant's own grip takes over. A tendril that finds the mesh holds on within a day and climbs thereafter without you; a vine that flops on the ground for its first two weeks develops a ground habit and must be lifted and tied repeatedly.
Visit the trellis weekly with soft ties in your pocket. Tie in plants, tomatoes and roses, are your responsibility all season, fastened loosely in figure eights that let stems thicken. Climbers need only redirection: a stem heading for the neighbor's bed gets tucked back through the panel toward home. Five minutes a week is the whole maintenance budget of a well built trellis in season.
Other Designs Worth Knowing
The A frame, two panels hinged at the top and spread like a tent, is the trellis for the middle of a bed: plants climb both faces, and shade tolerant crops grow in the cool interior. The teepee, three or more poles lashed at the top, is the fastest structure in gardening, perfect for pole beans and beloved by children, who fit inside it. Netting strung between two posts or along an existing fence is the lightest solution and the right one for peas, whose season is short and whose weight is modest. All of them obey this build's laws: match the climb, anchor honestly, train early. The panel is taught here because it serves the most crops in the least ground, but the method transfers.
End of Season and Winter
At season's end, clear the dead vines off the panel, because old growth left hanging harbors disease and makes spring planting awkward; gloved hands and pruners make short work of it, and healthy material can be composted while diseased vines are best removed from the garden entirely. Inspect the posts with a firm shake and the fasteners with your eyes. A trellis maintained in five minutes each fall stands for many seasons; one ignored becomes next spring's rebuild. In cold climates, a panel left standing through winter is also a garden's winter architecture, holding the bed's shape and marking the row for the first spring sowing of peas, which will be climbing it before anything else in the garden is awake.
Materials Compared: What Each Panel Is Really Like
Wire mesh and welded wire fencing are the workhorses: cheap, strong, nearly invisible once vines cover them, and grippable by every tendril in the garden. Their weakness is the cut edge, which is sharp; fold it, cap it with a wood strip, or file it where hands will work. A cattle panel is the same idea at heroic strength, rigid enough to span between posts with no frame at all, and it will outlast several generations of posts; it is the panel to choose for a permanent cucumber or grape structure and the hardest to cut to size, so buy it in a dimension you can use whole.
Wooden lattice is the prettiest empty and the weakest loaded, best reserved for tie in plants like roses and clematis, whose weight you control by pruning, and for decorative screens where strength hardly matters. Bamboo and willow panels are light, charming, and temporary, honest choices for a season or two of peas in a rented garden. String and netting trellises, twine woven between a top and bottom rail, suit beans and peas beautifully and compost at season's end with the vines still on them, which is either wasteful or wonderfully efficient depending on your temperament. Choose by the crop's weight and the structure's intended lifespan, and the material decides itself.
Common Failures and Their Fixes
The leaning trellis was under anchored: re dig one side, deepen or tamp properly, and consider concrete for the post that takes the prevailing wind. The trellis the plants ignore was matched to the wrong climb: add mesh or strings over a lattice panel for tendril climbers, and the same plants will ascend within days. The panel that rotted at the base was sitting in the soil; raise the replacement a few inches clear and let air and the hoe pass beneath. The trellis that shaded the bed was planted on the south side in a fit of not thinking; move it to the north edge next season, or plant shade lovers at its feet this one and call it a design. Nearly every trellis failure is one of these four, and all four are cheaper to prevent in the build than to repair in August, which is the entire argument for the checklist on this page.
Frequently Asked Questions
What is the best trellis for cucumbers and peas?
A mesh or netting panel, because both climb by tendrils that wrap slim supports. Galvanized wire mesh, welded wire fencing, or a cattle panel fastened between two well set posts gives tendrils purchase every few inches, and the vines climb unaided once guided to it. Wide wooden lattice is the classic mistake for tendril climbers: the slats are too thick for tendrils to encircle, and the plants must be tied up all season.
How deep should trellis posts be set?
Use the fence builder's rule of thumb: about a third of the post's total length underground. For a panel standing about 6 feet tall, use posts around 8 feet long with roughly 2 feet buried, tamped in layers so the backfill is firm. A vine covered trellis in a storm is a sail, and shallow, loose posts are why trellises lie across the cucumbers in August.
Can I build a trellis without digging posts?
For light, short season crops like peas, netting on stakes pushed into the ground works for a season. For anything heavy, tall, or permanent, tomatoes, cucumbers in full fruit, roses, there is no honest substitute for set posts: the load is a season long pull, not a momentary one. A no dig trellis is a fine experiment and a poor foundation, so match the shortcut to the crop's weight and lifespan.
Which side of the bed should the trellis go on?
The north edge, so the wall of foliage it grows does not shade the rest of the bed. Plants are then sown or set at the base on the sunny side and climb into full light. Elsewhere in the garden, place a trellis with its shade in mind on purpose: it can shelter a patio or cool a lettuce bed in summer, which is a feature when it is planned and a problem when it is discovered.
How do I get plants to start climbing?
Guide them by hand when they are inches tall. Tuck the first tendrils and stems into the mesh so the plant's own grip engages; a tendril that touches its support holds within a day and climbs on its own afterward. Plants left to flop on the ground for their first weeks develop a ground habit and need tying all season. Five minutes of guidance a week, starting early, is the whole secret.
How long will a wooden trellis last?
Years, if it is built from cedar or pressure treated lumber, kept a few inches clear of the soil at its base, and inspected each fall. Untreated softwood rots at the ground line within a few seasons, which is why material choice is the lifespan decision. Clear dead vines each fall, tighten fasteners, and shake the posts: five minutes of annual maintenance is what separates a structure from a recurring project.
Photo credits: Lisa Fotios (Pexels); Quang Nguyen Vinh (Pexels). Photos are served from this site; follow the credit to the library page for the original.