How to Build a Hugelkultur Raised Bed: the Wood List, the Layers, and the Year One Truth
By the Windchime Walker editorial team
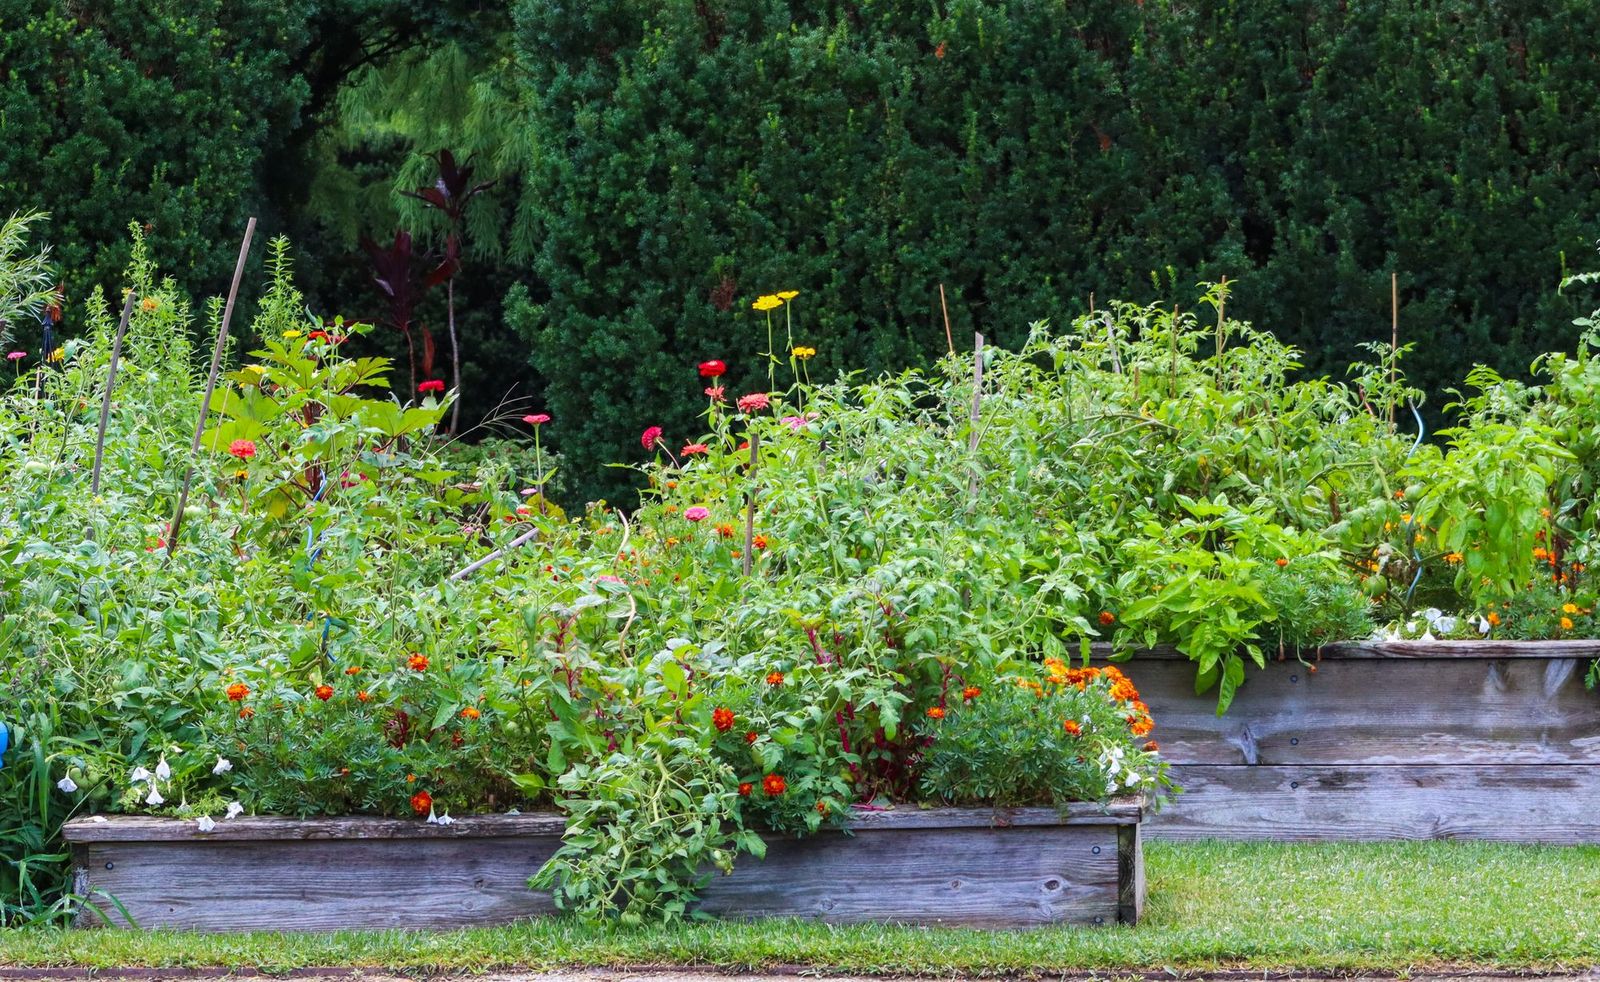
Photo: Karen F / Pexels
Hugelkultur is a raised bed with a buried secret: a core of logs and branches that rots slowly underground, holding water like a sponge, releasing nutrients for years, and warming the bed as it decomposes. The build diagrams make it look like a layer cake anyone can stack in a weekend, and the stacking is indeed simple. What the diagrams skip is judgment: which of the wood in your yard is safe to bury, how thick the layers honestly need to be, what the bed does in its first year while the wood is tying up nitrogen, and where the method quietly fails. This page builds the bed with those calls made out loud. Clemson University's home gardening information center publishes a hugelkultur guide, and the method has a long track record in permaculture practice; what follows is that method with its disagreements flagged rather than smoothed.
Our framed raised bed pages own the lumber and soil volume method. This page owns the mound: the bed you build from the wood the storm left you.
Interactive tool
Hugelkultur Build Checklist
Check off each step as you finish it. Your progress stays on this page.
0 of 8 complete
0% done
Site and Scale: the Starter Bed
Build the first bed at a starter scale: about 4 feet wide and 8 feet long, mounded 2.5 to 3 feet tall at the center. Some builders go to 5 or 6 feet, and the tall mound is the traditional form, but it is also a ladder problem at harvest and a slumping problem in year one, so earn the tall bed with a short one first. Site it in full sun for vegetables, on contour if the ground slopes, so the mound catches water rather than shedding it, and within reach of water for the first season, because a new hugelkultur bed is not yet the drought proof system it becomes. Expect the mound to settle and slump noticeably in the first year, a third of its height is not unusual, as the wood begins to rot and the layers compact; build a little proud and top up the cap in fall rather than being surprised. The bed can be built directly on the ground, over grass stripped or smothered first, or in a shallow trench where the climate is dry and every inch of water retention counts.
The Wood List: Welcome, and Banned
The core is wood, and the species list is the most consequential decision in the build. Welcome: alder, apple and other fruit woods, birch, cottonwood, maple, oak, poplar, willow, and most other deciduous woods, in logs and branches of every size, the largest at the bottom. Hardwoods like oak rot slowly and feed the bed for many years; soft fast woods like poplar and willow rot quickly and give an early boost. A mix is ideal. Banned: black walnut, whose juglone poisons many vegetables and persists in the wood; black locust and cedar and redwood, which resist rot so stubbornly that the core never becomes the sponge the method promises, black locust being a fine fence post and a useless hugelkultur core; and any treated, painted, or creosoted lumber, whose chemistry has no place under food. Fresh wood is usable, aged wood is better, and partially rotted wood is best of all, because the bed's engine is rot and a head start is free performance. One more sourcing rule: know where the wood grew. A tree that died of disease is firewood, not bed core.
The Layers, With the Thickness Disagreement Flagged
From the bottom: the log core, the largest wood laid tight along the bed's length, gaps stuffed with smaller branches and sticks, so the core is as solid as you can make it. Soak the wood before or as you build, with a hose run over the pile or a day of building in the rain, because dry logs in a dry bed can take a season to wet through, and the sponge cannot start empty. The greens layer: a nitrogen rich layer over the wood, fresh grass clippings, green leaves, manure, compost in progress, several inches of it, because the rotting wood will consume nitrogen and this layer is the first payment. The fine carbon layer: smaller sticks, straw, dry leaves, the brush fraction. The cap: soil and compost over everything, thick enough to plant in, and here the sources disagree honestly: many builds specify 6 to 8 inches of topsoil over the mound, while the Farmers' Almanac build runs thinner, 3 to 4 inches of compost plus 1 to 2 inches of topsoil. The working reading is that the cap must cover the wood completely with plantable depth, 4 inches is a floor and 6 is comfortable, and a thin cap over a steep mound erodes to exposed sticks by midsummer. Mulch the whole mound, straw or shredded leaves, both to hold the cap on the slope and to hold moisture. The trench question splits the same way: digging the core into a 12 to 18 inch trench is the Almanac's optional water banking move in dry country, while surface builds on level ground skip it; choose by your rainfall, not by dogma.
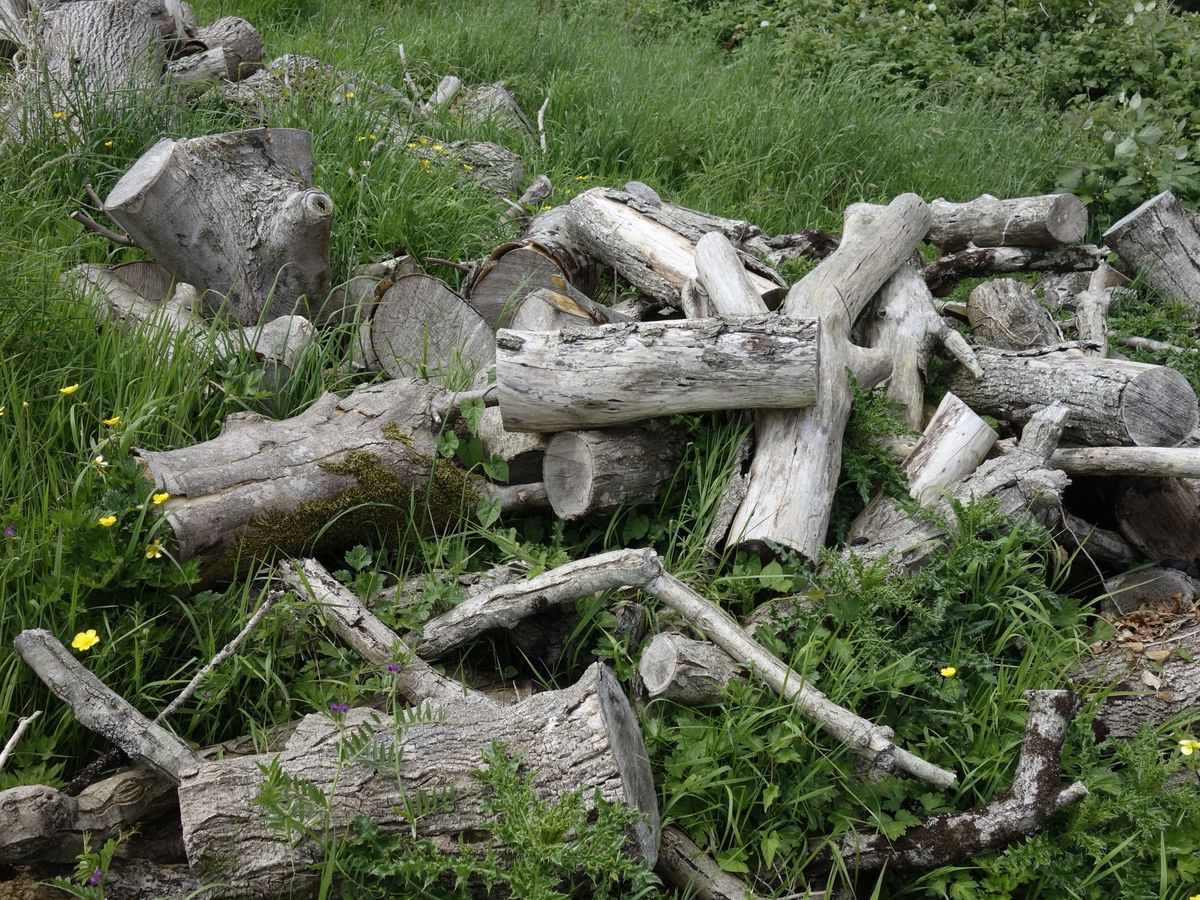
Cut logs ready to become the core of a hugelkultur bed
Year One: the Truth, and the Planting Plan That Works With It
Here is what the enthusiastic diagrams underplay: in year one, a hugelkultur bed usually underperforms a plain raised bed. The fresh wood's rot is consuming nitrogen faster than the greens layer pays it back, the mound is settling and shifting, and the water sponge is not yet charged. Gardeners who plant their prize tomatoes in a new hugel bed and judge the method by August are judging an construction site. The planting plan that works with year one instead of against it: plant legumes and light feeders, beans and peas that fix their own nitrogen, greens, and herbs; plant the heavy feeders in your other beds for one season; and water the new bed like a normal bed, because the drought resistance is a year three property, not a year one promise. Feed the surface with compost in fall as you top up the settled cap. From year two the bed wakes up, and by year three the classic results arrive: a bed that goes weeks between waterings in summer, warms early in spring, and grows with a steadiness that makes the first year's patience look wise. The realistic lifespan of the core is 5 to 10 years of strong effect depending on the wood, after which the mound is simply a very good, deep, rich bed, which is not a failure state.
Where Hugelkultur Fails, Said Plainly
The method has honest limits. In dry climates without any irrigation, a mound sheds as much water as it banks and the trench build plus heavy mulch is mandatory, not optional. In very small gardens, the footprint and the settling make a framed bed the better tool. Wood of unknown origin, city storm wood that may be treated or diseased, is a risk the method cannot inspect away. And a bed built against a house foundation or a wooden fence invites the rot and the termites to commute; give the mound air and distance from structures. None of this cancels the method; it locates it. A gardener with free deciduous wood, a sunny slope or flat, and a three year horizon is exactly who hugelkultur was invented for. The checklist below sequences the build from wood pile to first planting.
Sourcing the Wood and Building in a Day
The build is a materials problem before it is a construction project, and the gardeners who finish in a day are the ones who staged everything first. The wood comes from the places wood accumulates: your own prunings and storm fall, a neighbor's tree work, the municipal brush pile, a tree service that will drop unsplit logs for free rather than pay to dump them. Ask the tree service one question, what species, because the banned list in the wood section applies to free wood exactly as to bought wood, and black walnut logs are as poisonous at no charge as at any price. Estimate volume generously: the core of a 4 by 8 bed at a foot and a half deep is roughly 40 cubic feet of wood before settling, which is more of the pile than intuition suggests, and running out mid build leaves a mound half capped and eroding. Stage the layers in order around the site, logs, branches, greens, cap soil, mulch, and build in sequence without moving anything twice. The work itself is honest labor: an afternoon for a starter bed with the materials staged, a weekend if the wood must be cut and hauled. Water each layer as you go if the weather is dry, and finish with the mulch and a long soak, because a hugelkultur bed is best born wet.
Frequently Asked Questions
What wood should not go in a hugelkultur bed?
Black walnut, whose juglone poisons many vegetables; black locust, cedar, and redwood, which resist rot so well the core never becomes a sponge; and any treated, painted, or creosoted wood. Welcome woods are the deciduous list: alder, apple, birch, cottonwood, maple, oak, poplar, and willow, with partially rotted wood the best of all.
How big should a first hugelkultur bed be?
About 4 feet wide, 8 feet long, and 2.5 to 3 feet tall at the center. Taller traditional mounds of 5 to 6 feet exist, but they complicate harvest and slump hard in year one. Expect the starter bed to settle by roughly a third of its height in the first year and top up the soil cap in fall.
Why is my new hugelkultur bed growing poorly?
Probably year one nitrogen tie up, which is normal: fresh rotting wood consumes nitrogen faster than the bed repays it. Plant legumes and light feeders the first year, keep the heavy feeders in other beds, water normally, and add compost in fall. The bed typically wakes in year two and hits its stride, including real drought resistance, by year three.
Do I need to dig a trench for hugelkultur?
It is optional and climate decides. Trench builds, setting the log core 12 to 18 inches into the ground, bank water in dry regions. On level ground with decent rainfall, a surface build over stripped or smothered grass works fine. Choose by your rainfall rather than by the most dramatic diagram.
How long does a hugelkultur bed last?
The wood core's strong effect runs about 5 to 10 years depending on the species, hardwoods longest. After the core is fully rotted, what remains is a deep, rich, well structured bed that keeps performing as ordinary excellent soil. The mound can be rebuilt on the same footprint when it finally flattens.
Photo credits: Karen F (Pexels); Marian Florinel Condruz (Pexels). Photos are served from this site; follow the credit to the library page for the original.