How to Build a Raised Bed From Pallets: The HT Stamp Build
By the Windchime Walker editorial team
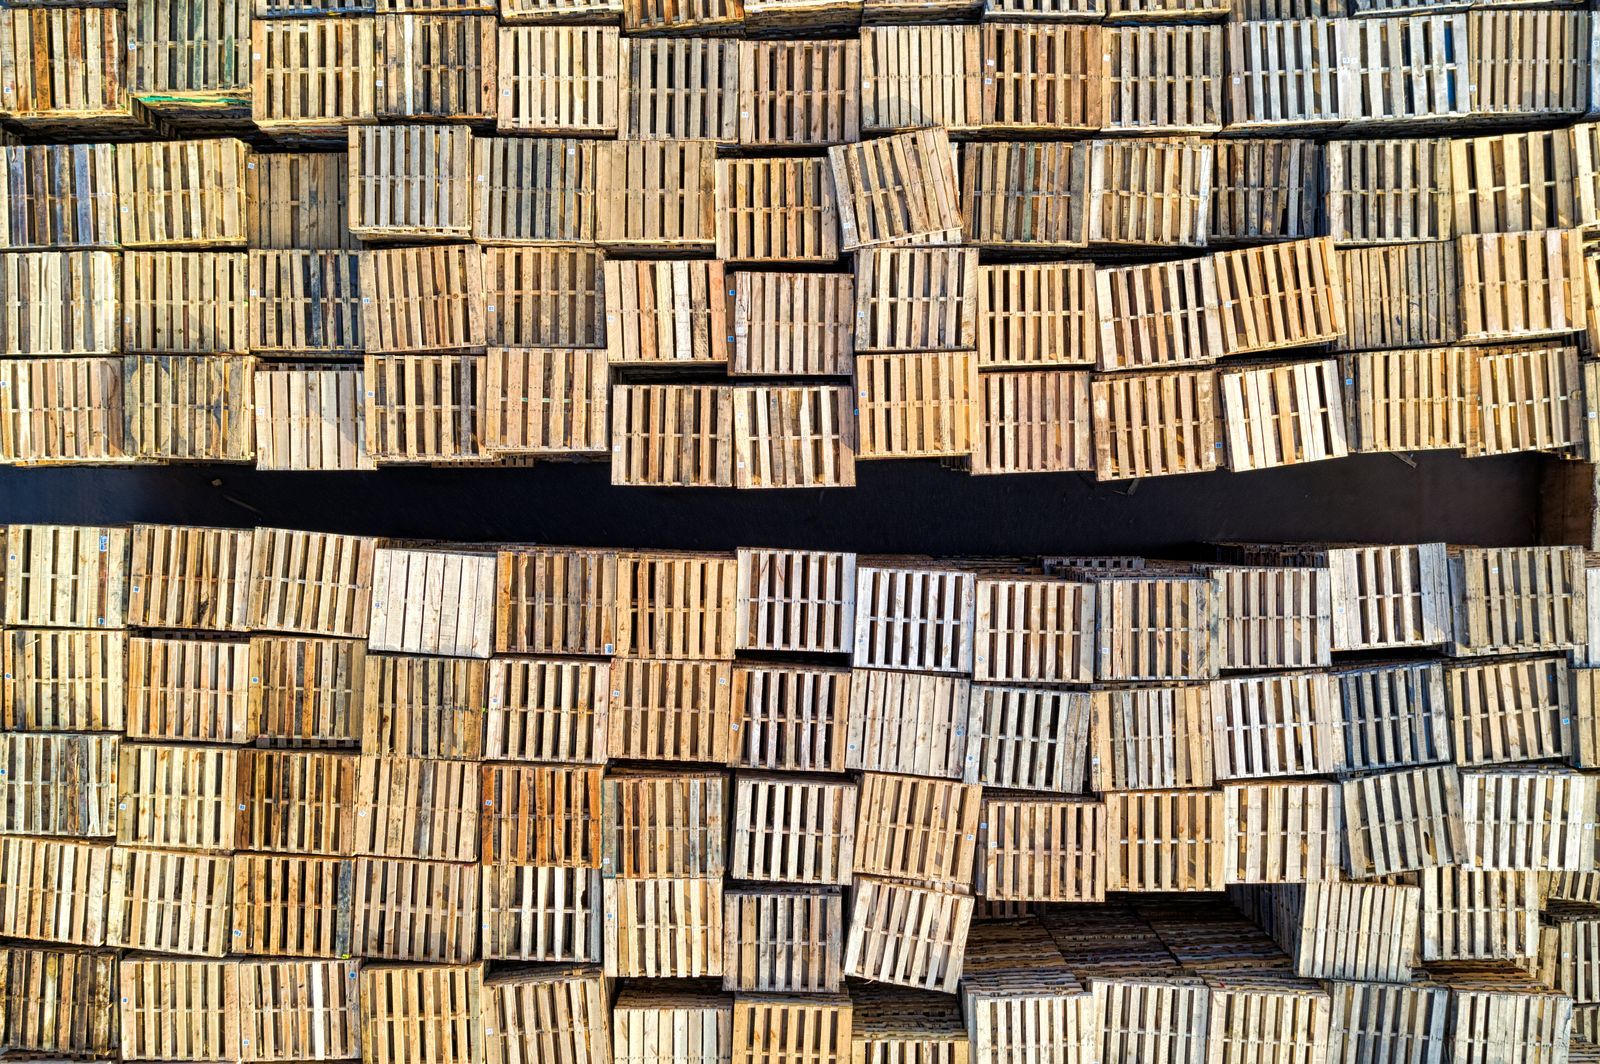
Photo: Tom Fisk / Pexels
A raised bed built from pallets can cost almost nothing, which is exactly why it deserves more care at the choosing stage than at the building stage. The wood is free or nearly so, stacked behind warehouses and garden centers across the country, and most of it is perfectly good softwood that a pallet builder used once and industry discarded. Some of it, though, is treated with chemicals you do not want anywhere near food soil, and the difference between the two kinds is printed on the pallet itself, in a stamp you can read in five seconds. This guide starts with that stamp, because it is the whole safety question in one glance, and then builds the bed: a 4 by 8 foot framed box from dismantled pallet boards, lined with fabric, filled, and ready to plant.
Set expectations honestly before the build. Pallet wood is untreated or heat treated softwood, thinner and rougher than lumberyard boards, and a pallet bed gives you a few good seasons rather than the decade a cedar bed promises. For a renter, a first garden, a trial bed, or a household testing whether gardening sticks, a few seasons at no cost is the correct trade. The bed that teaches you gardening for free has done its work even if its successor is built of better wood.
The Pallet Raised Bed Checklist on this page follows the build from stamp check to first planting. The checklist's first box is the one that matters most, and it is checked at the pallet stack, not at home.
Interactive tool
Pallet Raised Bed Checklist
Check off each step as you finish it. Your progress stays on this page.
0 of 7 complete
0% done
Step 1: Read the Stamp, and Refuse the Wrong Pallets
Every pallet that has traveled internationally carries a treatment stamp, usually on a side block or stringer, marked with a wheat sheaf logo and a two letter treatment code. The code you want is HT, which means the wood was heat treated, heated until pests in it died, with nothing chemical added. That wood is safe for a garden bed. The code you must refuse is MB, which means methyl bromide, a fumigant pesticide, and a pallet stamped MB does not come home with you, however clean it looks and however free it is. Methyl bromide pallets are uncommon in domestic circulation these days, but uncommon is not absent, and the stamp check takes seconds.
Two more refusals apply regardless of stamps. Skip any pallet that is stained with oil or chemicals, smells of anything but wood, or shows spills you cannot identify; a pallet's working life involves cargo you know nothing about, and a stained deck board has been soaking in some of it. And skip pallets with no stamp and a colored tint to the wood, blue, green, or pink dyes sometimes mark chemically treated or company owned pallets. Plain, dry, HT stamped, unstained: that is the whole shopping list. Ask before taking, too. Pallets behind a business are usually waste they are glad to see hauled, but they are still theirs until someone says yes.
Plan on gathering more pallets than the bed seems to need. A standard American pallet is 48 by 40 inches, and its deck boards are the lumber of this build; you will break some boards in dismantling, reject some as split or nail riddled, and want spares. Six to eight sound pallets yield a comfortable surplus for one bed.
Step 2: Dismantle Without Destroying the Boards
Pallet boards are nailed down with spiral or ring shank nails designed never to come out, and prying carelessly splits more boards than it saves. Work a pry bar or a pallet buster under each board end, lifting a little at each nail rather than levering one spot until the board cracks, and tap boards from beneath with a hammer and a block of scrap wood to start them moving. Cut the nails that will not yield with a reciprocating saw between board and stringer if you have one; it is the fastest road to intact boards. Wear gloves. Pallet wood is splintery and its nails are rusty, and this is the step of the build where injuries live.
Sort the harvest as you go: long sound boards for the bed's sides, shorter pieces for ends and corner posts, and the thick stringers, the 2 by 4 rails the deck boards were nailed to, are gold: they become the bed's corner posts and frame. Pull or clip protruding nails from every board you keep, and give each board a quick pass with a sander or a coarse sanding block on the faces that hands and soil will touch. The bed does not need furniture finish. It needs to not bite.
Step 3: Build the Frame, 4 by 8 Feet, Two or Three Boards High
Cut four corner posts from the stringers, each as tall as your bed will be deep: two deck boards high gives roughly 11 inches of depth, three boards roughly 16, and 11 to 12 inches of soil is plenty for vegetables over decent ground, so two boards high is the standard build and three is for gardeners who want depth over poor soil. Lay the long side boards, 8 feet of them made by joining boards end to end against the posts where lengths fall short, since pallet boards rarely run 8 feet, and screw them to the posts with exterior screws, two per board end. Pallet boards vary in width and thickness in a way lumberyard wood does not; embrace it by keeping the top edges level and letting the bottom edge follow the ground, or shim the frame level on its site and let the rustic show.
Build the frame where it will live if you can, because a finished 4 by 8 frame is an awkward carry. Square it by measuring the diagonals and shifting until they match. Set it on ground you have cleared of grass and leveled roughly, and check the top with a level or by eye down its length. A bed does not need to be perfectly level, but a visibly tilted one will shed its soil and water to the low end all season, so the few minutes with a spade and a level are well spent.
Join boards tightly enough to hold soil but without chasing a seal: small gaps between pallet boards drain freely, which the plants appreciate, and the liner in the next step keeps the soil itself from washing out through them.
Step 4: Line With Landscape Fabric, Never Solid Plastic
Line the inside of the frame with landscape fabric, stapled along the top inside edge and pressed into the corners, covering the sides and the bottom. The fabric does three jobs: it stops soil migrating out through the gaps between boards, it keeps the soil from direct contact with the wood, which slows the wood's rotting by a season or more, and it lets water drain through freely. Solid plastic sheeting is the tempting substitute and the wrong one: it traps water against the wood, rots the bed from the inside, and waterlogs the soil. Fabric breathes. Plastic sweats. Choose fabric.
Leave the bottom of the bed open to the ground beneath the fabric, so roots can grow down into the native soil as the bed matures and worms can commute between the two worlds. Over grass, a layer of plain cardboard under the fabric smothers the turf, which rots down and feeds the bed's first season. Over a patio or truly bad ground, the same build works with a fabric bottom and a few extra inches of depth, a sealed garden in a salvaged frame.
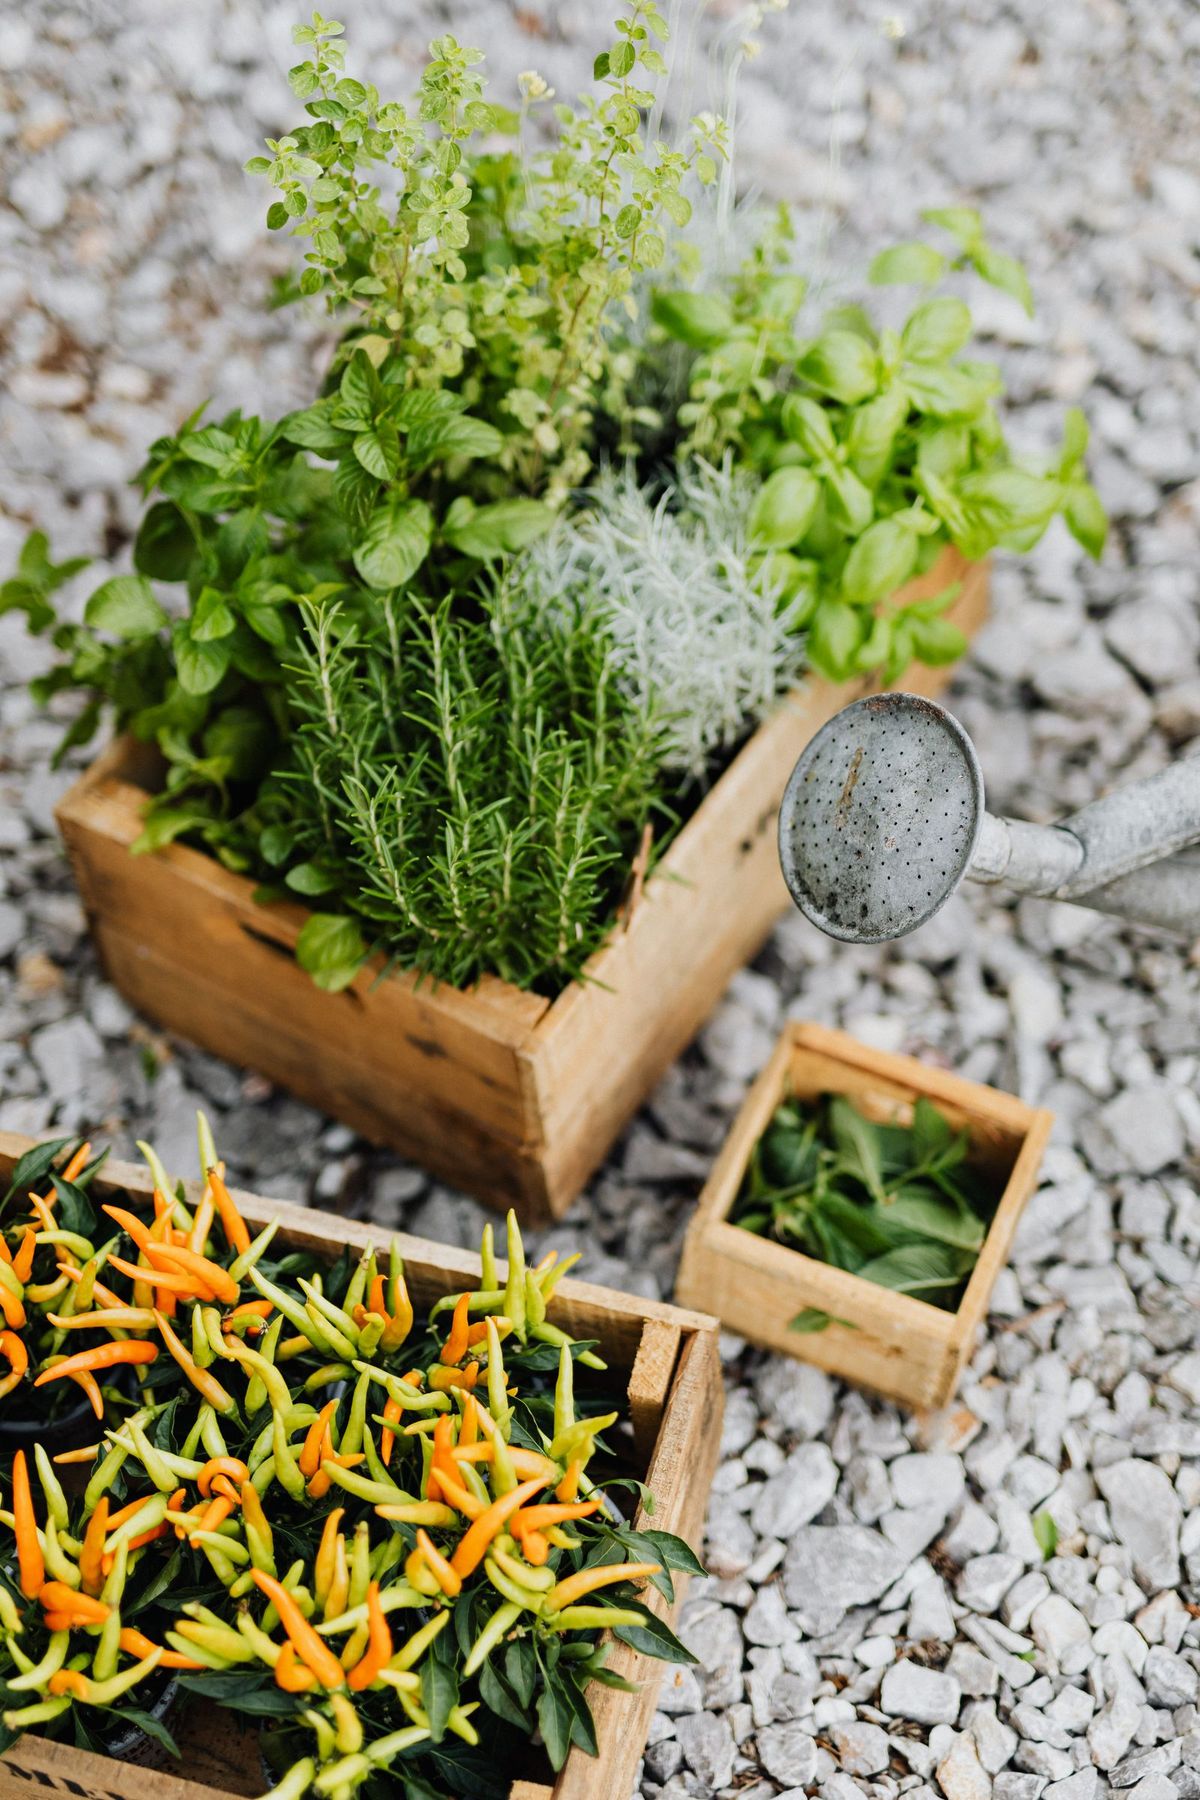
Fresh herbs and peppers growing in wooden crates on gravel
The Alternative Build: Whole Pallets as the Bed Itself
There is a second pallet bed that skips dismantling entirely, and it suits a particular gardener perfectly: the one with pallets, a slope or a patio, and no appetite for pry bars. In this build, whole pallets stand as the walls. Two or four pallets on edge, wired or screwed together at the corners, form a hollow square; lined inside with landscape fabric stapled to the slats, the cavity between the pallet faces fills with soil, and the bed is planted. The pallet faces themselves, their slats running horizontally, become planting pockets as well: tuck soil and small plants, herbs, strawberries, lettuce, into the gaps between slats on the sunny faces, and the wall of the bed grows food on its outside while the top grows it inside.
The whole pallet build is faster than the dismantled one by hours and weaker in the same measure: the cavity's soil presses outward on slats never meant to hold it, so keep these beds modest in height, one pallet tall, and expect to rewire and patch as seasons pass. Drainage is generous to a fault, so in hot climates the fabric liner earns a second layer or the bed wants watering more often than its framed cousin. But as a first bed, a renter's bed, or a strawberry wall behind the garage, it is unbeatable value for an afternoon: no boards to break, no nails to pull, and a structure that disassembles with wire cutters when the garden moves or the gardener graduates to lumber.
Whichever build you choose, the stamp rule does not change. HT pallets only, nothing stained, nothing marked MB. The safety of the bed is decided at the stack, before the first tool comes out.
Step 5: Fill, Water, and Plant
Fill the bed with a mix of topsoil and compost, roughly two parts soil to one part compost by volume, and expect the fill to be the real cost of the project even when the wood was free. Fill in layers, watering each layer to settle it, and mound the last layer slightly above the frame, because a new bed settles several inches in its first weeks as air pockets collapse and organic matter begins its slow compaction. Plant after the settling watering, or plant and top up around the seedlings a fortnight later; either way, do not be surprised by the sinking, which is physics, not failure.
Then garden. The pallet bed grows exactly what any raised bed grows, at the spacings any raised bed uses, watered about an inch a week like the rest of the garden. Its biography differs only at the end: in a few seasons, when a board softens and a corner post gives under a firm push, the bed has repaid its cost many times over in harvests, and its boards retire to the compost area while its soil, now excellent, becomes the site of the next bed. That is not a flaw in the design. That is the design, a bed built from the waste stream, returning to it, having fed people in between.
Frequently Asked Questions
Are pallet raised beds safe for growing food?
Yes, if you choose the right pallets. Use only pallets stamped HT, meaning heat treated with no chemicals added, and refuse any pallet stamped MB, which was fumigated with methyl bromide. Also refuse pallets that are stained, oily, or chemical smelling, and unmarked pallets with dyed wood. A plain, dry, HT stamped pallet is simply softwood that was baked for pest control, and it is safe around food soil.
How long does a pallet raised bed last?
A few seasons, typically, rather than the decade of a cedar or composite bed. Pallet boards are thin softwood in constant contact with moist soil. Lining the inside with landscape fabric, which keeps soil off the wood and lets water drain, extends the life meaningfully. For renters, first gardens, and trial beds, a few free seasons is the right trade; the soil you build in it outlives the frame and carries into the next bed.
What size bed can I build from pallets?
A 4 by 8 foot bed, two or three boards deep, is the standard build and reachable from both sides. Standard pallets are 48 by 40 inches, and their boards rarely run a full 8 feet, so long sides are made by joining boards end to end at the corner posts, which are cut from the pallets' thick stringers. Plan on six to eight sound pallets to allow for boards lost in dismantling.
Should I line a pallet bed with plastic?
No. Line it with landscape fabric, never solid plastic. Fabric holds soil in, keeps soil off the wood, and lets water drain through; plastic traps water against the wood, rots the bed from the inside, and waterlogs the roots. Staple the fabric inside the frame, leave the bottom open over soil so roots and worms can pass, and lay cardboard under it over grass to smother the turf.
How do I get pallet boards off without splitting them?
Work a pry bar or pallet buster under each board end and lift a little at each nail in turn, rather than levering one point until the wood cracks; pallet nails are spiral shanked and designed to resist. Tapping boards from below with a hammer and scrap block starts them moving, and a reciprocating saw run between board and stringer cuts stubborn nails cleanly. Wear gloves throughout: the wood is splintery and the nails are rusty.
Photo credits: Tom Fisk (Pexels); Kaboompics (Pexels). Photos are served from this site; follow the credit to the library page for the original.