A raised bed on flat ground is a box. A raised bed on a slope is a retaining problem wearing a box's clothes, and the builds that fail are the ones that ignore the second fact: a bed tipped along a hillside waters unevenly, sheds its soil at the downhill corner, and slowly walks itself apart as the downhill wall carries load it was never anchored for. The good news is that slopes come in sizes, and each size has a build that handles it. Our how-to-build-a-raised-bed-on-concrete owns the other hard site, the slab. This page owns the slope, and it starts with the only measurement that matters.
Home / Garden Projects and Outdoor Living
How to Build a Raised Bed on a Slope: Measure the Drop First
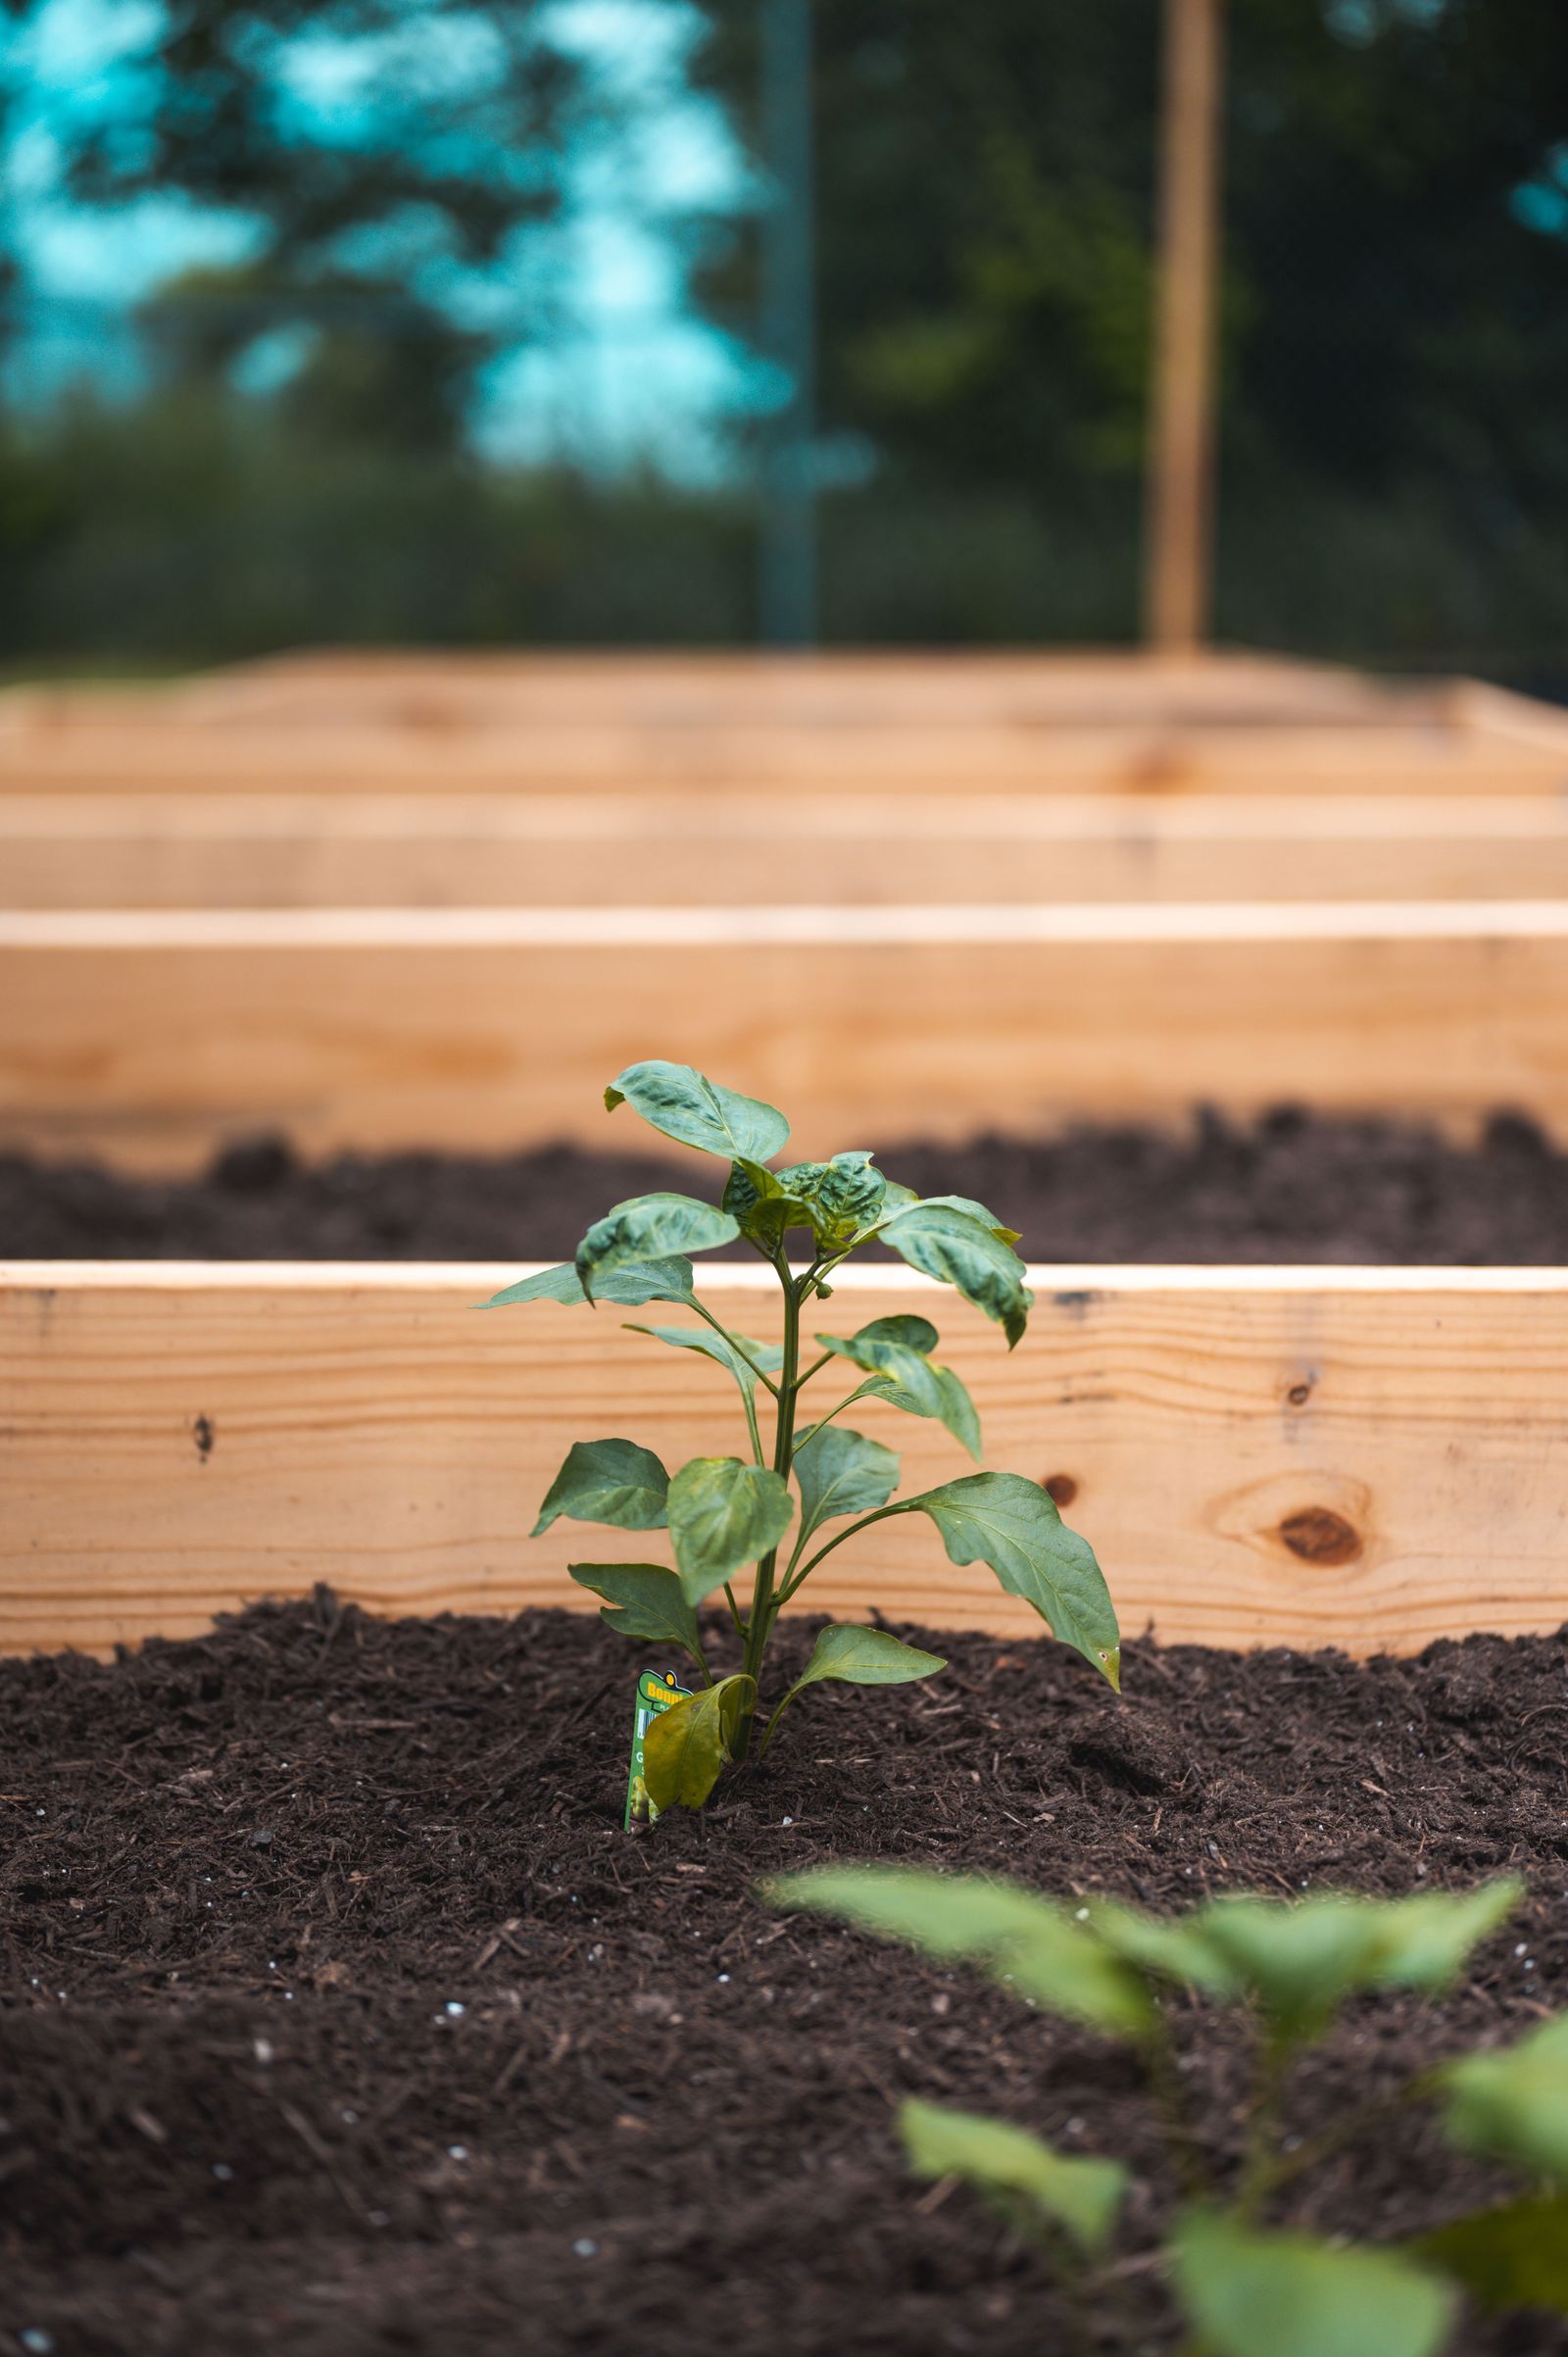
Photo: Alfo Medeiros / Pexels
Interactive tool
Raised Bed on a Slope Checklist
Check off each step as you finish it. Your progress stays on this page.
0 of 8 complete
0% done
Step One: Measure the Drop, in Inches
Forget slope degrees and percentages; the number that chooses your build is the drop in inches across the exact footprint of the bed. Stretch a string line from the uphill edge to the downhill edge of the planned bed, level it with a line level or a long level on a straight board, and measure from the string down to the ground at the low side. That figure is your drop. A drop of 6 inches or less across the bed is the dig in case. A drop between about 6 and 18 inches is the tall wall case. A drop beyond that, across a standard 4 foot wide bed, is a terrace case, because a single wall that tall, holding that much wet soil, is a retaining wall and should be built and anchored like one. Measure before you buy lumber, because the drop decides the board sizes, and measure the footprint you actually intend: moving a bed 2 feet sideways on a hillside can halve its drop, and the cheapest slope fix in gardening is choosing the least sloped rectangle on the hill.
Orientation: Along the Contour, Always
Whichever build you choose, the bed runs along the contour of the slope, its long side running across the hill, never up and down it. A bed pointed downhill is a chute: irrigation and rain run down its length, eroding the low end, starving the high end, and carrying your soil out the bottom corner. A bed across the slope presents a level top edge to the whole hill, holds water evenly, and turns the slope into a series of flat planting shelves, which is the entire idea of a terrace. The top edge being level is not aesthetics; it is hydraulics. Water in an unlevel bed pools at the low end, so one end of your crop drowns while the other end, inches higher and a few feet away, goes dry in the same watering. Check the top edge with a level at every stage of the build and again after the first heavy rain, because settling is real and a bed corrected early stays corrected.

The Dig In Build: Drops Up to About 6 Inches
For a small drop, level the footprint itself. Cut soil from the high side of the rectangle and move it to the low side, tamping the fill in layers, until the whole footprint is flat; you are benching the bed into the hill. Set the frame on that bench, check the top edge for level, and you have the simplest sloped bed there is, with one caution: the cut face on the uphill side will shed soil and water into your bed during storms, so leave a shallow drainage channel, a swale a few inches deep, along the uphill edge to carry surface water around the bed instead of through it. This build costs nothing but digging, suits any standard frame, and is the right answer for most garden slopes, which are gentler than they look once you measure them. If your measured drop came in under 6 inches, stop here; the elaborate builds below are for hills that need them.
The Tall Wall Build: Drops From 6 to 18 Inches
When the drop is too big to bench away comfortably, keep the footprint roughly as it lies and build the downhill side taller. The uphill wall of the bed may be a single board, partly buried, while the downhill wall stacks boards to whatever height brings its top level with the uphill side. Three structural rules make this build last. Anchor it: drive rebar or long stakes through the downhill wall's boards into firm ground every few feet, and use proper corner posts, because the downhill wall carries the full lateral push of wet soil and an unanchored one bows outward a little more every winter. Drain behind height: any wall holding back more than about a foot of soil gets a layer of gravel at its base on the inside, so water percolating through the bed escapes instead of ponding against the boards and rotting them while adding its weight to the load. And step the boards, not the soil: the inside of the bed can be filled level to the top in one plane, because the soil does not care that the downhill wall is taller; only the frame does the terracing. Landscape timbers, stacked and pinned with rebar, are the classic material here, and they suit the build because each course can be leveled as it goes.
The Terrace Build: Drops Beyond 18 Inches
Past about 18 inches of drop across one bed, split the problem: two or more shorter beds, each on its own benched or tall walled footprint, stepped down the hill with a path or a strip of ground cover between them. Terracing converts a retaining problem into several ordinary beds, each level, each watered evenly, each reachable without climbing. Build from the bottom up, setting the lowest bed first, because each higher bed's drainage and footing are judged against the finished bed below it. The steps between beds need the same respect as the beds: a gravel or mulched path strip, wide enough to stand and kneel on, because you will garden these beds from the downhill side for years. On a genuinely steep site, this is also where honesty belongs: a hillside that needs a real engineered retaining wall, drainage pipe, and permits is a landscaping project, not a weekend bed build, and the terrace of modest beds below such a wall is the garden that belongs under it.
Filling, Watering, and the First Rain
Fill a sloped bed in layers, watering each layer in to settle it, and expect to top up after the first heavy rain as the fill consolidates, especially on the tall wall build where the deep end holds a great deal of soil. That first storm is the inspection: watch where the water goes. It should pond briefly and evenly across the level surface and disappear downward; if it streams to one corner, the top edge is not level or the fill has settled unevenly, and both are easy corrections in week one and miserable ones in year two. Drip irrigation suits sloped beds particularly well, because it delivers water at the surface the level top edge distributes, while a sprinkler on a slope mostly waters the downhill neighbor. Mulch the surface to stop rain impact from moving soil toward the low side. Then plant it like the flat bed it now is, because that was the point of all of it: the slope is still there, under the frame, but the plants will never know.
Frequently Asked Questions
How much slope is too much for a raised bed?
Measure the drop in inches across the bed's footprint. Up to about 6 inches, dig in and level the footprint. From 6 to 18 inches, build a taller anchored downhill wall. Beyond about 18 inches across a standard bed, terrace: split the slope into two or more shorter beds stepped down the hill. A site needing more than that needs a real retaining structure, and the honest move is to build the wall as a landscaping project and garden in terraced beds below or above it, rather than asking a garden frame to do a retaining wall's job.
Should a raised bed run up and down a slope or across it?
Across it, along the contour, always. A bed running up and down the slope channels water down its length, eroding the low end, starving the high end, and carrying soil out of the bottom. A bed across the slope has a level top edge that holds water evenly across the whole planting surface. The level top edge is the non negotiable of the whole build, because an unlevel bed waters like two different gardens sharing one frame.
How do I keep the downhill side of the bed from bowing out?
Anchor it and drain it. Drive rebar or long stakes through the downhill wall into firm ground every few feet, use solid corner posts, and for any wall holding more than about a foot of soil, lay gravel at the base inside the bed so water escapes instead of ponding against the boards. Wet soil is heavy, and its lateral push is constant; the bow happens slowly, a fraction each winter, which is why anchoring at build time, when it costs minutes, beats straightening a loaded wall later, which costs a rebuild.
Can I just level the soil inside an unlevel bed?
No. Soil filled level inside a tipped frame gives you a level surface for a week; the frame is still carrying the slope's loads wrong, water still migrates through the fill toward the low side underground, and the surface settles back toward the slope with every rain. Level the frame, its top edge checked with a level, and the soil will stay where the frame puts it. The exception that works is the dig in build for small drops, where the footprint itself is benched flat before the frame goes on, which is leveling the ground, not the fill.
What should I plant in a sloped raised bed?
Anything you would plant in a flat bed, because a correctly built sloped bed is a flat bed. Two slope specific notes: the uphill edge of the bed, against the cut face, can stay slightly cooler and moister, suiting greens and herbs that appreciate it; and tall crops like corn and tomatoes belong where their stakes can be driven into firm ground and where they will not shade the bed below them on the terrace. Otherwise, plant by the usual rules of sun, spacing, and succession, and let the frame worry about the hill.
Photo credits: Alfo Medeiros (Pexels); Nadin Sh (Pexels). Photos are served from this site; follow the credit to the library page for the original.