A cinder block raised bed is the permanent answer to the lumber question: no rot, no carpentry, no replacing boards in year seven, and a build that is really just disciplined stacking. The standard unit is the 8 by 8 by 16 inch concrete masonry unit, about 35 pounds each, and the bed is dry stacked, no mortar: two courses give you a 16 inch tall bed, with the second course staggered by half a block so the joints never line up. What the photo tutorials skip are the two things that decide whether the bed lasts. The first is the base: a dry stack telegraphs every base error upward, so the excavated, compacted foundation and the level first course are the build, and the stacking is the easy part. The second is the question every food grower asks before building, whether the blocks are safe around vegetables, and this page answers it from University of Maryland Extension material rather than from forum folklore. Work the count before you order the pallet, level like it matters, and the bed will outlast the garden around it.
Home / Garden Projects and Outdoor Living
How to Build a Raised Bed With Cinder Blocks: The Dry Stack System
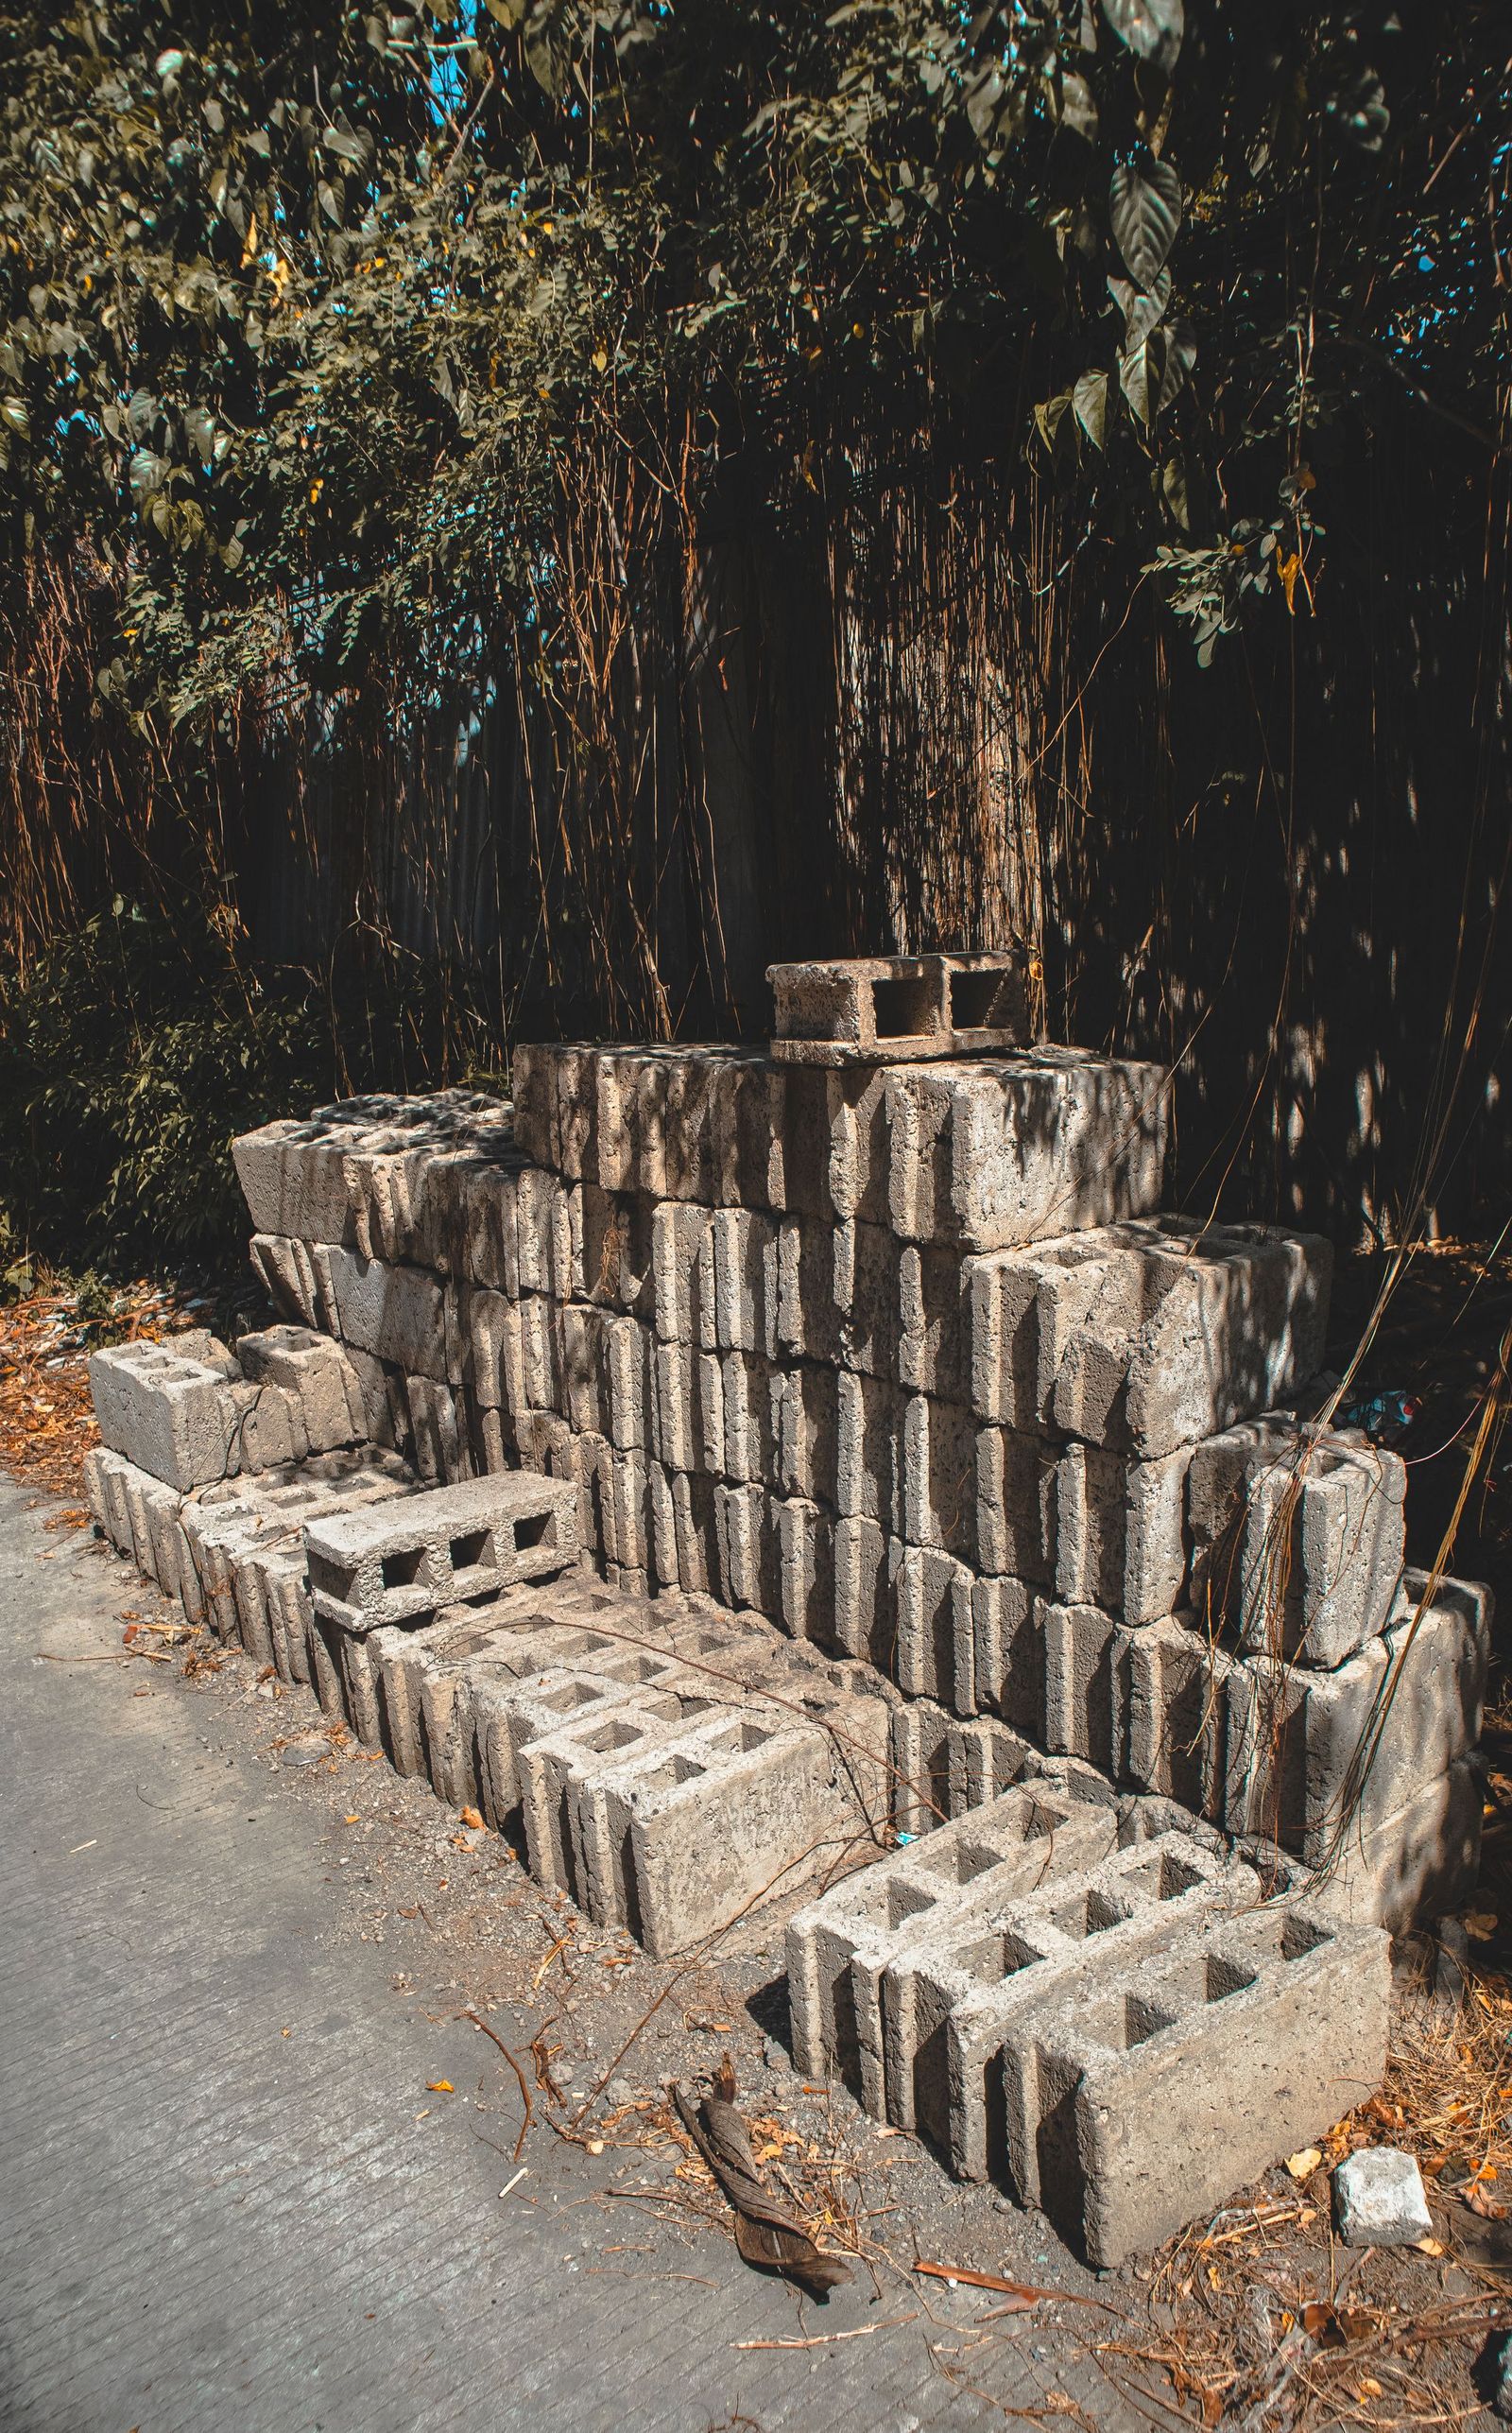
Photo: Nothing Ahead / Pexels
Cinder Block Raised Bed Checklist
Check off each step as you finish it. Your progress stays on this page.
0 of 8 complete
0% done
The Count, Worked Before the Pallet
Blocks are cheap and heavy, which means the mistake is ordering by guess and making three trips, or paying to haul away the surplus. Work the count from the design. One worked example in the guides runs 36 blocks plus caps for a 4 by 8 foot bed at two courses; a smaller example runs 20 blocks for a 60 by 30 inch planter at its design height. The method behind the numbers: count blocks per course by laying the perimeter in 16 inch units, long sides first, corners counted once, then multiply by courses, and add caps if you want the finished top edge and a place to sit and set tools. Add a few spares to the order, because one cracked unit in a pallet is normal and a spare block is cheaper than a trip. While you are counting, price the fill honestly: a 4 by 8 bed at 16 inches deep holds roughly 1.3 cubic yards of soil mix, and the blocks are the cheap half of this project. The fill is the expensive half, in money and in wheelbarrow trips, and knowing that before the pallet arrives is what planning means.
The Base and the Level First Course
Mark the footprint, strip the sod, and excavate about 6 inches. Into that excavation goes the base: one guide's specification runs 4 to 6 inches of compacted gravel in the 6 inch dig, and compacted is the operative word, tamped in layers so the foundation is a slab of stone dust and gravel rather than a loose trench. Then set the first course, and set it like a mason: a long level across every block, shimming with gravel or sand under low corners, tapping high ones down, checking the run end to end and diagonally. This course is the whole build's truth. A dry stack has no mortar to forgive anything, so a first course that is level and true produces a wall that stacks itself, and a first course that wanders produces a wall that leans a little more every course and every winter. Take the hour here. The second course then goes fast: stagger every joint by half a block, so each upper block bridges two below, check level as you go, and the bed is standing. For tall or long walls, the reinforcement option in the guides is rebar driven through the corner cores into the ground, with cores filled with gravel; a two course garden bed on a good base rarely needs it, but a retaining situation or a third course earns it.
Cores, Caps, and the Planting Pockets
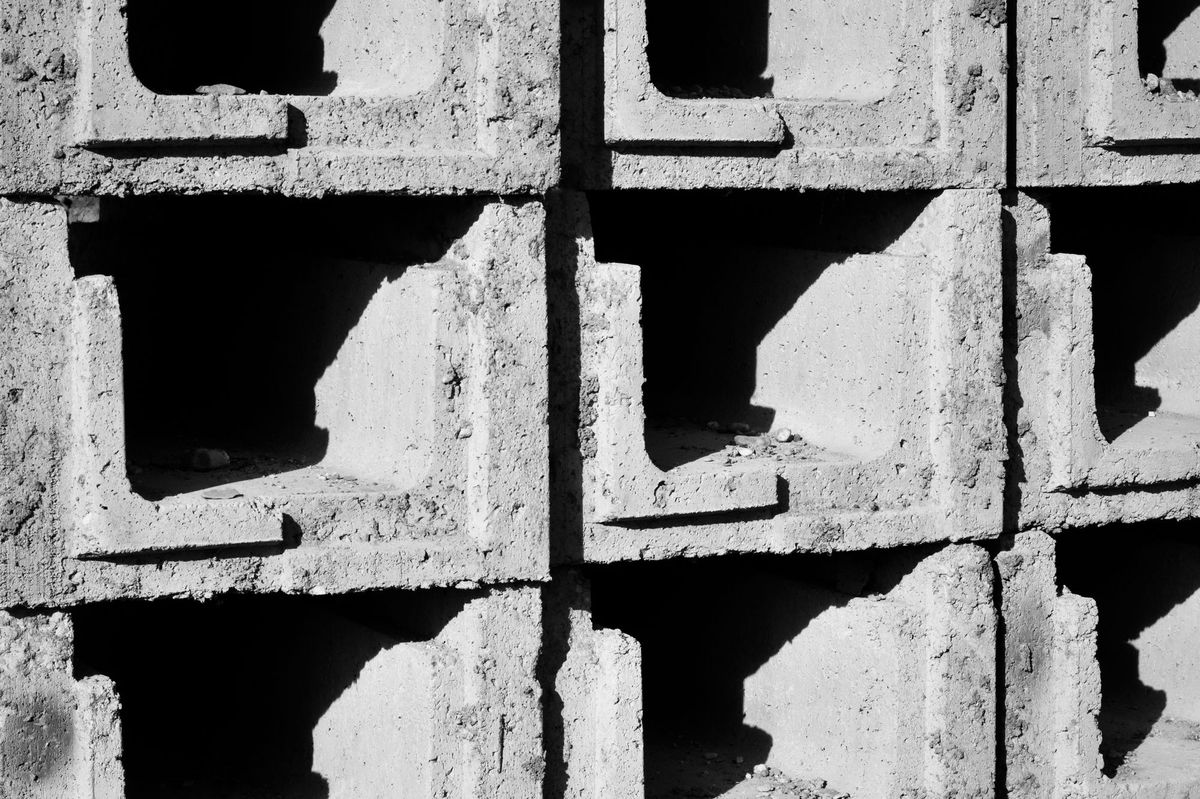
A concrete block is hollow, and those cores are a design decision, not a leftover. Left open at the top course, they are planting pockets: filled with mix, they grow herbs, strawberries, marigolds, and trailing plants around the bed's rim, using space the wooden bed simply does not have, and putting the strawberries up where the slugs work harder to reach them. Filled with gravel, the cores add weight and stability to the wall. Capped with solid cap blocks, the bed gets a finished edge that sheds water, sits comfortably, and holds a coffee mug and a trowel, at the cost of the pockets. Many growers split the difference: caps on the long sides where they sit and work, open planted cores on the ends. Fill the bed in lifts, watering each lift to settle the mix, and top it to within 2 inches of the top of the wall, expecting one more top up after the first season's settling. The soil line should never sit above the top course's middle; an overfilled bed slumps its mix over the rim with every rain.
The Safety Question, Answered From Extension
The worry is real and has a history, so it deserves the sourced answer rather than a shrug. Old cinder blocks, true cinder blocks, were made with coal cinders and ash, and the concern about what leaches from them is where the question comes from. The modern unit sold today as a cinder block is a concrete masonry unit made with cement and fine aggregates, a different material wearing the old name. University of Maryland Extension material on the question, the source the guides cite, notes that fly ash is often included in the modern mix, and addresses the food safety concern directly; the extension position reflected in the results is that modern concrete blocks are an accepted material for raised bed construction, with the practical notes that new concrete is alkaline and can nudge the soil pH up near the walls in the first season, an effect that fades and that most vegetable soils tolerate or welcome. If the question still nags at you, the honest middle path costs little: line the inside walls with landscape fabric so soil never touches block, and you have removed the contact entirely while keeping every structural advantage. What you should not do is reject the most durable, cheapest bed wall available on the basis of a material that has not been manufactured in decades. Build the base flat, level the first course like it matters, plant the pockets, and this bed will be the last one that corner of the garden ever needs.
Frequently Asked Questions
How many cinder blocks do I need for a 4 by 8 raised bed?
Worked examples in the guides run about 36 blocks plus caps for a 4 by 8 foot bed at two courses, which gives a 16 inch tall bed. Count your own design the same way: lay out the perimeter in 16 inch block lengths, long sides first with corners counted once, multiply by the number of courses, and add cap blocks if you want the finished top. Order a few spares against cracked units. And budget the fill with the count: that bed holds roughly 1.3 cubic yards of soil mix, which is the project's real cost.
Are cinder blocks safe for growing vegetables?
Modern blocks are not the old cinder blocks the warnings come from. Today's unit is a concrete masonry unit made with cement and fine aggregates; University of Maryland Extension material notes fly ash is often included in the mix and treats modern blocks as an accepted raised bed material. New concrete is alkaline and can raise soil pH slightly near the walls in the first season, which fades and which most vegetables tolerate. If you want the question closed entirely, line the inside walls with landscape fabric so soil and block never touch.
Do I need mortar for a cinder block raised bed?
No. The standard build is dry stacked: a level first course on a compacted gravel base, a second course staggered by half a block so joints never align, and gravity and geometry do the rest. Mortar adds cost, skill, and permanence you do not want if the bed ever moves. For a third course, a long wall, or any retaining situation, the guides' reinforcement is rebar driven through the corner cores with the cores filled with gravel. Two courses on a true base stand for decades without any of it.
How deep should the base be under a block bed?
Excavate about 6 inches and fill with 4 to 6 inches of compacted gravel, tamped in layers, per the guide specification in the results. The base is not drainage decoration; it is the foundation a mortarless wall stands on, and a dry stack telegraphs every base error upward into a lean. Set the first course on that base with a long level, shimming low blocks with gravel or sand, and check the run in both directions and diagonally. The hour spent here is the build; everything above it is stacking.
What can I plant in the holes of the blocks?
The open cores of the top course are planting pockets, one of this bed's real advantages over lumber. Filled with mix, they grow herbs like thyme, oregano, and parsley, strawberries up off the ground away from the worst of the slugs, marigolds and other small flowers for the pollinators, and trailing plants that soften the wall's edge. Water the pockets when you water the bed; they dry faster than the bed's main volume, being small and exposed, so thirsty plants go in the bed and the tough, dry tolerant herbs take the rim.
Photo credits: Nothing Ahead (Pexels); Peter Dyllong (Pexels). Photos are served from this site; follow the credit to the library page for the original.