A raised bed is the most forgiving first build in the garden. It is four sides, no bottom, no roof, and no joinery that has to be pretty to work. If you can measure a board, drive a screw, and check that a corner is square, you can finish one in an afternoon and plant in it the same weekend. This guide keeps the project at garden scale on purpose: one simple frame, built from boards or assembled from a kit, set level, lined at the base, and filled with a measured amount of soil.
We will build around the most useful beginner size, a bed 8 feet long and 4 feet wide, while showing you how to adjust every step for a smaller 4 by 4 foot bed or a narrower bed against a fence. By the end you will have a site chosen with intention, a frame that sits level and square, and an exact soil order for the bed you built, not a guess.
The last step of the build is filling, and that is where most guides wave a hand. Ours does not. When your frame is in place, use the SoilCalculator below with your bed's inside measurements to get its exact fill in cubic feet, cubic yards, and bags, split into topsoil and compost. Keep it open as you read the fill section.
Interactive tool
Raised Bed Soil Calculator: Fill the Bed You Just Built
Your frame is standing. Enter its inside length, width, and the depth you plan to fill, and get the soil volume, bag count, and a 60/40 topsoil and compost split before you order anything.
32.0 cubic feet of soil
That is 1.19 cubic yards in bulk, or about 22 bags at 1.5 cubic feet or 16 bags at 2 cubic feet.
Filling a new bed with a 60/40 mix: 19.2 cubic feet of topsoil and 12.8 cubic feet of compost.
Loose soil settles after the first few waterings. Most gardeners add roughly a tenth more than the raw volume and top the bed up in the second season.
The math is plain geometry: length times width times depth. One cubic yard is 27 cubic feet. Bag counts are rounded up, because a half filled bed helps no one.
Step 1: Choose the Site Before You Buy Anything
Site choice decides how well the bed grows for years, and it costs nothing to get right. Walk your yard with these four tests before you buy a single board.
Sun comes first. Most vegetables and herbs want at least 6 hours of direct sun a day, and more is better for tomatoes, peppers, and squash. Watch the spot you have in mind at different times of day. A place that is sunny at breakfast can be in house shade by mid afternoon, and a spot under a tree that looks bright in early spring will be shaded once the tree leafs out. For a first bed, pick the sunniest open ground you have.
Water comes second. You will water this bed often in its first season. A bed near a spigot or along a hose run gets watered. A bed at the far end of the yard, past two gates, quietly does not. Stay honest about the walk you will actually make with a watering can on a hot evening.
Level ground comes third. A gentle slope can be handled in the leveling step below, but a steep slope fights you at every stage. Choose the flattest ground that still passes the sun test, and avoid low spots where water pools after rain. A raised bed drains well by design, but it cannot drain into a puddle.
Access comes last, and it matters more than beginners expect. You need to reach every part of the bed from outside it, because stepping into a raised bed compacts the soil you paid for. Leave paths wide enough to walk and kneel on every side you will work from, about 2 feet at minimum, and more where a wheelbarrow needs to pass. If the bed goes against a fence or wall, you will work it from one side only, so make that bed narrower, about 2 to 3 feet wide.
Step 2: Pick a Size Your Arms Can Work
Width is set by your reach. From a path, most adults can work comfortably about 2 feet into a bed. That makes 4 feet the maximum sensible width for a bed you can reach from both sides, and it is why 4 feet is the standard. Length is set by your space and your lumber. Eight feet is a common board length, which is why the 8 by 4 foot bed is everywhere: it wastes almost no wood.
Height, meaning frame depth, is set by what you will grow and what is under the bed. A single course of wide boards giving you about 8 to 12 inches of soil depth covers nearly every beginner crop. Go toward 12 inches if the bed sits on hard or poor ground, if you want carrots and other long roots, or if bending is hard on your back and you plan to stack a second course later. Stay at one course for a first build. You can always add height next season. You cannot easily take it away.
Good first sizes, all using the same build below:
Bed size
Best for
Soil at 12 in deep
4 by 4 ft
A first bed, herbs, greens, a small yard
16.0 cubic feet
8 by 4 ft
The standard family vegetable bed
32.0 cubic feet
10 by 3 ft
Along a fence, worked from one side
30.0 cubic feet
The soil column uses the volume formula, length x width x depth in feet. You will calculate your own exact fill, including other depths, at the fill step.
Step 3: Choose Boards or a Kit, Simply
You have two honest routes to a frame, and both are fine.
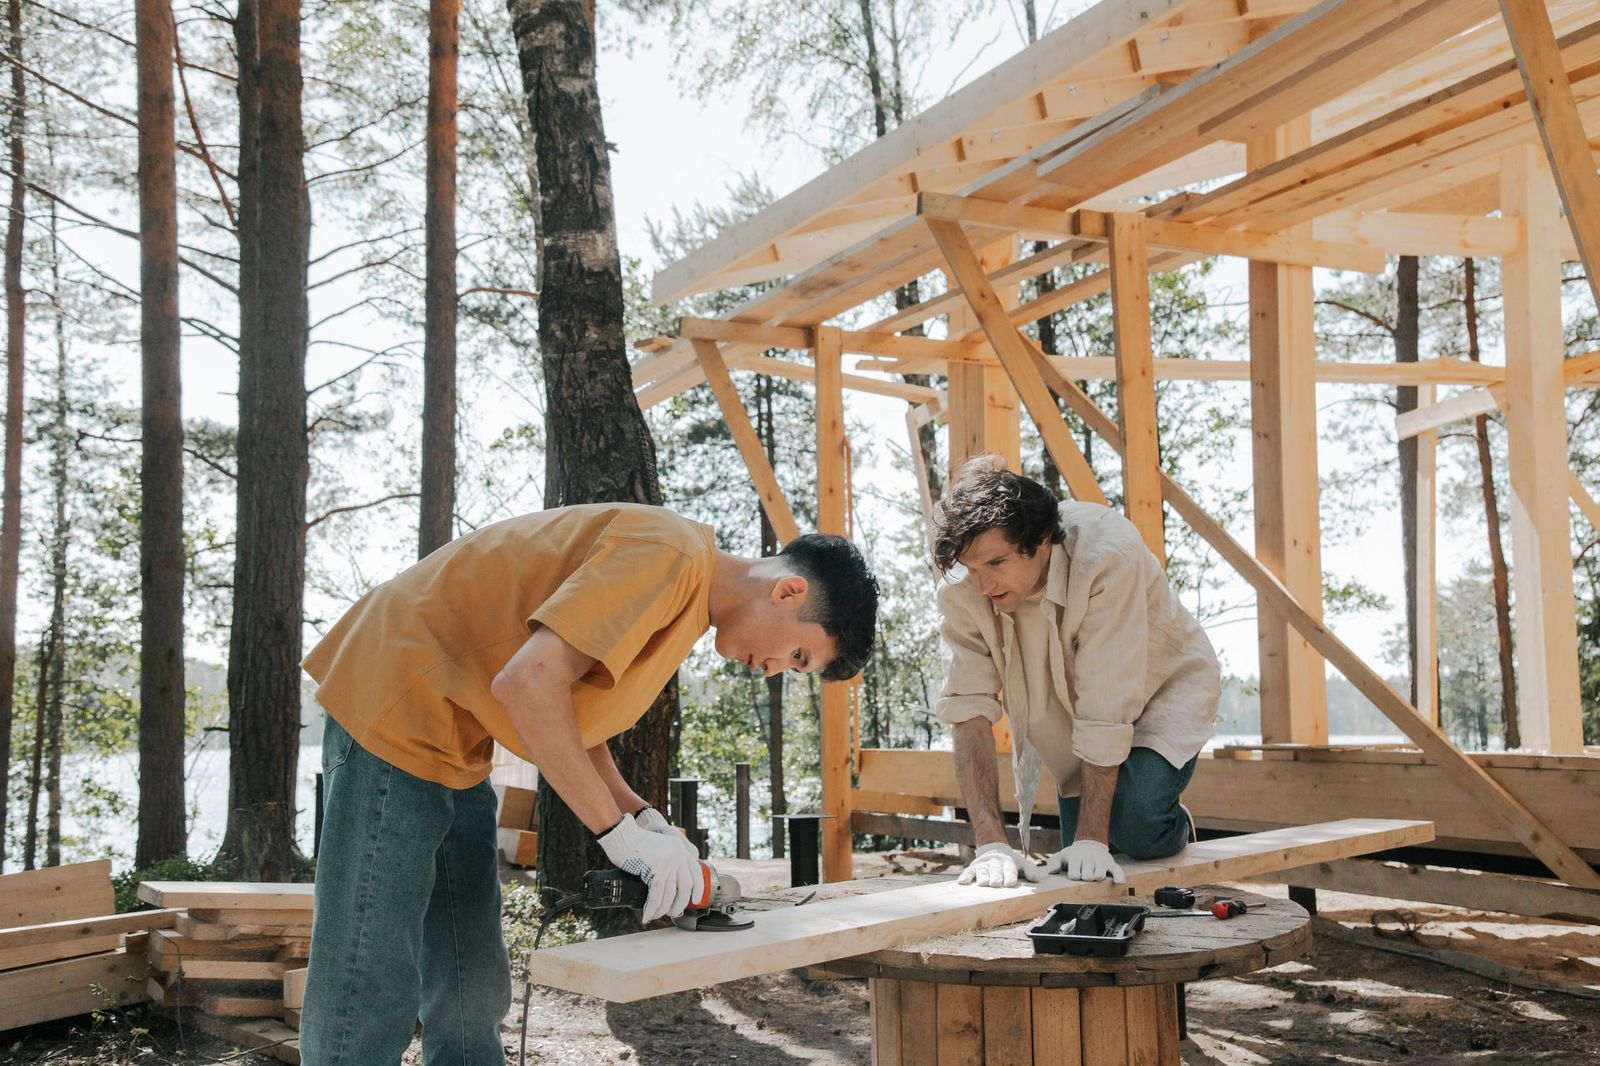
Building from boards gives you any size and the lowest material cost. Choose lumber sold for outdoor ground contact use or naturally durable wood, in a nominal 2 inch thickness if you want the frame to hold its shape for years. Thinner boards bow outward under wet soil pressure unless you add stakes or corner posts. Describe your choices generically at the store: you want straight boards, free of big splits at the ends where screws will go, cut to your lengths. Many stores will make straight cuts for you, which turns the build into pure assembly. For an 8 by 4 foot bed with butt joints, you need two long sides at 8 feet and two short ends. If the long sides will overlap the ends at the corners, the ends are cut shorter by the thickness of the side boards. If you use corner posts and butt every board into the posts, cut all pieces to the inside plan and let the posts take the corners. Either joint works. The butt joint, where one board simply screws into the end grain or into a corner post, is the beginner joint, and it is strong enough for a garden bed.
A kit gives you pre cut pieces and connectors and trades money for time. Kits suit a first bed if cutting is the step that would stop you. Check three things on any kit: the finished inside dimensions, because that is your soil volume; the frame depth, because shallow kits under 8 inches limit your crops; and whether the corners are braced, because unbraced thin panels bow. Assemble a kit exactly as its maker directs, then rejoin this guide at the leveling step.
Whichever route you take, you will also want exterior screws long enough to pass through one board and bite well into the next or into a corner post, a drill with a bit slightly smaller than your screws for pilot holes, a tape measure, a square or a tape for checking diagonals, and a level. Pilot holes are not optional near board ends. Driving a screw near an end without one is how boards split.
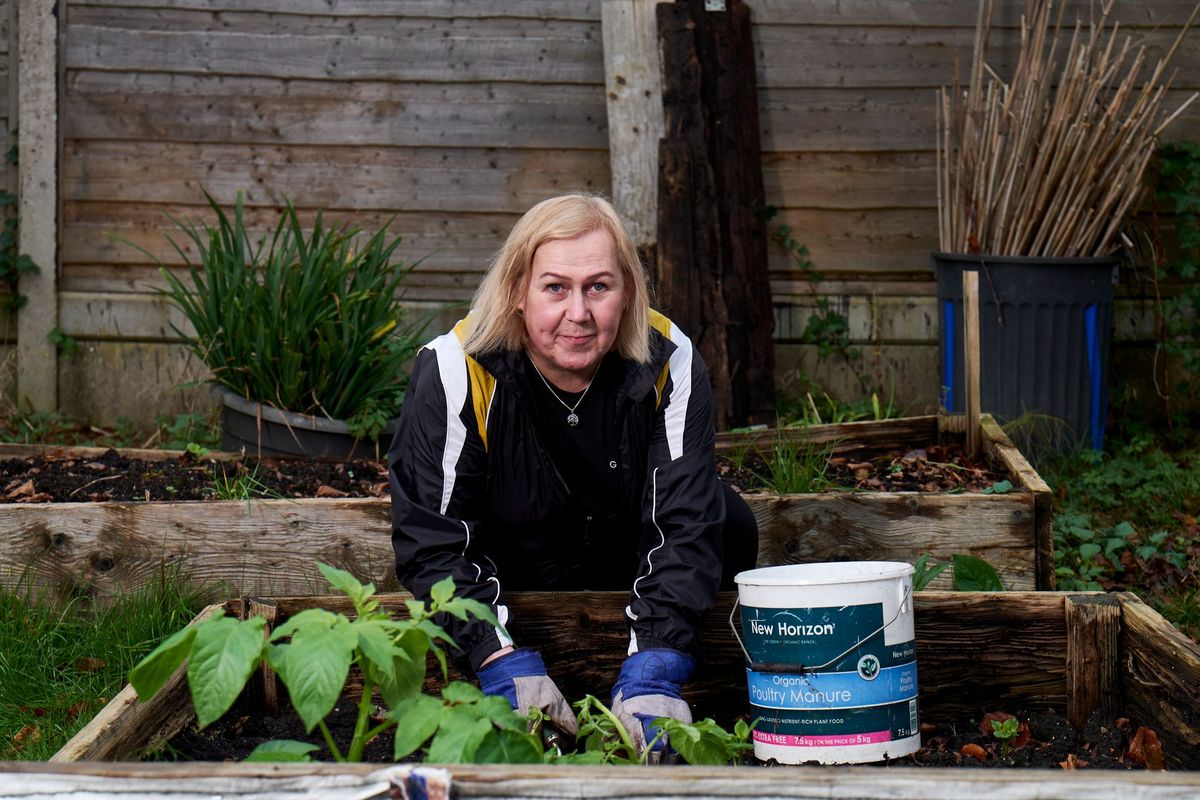
Gardener tending plants in finished raised beds in a backyard
Step 4: Assemble the Frame on Flat Ground
Build the frame where it is flat, a driveway, patio, or garage floor, not on the bumpy ground where it will live. A frame assembled square stays square when you carry it. A frame assembled on a slope takes the slope with it.
Lay out the two long sides and two short ends on edge, in position, forming the rectangle.
At each corner, clamp or have a helper hold the boards, pre drill pilot holes, and drive two or three screws per corner. Work one corner at a time and keep the tops of the boards flush.
If you are using corner posts, set a post inside each corner and screw both boards into the post. Posts add real strength and give thin boards the bracing they need.
Check for square by measuring both diagonals, corner to corner across the frame. Equal diagonals mean square corners. If one diagonal is longer, push the frame gently at the long corners until the two measurements match, then add your remaining screws.
Check that the top edge is in one plane by laying a long board or level across it. A frame that rocks on flat ground has a twist. Loosen one corner, let it settle flat, and re tighten.
Carry the finished frame to its site with a helper. An 8 foot frame is awkward, not heavy, and dragging it can rack it out of square.
Step 5: Set, Level, and Prepare the Ground
Place the frame on your chosen site and live with it for a minute. Stand where you will kneel. Check the sun story one more time. Then prepare the ground.
Mark the outline and set the frame aside. Remove turf and weeds inside the outline, or, if the grass is thin and you are patient, lay plain cardboard over it inside the frame later and let it smother. Digging out turf gives the cleanest start and the most level base. Fork over the exposed ground lightly to break the surface, especially if it is compacted. Roots and water should be able to pass from your bed soil into the ground below.
Now level the frame, because a level bed waters evenly and a tilted bed dries at the high end and floods at the low end. Set the frame in place, lay your level along the top of each side, and adjust the ground, not the frame. Dig a shallow trench under a high side, or scrape soil away beneath it, until that side sits level. Work side by side and then check the diagonals across the top corners. On a gentle slope, the downhill side of the frame will sit partly buried and the uphill side may need a small bank of soil against it. That is normal and stable. What you must not do is prop a corner up on a brick or a scrap of wood. Props shift, and the frame twists as the soil inside settles.
Step 6: Line the Base, and Know What to Skip
With the frame level, line the base for your situation:
On bare ground with weeds or grass pressure: lay landscape fabric or plain cardboard across the bottom inside the frame. Cardboard smothers grass, then rots away and lets roots through, which makes it the better default for a first bed. Fabric lasts longer but can slow roots and drainage if it clogs.
Where burrowing animals dig up into beds in your area: lay hardware cloth, the stiff wire mesh sold in rolls, across the bottom and staple it to the frame before any fabric or cardboard. This is the one base layer that solves a problem nothing else solves.
On concrete or pavers: skip fabric entirely and think about drainage and staining instead. A bed on a hard surface holds its whole root zone in the frame, so fill it to the full 12 inches, and expect to water more often.
Line the inside walls only if your lumber choice needs protection from constant wet soil. For most first beds built from durable or ground contact lumber, an inside liner is optional. Never line a bed with plastic sheeting across the bottom. It holds water in the bed and defeats the drainage you built a raised bed to get.
Skip the gravel layer. A layer of gravel or stones at the bottom of a raised bed does not improve drainage. It creates a boundary that water crosses poorly, and it steals depth from your roots. Soil all the way down, on loosened ground, drains best.
Step 7: Fill the Bed You Just Built
Now price and place the fill for this exact frame. Measure the inside length and width, decide your fill depth (12 inches for a general vegetable bed, 8 inches for greens and herbs on good ground), and run the SoilCalculator at the top of this article. For the standard build in this guide, an 8 by 4 foot bed filled 12 inches deep needs 32 cubic feet of mix, which is 1.19 cubic yards or 22 bags at 1.5 cubic feet.
Fill with a mix, not with yard dirt. Use about 60 percent topsoil and 40 percent compost by volume. For that 32 cubic foot bed, the split is 19.2 cubic feet of topsoil and 12.8 cubic feet of compost, which is 13 bags of topsoil and 9 bags of compost at 1.5 cubic feet each, or about 0.71 and 0.48 cubic yards in bulk. Work in layers: add topsoil and compost in alternating shallow layers, fork them together in the bed, and keep the frame from bowing by filling the middle first and the corners last. Water the filled bed deeply, let it settle for a day or two, and top up to 1 to 2 inches below the rim before planting. Settling is normal. The full soil guide on this site works through sizes, depths, and the bags versus bulk decision in detail.
Plant after the top up, water in well, and mulch the surface once seedlings are up or transplants are settled. Mulch holds the moisture your new soil mix needs while roots establish.
Mistakes That Cost Beginners a Season
Building too wide. A 5 or 6 foot wide bed forces you to step in or lean hard, and both compact soil and strain your back. Keep beds you work from both sides at 4 feet wide or less.
Skipping pilot holes. Split board ends are the most common first build failure, and they are entirely preventable.
Placing the bed before checking afternoon sun. Morning sun alone will not ripen tomatoes. Watch the full day before you commit.
Filling with plain yard soil or plain topsoil. Both compact in a frame. The compost share of the mix is what keeps bed soil loose and fed.
Leaving the frame out of level. Water runs to the low end, the high end dries, and the gardener blames the seeds. Ten minutes with a level prevents a season of uneven watering.
Frequently Asked Questions
How long does it take to build a raised bed?
A simple 8 by 4 foot frame from pre cut boards takes most beginners 1 to 2 hours to assemble, set, and level, plus filling time. Filling is real work: 32 cubic feet of soil is many wheelbarrow trips. Plan on an afternoon for the whole job, frame to filled bed, and plant the next day after the fill has been watered and topped up.
What is the best size for a first raised bed?
An 8 by 4 foot bed is the standard recommendation because 4 feet is the widest bed most people can work from both sides without stepping in, and 8 feet matches common board lengths with little waste. If your space or budget is smaller, a 4 by 4 foot bed uses the same build, holds 16 cubic feet of soil at 12 inches deep, and grows a useful amount of greens and herbs.
Do I need to remove the grass under a raised bed?
Removing turf gives the cleanest, most level start and is worth doing for a first bed. If you would rather not dig, lay plain cardboard over the grass inside the frame, wet it, and fill on top of it. The cardboard smothers the grass and rots away over the season. Avoid plastic sheeting under a bed, because it blocks drainage and root growth into the ground below.
Should I put gravel at the bottom of a raised bed?
No. Gravel at the bottom does not improve drainage. Water moves poorly across the boundary between fine soil and coarse gravel, so the soil above the gravel stays wetter, and the gravel steals root depth. Loosen the ground under the frame, line the base with cardboard or fabric only if weeds or burrowing animals require it, and fill with soil mix all the way down.
How much soil do I need to fill my new bed?
Multiply the inside length by the inside width by the fill depth, all in feet. An 8 by 4 foot bed filled 12 inches deep needs 32 cubic feet, which is 1.19 cubic yards or 22 bags at 1.5 cubic feet. A 4 by 4 foot bed at the same depth needs 16 cubic feet. Use the SoilCalculator on this page for your exact frame, and split the total into about 60 percent topsoil and 40 percent compost.
Photo credits: Ron Lach (Pexels); Centre for Ageing Better (Pexels). Photos are served from this site; follow the credit to the library page for the original.