Every lawn gets bare spots. What separates a lawn that recovers from a lawn that stays patchy is not effort or seed. It is diagnosis. A bare spot is a symptom. Seed thrown on a symptom germinates, looks hopeful for a few weeks, and then dies of the same cause that killed the grass before it. Gardeners who repair the same spot three times are almost never bad at seeding. They skipped the first step: finding out why that patch of grass died and fixing that reason first.
This guide puts diagnosis first, the way the strongest repair advice for this query does. You will learn to read a bare spot for its cause, dog urine, shade, compaction, grubs, disease, or plain wear, choose the right repair window, work the patch method in order, and keep new seed moist through germination with a routine you can actually follow. One spot or a dozen, the process is the same.
Work each spot with the Bare Spot Repair Checklist below before you open a seed bag. For every spot, tick off the cause you found, the fix that cause needs, your prep, your seeding, and your watering plan. Spots in the same lawn often have different causes, a urine spot by the door and a shade spot under the tree need different fixes, and the checklist keeps them straight.
Interactive tool
Bare Spot Repair Checklist
Check off each step as you finish it. Your progress stays on this page.
0 of 6 complete
0% done
Diagnose the Cause First: Read the Spot
Give each bare spot two minutes of honest looking before you touch it. Shape, location, and what the soil and remaining grass feel like will point to the cause in most cases.
Dog Urine
The signature is a round dead spot, often about 6 to 12 inches across, with a ring of unusually dark green, fast growing grass around it. The center got more nitrogen than roots can survive, and the ring got a diluted dose that acts as fertilizer. Spots cluster where a dog actually goes: near the door the dog uses, along a favorite fence run, or in one habitual corner. If the spots keep appearing in new places in the same general area, urine is your cause whether or not you catch the dog in the act. The fix has three parts: repair the spot as below, flush future fresh spots with water when you see them, and give the dog a designated area of mulch or gravel if you can, because reseeding a daily toilet will fail forever.
Shade
A bare or thinning spot under a tree or on the north side of a house or fence, where the surrounding lawn in sun is fine, points to light. Grass is a sun plant. Even shade tolerant grasses need a minimum of about 4 hours of direct sun a day, and below that, grass thins no matter how well you seed and water. Watch the spot for a day before you blame anything else. If it gets less than about 4 hours of direct sun, your choices are to raise or thin the tree canopy to let light in, to seed with a shade tolerant fine fescue blend and accept thinner growth, or to stop fighting and turn the spot into a mulched bed with shade plants. Seeding a deep shade spot with sun loving seed is the most common wasted bag in lawn care.
Compaction
Hard ground grows no roots. Spots along paths people actually walk, by gates, under a swing, where cars or wheelbarrows cross, and in mowing wheel lines are often compacted. Test it with the screwdriver test used by the top diagnosis guides for this query: push a screwdriver into damp soil by hand. In healthy lawn soil it slides in several inches. In compacted soil it stops within 2 to 3 inches under firm hand pressure. Compaction also shows as water puddling on the spot instead of soaking in. The fix is mechanical and must come before seed: loosen the spot deeply with a fork, or core aerate it, and consider whether the traffic itself needs a new home, stepping stones or a mulched path, or the new grass will be walked to death again.
Grubs
If the grass around the spot pulls up easily, like lifting a loose rug, and the roots are simply gone, suspect grubs, the white larvae that feed on roots from below. Peel back a square foot of turf at the edge of the damage and look in the top few inches of soil. A few grubs are normal. A dense handful in that square foot, in late summer especially, is a feeding problem. Seed will not fix a grub spot while the feeding continues. Treat the grub problem first, following the label of any product you choose, or wait until feeding has ended for the season, then repair. Reseeding into active grub feeding produces seedlings with no roots, on schedule.
Disease
Disease spots tend to appear in patterns and in weather: irregular brown patches that expand in hot, humid spells, or many small tan circles a few inches across scattered through an area. The grass dies in place, roots are present but rotted, and the spot often follows a wet period or heavy evening watering. Diagnosis to the exact fungus is a job for your local extension office, and it is worth using them, because the fix differs. In general: fix the conditions that invited it, avoid watering late in the day so foliage dries, improve air movement and drainage, rake out the dead material fully, and reseed once the disease is no longer active. Seeding into an active disease patch infects the new seedlings.
Wear and Everything Else
Some spots are simple wear: the place the kids land, the dog run, the shortcut to the shed. Some are spills, a fertilizer spill burns a neat dead patch, gasoline and cleaning chemicals kill cleanly, and some are buried trouble, a rock, rubble, or a shallow stump just under the surface that dries and starves the grass above it every summer. Probe a stubborn spot with your fork as you prep it. If you hit rock or rubble a few inches down, dig it out and replace it with soil. No seed blend survives over a buried roof shingle.
Cause
How you recognize it
Fix before you seed
Dog urine
Round dead center with a dark green ring
Remove the top inch of soil in the center, plan a dog area
Shade
Thin spot under trees or north walls, lawn fine in sun
Prune for light, use shade tolerant seed, or mulch the spot
Compaction
Hard soil, screwdriver stops at 2 to 3 inches, puddling
Fork or aerate deeply, redirect the traffic
Grubs
Turf lifts like a rug, roots eaten, white larvae in soil
Address the grubs first, then repair after feeding ends
Disease
Expanding brown patches or many small tan circles in humid weather
Correct watering and airflow, reseed when inactive
Wear
Spot sits exactly on a path, landing, or play line
Move the traffic or give it stones, then repair
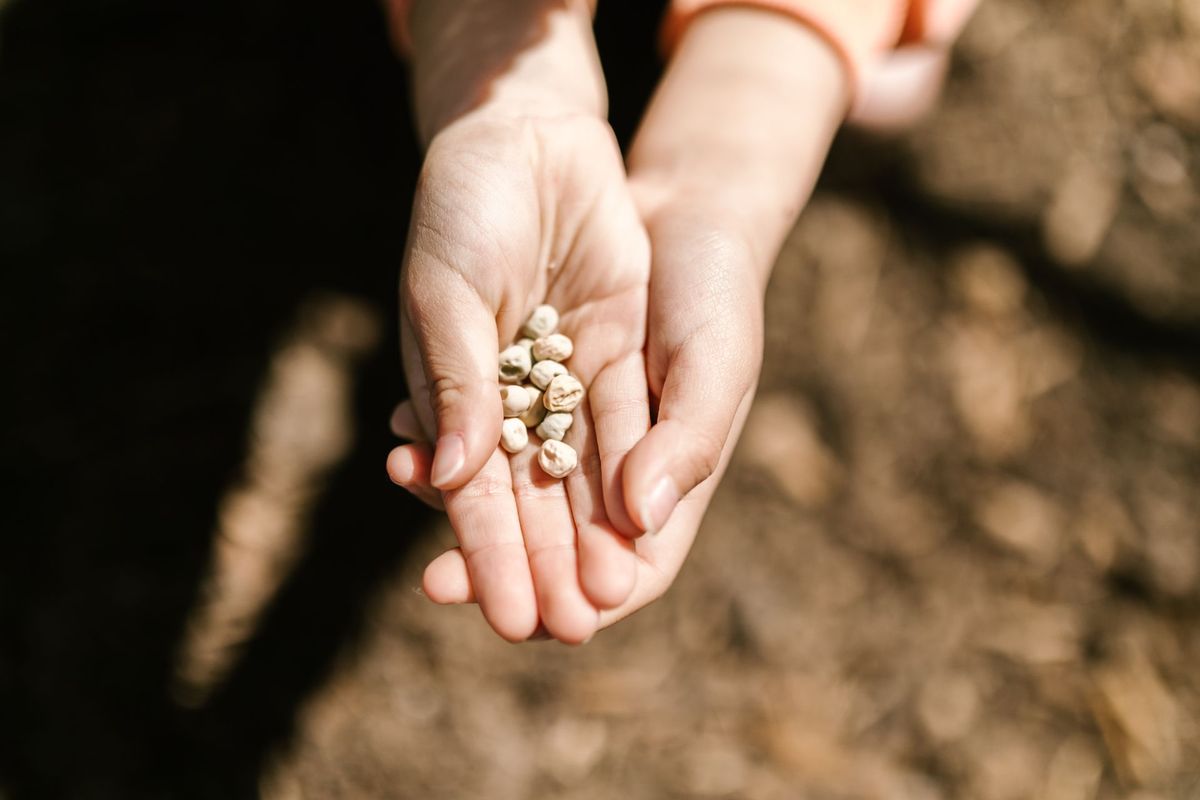
Hands holding grass seed over soil ready for sowing a bare patch
Timing: Early Fall First, Spring Second
For cool season lawns, the grasses most common in northern and transition yards, early fall is the first choice repair window by a wide margin. Soil is still warm from summer, so seed germinates fast. Air is cooling, so seedlings are not stressed by heat. Weed pressure is low, and the young grass gets weeks of growing weather to root before winter, then a full spring to thicken. If you are reading this in late summer or early fall with bare spots in view, do not wait for spring out of habit. Fall is the better season, and it is now.
Spring is the honest second choice. Spring repairs work, and for a spot that appears in spring they are often necessary, but they ask more of you: spring seedlings race summer heat before their roots are deep, spring weed competition is fierce, and if you use a crabgrass preventer on your lawn, know that it prevents grass seed from establishing too, so preventer treated areas cannot be seeded until the product window has passed. Read your product label for its seeding interval.
Warm season lawns run on the opposite clock. Bermuda, zoysia, and similar grasses grow actively in heat, so their repair window is late spring into early summer, when the grass can spread and root in warm soil. Some warm season grasses are repaired with plugs or sod rather than seed at all. Match the method to the grass you actually have, and match the seed to the existing lawn as closely as you can. A patch of a different grass, different color, different texture, different growth habit, stays visible for years. When in doubt, take a photo and a small sample of your lawn grass to a local garden center or extension office and buy what they name.
The Patch Method, Step by Step
Once the cause is fixed, the repair itself is the same for nearly every spot. Work the steps in order. None of them is hard, and skipping any one of them is a known way to fail.
Rake out the dead material. Remove dead grass, matted thatch, and debris until you reach soil across the whole spot and a little beyond its edge. Dead thatch left in place holds seed up off the soil, and seed that never touches soil never grows. For dog urine spots and old disease spots, also dig out and discard the top inch of soil in the center. That soil carries the salts or the disease pressure that will compromise the new grass.
Loosen the soil. Fork or rake the top 2 to 3 inches loose across the spot. This is a small aeration in itself, and new roots move through loosened soil in days instead of fighting a crust for weeks. On a compacted spot, go deeper and be thorough. This step is the fix, not a formality.
Add a thin layer of good soil. Spread about 1/4 to 1/2 inch of topsoil or compost across the loosened spot and level it so the finished patch will sit even with the surrounding lawn after settling. Loose soil settles, so a patch leveled slightly high on day one finishes level. A patch left in a dip collects water and mower scalps at its edges forever.
Seed evenly, in two passes. Spread seed over the spot at a solid patch rate, heavier than a thin overseed, because bare soil needs full coverage. Divide your seed in half and walk the spot in one direction with the first half and across it with the second. Two directions prevent the striped, half bare result a single careless handful gives. For small spots, seeding by hand is precise and sufficient. Press or rake the seed lightly so it sits in contact with soil and is covered by no more than about 1/8 to 1/4 inch of soil. Seed buried deep fails. Seed sitting exposed on the surface dries and fails. Contact is the whole game.
Consider starter fertilizer, lightly, if your soil is poor. A small amount of starter fertilizer worked over the patch supports root growth in new seedlings. Follow the bag rate, more is not better, and keep fertilizer off driveways and walks where rain will wash it away. If you tested your soil and it is adequate, you can skip this step with confidence.
Mulch the patch lightly if it needs protection. A very thin covering of straw, or a seed starting mulch product, holds moisture and keeps birds and washouts off the seed. Thin is the key word. You should still see soil through it. A thick mulch blanket shades seedlings and must be removed, which disturbs them. On small, sheltered spots you can skip mulch entirely and rely on watering.
Keep traffic off. Rope it, flag it, or move the footpath. Seedlings tolerate no feet, no paws, and no mower wheels for their first weeks. This is the step households forget, and it undoes all the others in one shortcut across the patch.
Keep It Moist: The Germination Routine
Watering is where most repairs are won or lost, and the rule is simple to say and specific to do: the surface of the patch must stay moist, continuously, until the seed has germinated and the seedlings are up and growing. Grass seed that dries out mid germination dies. It does not pause and resume. One hot, windy afternoon with a dry patch can end a repair that was two days from sprouting.
As practice guidance, run the routine like this. Water lightly 2 to 3 times a day for short sessions, enough to dampen the top 1/2 inch of soil without puddling or washing seed around. Morning, midday, and late afternoon is a workable rhythm in warm weather. In cool fall weather, once or twice a day may hold moisture fine. Judge by the soil, not the clock: touch the patch. It should feel like a wrung out sponge, damp throughout the surface, never dusty dry and never muddy. Check at midday on sunny or windy days, because those are the hours patches dry out. A light mulch layer, as in the method above, buys you margin between waterings, but it does not replace them.
Expect germination on the seed bag's timeline for your grass type, with perennial ryegrass typically fastest and Kentucky bluegrass typically slowest, and keep the routine going until seedlings across the whole patch are visibly up, not just the first brave blades at the edge. Then transition gradually: water once a day, a little deeper, for the next week or two, then move to deep watering on the same schedule as the rest of your lawn. Sudden drought right after germination kills as reliably as drought during it, so taper, do not stop.
Mow the patch gently and late. Let new grass reach about 3 to 3 and 1/2 inches before its first cut, mow it high with a sharp blade, and avoid tight turns on the soft patch. Keep feet and play off it for at least 4 to 6 weeks. By then, a well diagnosed, well watered fall patch is knitting into the lawn, and by the end of the following spring most patches have blended to invisibility. If a patch is still thin at that point, overseed it lightly in the next fall window rather than starting over. And if the same spot fails twice despite an honest fix, believe the spot: test the soil, dig for buried debris, or convert that one place to a bed or a path. A lawn is allowed to lose an argument with reality in one square foot.
Frequently Asked Questions
Why do my bare spots keep coming back after I reseed?
Because the cause is still there. Seed treats the empty space, not the reason the grass died. Compaction, recurring dog urine, deep shade, grub feeding, active disease, and daily foot traffic each kill new seedlings on the same schedule they killed the old grass. Diagnose the spot first, fix that cause, and then reseed. A spot repaired twice without a diagnosis is the classic sign of this mistake.
When is the best time to fix bare spots in a lawn?
For cool season lawns, early fall is the best window: warm soil for fast germination, cool air, low weed pressure, and weeks of root growth before winter. Spring is the second choice and works with more watering attention. For warm season lawns, repair in late spring into early summer when the grass is growing actively in warm soil.
How often should I water a reseeded bare spot?
Keep the surface continuously moist until seedlings are up across the whole patch. In practice that means light watering 2 to 3 times a day in warm or windy weather, less often in cool fall weather, judged by touch: the top 1/2 inch should feel damp like a wrung out sponge, never dry and never puddled. After germination, taper gradually to once daily, then to your normal lawn schedule.
Should I use a patch product or seed and soil separately?
Patch products that bundle seed, mulch, and fertilizer are convenient for one or two small spots and work fine when you have nothing on hand. For several spots or larger areas, buying seed matched to your existing lawn plus topsoil or compost separately gives you a better grass match and usually costs less per square foot. Either way, the diagnosis and soil prep in this guide matter more than the product choice.
How long until a repaired bare spot blends in?
With the cause fixed and the patch kept moist, expect the spot to look visibly filled in about 4 to 6 weeks, and to match the surrounding lawn in density after a full season of growth. Shade spots and spring repairs on cool season lawns take longer. If the spot is still clearly visible after 6 months, re diagnose before reseeding again, because an unresolved cause is the likely reason.
Photo credits: Eva Bronzini (Pexels); RDNE Stock project (Pexels). Photos are served from this site; follow the credit to the library page for the original.