A thin lawn is rarely a dead lawn. It is a lawn whose grass plants have thinned with age, heat, traffic, and disease until the soil shows between them, and the fix is almost never to start over. The fix is overseeding: sowing new grass seed into the existing lawn so the gaps fill with young plants, thickening the turf until weeds find no room and the lawn looks like itself again. It is the highest value afternoon in lawn care, and it fails for beginners in one predictable way: seed scattered onto a lawn like bird feed, lying on top of thatch and leaves, drying out between waterings, and feeding the birds instead of becoming grass.
Successful overseeding obeys a short chain: seed must touch soil, and seed touching soil must stay moist until it germinates. Every step in this guide serves one of those two requirements, in the order the University of New Hampshire Extension sequence lays out: assess and remove excess thatch, sow, rake the seed into the top quarter inch of soil, roll for contact, and keep it moist. Work through the Overseeding Checklist on this page as you go, and read the pre-emergent warning before you choose your date, because it silently cancels more overseeding projects than every other mistake combined.
Interactive tool
Overseeding Checklist
Check off each step as you finish it. Your progress stays on this page.
0 of 7 complete
0% done
Step 1: Choose the Season Before the Day
Timing is the first technique. For cool season lawns, early fall is the overseeding season, and it is not close: the soil is warm from summer, so seed germinates fast, the air is cooling, which young grass loves, weed pressure is falling instead of rising, and the seedlings get a fall and a spring of kind weather to establish before their first summer. Spring overseeding of cool season lawns is possible but handicapped, because the seedlings meet summer heat while still shallow rooted, and because of the warning below. For warm season lawns, late spring into early summer, when the grass is fully awake and growing, is the window.
Within the window, pick your day by weather: a stretch of mild days with some rain in the forecast is ideal, and a sowing just before gentle rain gets free watering. Avoid sowing into a heat wave or a drought you cannot water through, because the keep moist step, below, is a promise you must actually keep for the following weeks.
The Pre-Emergent Warning: Read This Before Spring Seeding
Pre-emergent herbicides, the products applied in spring to stop crabgrass, work by preventing seeds from establishing. They do not distinguish between crabgrass seed and your grass seed. A lawn treated with pre-emergent in spring cannot be successfully overseeded until the product's barrier wears off, which depending on the product can be much of the season, and the result is a seeding that germinates patchily or not at all for reasons invisible to the gardener.
So the two spring projects are mutually exclusive in the same lawn in the same spring: you can prevent crabgrass or you can overseed, and the gardener with a thin lawn usually needs the seed more. This is the practical argument that pushes overseeding to fall for cool season lawns, where no such conflict exists. If you inherit a lawn and do not know its treatment history, a small test patch tells you the truth cheaply before you commit seed to the whole yard.
Step 2: Check the Thatch and Prepare the Surface
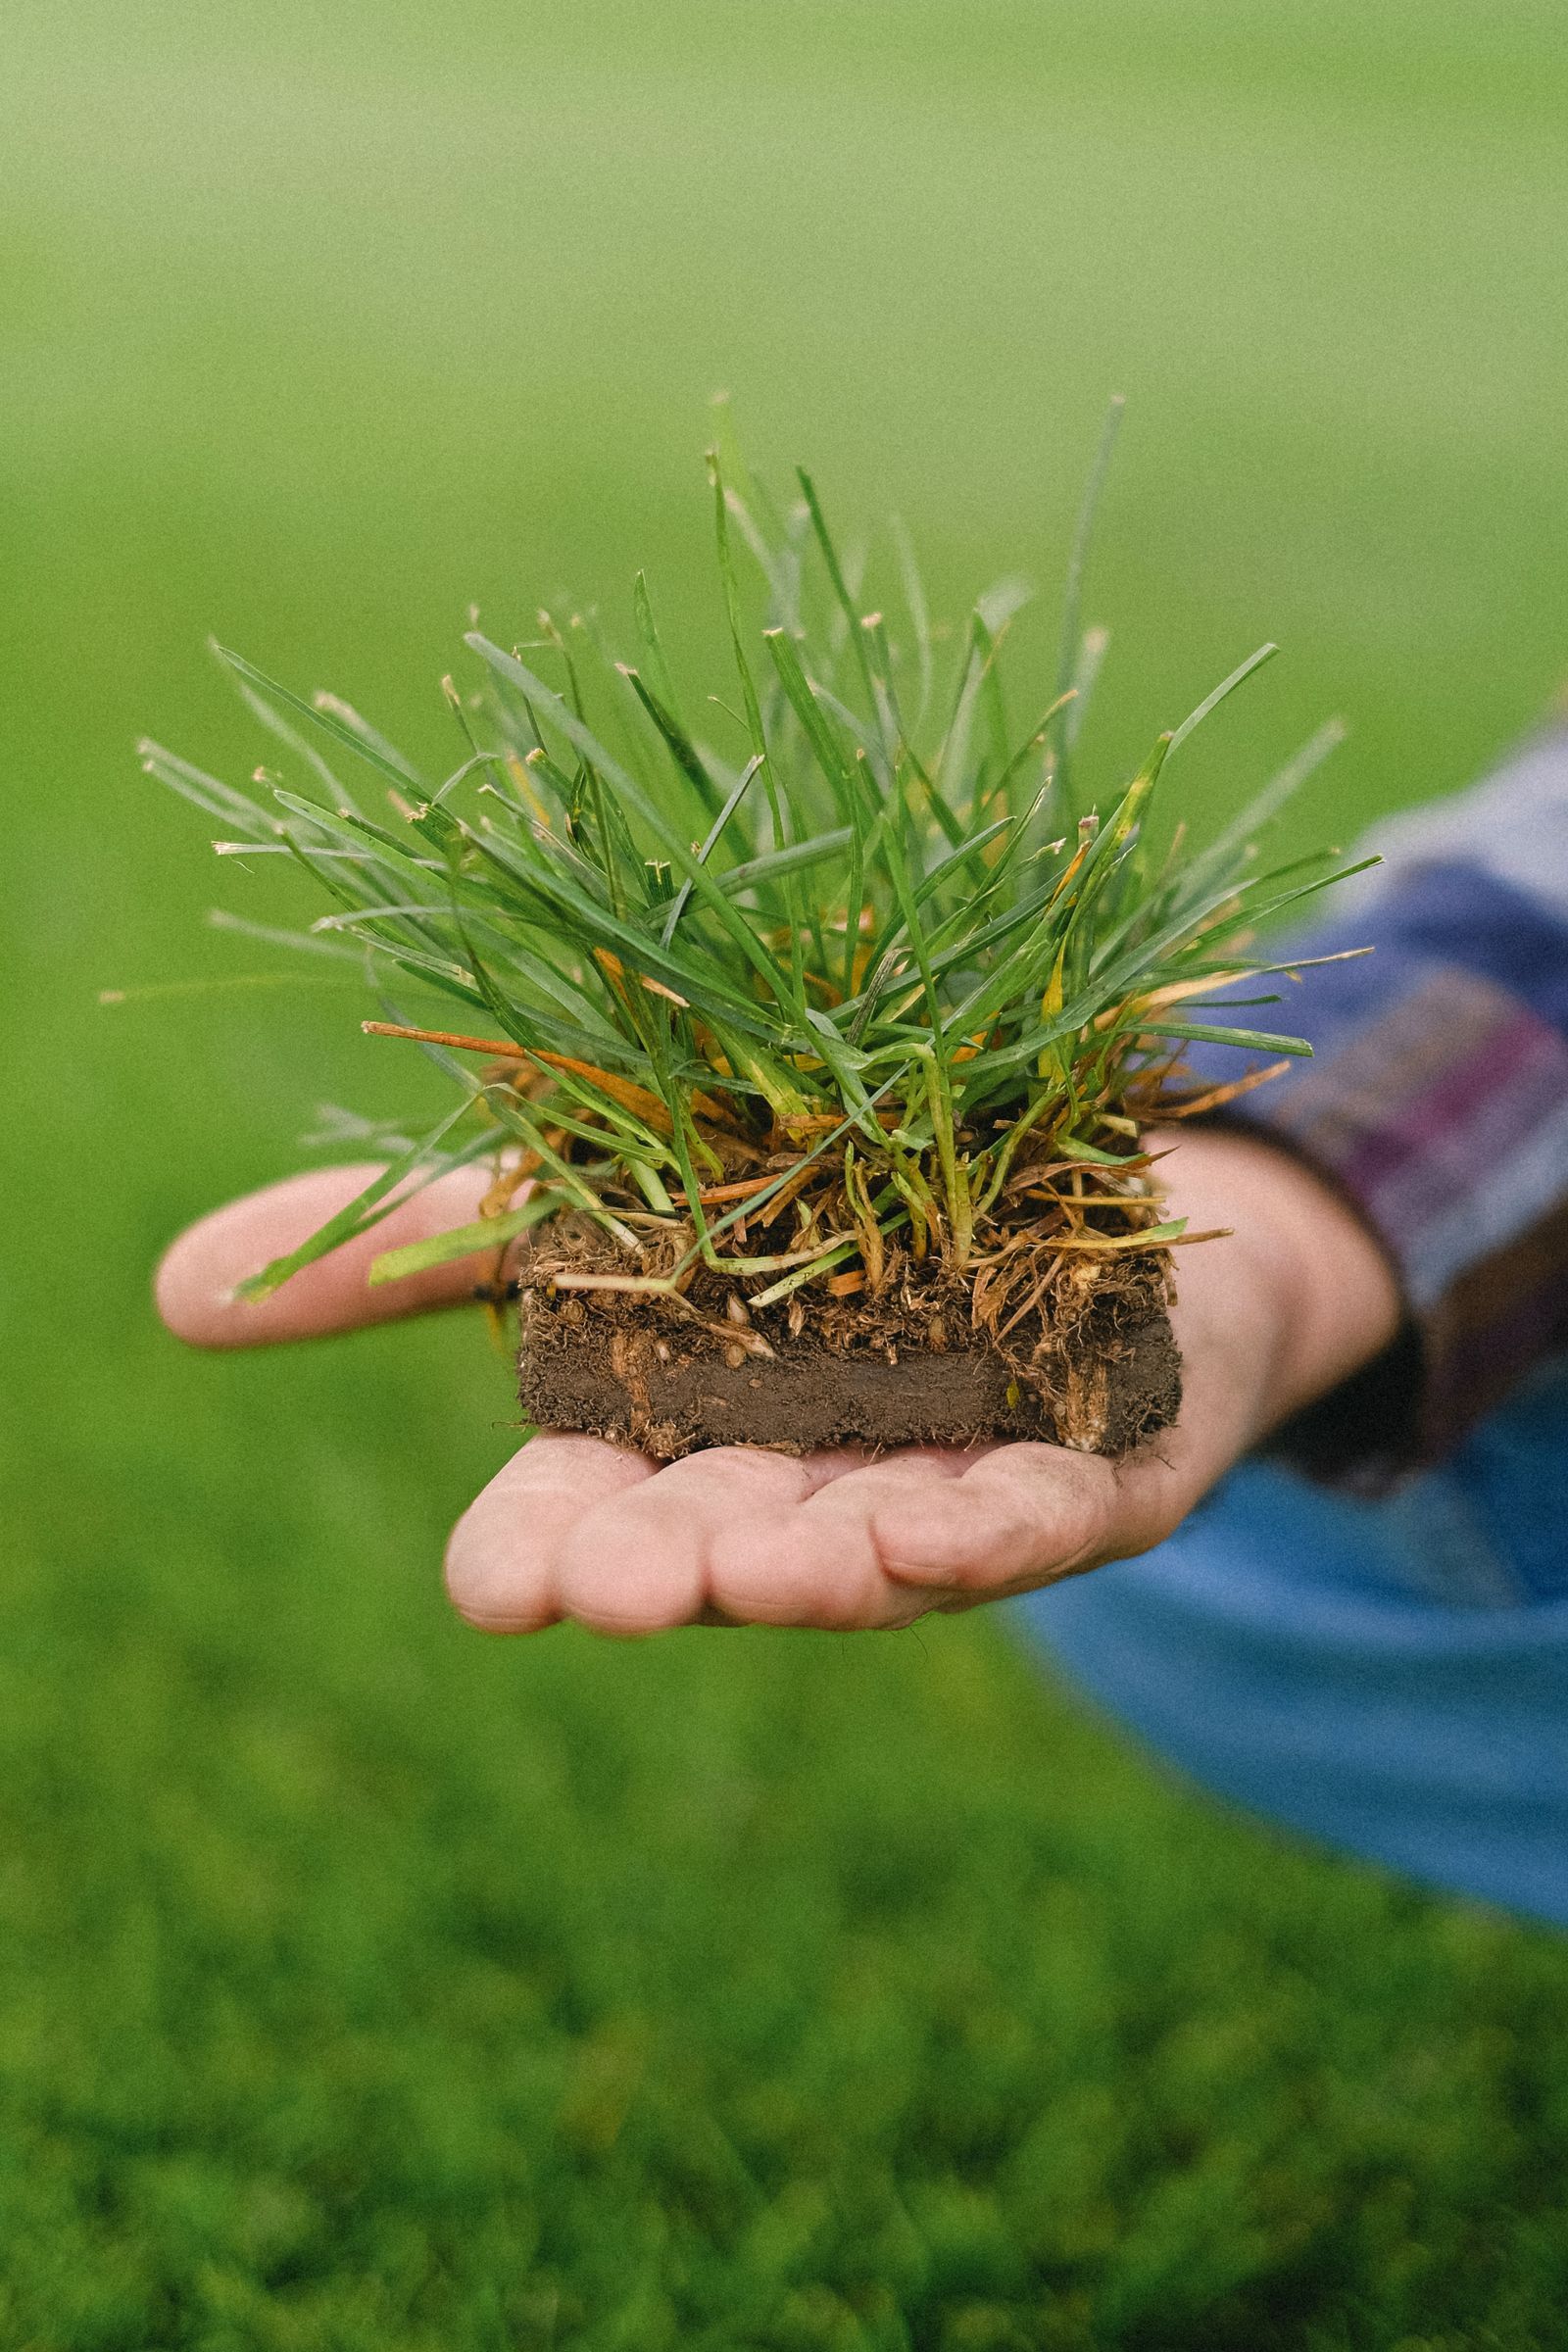
Thatch is the layer of living and dead stems and roots between the green grass and the soil. A thin layer is normal and even protective, but when thatch builds beyond about an inch, it becomes a sponge and a barrier: seed sown onto it never reaches soil, and water and air struggle to reach roots. UNH Extension's sequence begins here for that reason: check the thatch by cutting a small plug and measuring the brown layer, and if it is over about an inch, remove the excess by dethatching, with a dethatching rake on a small lawn or a rented power rake on a large one, before you sow.
Then mow the lawn shorter than usual for the seeding, in stages if needed under the one third rule, and rake up the clippings and loosened debris thoroughly. The goal is a surface where you can see soil between the grass plants, because that visible soil is where your seed must land. Bare patches get extra attention: loosen their surface with a rake or garden weasel so seed meets crumbled soil, not a hard crust. On a badly compacted lawn, core aeration before seeding is the professional's upgrade, pulling small plugs that give seed, water, and air a way in; it is rentable equipment and worth it when the ground feels like pavement underfoot.
Step 3: Choose Seed That Matches Your Lawn and Light
Buy seed for the lawn you have and the light you measured, not the lawn in the advertisement. Match the species to your existing turf and region, cool season mixes of fescue, bluegrass, and ryegrass in the north, matched to sun or shade by the blend, and warm season species in the south. A shade blend where the trees have thinned your lawn is not an admission of defeat; it is the correct seed, and it will succeed where a sun blend keeps failing in the same spots year after year.
Read the seed label the way you would a food label. It lists the varieties, the germination percentage, and the weed seed content, which should be as close to zero as the shelf offers. Cheap seed with meaningful weed content is the most expensive seed in the store, paid for in future weeding. Buy fresh seed from a reputable source, and buy enough for the rate the label prints for overseeding, which is lower than the rate for a brand new lawn, because you are thickening a lawn, not creating one.
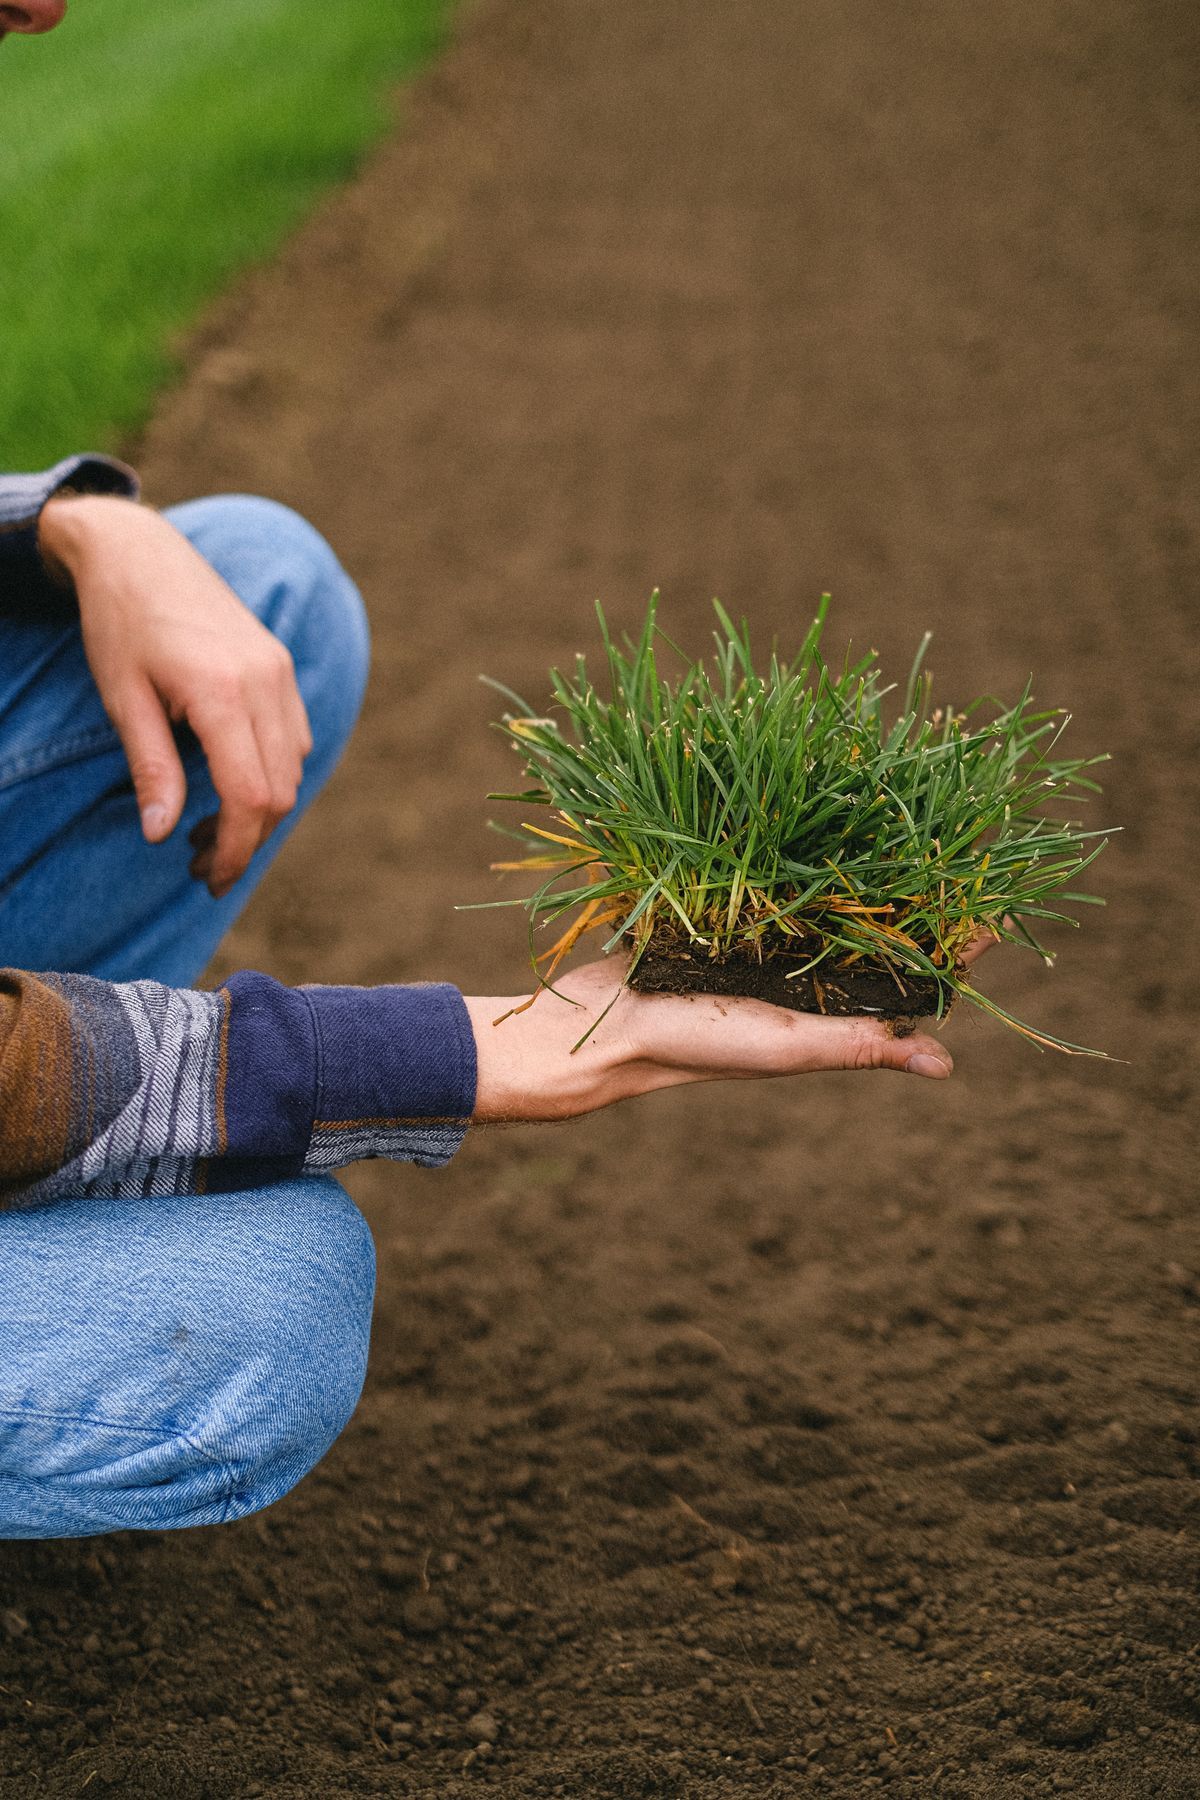
Hands holding a small patch of grass turf with soil, the seed to soil contact overseeding lives or dies on
Step 4: Spread in Two Passes at Half Rate
Load the spreader with half the seed you intend to apply, set it to half the label's overseeding rate, and walk the whole lawn in one direction. Then load the second half and walk the lawn again at right angles to the first pass. This two pass, half rate method, standard extension practice, is how a home spreader produces an even result: the crosshatch pattern cancels the streaks and misses that a single pass always leaves, and thin spots in coverage become visible and correctable while you still have seed in hand.
Mind the edges. Seed thrown into beds, drives, and paths is wasted and becomes weeding; walk the perimeter with the spreader closed or guarded, and hand sow the edges and small bare patches afterward, where you can also give them extra attention. On slopes, the second pass matters even more, because seed migrates downhill with the first rain.
Step 5: Rake Into the Top Quarter Inch and Roll
Now make the contact the whole project exists for. Rake the seeded lawn lightly, just enough to work the seed off the grass blades and thatch and into the top quarter inch of soil, the depth UNH's sequence specifies. Seed sitting on top of foliage dries and dies; seed buried deep exhausts itself before reaching light; a quarter inch down, it sits in moist soil with light above it, which is the exact address germination requires.
Follow the rake with a roller, an empty or lightly filled lawn roller, or simply walk the area systematically, to press seed and soil together. Contact is the point: a seed surrounded by air pockets dries in the first sunny afternoon, while a seed pressed into soil drinks from it continuously. In bare patches, a light topdressing of compost or peat moss spread over the seed after raking holds extra moisture and marks where you have sown, which helps you water what matters.
Step 6: Keep It Moist Until Germination, Then Wean
This is the promise from Step 1, and it is daily work. The seeded layer must not dry out from sowing until the new grass is up and growing, which means light watering as often as the weather demands, in dry spells more than once a day, enough to keep the surface consistently moist without puddling or washing seed downhill. This is the opposite of the deep and infrequent watering an established lawn wants, and confusing the two regimes is how seedings die in week two, just before they would have appeared.
Germination times vary by species, ryegrass fast, bluegrass famously slow, so judge by the blend on your label and do not declare failure early. Once the seedlings are up and have been mowed once, begin the weaning: water a little less often and a little deeper, stretching the young roots downward, until the new grass joins the established lawn's normal regime of about an inch of water a week. Mow the overseeded lawn when the new grass reaches mowing height, with a sharp blade and a light touch, avoiding tight turns that tear seedlings, and keep traffic off the seeded areas as much as real life allows until the new turf has been cut a few times.
Aftercare: The First Season of the New Grass
The overseeded lawn's first season asks for gentleness in two specific places. Weed control comes first: most weed killers that are safe on established turf are not safe on seedlings, so postpone broadleaf weed treatments until the new grass has been mowed several times and is genuinely established, and let the thickening turf itself suppress weeds in the meantime, which is, after all, the point of the project. Hand pull the obvious invaders on your rounds.
Fertilizer comes second: a starter fertilizer at seeding time is a common and reasonable practice where soils are poor, applied by its label, but heavy feeding of a young lawn pushes soft top growth at the expense of roots. Feed by evidence and season, the same rule as everywhere in the garden. By the end of its first full season, a successful overseeding is invisible as an event and obvious as a lawn: thick, even, and crowding its own weeds out, which is the state every lawn wants to return to and only needs seed, contact, and moisture to reach.
Bare and Dead Patches: The Same Method, Concentrated
A lawn with distinct bare or dead patches, rather than general thinness, gets the same chain applied at higher intensity. First diagnose the patch before seeding it, because seed sown into an unsolved problem dies the same death as the grass before it: check for grubs by lifting a square of turf at the patch's edge, for compaction by pushing a screwdriver into the soil, for dog damage by its pattern of small, burned edged spots, and for shade by your honest sun count. Fix the cause that you find, or choose seed bred for the condition, as with shade blends under trees.
Then prepare the patch harder than the general lawn: rake out every dead stem down to soil, loosen the surface thoroughly, and consider a thin layer of fresh topsoil or compost worked into the top of the patch, because dead spots often sit on the yard's worst ground. Sow at the new lawn rate from the label rather than the overseeding rate, since there is no existing turf to thicken, rake the seed into the top quarter inch, press it firm, and keep it moist with the same daily discipline as the main seeding. Rope off or mark patches under repair if feet allow it; a seedling patch walked on daily is a patch reseeded monthly. Within a season, a well repaired patch disappears into the lawn, and the only evidence is the note in your journal that tells you what that spot needs watching for next year.
Frequently Asked Questions
When is the best time to overseed a lawn?
For cool season lawns, early fall, by a wide margin: warm soil germinates seed fast, cooling air suits young grass, weed pressure is falling, and seedlings get a fall and a spring to establish before summer. Spring seeding works but collides with pre-emergent herbicide, which blocks grass seed as reliably as crabgrass seed. Warm season lawns are overseeded in late spring to early summer, when the grass is fully awake and growing.
Why did my overseeding not grow?
Almost always one of three breaks in the chain. The seed never reached soil, scattered onto thick thatch or leaves instead of a prepared surface. The seed dried out during germination, because the seeded layer must stay consistently moist, with light watering as often as daily or more in dry weather, until the grass is up. Or the lawn had been treated with pre-emergent herbicide, which prevents grass seed from establishing just as it prevents crabgrass. Diagnose which link broke and the next attempt succeeds.
How much seed do I need?
Use the overseeding rate printed on your seed label, which is set for thickening an existing lawn and is lower than the new lawn rate on the same label. Apply it in two passes at half rate, walking the second pass at right angles to the first, which evens out the streaks a single pass leaves. Buy seed with a high germination percentage and weed seed content as close to zero as you can find; cheap seed is paid for later in weeding.
Do I need to dethatch before overseeding?
Only if the thatch layer is over about an inch thick. Check by cutting a small plug and measuring the brown, spongy layer between the green grass and the soil. Beyond about an inch, thatch stops seed from reaching soil and must be reduced first, by a dethatching rake or a rented power rake, per the University of New Hampshire Extension sequence. Below that, mow short, rake hard to expose soil, and sow.
How often do I water after overseeding?
Keep the seeded surface consistently moist until germination and early growth, which in dry weather means light watering once or more every day, the opposite of the deep, infrequent regime an established lawn prefers. Once the new grass is up and has been mowed, stretch the intervals and deepen the watering gradually until the young turf joins the normal rule of about an inch of water per week.
Can I overseed and prevent crabgrass in the same spring?
Not in the same area. Pre-emergent herbicides stop seeds from establishing, and they cannot tell crabgrass seed from grass seed; a lawn under a fresh pre-emergent barrier will not overseed successfully until the barrier wears off, which can take much of the season. Choose the project the lawn needs more, which for a thin lawn is usually the seed, and move overseeding to fall, when cool season lawns get their best results and no conflict exists.
Photo credits: Anna Shvets (Pexels); Anna Shvets (Pexels). Photos are served from this site; follow the credit to the library page for the original.