How to Plant a Shrub: Wide and Shallow, Native Backfill, and the Advice That Changed
By the Windchime Walker editorial team
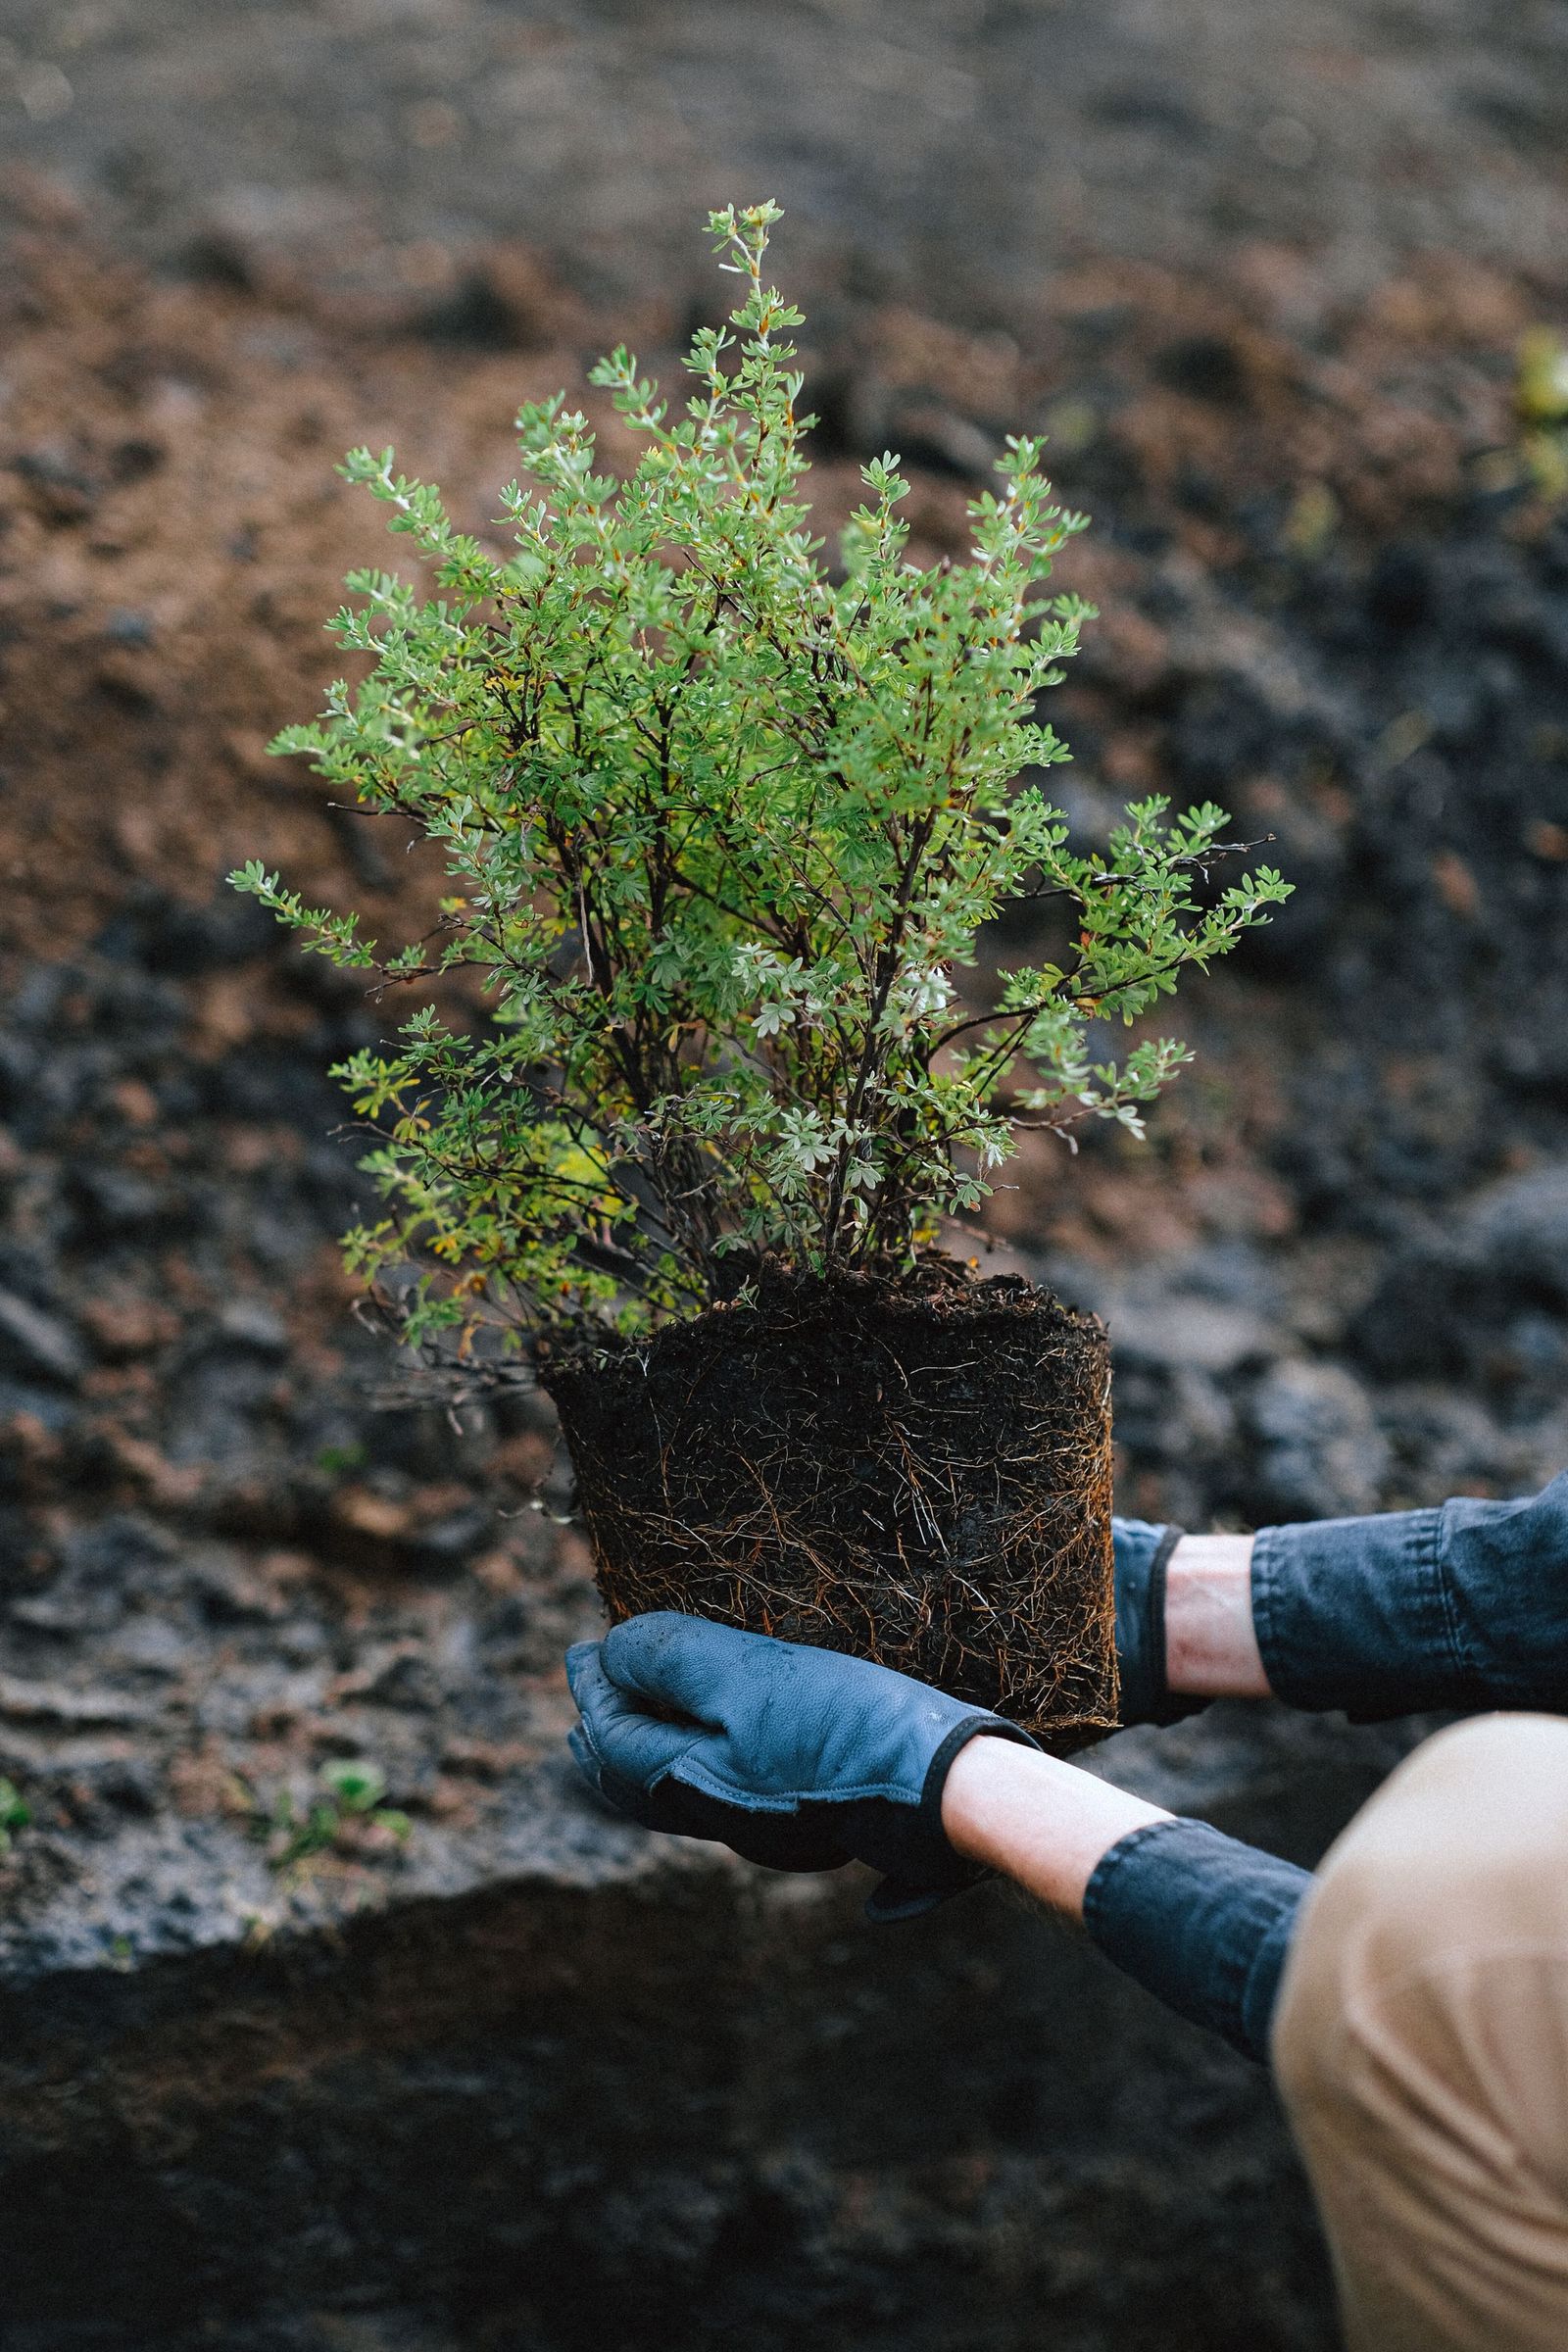
Photo: Anna Shvets / Pexels
Shrub planting advice changed, and the change is the most useful thing on this page. If you learned to plant from an older book or a parent's example, you learned to dig a deep hole and amend the backfill with compost and peat, making a rich pocket for the roots. The extension services now teach nearly the opposite: a wide, shallow hole, the shrub set at the depth it grew at, and the plain soil you dug out put back around it. Iowa State Extension's planting guidance is the clear statement of the modern method, and this page follows it, while naming the old advice where it still circulates, because a shrub planted by the old rules in heavy soil is often a shrub slowly drowning in a bathtub of its owner's kindness.
Our tree and established shrub care pages own the plants after planting day. This page owns the day itself, and the first season that follows it.
Interactive tool
Shrub Planting Checklist
Check off each step as you finish it. Your progress stays on this page.
0 of 8 complete
0% done
Timing and the Plant You Bring Home
Fall and spring are the planting seasons, and fall is the connoisseur's choice in most climates: the soil is warm, the air is cool, roots grow for weeks after the top stops, and the shrub meets its first summer with a root system already exploring. Spring planting runs a close second and is the safer choice for marginally hardy shrubs in cold climates, which get a full season to establish before their first winter. Summer planting works with faithful watering and is nobody's first choice. At the nursery, choose the plant by its roots and structure rather than its size: a smaller shrub with a dense, healthy root ball and good branching outgrows a leggy bargain in two seasons. Reject plants with roots circling thickly on the surface of the mix, with trunks damaged or cankered, or with the graft or flare buried invisibly deep in the pot, because that last flaw is the one you are about to learn to check for, and starting with it buried makes your job harder.
The Hole: Wide and Shallow, Measured Against the Ball
Dig the hole 2 to 3 times wider than the root ball, and only as deep as the ball itself. Width is where the value is: the roots of a new shrub grow outward into loosened soil far more than downward, and a wide saucer of worked earth is the runway they need. Depth is where the danger is: a shrub set too deep, its root flare buried, declines slowly over years in a way owners blame on everything except the planting. Measure the ball's height before digging, from its bottom to the root flare, the point where the trunk widens into roots, which on a container shrub may be hidden under an inch or two of mix you will need to scrape away to find. In poorly drained soil, plant deliberately high, with the top third of the root ball above the surrounding grade, and mound the backfill gently to meet it; a shrub on a slight pedestal in clay lives, while the same shrub at grade in a sump rots. Set the ball on firm, undisturbed soil at the hole's bottom, never on loose backfill that will settle and sink the plant deeper over its first season.
Roots: the Shave, the Tease, and the Flare Check
Container shrubs arrive with roots that have been circling, and planting them as they come exports the pot's problem into the ground for decades. Slide the plant out and look. A light mat of fine roots gets teased outward with your fingers or scored with three or four shallow vertical cuts. A thick circling root, especially one wrapping the trunk's base, gets cut away cleanly; the modern practice, backed by arborist research, is to shave the outer inch of the root ball entirely on a badly bound plant, removing the circling layer wholesale, and plants so treated establish faster than plants planted intact. It feels brutal and it is correct. Then the flare check, the step that decides the shrub's decade: with the ball in the hole, confirm the root flare sits at or slightly above the finished grade, scrape mix off the top of the ball until you can see it, and adjust the depth before a single shovel of backfill goes in. Balled and burlapped shrubs get the same check, with the burlap and any wire folded back from the top third of the ball once it is set, and synthetic burlap, which does not rot, removed entirely.
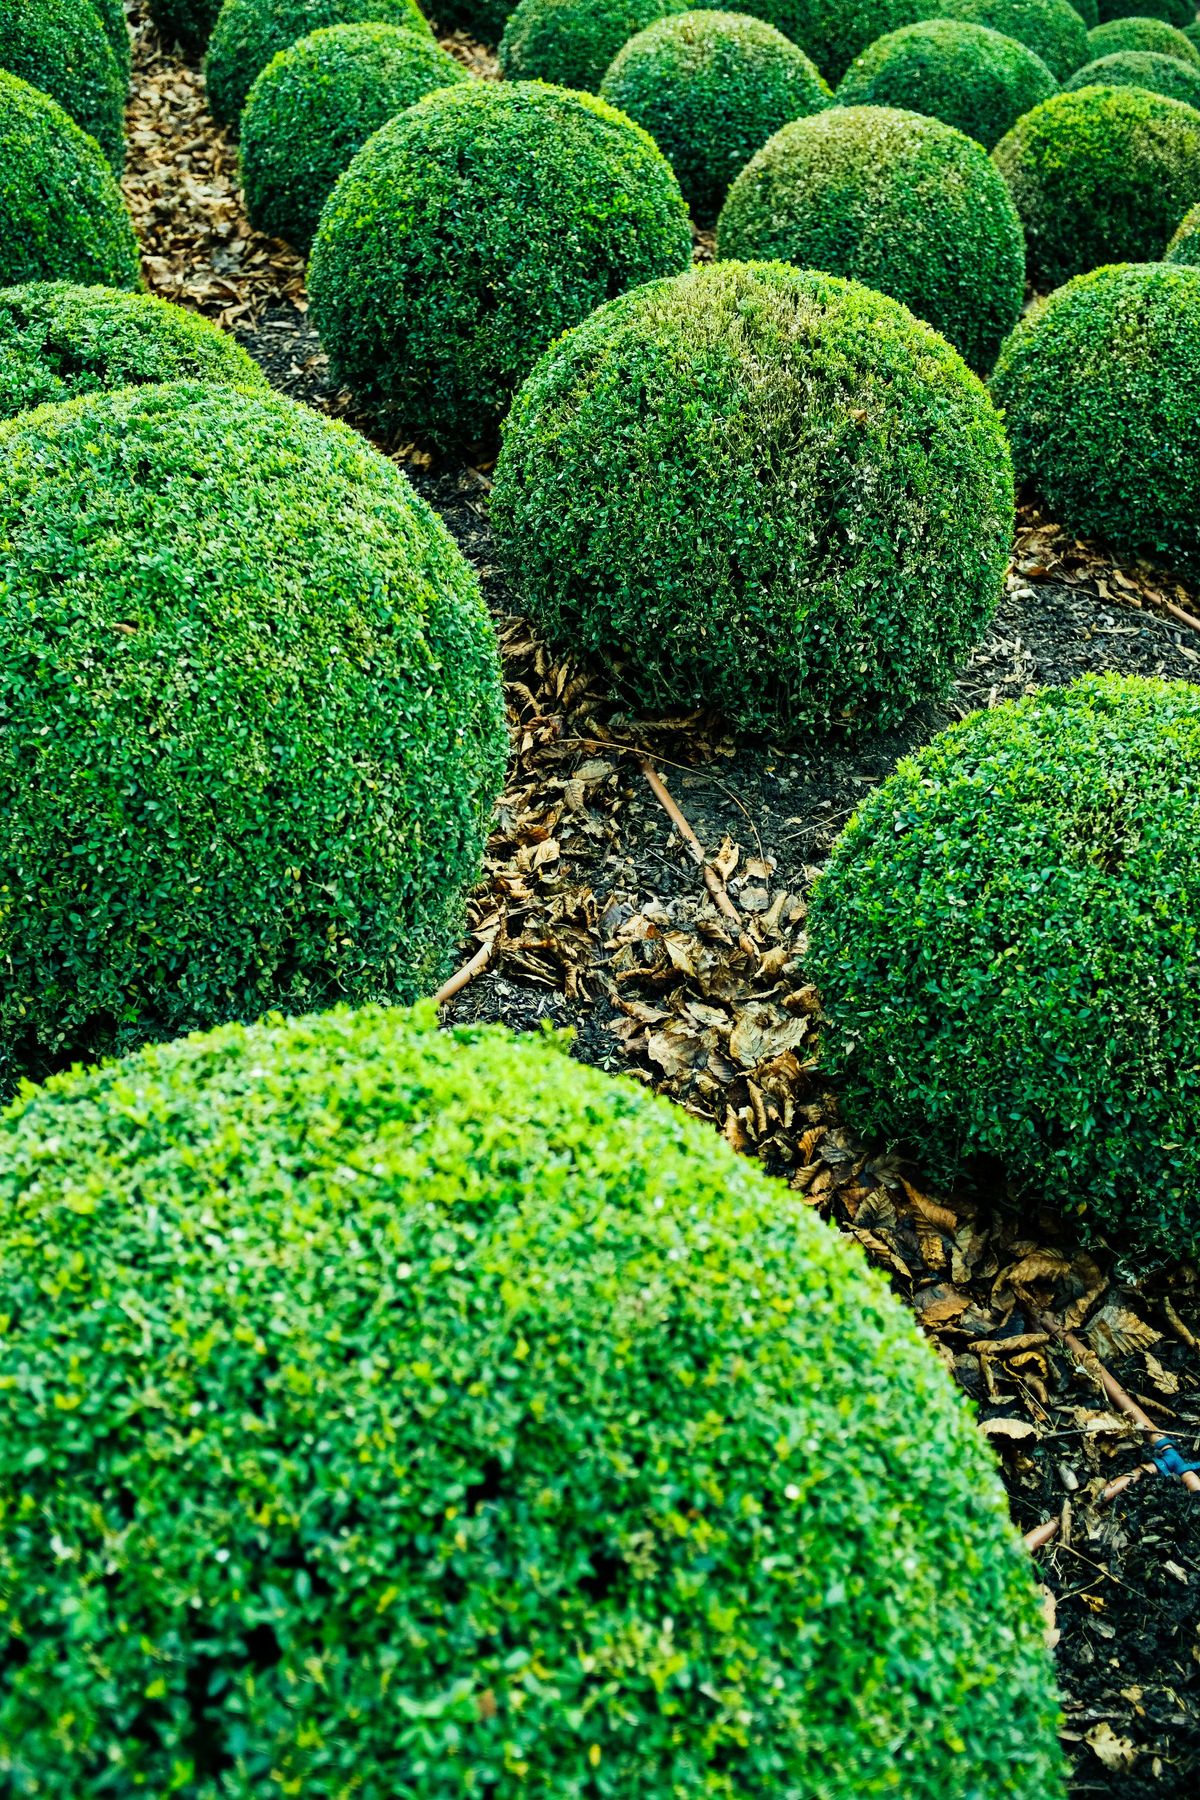
Rounded shrubs established in a garden after planting
Backfill: Native Soil, and Why the Advice Changed
Backfill with the soil you dug out, broken up and firmed in layers, watered as you go to settle it and collapse air pockets. Do not amend it. The reasoning behind the change is worth understanding, because the old advice feels so nurturing: roots growing in a rich amended pocket tend to stay in it, circling at the boundary with the native soil as if still in a pot, and in clay ground the amended hole fills with water that cannot drain into the surrounding earth, a bathtub with a shrub in it. A plant backfilled with native soil sends roots outward into the real conditions from the first week, and the wide loosened hole gives them easy going while they do it. Organic matter still has its place, on top: the mulch layer below feeds the soil from above, the way a forest floor does, without creating the pocket. The exceptions are honest ones: in pure sand or construction fill, some amendment of the whole bed, not just the hole, makes sense, because the goal is uniform conditions rather than a privileged pocket. Water the finished planting deeply and slowly, a hose trickling at the base for an hour, until the root ball and the backfill are wet through together.
The Mulch Donut and the First Season
Mulch in a donut, not a volcano: 2 to 3 inches of shredded bark or wood chips spread over the planting area, kept a few inches clear of the trunk and stems, because mulch piled against the bark holds moisture against it and invites rot and rodents, while the clear ring lets the flare breathe and lets you see it. The donut holds the soil moisture even, keeps the mower and trimmer at a survivable distance, and is the single most protective thing you will do after planting day. Then the first season's watering, which is where most new shrubs are actually lost: water deeply when the root ball itself is dry, checking by pushing a finger or a screwdriver into the ball, not the surrounding soil, because the ball and the backfill dry at different rates and the ball is where the roots still live. In most weather that means a deep drink weekly for the first season, more in heat waves, tapered in the second year as roots colonize the bed. A shrub that survives its first full year on this schedule, flare visible, mulch ring intact, roots escaped into native soil, is a shrub planted for decades. The checklist below runs planting day in order.
Balled and Burlapped, Bare Root, and the Guarantee Question
The method above is written for the container shrub most gardeners buy, and the two other forms adjust it at the edges. Balled and burlapped shrubs, the field grown plants in wire baskets, get the same hole, the same flare check, and the same native backfill; the differences are handling and hardware. The ball is heavy and fragile: move it by the ball, never by the trunk, set it in the hole before cutting anything, then fold the burlap and wire back from the top third, cutting away what you can reach, and remove synthetic burlap entirely because it never rots. Bare root shrubs, sold dormant in early spring, arrive as roots and sticks and look dead to the uninitiated; soak the roots in water for a few hours, build a cone of soil in the hole's center, spread the roots down the cone, and backfill to the flare, which on a bare root plant is mercifully visible. The planting depth rule is identical across all three forms, which is the point: the flare at grade is a law of shrub anatomy, not a container technique. One last piece of planting day paperwork: keep the nursery's tag and receipt. Many nurseries guarantee shrubs for a year, and the guarantee claims that succeed are the ones where the owner can show the plant was set at the right depth and watered, which is to say, the claims filed by gardeners who planted by this page. Photograph the set flare before you backfill; it takes ten seconds and it is the whole evidence file.
Frequently Asked Questions
How deep should you plant a shrub?
As deep as the root ball, and no deeper: the root flare, where the trunk widens into roots, should sit at or slightly above the finished grade. Dig the hole 2 to 3 times wider than the ball but only as deep as the ball, set it on firm soil, and in poorly drained ground plant with the top third of the ball above grade.
Should I amend the soil in the planting hole?
No, not the hole. Modern extension guidance, Iowa State's among it, backfills with the native soil you dug out. Amended pockets keep roots circling inside them and hold water like a bathtub in clay. Improve a whole bed uniformly if the soil is truly poor, and put organic matter on top as mulch instead.
What do I do about roots circling in the pot?
Cut them. Tease out a light root mat, score it with shallow vertical cuts, and on a badly bound plant shave the outer inch of the ball to remove the circling layer entirely; research and arborist practice show such plants establish faster. Never plant a thick root that is already girdling the trunk's base.
How often do I water a newly planted shrub?
Deeply about once a week through the first season in typical weather, more in heat, checking the root ball itself rather than the surrounding soil, since the ball dries on its own schedule and holds most of the roots at first. Water slowly and long, an hour's trickle, rather than a daily splash.
When is the best time to plant a shrub?
Fall, in most climates: warm soil, cool air, and weeks of root growth before winter, so the shrub meets summer already established. Spring is a close second and safer for marginally hardy shrubs in cold regions. Summer planting works only with faithful watering.
Photo credits: Anna Shvets (Pexels); Adrien Olichon (Pexels). Photos are served from this site; follow the credit to the library page for the original.