How to Start Composting: Your First Pile, From Corner to Finished Compost
By the Windchime Walker editorial team
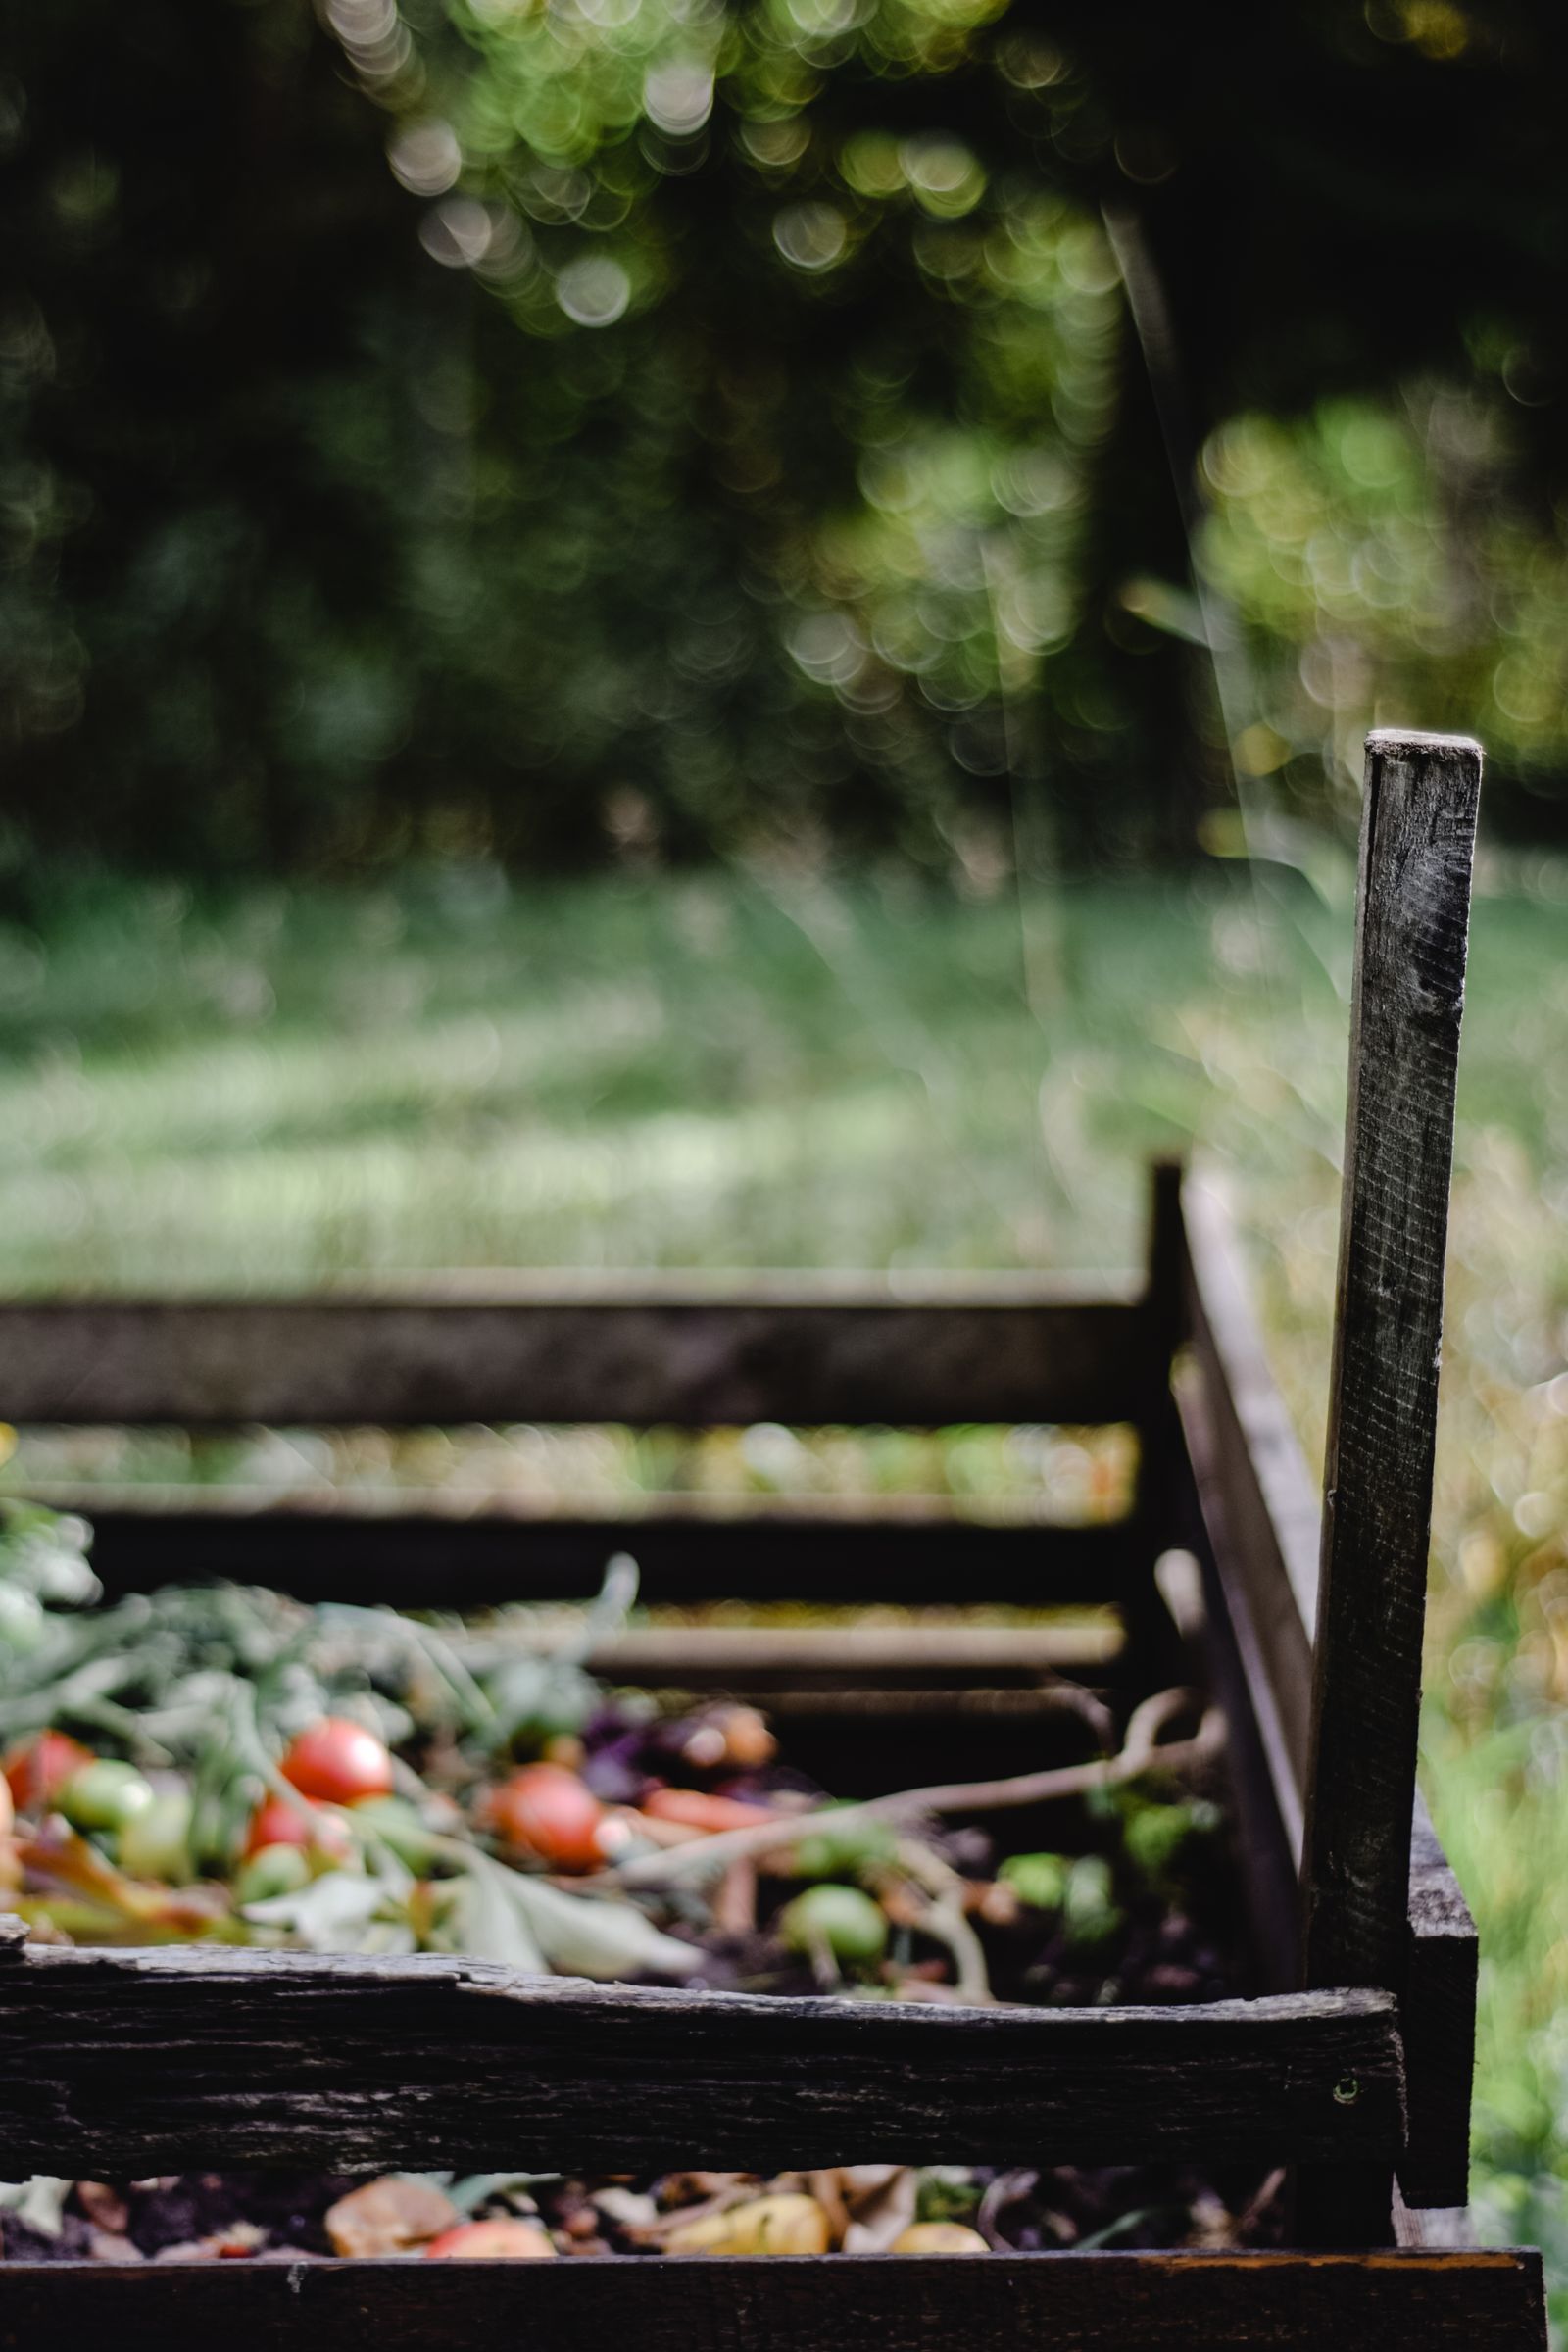
Photo: Eva Bronzini / Pexels
Composting has an image problem: it is presented as a system to be optimized, with ratios, thermometers, and turning schedules, when it is actually the oldest process in gardening, leaves rotting on a forest floor, given a corner and a little help. Everything organic rots. The beginner's job is only to stack the odds so it rots in the right place, at a reasonable speed, without smells or pests. That job fits on one page: choose a method, build the first pile at the right size and recipe, keep it damp, turn it now and then, and harvest what the microbes leave behind.
Our compost bin guide on this site covers building and buying the containers, bins, tumblers, and bays. This page assumes you have a corner and a method, even if the method is a bare pile on the ground, which works perfectly well, and covers starting and running the pile itself, from the first forkful of leaves to the first forkful of finished compost. The First Compost Pile Checklist on this page follows the same order.
Interactive tool
First Compost Pile Checklist
Check off each step as you finish it. Your progress stays on this page.
0 of 7 complete
0% done
Step 1: Choose the Method That Matches Your Life
Five methods cover nearly every home garden. The open pile is free, unlimited in size, and the slowest to look tidy; it suits a yard with a back corner. A bin, bought or built, is the same pile with edges, neater and slightly faster to heat. A tumbler is a sealed drum on an axle: tidy, rodent proof, fast in small batches, and limited in volume, so it suits small gardens with steady kitchen scraps and no big leaf falls. A worm bin composts indoors or in a garage with red wiggler worms, producing superb castings from kitchen scraps alone, at apartment scale. Bokashi is a fermentation bucket for kitchen waste, including foods a pile should not take, whose output still needs burial or a pile to finish. None is the correct answer for everyone; the correct one is the one whose size matches your material and whose location, a few steps from the kitchen door on the route you actually walk, matches your habits. A perfect pile at the far end of the yard loses to a decent bin by the back steps, every winter of your life.
Step 2: Build the First Pile at 3 Feet, Browns Over Greens
Size is the first technical fact: a pile needs to be at least 3 feet wide, 3 feet deep, and 3 feet tall to hold enough heat to compost hot and fast. Smaller piles still rot, on the cold schedule, so build to 3 feet if your material allows and accept the pace if it does not. Site it on bare earth, in light shade if your summers are hot, where water does not pool, and within hose reach for dry spells.
The recipe is the second fact, and it is a ratio of two families. Browns are the dry, carbon rich materials: fallen leaves, straw, shredded paper and cardboard, wood chips, and dry plant stems. Greens are the wet, nitrogen rich materials: kitchen fruit and vegetable scraps, coffee grounds, fresh grass clippings, and green garden trimmings. The working ratio is about 3 parts browns to 1 part greens by volume; many guides say 2 to 3 parts browns, and erring toward more browns is the beginner's safe direction, because excess greens cause every classic compost problem, smell, slime, and flies, while excess browns merely slow things down.
Build in layers over a coarse base of sticks or straw that lets air in from below: a layer of browns a few inches deep, a layer of greens, a shovelful of garden soil or finished compost to introduce the workforce, and repeat, moistening as you go, until the pile is built or the material runs out. Bury kitchen scraps in the center, never on the surface, which is the whole of pest management for most piles. Keep a pile of spare leaves or a bag of shredded paper beside the bin, because every bucket of kitchen greens wants its covering of browns the day it goes in.
Step 3: Keep It Like a Wrung Out Sponge, and Turn It Sometimes
Moisture is the third fact: the pile should feel like a wrung out sponge, damp throughout, never dripping and never dusty. Too dry, and the microbes sleep; too wet, and air leaves the pile and the smell arrives. Water a dry pile as you turn it, layer by layer, and cover an over wet pile or mix in dry browns. In rainy climates a loose cover, a tarp or a lid with air gaps, keeps the sponge wrung rather than soaked.
Turning is the fourth fact, and it is widely exaggerated. Turning mixes the pile, moves the cool outside to the hot center, and adds air, and a pile turned every 1 to 4 weeks composts at the hot schedule. A pile never turned composts anyway, on the cold schedule, because fungi and time do not need your permission. Turn when you have the energy and the pile has cooled; skip it when you do not. The honest timelines are these: a hot, built all at once, turned pile finishes in about 2 to 3 months. A cold pile, added to gradually and rarely turned, finishes in 6 to 12 months. Both produce the same material. Choose your pace by your temperament, not by guilt.
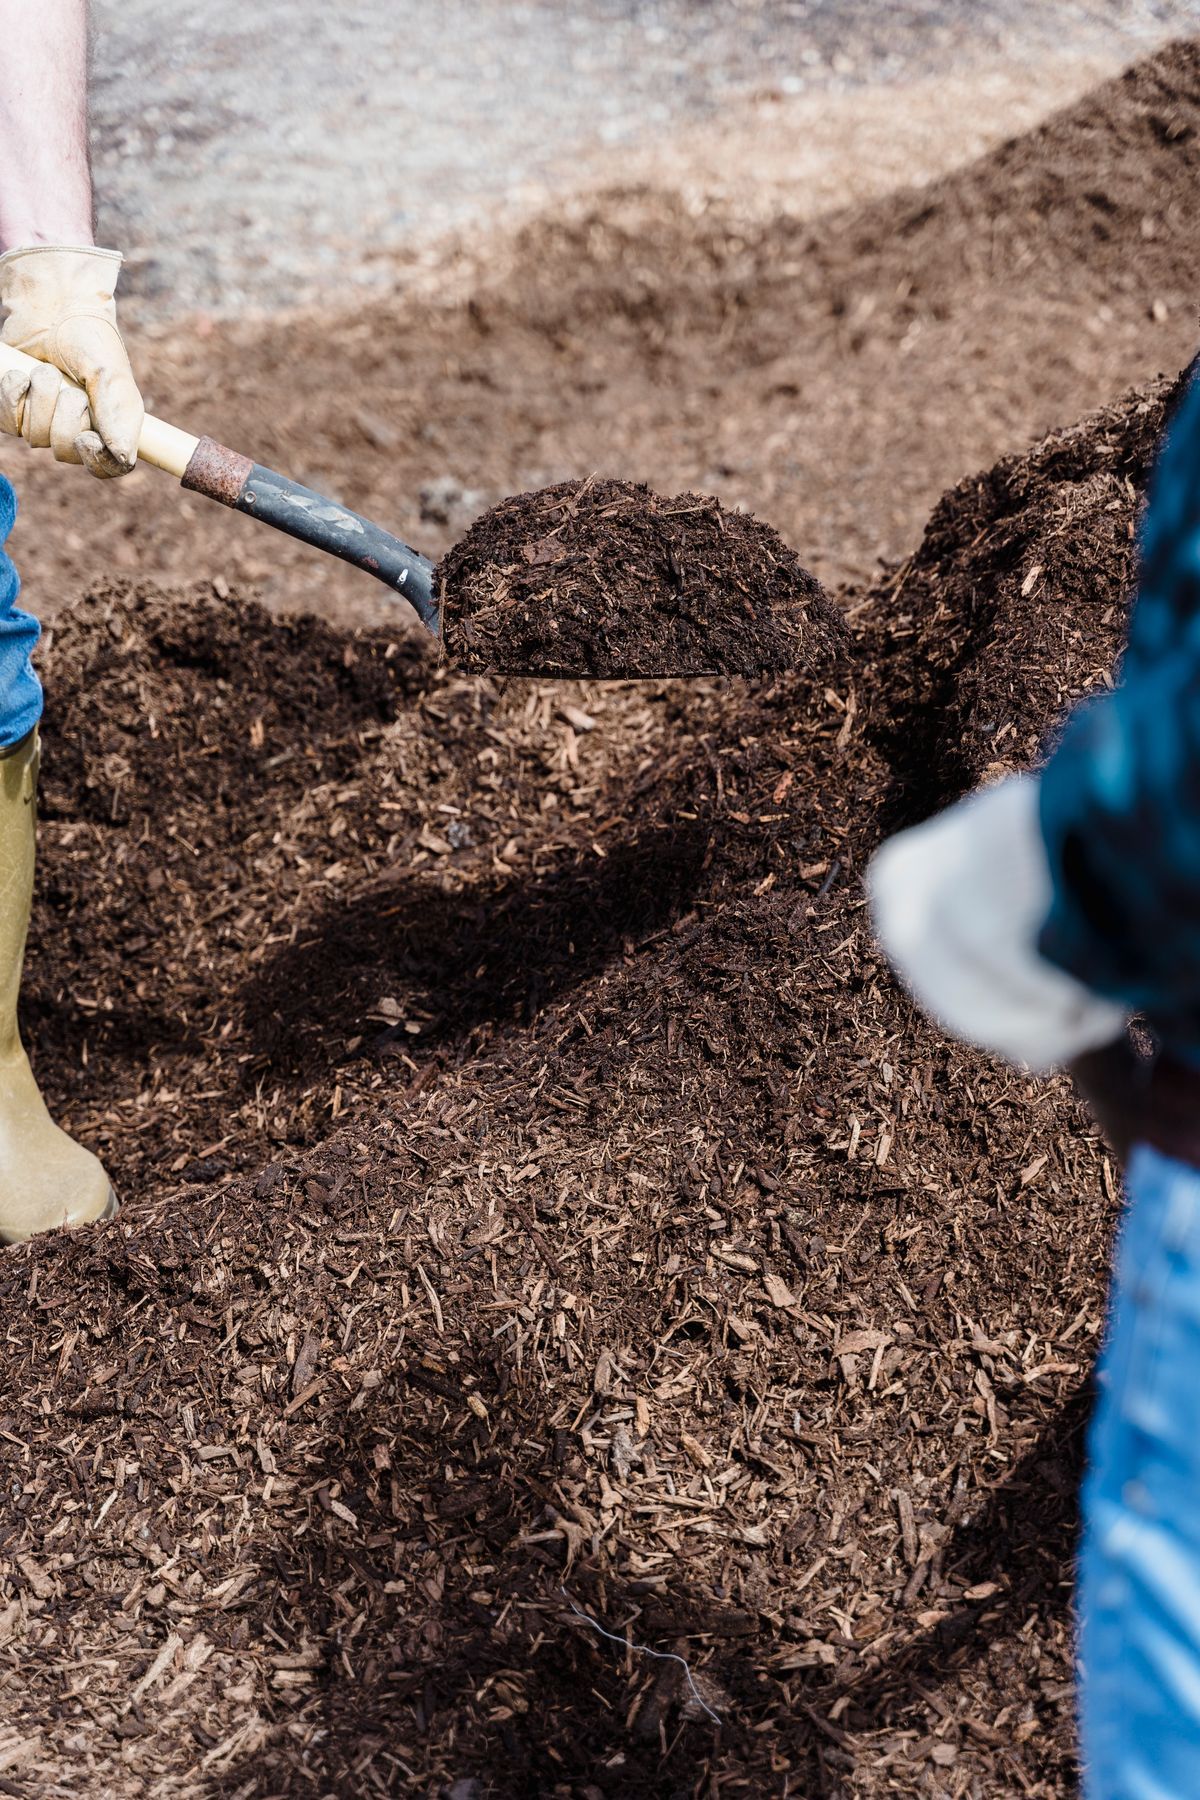
A person shoveling compost in an outdoor garden
The Troubleshooting Table: Three Smells and a Swarm
What you notice
What it means
The fix
Smells like ammonia or rot
Too many greens, too wet, air starved
Mix in a generous layer of browns and turn the pile
Pile is dry and doing nothing
Too dry, or too many browns
Water layer by layer as you turn; add greens if it stays slow
Fruit flies and gnats
Kitchen scraps exposed on the surface
Bury scraps in the center and cover every addition with browns
Pile was hot, now cold and half done
Normal: the easy food is eaten
Turn it to reheat, or leave it to finish cold
Whole recognizable leaves after months
Browns too coarse, pile too dry
Shred leaves next fall; keep the pile at sponge moisture
Never compost meat, dairy, oils, or pet waste from meat eating animals in a home pile; they are the true pest and pathogen risks, and every beginner guide agrees on excluding them. Diseased plants and weed seeds are a judgment call: a genuinely hot pile kills both, a cold pile may not, so the cautious gardener sends those to the municipal green waste and composts the clean material.
Harvest: The Bottom of the Pile Is the Product
Finished compost is dark, crumbly, and smells like earth, with the original materials unrecognizable except for the odd stick or corn cob that needs another round. In a single batch pile, the whole thing finishes together. In a working pile you keep adding to, the finished material collects at the bottom; harvest it by pulling the pile aside or lifting the bin, taking the dark material from underneath, and returning the unfinished top to continue. Sift it if you want it fine for seed starting mixes, and use it straight from the pile for beds, where its job is feeding soil life, improving texture, and holding moisture. A layer of compost an inch or two deep worked into a bed, or laid on top and left for the worms to incorporate, is the single most useful material in gardening, which is the entire point of the pile in your corner: the garden's waste becomes the garden's food, and the loop you started with a bucket of leaves closes every season thereafter.
The Working Lists: What Goes In, What Stays Out
Ratios are easier to keep when the sorting is automatic, so here are the two lists in working form. Browns, the carbon side: fallen leaves, the king of browns, especially shredded; straw and hay that has not been treated; shredded newspaper and cardboard, with tape and glossy coatings removed; wood chips and sawdust, used in moderation since they break down slowly; dry grass and dead plant stems; pine needles, which are fine in normal quantities despite their acid reputation, since the finished compost lands near neutral regardless. Greens, the nitrogen side: fruit and vegetable scraps and peels; coffee grounds and their paper filters; tea leaves; fresh grass clippings, added in thin layers so they do not mat into a slimy sheet; green prunings and spent annuals; and the contents of the herbivore pet cage, rabbit or guinea pig bedding being an excellent green and brown combination in one bucket.
The stays out list is shorter and firmer. No meat, bones, dairy, cooking oil, or greasy food, ever, in an open home pile. No waste from dogs or cats. No glossy magazine paper, no coal or charcoal ash, and no ash at all from treated wood. Wood ash from clean firewood is acceptable in light dustings, but it is alkaline and piles rarely need it, so beginners can skip it without loss. Weeds that have set seed and plants killed by disease are the judgment call already covered: out, unless your pile verifiably runs hot. Keep the two lists on the bin lid if it helps, and the 3 to 1 habit becomes a reflex within a month, which is when composting stops being a project and becomes a place the kitchen scraps simply go.
Using Finished Compost Where It Counts Most
A finished batch invites the question of where it does the most good, and the honest answer is: everywhere, but in a deliberate order when supply is short. First, the vegetable beds, where an inch or two worked in before planting feeds the crops that feed you and improves the soil you dig most often. Second, new plantings of any kind, trees, shrubs, perennials, where a few shovelfuls in the backfill and a mulch of compost on top give a plant its best first year. Third, the lawn, where a thin top dressing, a quarter inch or so raked in, in fall, improves soil under grass you cannot dig, slowly and surely. Fourth, containers, where finished compost at about a third of the mix renews last year's potting soil into this year's.
What compost is not is a fertilizer in the bagged sense: its nutrient levels are modest, and a hungry crop in poor soil may still want a measured feeding alongside it. Compost's gifts are biological and structural: the living community it adds, the water it holds, the crumb it builds, the slow release of everything it contains. Gardeners who understand that stop asking the pile to be a fertilizer factory and start treating it as what it is, the garden's soil insurance, renewed every season from the garden's own leavings. Start the first pile this weekend, at whatever size your material allows, and by the time it finishes you will understand your garden's soil better than any product could have taught you.
Frequently Asked Questions
What is the right ratio of browns to greens in compost?
About 3 parts browns to 1 part greens by volume is the beginner's working ratio; guides commonly say 2 to 3 parts browns. Browns are dry carbon materials such as leaves, straw, and shredded paper. Greens are wet nitrogen materials such as kitchen scraps and fresh clippings. When in doubt, add more browns: too many greens cause smell and slime, while too many browns only slow the pile.
How big does a compost pile need to be?
At least 3 feet wide, 3 feet deep, and 3 feet tall to heat up and compost quickly. Smaller piles still decompose, just on the cold schedule of 6 to 12 months rather than the hot schedule of 2 to 3 months. Build to 3 feet if you have the material, and site the pile on bare earth where water does not pool.
How often do I need to turn compost?
Every 1 to 4 weeks for a hot, fast pile, and never, strictly speaking, for a cold one. Turning mixes cool outer material into the hot center and adds air, which speeds everything. An unturned pile still finishes in 6 to 12 months. Turn when you have the energy; the pile is patient either way.
Why does my compost smell bad?
Almost always too many greens, too much water, and too little air, acting together. The fix is mechanical: turn the pile and mix in a generous amount of dry browns, and bury kitchen scraps in the center under a covering of browns from then on. A healthy pile smells like earth, not rot, and the wrung out sponge moisture level is the target.
What should never go in a home compost pile?
Meat, dairy, oils, and the waste of meat eating pets, which attract pests and carry pathogens a home pile cannot reliably handle. Also be cautious with diseased plants and weeds that have set seed: a hot pile kills them, a cold pile may spread them, so cautious gardeners send those to municipal green waste instead.
How do I know when compost is finished?
It is dark, crumbly, and smells like clean earth, and you cannot recognize the original materials, apart from the occasional slow stick or cob that goes back for another round. In a pile you keep adding to, finished compost collects at the bottom; harvest from underneath and return the unfinished material to keep working.
Photo credits: Eva Bronzini (Pexels); Greta Hoffman (Pexels). Photos are served from this site; follow the credit to the library page for the original.