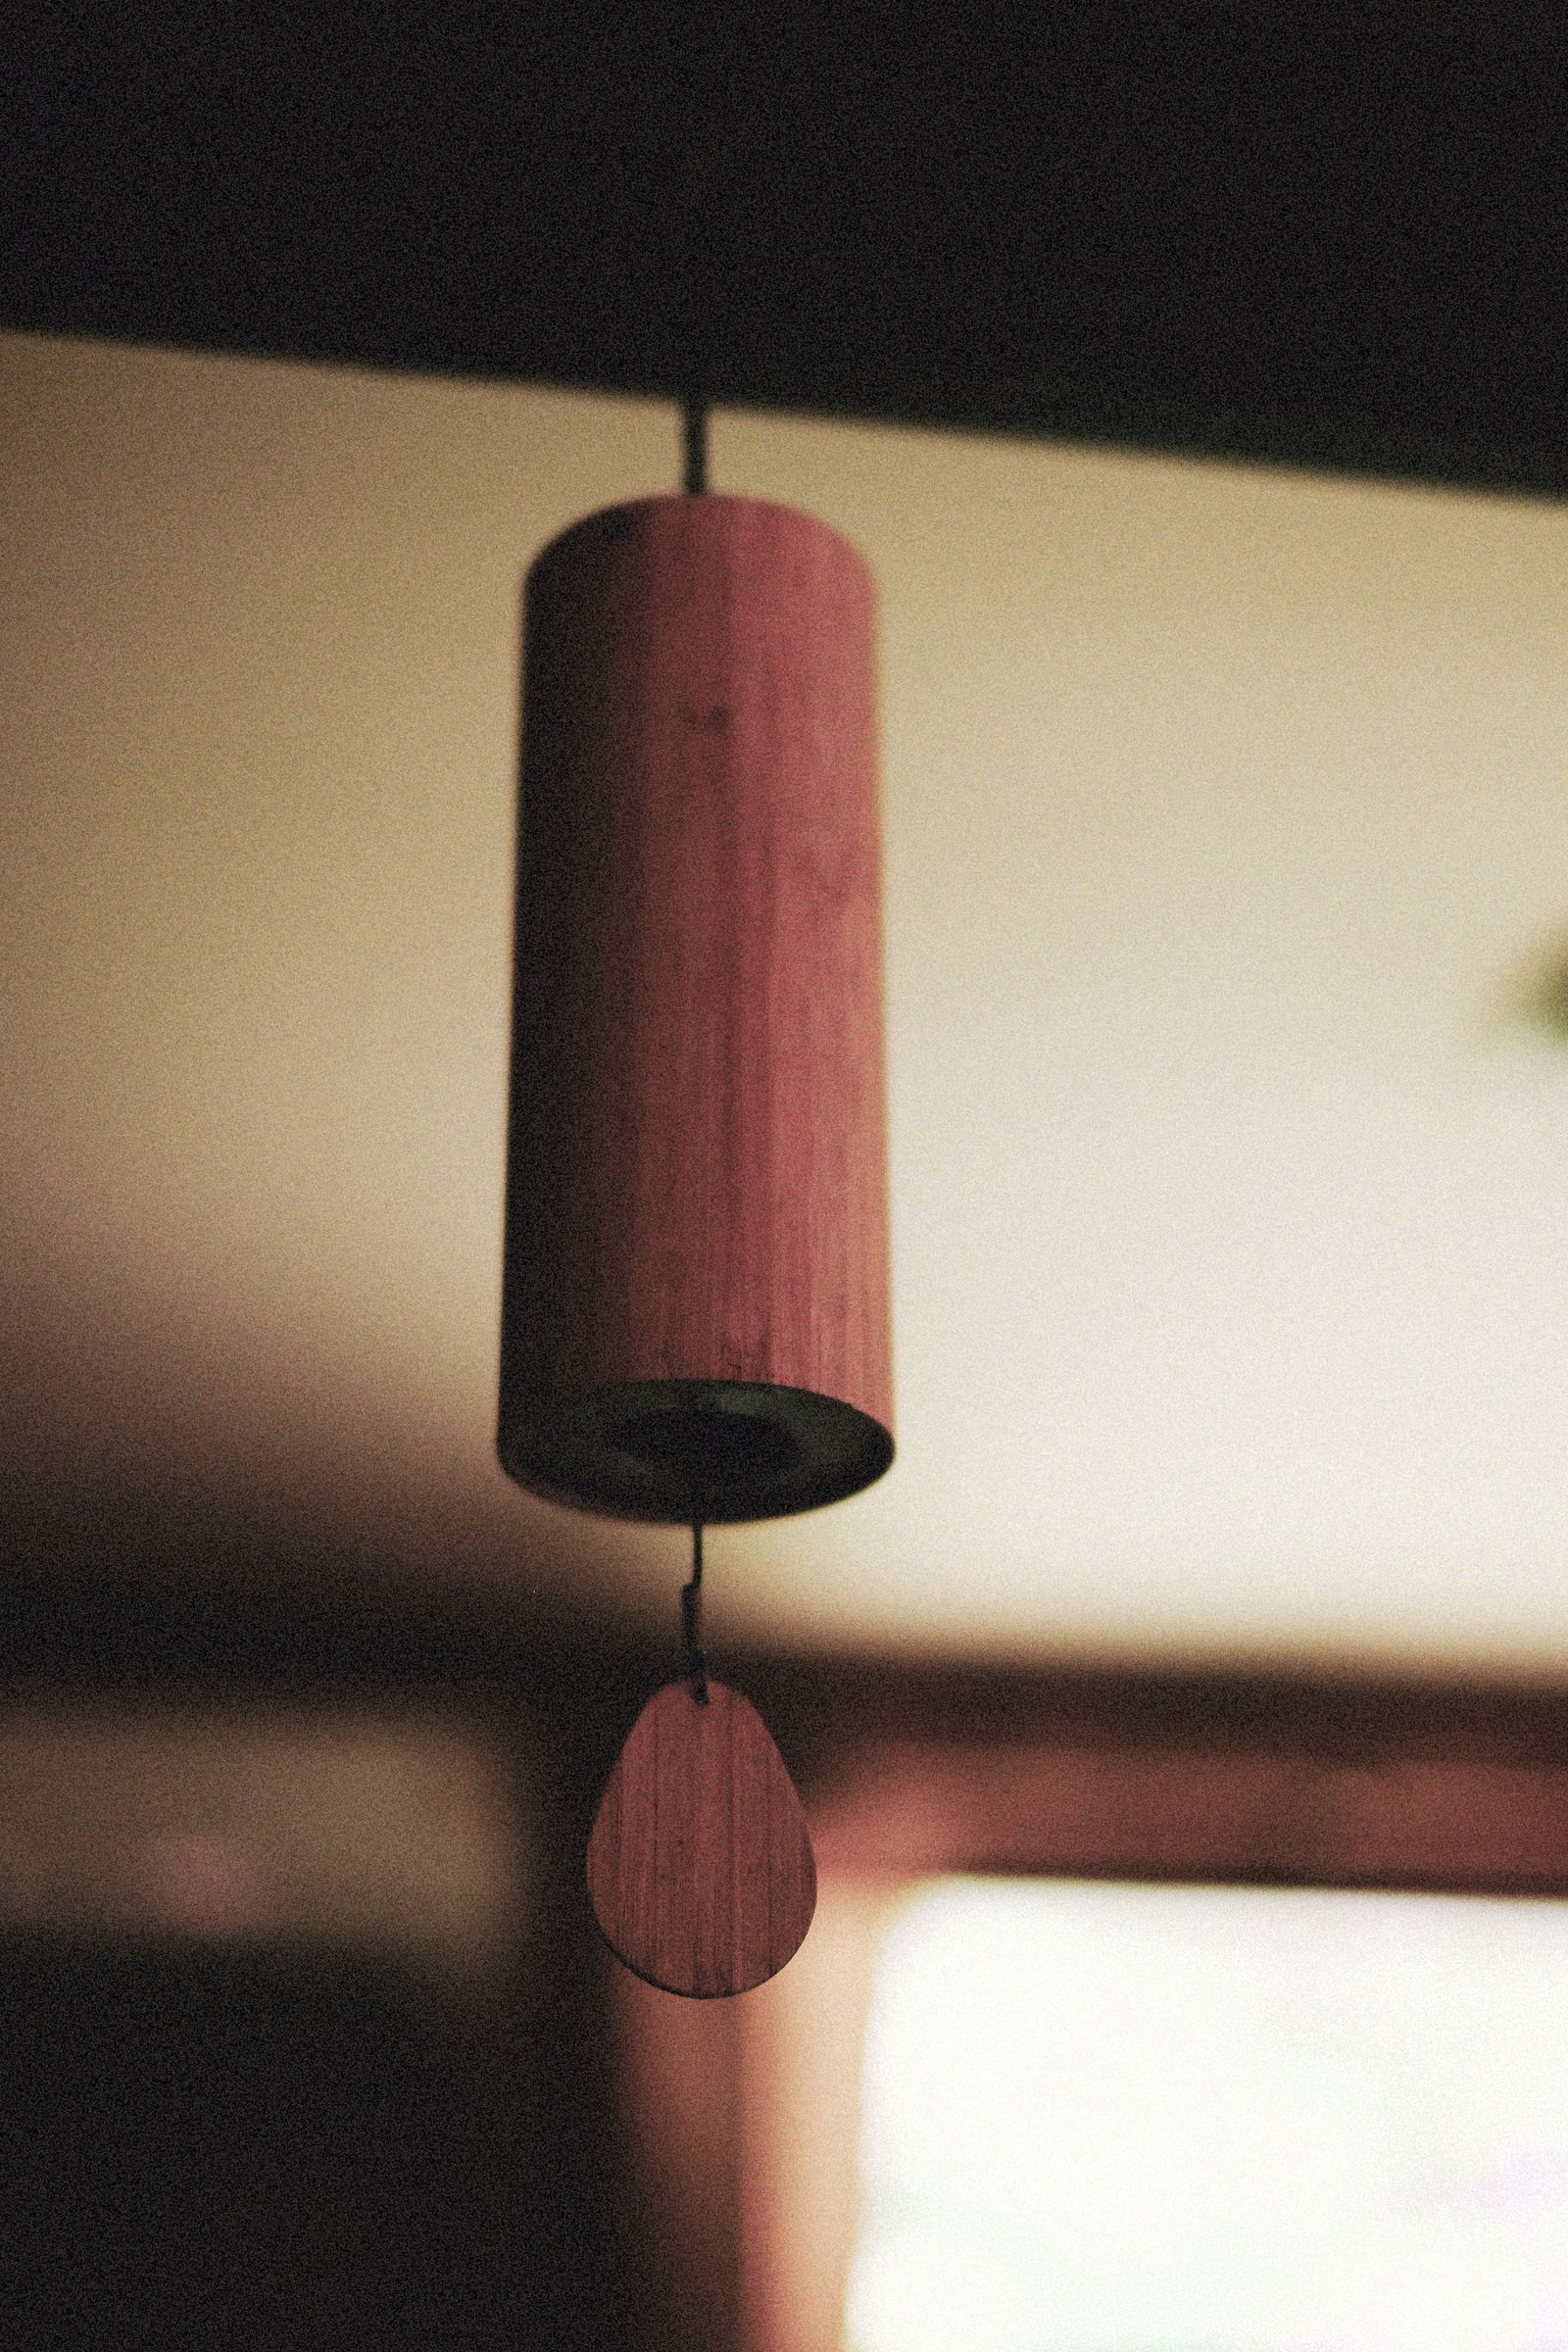
Wind Chime Repair: Restringing, Parts, and Bringing a Silent Chime Back
By the Windchime Walker editorial team
Photo: Alexey Demidov / Pexels
A wind chime usually dies quietly and gradually: a cord thins, a tube goes silent, the sail tears, and one season the porch is just quieter than it used to be. Most owners assume repair is a specialist job. It is not. A chime is a simple machine, a frame, cords, tubes, a clapper, and a sail, and nearly every failure it suffers is a cord or a part you can replace at a workbench in under an hour. This page teaches repair as a system: diagnose what actually failed, get the right part, restring under the two rules that prevent the classic beginner mess, and tune the result. The chimes worth this effort are usually the ones with a history, a gift, a memorial, a maker's mark, and the good news is that those are exactly the chimes built well enough to be worth restringing.
Our wind chimes DIY guide owns building a chime from parts. This page owns bringing an existing one back.
Interactive tool
Wind Chime Repair Checklist
Check off each step as you finish it. Your progress stays on this page.
0 of 7 complete
0% done
Diagnose First: the Failure Table
Do not take the chime apart until you know what you are fixing, because most chime failures are single parts, and disassembly without a diagnosis is how a one cord repair becomes a box of tubes. Hang the chime, move the sail by hand, and work down the table.
Symptom
Likely failure
The fix
One tube hangs crooked or silent
Its cord has stretched or snapped
Restring that tube's cord to the original length
Whole chime silent in a breeze
Sail missing, torn, or too light; or clapper stuck
Replace the sail; free the clapper
Clapper strikes nothing
Clapper cord broken or clapper hung too high or low
Restring the center line; set clapper height
Tubes tangled and twisted
No swivel, or cords uneven
Fit a swivel at the top; even the cord lengths
Dull, flat note from one tube
Cracked tube, or cord hole worn and tube hung off its node
Inspect the tube; replace if cracked
Top wood cracked or ring pulling out
Weather damage to the top piece
Repair or replace the top; rehang from sound wood
Chime sounds harsh and clattery
Clapper too hard or too large for the tubes
Fit a softer or smaller clapper
The most common entry, by a wide margin, is cord failure, and it is also the most forgiving repair, which is the right order of things.
The Parts, and What to Buy
A chime's anatomy is short. From the top: the hanging ring and hook, the top piece (wood, metal, or resin) that everything hangs from, the cords, the tubes (or bells, or bamboo), the clapper or striker hanging at the center, and the sail, also called the feather or wind catcher, the flat piece at the bottom that the wind pushes. Replacement parts are sold by craft and chime suppliers in exactly these categories, and buying guidance is mostly measurement: tubes are matched by length and diameter to the one being replaced (a different length is a different note, which is a musical decision, not a repair), clappers by diameter and material, sails by size and weight, and cord by material and thickness. For cord, braided nylon or polyester line in the 1 to 1.5 millimeter range is the standard modern choice: it resists rot and ultraviolet far better than the cotton or monofilament many older chimes were strung with, and replacing all the cord with it during a repair is a legitimate upgrade that the next decade will thank you for. Tubes hang from holes drilled near the tube's node, the point of no vibration, at about 22 percent of the tube's length from its top; if you are drilling a replacement tube yourself, that fraction is the measurement that makes it ring true.
Rustic wooden and metal wind chimes hanging indoors
Before You Cut Anything: Photograph
The first rule of restringing is documentation. Photograph the chime from several angles before a single cord is cut: how the cords route through the top, how many holes each tube uses, where the knots sit, how the center line carries the clapper and continues to the sail. Then, if the chime must come fully apart, lay the tubes out in order, longest to shortest, on a towel, and keep them in that order. Chime tubes are a tuned set; their order is their music, and a chime reassembled with its tubes shuffled is a different, usually worse, instrument. Most repairs should not come fully apart at all, which is the second rule.
Restringing: One Tube at a Time
The second rule: replace one cord at a time, using the old cord as the pattern for the new one's length. Work the chime hanging or laid on a table, and proceed like this. Cut the failed cord and remove it, noting its exact route and knot positions from your photographs. Measure it, or measure its surviving twin, and cut the new cord to that length plus working slack. Thread the new cord by the same route, through the top and the tube's holes, and tie off with the same knot style; a dab of clear glue or a careful melt of the nylon's end keeps knots from creeping. Rehang and test before moving to the next cord. The one at a time discipline feels slow and is actually the fast method, because the intact chime remains standing as its own instructions: every remaining cord shows you the route, the length, and the knot for the one you are replacing. Restring the center line by the same method, and restring it even if it has not failed when the sail is being replaced, because the sail line takes the wind's whole force and is the most fatigued cord on the chime.
Tuning by Clapper Height
A repaired chime that sounds wrong usually has a geometry problem, not a parts problem, and the adjustment is the clapper's height. The clapper hangs at the center and should strike the tubes at their midpoint, where the ring is fullest. Hung too high, it taps weakly near the tubes' tops or misses the shorter tubes; hung too low, it strikes near the tube ends with a thin, clattery sound and can tangle with the sail line. Adjust by retying the center cord so the clapper rises or falls in small steps, testing by moving the sail gently by hand after each step, listening for even contact with every tube. The sail's own hang matters too: it should sit low enough to catch moving air below the tubes, centered, and free to swing; a sail tied off center pulls the clapper off center with it. Finish with the swivel: if the chime has none, adding a small fishing swivel or chime swivel between the ring and the hook lets the chime rotate instead of twisting its cords, which prevents the tangling that fatigues cords into the next repair.
Cleaning and Weatherproofing the Result
Repair day is the chime's one maintenance day, so finish the job. Wash tubes with mild soap and water and dry them fully; aluminum tubes brighten with a paste of baking soda, and bamboo should only be wiped and dried, never soaked. Wooden tops and clappers benefit from a coat of outdoor oil or spar urethane, which is also the inspection moment for cracks starting around the cord holes. Check bamboo tubes for splitting at the cord holes and retire any tube whose hole has torn through, since the next wind will finish it. Then hang the chime where it will live, and apply the placement craft from our where to hang guide: moving air, clearance to swing, and out of the weather's worst if the chime has wooden parts you have just refinished. A repaired chime, restrung in modern cord, cleaned, and hung well, is not a patched chime. It is a serviced instrument with another decade in it, which is the correct way to think about the ones that carry a family's history on a porch.
When Repair Is Not the Answer
Honesty about limits belongs in a repair guide. A chime whose top has rotted through at several cord holes can sometimes be saved by drilling fresh holes in sound wood, but a top that crumbles in the hand cannot hold a gust, and replacing the top, with the tubes restrung into it, crosses from repair into partial rebuild, worth it for a chime with history and not for a souvenir. Cracked tubes are the other hard limit: a crack changes the note permanently, and while a matched replacement tube restores the set, an unmatched one changes the instrument's voice, which the owner of a tuned or memorial chime may not accept. In those cases the graceful options are to retire the chime to a sheltered indoor spot where it sounds rarely and survives as an object, or to commission the maker or a chime craftsperson for the part a home workbench cannot reproduce. Everything short of those limits, cords, sails, clappers, swivels, cleaning, refinishing, is home work, and it covers the overwhelming majority of silent porches.
Frequently Asked Questions
Can a broken wind chime be repaired, or should I replace it?
Almost always repaired, and usually in under an hour. Chimes fail by parts: a cord, a sail, a clapper, occasionally a tube or the top. Cord failure, the commonest, needs only new braided nylon or polyester line and patience. Replacement is the answer mainly for cracked tubes you cannot match and tops rotted past holding a screw.
What cord should I use to restring a wind chime?
Braided nylon or polyester cord around 1 to 1.5 millimeters. It outlasts the cotton and monofilament many chimes were originally strung with, resisting rot and sun damage. Replace one cord at a time, copying the old cord's route and length, and photograph the chime before cutting anything.
Where can I get wind chime replacement parts?
Craft suppliers and chime part specialists sell tubes, clappers, sails, tops, and cord by size. Match a replacement tube by length and diameter, since a different length is a different note; match clappers by diameter and material; sails by size and weight. Measure the surviving parts before ordering, and when drilling a tube yourself, place the hole at about 22 percent of its length from the top, the node point.
Why does my wind chime sound wrong after restringing?
Usually the clapper's height. It should strike the tubes at their midpoint; too high gives weak taps, too low gives thin clatter. Retie the center cord in small steps, testing by hand after each. Also confirm the tubes went back in their original order, longest to shortest, since the set is tuned.
How do I stop my wind chime tangling?
Add a swivel between the hanging ring and the hook so the chime rotates instead of twisting its cords, keep cord lengths even, and hang it with clearance to swing freely. Tangling is a fatigue machine for cords; a swivel is the cheapest repair prevention there is.
How do I care for a bamboo wind chime?
Wipe bamboo clean and dry it; never soak it. Inspect the cord holes for splitting each season and retire tubes whose holes have torn. Keep bamboo chimes under some shelter where possible, and expect bamboo to weather gray over years, which is cosmetic; the structural enemy is the torn hole and the rotted cord, both fixable or preventable.
Photo credits: Alexey Demidov (Pexels); Nguyen Duc Toan (Pexels). Photos are served from this site; follow the credit to the library page for the original.