Walk into a garden center in spring and the tool wall looks like a test you have not studied for. Rows of trowels, forks with four different handle shapes, pruners in three sizes, and boxed sets that promise twenty tools in a canvas bag. Most of it is not for you, not yet. A first garden runs on a handful of tools used constantly, and the rest of the wall exists for jobs a beginner may not meet until year two or three.
This guide sorts the wall into two stages. Stage one is the short list to buy before your first planting day: the tools that dig, loosen, water, weed, and protect your hands. Stage two is everything else, bought one piece at a time when a real job in your own garden proves you need it. Buying in stages is not about being cheap. It is about spending your money on steel and handles that will still be working in ten years, instead of spreading it across a set of tools that bend in their first season.
Work through the First Season Tool Buying Checklist below as you read. It lists the stage one tools with the store test for each one, so you can tick items off at the shelf instead of guessing. When the stage one boxes are ticked, you own a complete working kit for a first garden, whatever the tool wall tries to tell you.
Interactive tool
First Season Tool Buying Checklist
Check off each step as you finish it. Your progress stays on this page.
0 of 6 complete
0% done
The Two Stage Rule: Buy for Jobs, Not for Aisles
Every tool purchase should start with a job sentence: I need to dig planting holes. I need to loosen a bed of packed soil. I need to water seedlings without washing them out of the ground. If a tool does not complete a job sentence you can say out loud about your own garden this season, it belongs to stage two, no matter how good the sale is.
Stage one covers the five jobs every first garden has from week one: digging small holes, loosening soil, moving water gently, pulling small weeds, and protecting your hands while you do all of it. Stage two covers jobs that arrive later and unevenly. Pruning thick stems arrives when you grow shrubs or fruit. Hauling arrives when your garden grows past one bed. A tool bought for a job you do not have yet is not a bargain. It is storage.
The two stage rule also protects you from the boxed set trap. Sets look like value because the piece count is high, but the pieces are built to a price, and the ones you use daily, the trowel above all, are usually the weakest in the box. One good trowel outlasts three cheap ones and is kinder to your wrist every single day you use it.
Stage One: The Tools to Buy Before Planting Day
These five, plus one measuring habit, are the whole stage one kit. Buy them once, buy them solid, and you can start a garden this weekend.
One piece of steel, blade and handle forged or cast as a single unit
Digging fork or shovel
Loosening soil, turning in compost, edging beds
A blade that does not flex when you press it, a handle length that suits your height
Watering can or hose with a gentle nozzle
Watering at the base of plants without blasting soil or seedlings
A rose head or shower setting that breaks the stream into soft droplets
Hand weeder or short hoe
Scraping and slicing small weeds before they establish
A sharp edge you can resharpen, a handle that fills your palm
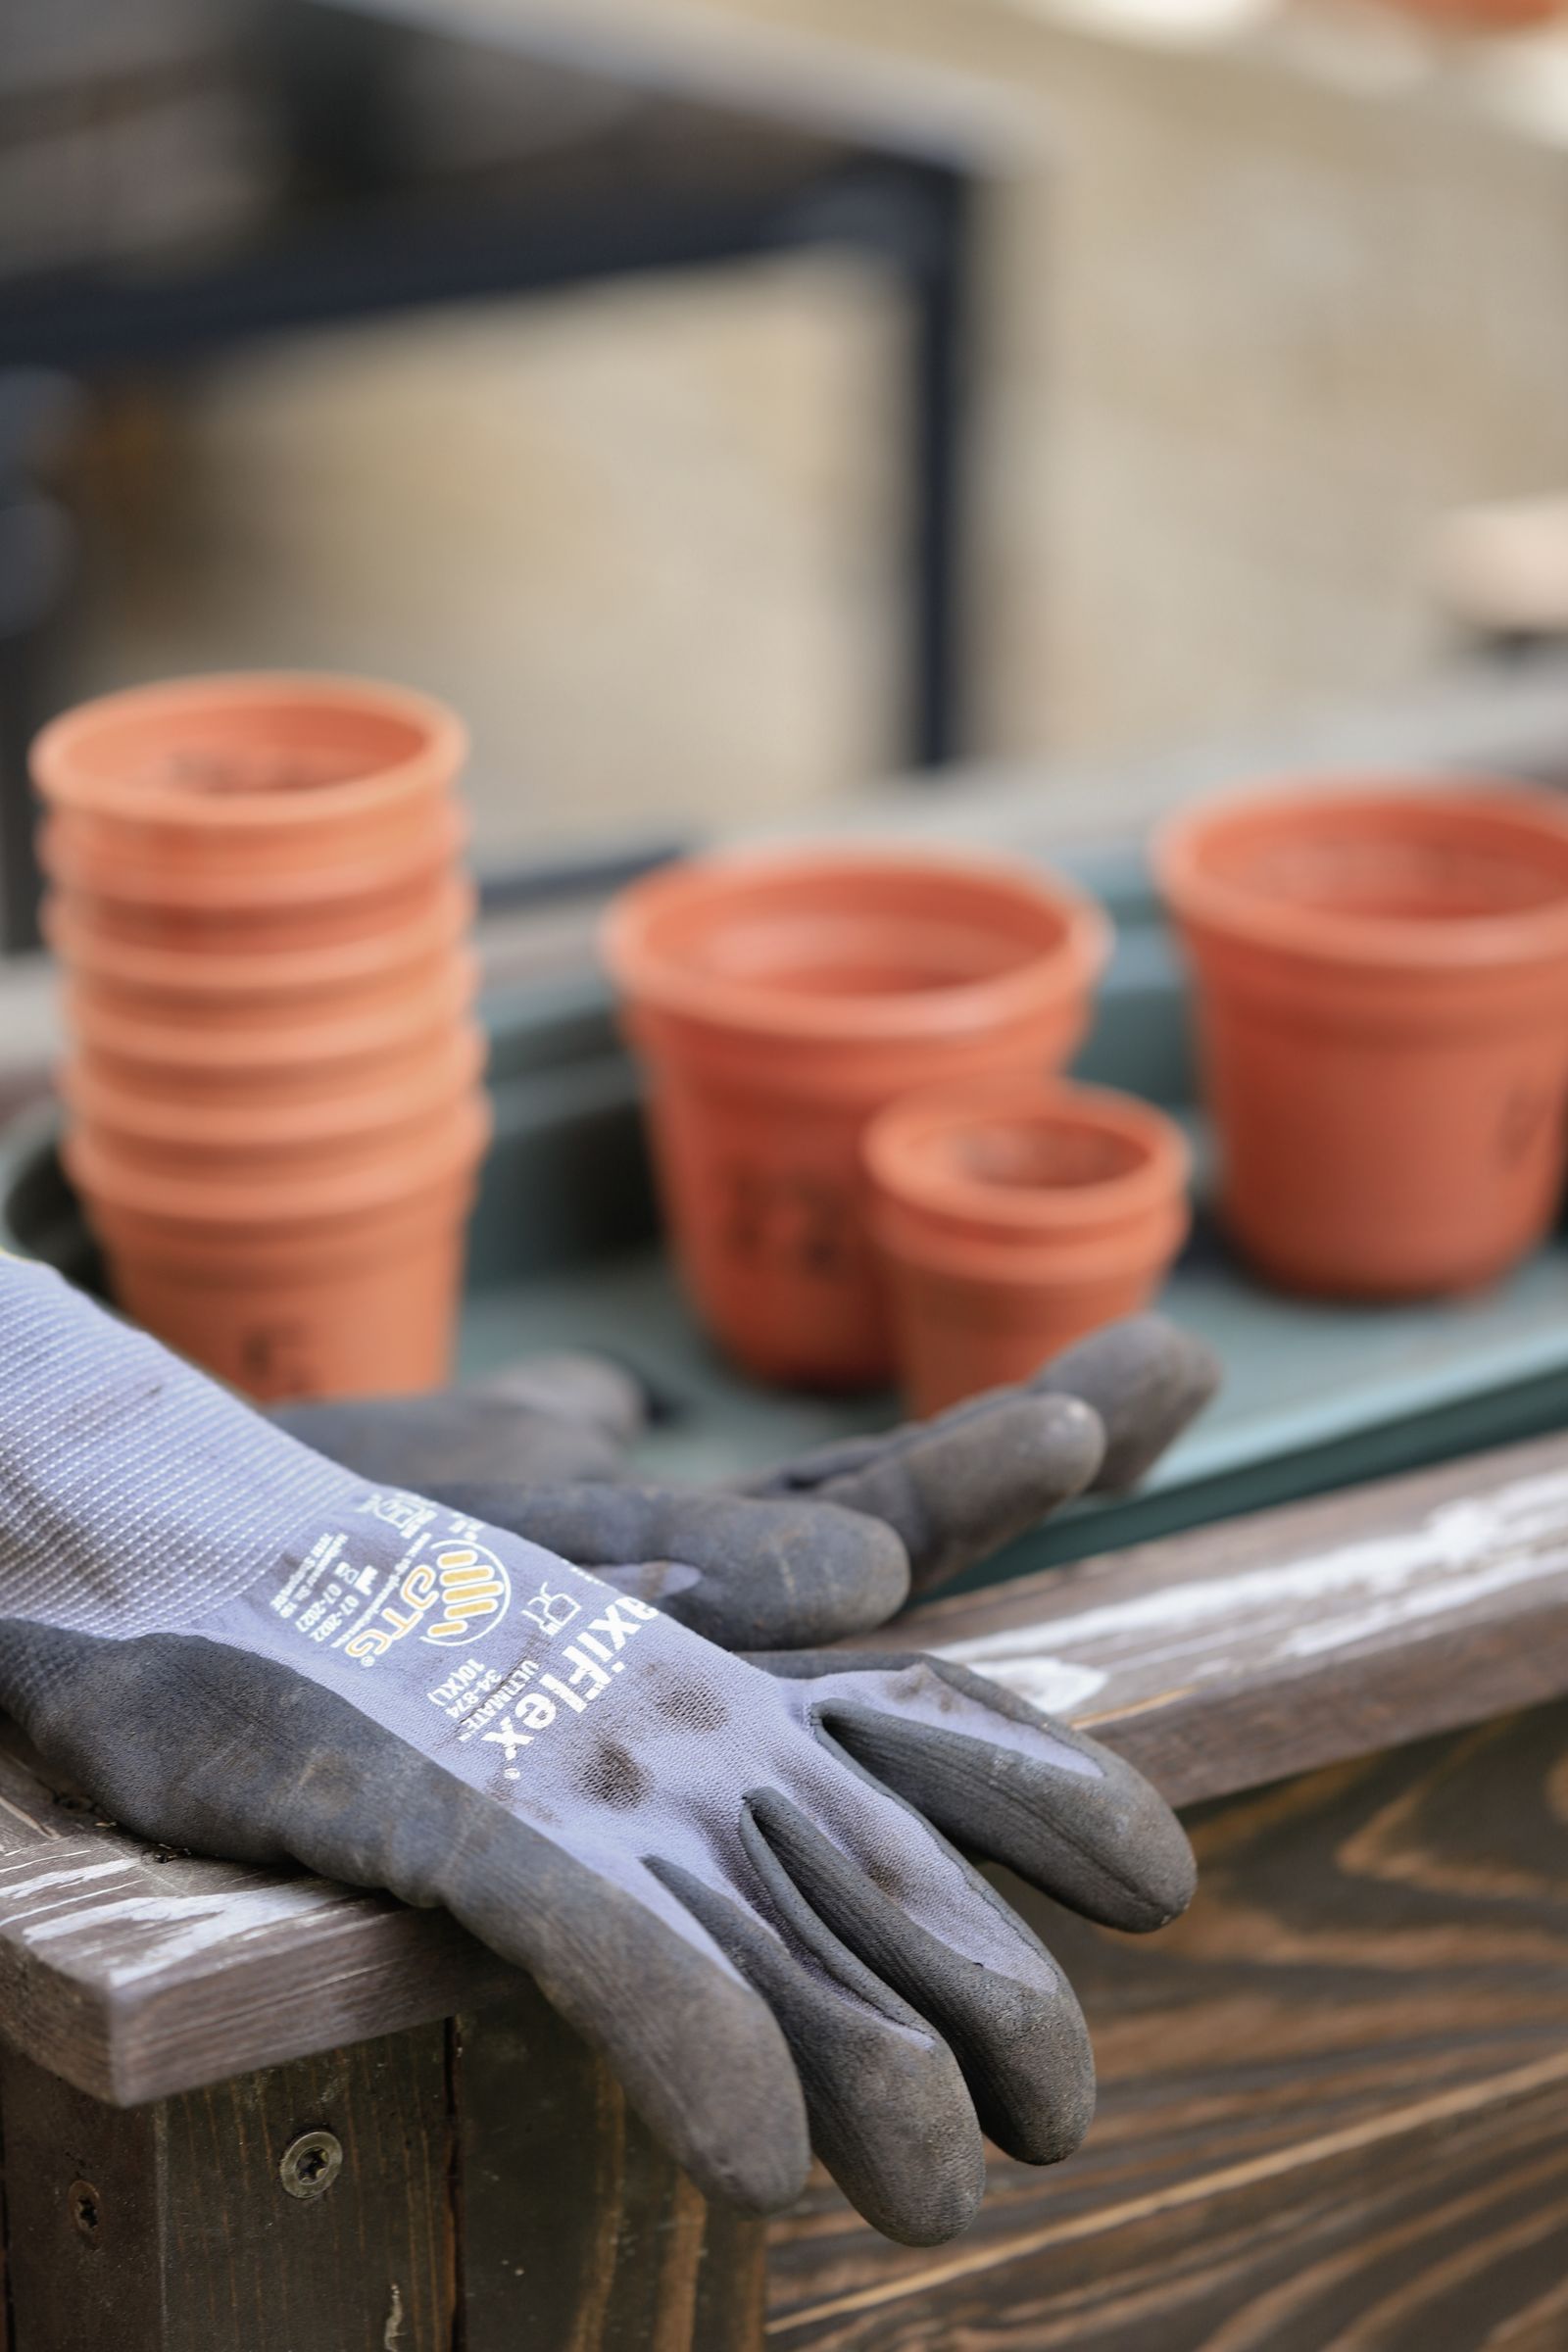
Gloves
Protection from blisters, thorns, and rough or irritating soil
A snug fit with grip in the palm; loose gloves cause the blisters they prevent
Tape measure or marked stick
Spacing plants at the distance printed on the tag
Any rigid measure; a stick marked with a permanent marker works for years
A note on the fork versus shovel choice. If your soil is heavy, stony, or full of old roots, a digging fork loosens it better, because the tines slip between obstructions that stop a blade. If your soil is light and sandy, a shovel moves it faster. Many gardeners end up owning both, but stage one asks you to pick the one your soil argues for and let the other wait for stage two.
The One Piece Test for a Trowel
The trowel is the tool you will hold most, and it is where cheap construction fails first. The classic failure is the blade snapping where it joins the handle, because on cheap trowels the blade is a separate piece of thin metal pinned or spot welded into a plastic grip. The first time you lever against a stone or a root, the joint gives.
The test takes five seconds in the store. Look at where the blade meets the handle. On a strong trowel, that junction is one continuous piece of metal: cast aluminum, forged steel, or a steel blade whose tang runs deep into a wooden handle. Flex the blade gently against the shelf edge or your palm. A good blade barely moves. A blade that wiggles at the joint is telling you its retirement date.
Weight matters too, in the opposite direction from what most people expect. A trowel that feels slightly substantial in the hand usually has the metal where it counts. Paper light trowels are light because the steel is thin, and thin steel bends. Pick the trowel up and mime a digging stroke. Your wrist should feel the tool working with you, not a toy you have to force.
Pruners: Bypass Versus Anvil, in Plain Terms
Pruners are the first stage two tool most beginners buy, usually when a tomato stem, a rose cane, or a small shrub branch defeats their scissors. There are two designs, and the difference is not quality. It is what the cut does to the plant.
Bypass pruners work like scissors. Two curved blades pass each other and slice cleanly through living wood. That clean slice is what living stems need, because it heals quickly and does not crush the tissue around the cut. If you cut living, green growth, you want bypass pruners. This is the pair to buy first.
Anvil pruners work like a knife on a chopping board. One straight blade comes down onto a flat pad. The cut crushes as it closes, which does not matter on dead, dry wood, and the design gives extra force on hard dead stems. Anvil pruners are the second pair, bought when dead wood work shows up, not a substitute for the first.
Whichever pair you buy, match the size to your hand. Pruners that are too large force your fingers to full stretch on every cut, and tired hands make ragged cuts. Squeeze the display pair ten times. If your hand is complaining by ten, that pair is too big or too stiff for you.
Stage Two: Tools You Earn Later
These tools are all genuinely useful. They are on the stage two list because a first garden in its first months can honestly do without them, and each one is better bought when you know your garden's version of the job.
A kneeling pad or garden stool earns its place the first week your knees file a complaint, and for many gardeners that is week one, which is fine. Comfort that keeps you in the garden is a working tool. A wheelbarrow or garden cart earns its place when you start moving compost, mulch, or harvests farther than a bucket wants to travel. Buy it after you know your paths and gates, because cart width is a real constraint in real gardens.
Loppers are pruners on long handles, for branches too thick for hand pruners. They arrive with shrubs and small trees, not with a vegetable bed. A bow rake, the flat headed rake with short stiff tines, earns its place when you are leveling beds and spreading mulch or gravel over a real area. A watering wand, a long tube with a shower head, earns its place when containers and hanging baskets multiply and your watering can refills start to outnumber your patience.
Notice the pattern. Every stage two tool answers a sentence that starts with the words my garden now. When the sentence is true, buy the tool without guilt and buy it well.
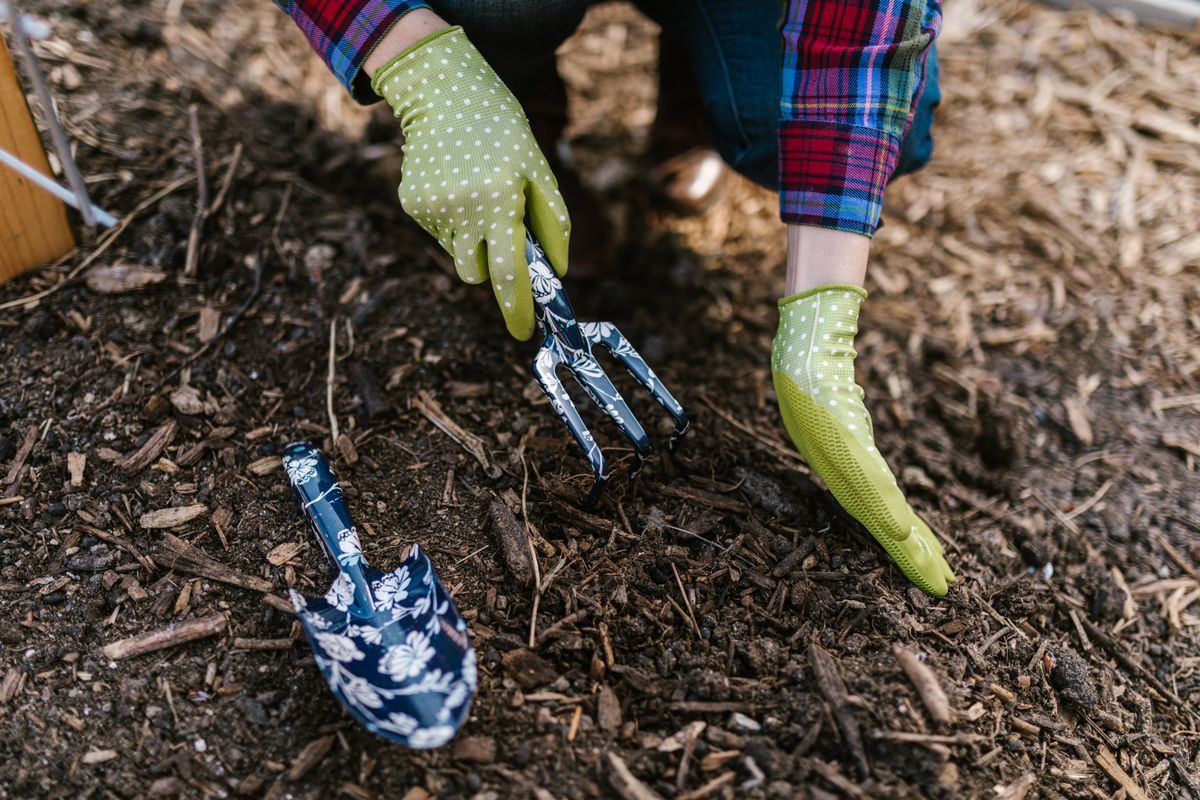
A gardener wearing green gloves using hand tools in garden soil, stage one tools at work
What to Skip in Year One
Skip the large boxed sets, for the reason covered above: the daily tools inside them are the weakest versions of themselves. Skip single purpose gadgets, the specialty weeders shaped like one particular weed, the seed spacers, the bulb planters with depth markings, until a repeated annoyance in your own beds argues for one. Most never argue.
Skip power equipment for a first small garden. A rototiller for one 4 by 8 foot bed is a machine that works for twenty minutes a year and needs storage, fuel or charging, and maintenance for the other twelve months. A fork and an afternoon do the same job at bed scale, and the fork teaches you your soil in a way a machine never will. Rent large equipment for the rare big job instead of owning it.
Skip duplicate sizes. Three trowels in graduated widths do one job. One trowel, kept sharp edged and clean, does it better.
Buying Used: Where the Real Bargains Live
Solid tools have a long second life, and the used market is full of them, because good steel outlasts gardening enthusiasm. Estate sales, yard sales, and farm auctions regularly sell forged forks and cast trowels from decades when almost everything was built well, often for less than a new bargain tool. Judge a used tool by the same tests as a new one: one piece construction where it counts, no cracks in handles, no wobble at joints, edges that can be sharpened back.
Used tools need one extra check: the handle near the head, where water sits and rot starts. Press a thumbnail into the wood there. Firm wood is fine; wood that dents like cork is done, though a sound head on a rotted handle can still be a bargain if you are willing to fit a new handle, a satisfying half hour job. Rust on the surface is cosmetic and comes off with a wire brush and oil. Deep pitting on a blade edge is not. Learn the difference and the used market becomes your tool store.
One caution: skip used pruners with chipped or sprung blades, and any tool whose moving parts grind. Cutting tools live or die by their edges and alignment, and both are hard to judge quickly at a yard sale table. Digging tools forgive. Cutting tools do not.
How to Buy Once: Steel, Handles, and Fit
Three checks cover most tool quality, whatever the tool. First, the working metal. Look for forged or cast construction on anything that pries or digs, and edges that can be sharpened rather than serrated coatings that wear off. Second, the handle. Hardwood and fiberglass handles outlast hollow plastic, and a handle should be smooth, with no seams pressing into your palm. Third, fit. Tools are not one size. Handles have lengths, pruners have jaw sizes, and gloves that are almost your size are the wrong size.
Buy from a place that lets you hold the tool. A photograph cannot tell you whether a fork handle is right for your height, and the return trip costs more than the few dollars a local shelf might add. Hold it, mime the job, and listen to your hands. They are the ones doing the work.
Renting and Borrowing: The Honest Third Option
Between buying and doing without sits an option beginners forget: borrow or rent. A neighbor's wheelbarrow for one compost delivery, a rented tiller for the single weekend you break a large new plot, a borrowed ladder for the fruit tree you do not own yet. Borrowing suits tools with a big price and a tiny annual workload, and it has a second benefit: you learn which version of the tool your garden actually wants before your money is committed.
Borrow gracefully. Return tools cleaner than you received them, return them on time, and mention any damage before the owner finds it. A gardener who borrows well gets offered tools before asking. And lend your own stage one tools the same way when your garden grows. The trowel you bought well will survive lending. That is part of what you paid for.
The Bucket Kit: Keeping Stage One Together
A stage one kit only works if it is where the garden is. Tools left in a garage across the yard turn two minute jobs into expeditions, and two minute jobs are where gardens are won. Keep the small kit together in a five gallon bucket or a tote that lives by the garden door or at the bed itself: trowel, hand weeder, gloves, pruners when you own them, plant labels, and a marker. The bucket doubles as a seat, a harvest carrier, and a weed bin on your rounds.
The digging fork, shovel, and watering equipment live at the bed or the spigot. When every tool has a home within a few steps of the work, you stop postponing small jobs, and small jobs done on time are the entire difference between a garden that drifts and a garden that thrives.
Care: Ten Minutes That Doubles Tool Life
Tools rarely wear out. They are usually neglected out. Three habits, none of them long, cover almost all of it. Scrape soil off metal before you put a tool away, because damp soil held against steel is rust in slow motion. Wipe blades with an oily rag a few times a season, and whenever a tool will sit unused over winter. Sharpen edges that cut, pruners, hoes, and shovel blades, with a file or stone when they start to tear instead of slice. A sharp tool is also a safer tool, because it goes where you aim it instead of skating off.
Store tools dry and off the ground, ideally hung or in a bucket of dry sand for small hand tools, a trick that keeps edges clean between uses. Wooden handles appreciate a wipe of linseed oil once a year to keep them from drying and splintering. That is the entire maintenance program. Ten minutes here and there, and stage one tools become the tools you hand to a grandchild.
Frequently Asked Questions
How much should a beginner spend on tools?
Enough to buy stage one once, in solid construction, rather than twice in weak construction. Prices vary widely by store and region, so judge by build, not by a budget number: one piece trowel, a fork or shovel that does not flex, a gentle watering head, a sharp hand weeder, and gloves that fit. Bought at that standard, the stage one kit serves for years and costs far less over time than replacing bargain tools each spring.
Do I need a rototiller for a first garden?
No. For one small bed, a digging fork loosens soil thoroughly in an afternoon, and hand loosening lets you feel stones, roots, and wet patches that a tiller would churn past. Tillers make sense at a scale most beginners do not have. If you ever face a very large new plot, renting a tiller for a day beats owning one.
Should I buy bypass or anvil pruners first?
Bypass, because most beginner cutting is living growth: stems, canes, and green wood that needs a clean, scissor like slice to heal well. Anvil pruners crush as they cut and belong on dead, dry wood. Buy the anvil pair later, when dead wood work becomes a regular job in your garden.
Are garden tool gift sets a good buy?
Usually not for the tools you will use daily. Sets are built to a total price, so the trowel and pruners inside them, the pieces that take real force, are often thin metal with weak joints. If you receive a set as a gift, use it happily, and replace the trowel first with a one piece version when it bends. Your wrist will notice the difference immediately.
If I can only buy one tool today, which one?
The one piece trowel. It digs planting holes, moves seedlings, scoops compost and fertilizer, levers out small weeds, and measures planting depth against its blade. More first garden jobs pass through a trowel than through any other tool, which is exactly why it is the one worth buying at full quality.
What size watering can should I buy?
One you can carry when it is full, over and over, without dreading the trip. Water is heavy, and a can that is impressive in the store becomes a burden at the far bed in July. For most beginners, a mid sized can with a removable rose head is the sweet spot: big enough to water a bed section per fill, light enough that you actually make the trips. If your garden is mostly containers on a patio, smaller is better still, because precision matters more than volume and a smaller can is easier to aim at the base of each plant. Match the can to your arms and your distance from the spigot, not to the size of the display.
How do I keep tools from rusting over winter?
Clean them before storage, not in spring. Scrape off soil, dry the metal, wipe blades with an oily rag, and store everything dry and off a damp floor. Check wooden handles for splinters and give them a wipe of linseed oil. Tools put away clean and dry come out in spring ready to work, with no rust removal session standing between you and the first planting day.
Photo credits: Christina & Peter (Pexels); RDNE Stock project (Pexels). Photos are served from this site; follow the credit to the library page for the original.