Gardening for Beginners: Your First Season, Stage by Stage
By the Windchime Walker editorial team
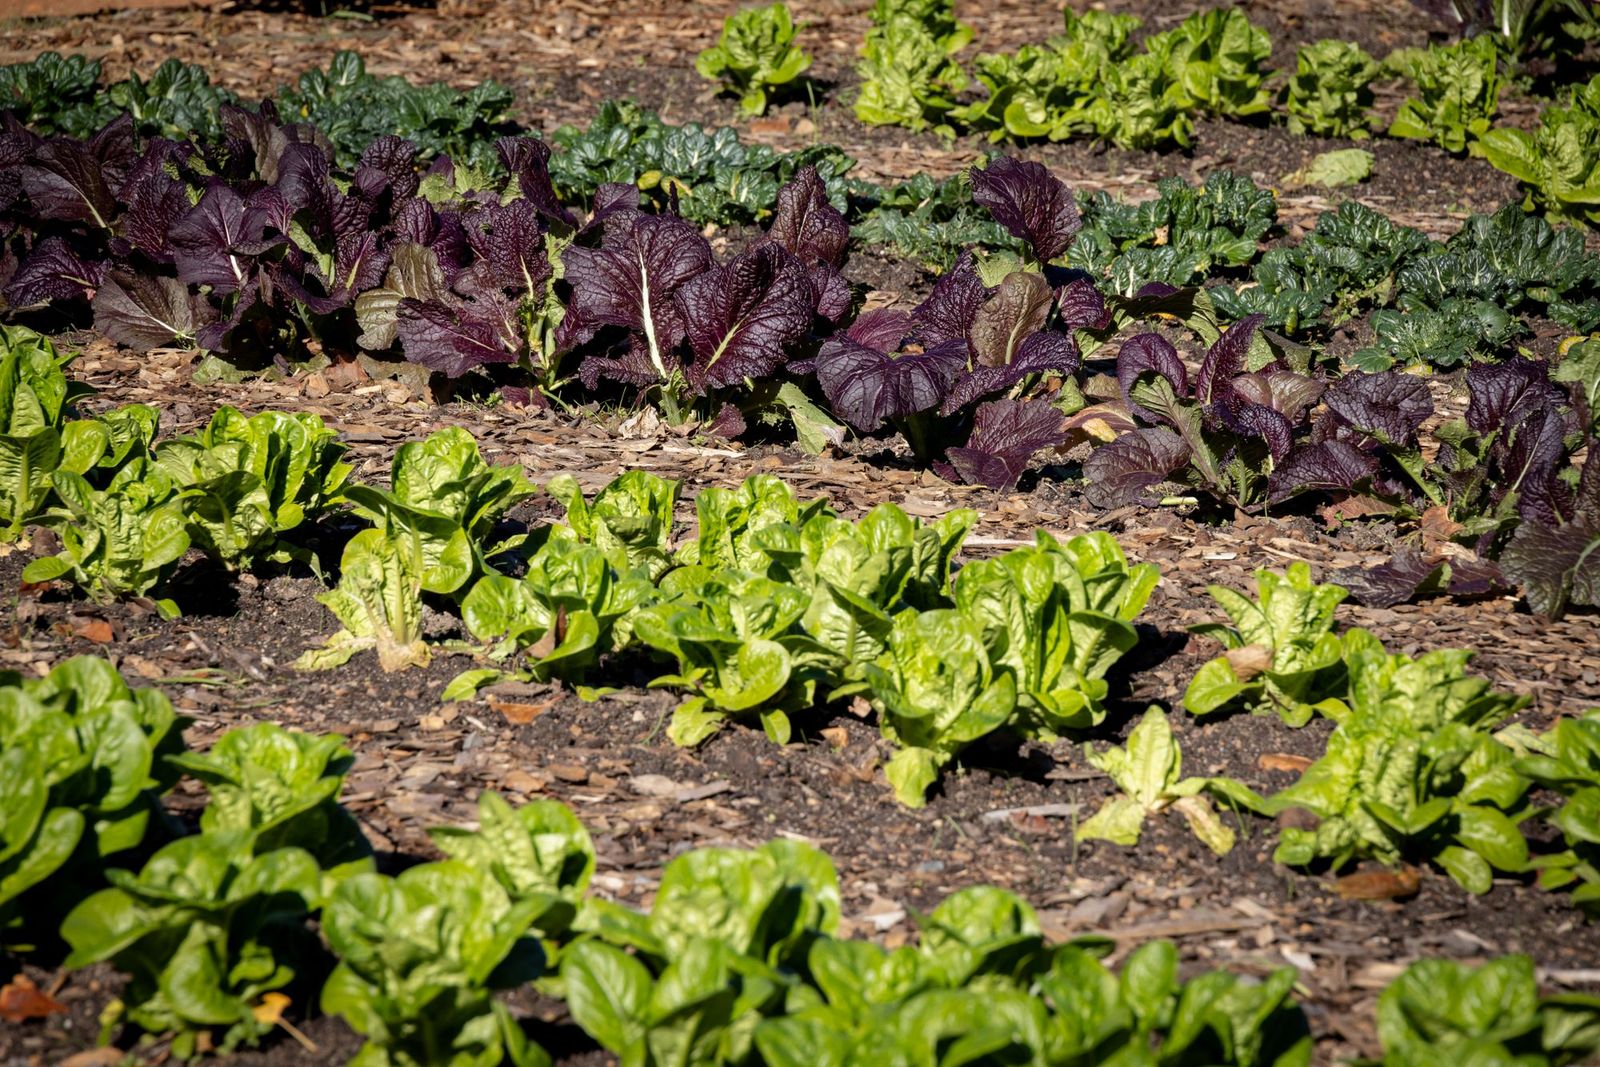
Photo: Magda Ehlers / Pexels
Every spring, beginners buy the whole garden in one weekend: plants, tools, a bench, a watering system, and a quiet sense of doom by the third week. The problem is rarely effort. It is sequence. Gardening is a season long story with stages, and each stage has a small set of jobs and a clear finish line. Do stage one jobs in stage one and the season feels easy; buy stage four tools during stage one enthusiasm and the shed fills while the beds stay empty.
This page is the whole map. Our other beginner guides own the pieces in depth: how-to-start-a-garden walks the first bed's steps, how-to-garden-for-beginners runs a first planting week by week, garden-for-beginners helps you choose the garden type, and gardening-basics teaches the five ideas everything hangs on. This page owns the arc itself, the order of the year, so that whichever piece you read next, you know where in the season it belongs. Walk the six stages in order and your first year ends with harvests, notes, and confidence instead of a beautiful shed and a haunted bed.
Interactive tool
First Season Roadmap Checklist
Check off each step as you finish it. Your progress stays on this page.
0 of 7 complete
0% done
Stage 1: Decide What This Garden Is For
A garden with a purpose survives its first hard month; a garden that is for everything gets weeded for nothing. Decide in one sentence: this garden is for salad things, or for flowers by the door, or for herbs near the kitchen, or for teaching a child where peas come from. The sentence sounds limiting and is actually liberating, because every later choice (what to plant, what to buy, what to skip) gets answered by holding it against the sentence.
Decide also what success looks like in year one, in numbers a beginner can honestly hit: three crops harvested, one bed that stayed tidy, a handful of flowers a week in July. Write the sentence and the numbers down. The garden journal starts here, before a single seed, and the note you write in stage 6 will thank the note you write in stage 1. Keep the ambition small on purpose: a small garden finished beats a large garden started, every season, at every skill level.
Stage 2: Prepare the Spot and the Soil
Choose the spot by sun and water, in that order. Most vegetables and flowers want at least 6 hours of direct sun; watch the spot across a real day rather than guessing from the fence line, because buildings and trees move shadows further than you think. Water must be reachable: a bed you can water with a hose or a short carry gets watered, and a bed at the end of a long haul gets intentions. Check drainage after rain; a spot that holds standing water a day later needs a different use or a raised solution.
Prepare the soil by clearing it, loosening it to about a spade's depth without working it wet, and spreading 2 to 4 inches of compost over the top, worked into the upper layer. Compost is the beginner's one reliable soil move: it improves sand and clay alike, feeds the soil life that feeds the plants, and forgives a multitude of beginner sins. A soil test is worth doing once, before you add anything beyond compost, because it replaces guessing about pH and nutrients with numbers. Our soil preparation guide owns this stage in full detail; here it is enough to know the stage ends when the bed is clear, loose, composted, and level enough to sow into.
Stage 3: Plant a Short List, at the Right Time
The planting list for a first season is three to five things you will actually eat or pick, not the seed catalog's personality test. Match each plant to its season: cool weather crops (peas, lettuce, spinach, radish) go in early and again in fall; warm weather crops (tomatoes, beans, basil, zucchini) wait until after last frost and warm soil. Timing errors are the most common beginner failure and the most forgivable, because the calendar, once learned for your own garden, stays learned.
Plant at real spacing, the mature spacing on the packet or in the crop guides, not at the size of the seedling in your hand. Crowded plants are the second most common beginner failure, and unlike timing, crowding cannot be fixed later without pulling plants you have grown fond of. Label every row and pot with the crop and the date. In three weeks the garden will look like anonymous green rows, and the gardener who labeled will know which is which, and the one who did not will be playing a guessing game with weeds.
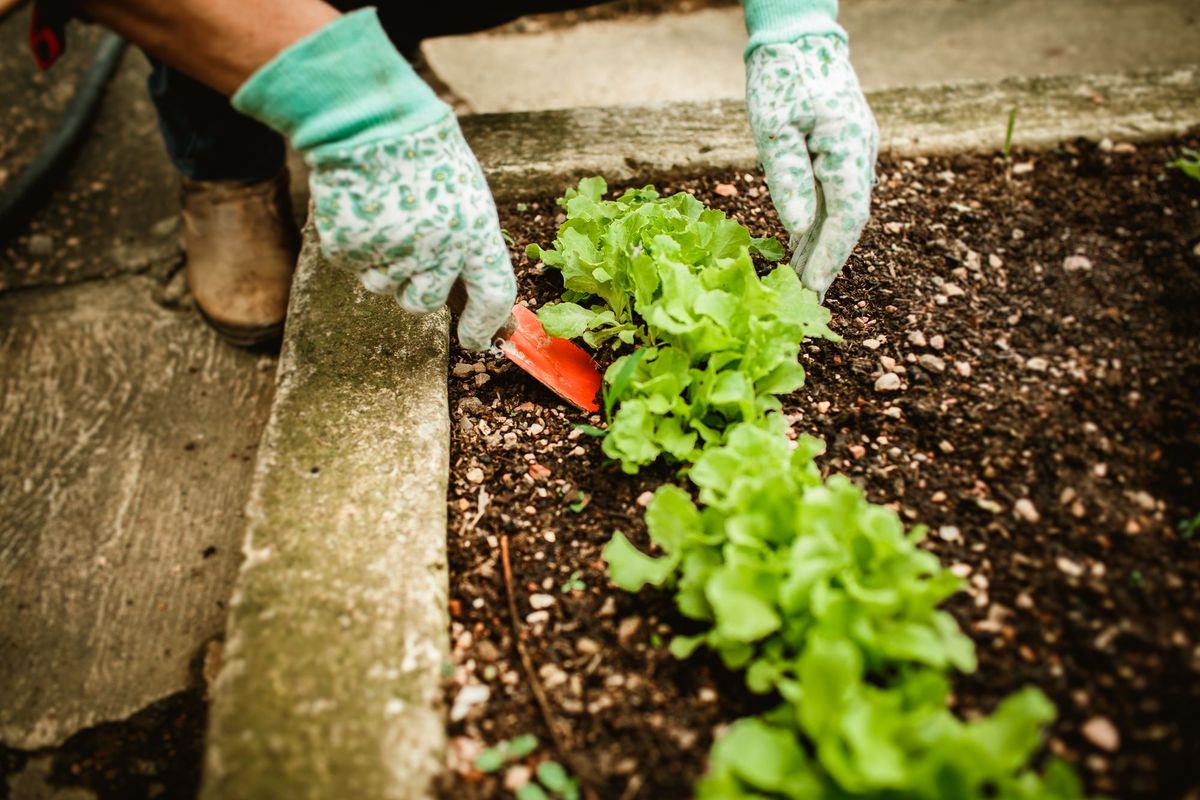
A gardener in gloves tending young lettuce plants in a garden bed
Stage 4: Tend with Three Habits
Tending sounds like a hundred jobs and is really three habits. The first is watering by the finger test: push a finger into the soil, and water deeply when the top inch or two is dry, rather than sprinkling by the calendar. Deep and occasional beats shallow and daily for almost everything in the ground, because roots follow water down. The second habit is mulch: 2 to 3 inches over bare soil, kept clear of stems, which holds moisture, cools roots, and starves weeds of light. The third is the weekly walk: ten minutes among the plants, looking at leaf undersides, pinching out weeds while they are small enough to pinch, and noticing trouble while it is still one leaf instead of the whole plant.
Notice what is not on the list: daily fussing, prophylactic spraying, and fertilizing on a schedule you read on a bag. Most first season problems are water, light, or timing problems wearing a chemical costume. The weekly walk catches the real ones early, and the honest beginner's response to most of them is to adjust water, wait a week, and look again.
Stage 5: Harvest Little and Often
Beginners wait for a harvest; gardeners harvest continuously. Most beginner crops are designed to be picked young and often: beans picked every two days keep producing, lettuce cut as leaves regrows, herbs pinched branch by branch bush out instead of bolting, and zucchini picked small stays a food instead of becoming a sporting event. The harvest rhythm is also information: what ripens when, what your household actually eats, and what grew faster than anyone could use it, which is the most valuable planting data you will ever collect.
Eat the harvest the day it is picked when you can, give away the surplus while it is still a gift rather than a burden, and let the failures be composted without ceremony. A first season that ends with three crops eaten and enjoyed has succeeded by the only measure that matters, which is whether you want a second season.
Stage 6: Review, and Let the Garden Teach
At season's end, walk the bed with your notes and write the review: what thrived, what failed, what you would plant again and what you would not, with dates where you have them. Note the frost dates as they actually happened in your garden, the week the peas gave up in the heat, the tomato that outgrew its cage by July. This page of notes is worth more than any book, including every page on this site, because it is about your soil, your sun, and your habits.
Then rest. A garden reviewed is a garden that improves itself a little every year, which is the entire secret of the gardeners you admire: not talent, but seasons, counted and written down. Your second season starts from evidence. Most people garden for decades on vibes; you will be ahead of them by October of year one.
The Purchases, Assigned to Their Stages
Money leaks in a first season when purchases arrive before their stage. Stage 1 needs a notebook. Stage 2 needs a spade or fork, a rake, and compost. Stage 3 needs seeds or starts, labels, and a trowel. Stage 4 needs a watering can or hose, mulch, and gloves. Stage 5 needs a basket and a knife. Everything else, the bench, the arch, the irrigation system, the third kind of pruner, belongs to season two at the earliest, bought with stage 6 notes in hand. Garden centers are arranged to sell you stage 6 dreams during your stage 1 visit; the stage list in your pocket is the antidote.
Where First Seasons Actually Fail
It is worth naming the failure points plainly, because each one belongs to a stage and each has a stage sized fix. The spring splurge fails at stage 1: too many plants, no sentence of purpose, and a garden that becomes a guilt collection by July; the fix is the written sentence and the small honest numbers. The wrong spot fails at stage 2: a bed placed where the garden looks pretty from the kitchen window instead of where the sun actually lands, discovered in June when everything stretches pale toward the light; the fix is the day of shadow watching before any digging.
The seedling crowd fails at stage 3, covered above. The drought and drown cycle fails at stage 4: a week of neglect, a guilty flood, repeat; the finger test and the mulch end the cycle by making moisture a measurement instead of a mood. The unharvested garden fails at stage 5: beans turning to rope and zucchini to lumber while the gardener waits for a harvest day that was never how gardens work; the fix is the picking rhythm, little and often, basket by the door. And the unreviewed season fails at stage 6, the quietest failure of all: a decent first year whose lessons evaporate, so year two repeats the timing error and the crowding with new plants. One page of notes prevents it.
Notice that none of these failures is a knowledge failure. Every one is a sequence failure, a right job done at the wrong time or skipped in favor of a later stage's pleasures. That is why this page exists as a map rather than as more advice: beginners rarely need more information; they need the information in order, with permission to ignore the rest until its stage arrives.
A Word About Help: Books, Videos, and Neighbors
Mid season, every beginner goes looking for help, and the help has a trap in it: most gardening content assumes a stage. A video about dividing perennials is stage 6 content; a fertilizer schedule is stage 4; a seed starting setup is stage 3 of next year. Consumed out of stage, good advice becomes a shopping list and a guilt source. The stage map is your filter: ask of any tip, which stage is this, and is that my stage now? If not, write it in the notebook for its season and return to your three habits.
The best help, once the filter is on, is local and specific: the neighbor whose tomatoes ripen two weeks before yours on the same street, the extension office that publishes your county's frost dates, the garden center staffer who gardens in your soil rather than reciting a label. Global advice teaches principles; local advice teaches dates, and gardening is mostly dates. Your own stage 6 notes, by the second year, become the most local advice of all.
Frequently Asked Questions
What is the very first thing a beginner should do?
Decide what the garden is for, in one sentence, and write down what success looks like this year in small honest numbers. That decision answers every later question about what to plant, buy, and skip, and it costs nothing. The spot, the soil, and the plants all come after it.
How big should a first garden be?
Small enough to weed in about 15 minutes and water in one trip. A single bed, a few large pots, or a patch around 4 by 10 feet teaches every lesson a first season holds. You can double a successful small garden next year; shrinking a failed large one teaches mainly resentment.
What should a beginner plant first?
Three to five things you will actually eat or pick, matched to the season: radishes, lettuce, peas, or spinach in cool weather; beans, zucchini, basil, or a tomato in warm weather. Our easy vegetables guide ranks the beginner crops by effort and forgiveness.
How often should I water?
By the finger test, not the calendar: water deeply when the top inch or two of soil is dry. Most established garden plants want about 1 inch of water a week counting rain, delivered in deep sessions. New seedlings and pots dry faster and are checked more often.
What is the most common beginner mistake?
Two share the title: planting at the wrong time for the crop's season, and crowding plants at seedling size instead of mature spacing. Both are fixed by the stage 3 discipline: a short list, the calendar checked, and spacing from the packet or the crop guide.
Do I need a soil test in my first season?
It is worth doing once, before adding anything beyond compost, because it replaces guessing about pH and the main nutrients with numbers you can act on. Compost, 2 to 4 inches worked into the top layer, is the safe universal first move while you wait for results.
Photo credits: Magda Ehlers (Pexels); Helena Lopes (Pexels). Photos are served from this site; follow the credit to the library page for the original.