How to Care for Irises After Flowering: The Post Bloom Routine
By the Windchime Walker editorial team
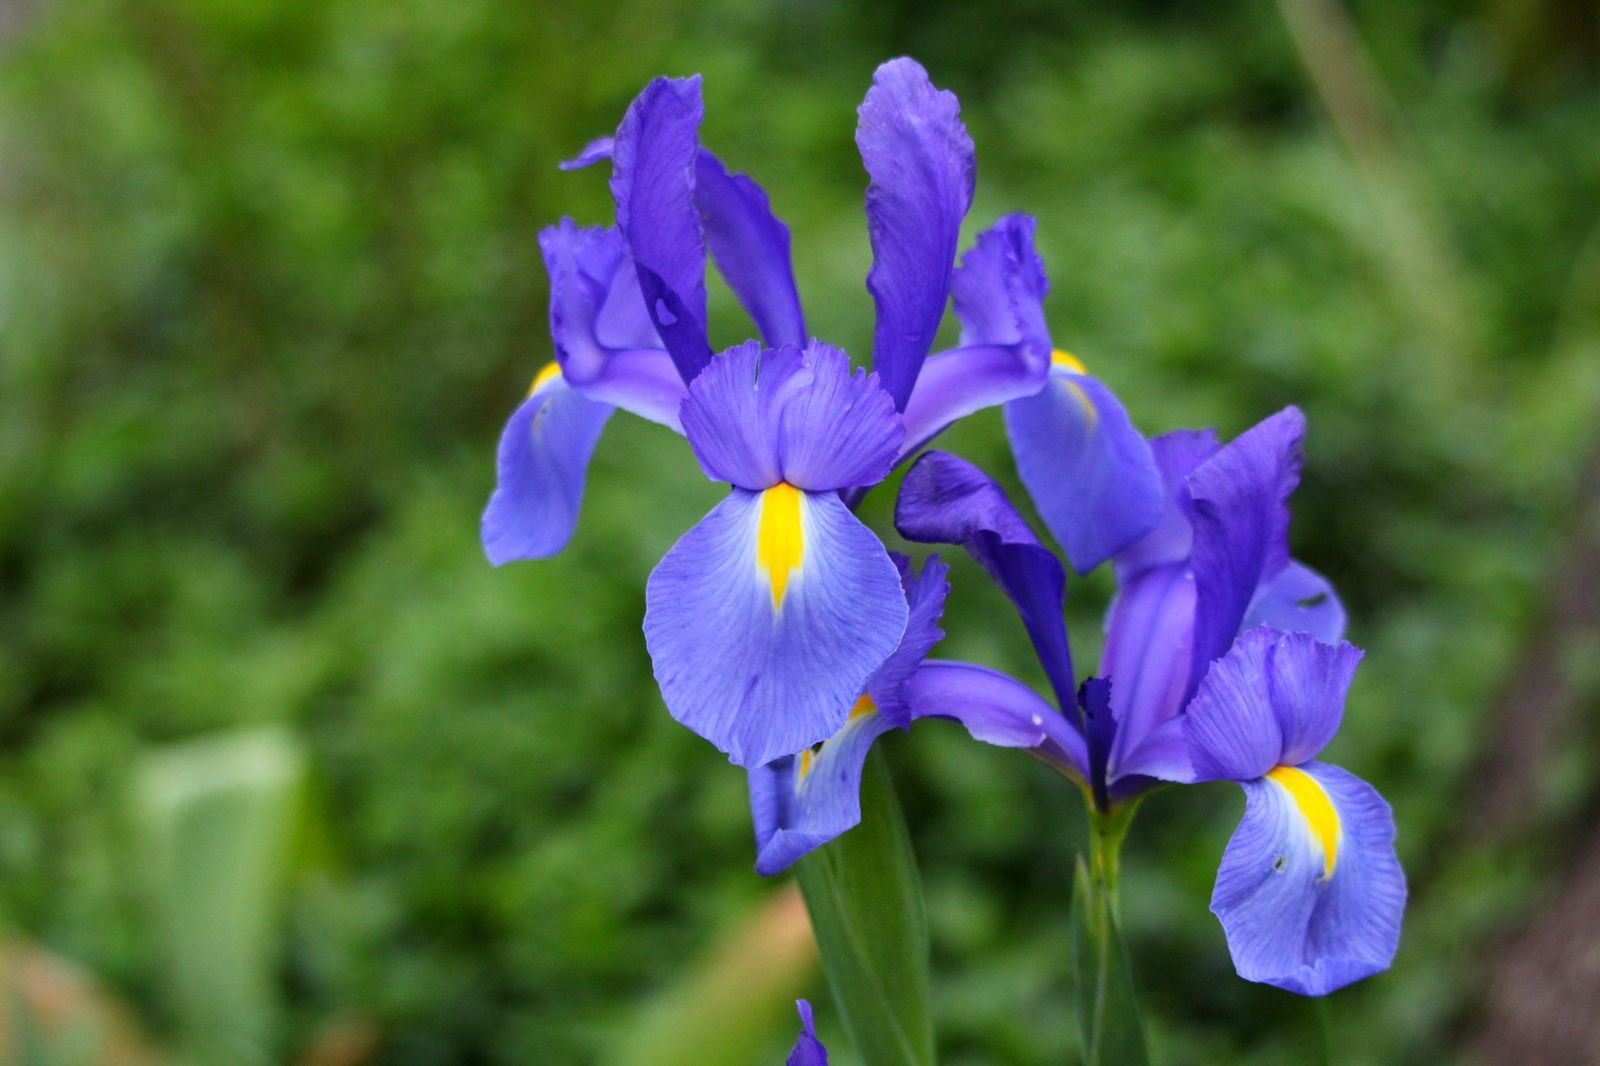
Photo: Daphne L / Pexels
The most dangerous moment in an iris's year is the week after it flowers, when a tidy gardener looks at the fading fans and reaches for the shears. Cutting iris foliage down after bloom feels like care and functions like starvation, because the leaves are not decoration: they are the factory refilling the rhizome that next year's flowers are already being budgeted from. Iris aftercare is a short, ordered routine with one counterintuitive rule at its center, and this page explains the rhizome logic first so the routine makes sense, then walks the weeks in order, ending with the four cause diagnosis for an iris that has stopped blooming.
This page is about bearded irises, the rhizome growing border classic, in the weeks and months after flowering. The same principles, leaves feed storage, division in the post bloom window, govern most of their kin.
Interactive tool
Iris After Bloom Checklist
Check off each step as you finish it. Your progress stays on this page.
0 of 8 complete
0% done
The Rhizome Logic, in One Paragraph
A bearded iris grows from a rhizome, a thick horizontal stem that creeps along the soil surface, half exposed to the sun like a sunbathing animal, and that exposure is by design. The rhizome is the plant's pantry and its flower factory: this summer's leaves photosynthesize and pack energy into it, and the flower stalk next spring is built from those stores. Roots hang below, leaves fan above, and new increases sprout from the rhizome's sides each year, which is why a clump widens and eventually crowds itself. Every instruction below serves that organ: keep the leaves working, keep the rhizome sunlit and dry at its surface, feed it lightly, and when it has multiplied into congestion, divide it in the window when it heals fastest.
Step 1: Cut the Spent Stalks, Nothing Else
As each flower stalk finishes, cut it off cleanly at its base, close to the rhizome, with clean pruners. A spent stalk left standing is an invitation to rot and borers and produces nothing you want, unless you are deliberately saving seed, which for named varieties grows babies unlike their parents. Remove individual faded flowers as you pass if you enjoy the tidiness, but the stalk itself, once its last bud is done, goes. And that is the end of the cutting. The fan of leaves stays, all of it, all summer.
Step 2: Leave the Foliage, Remove Only the Failures
The leaves stand through summer because they are working. Remove only what is genuinely finished or diseased: a leaf that has yellowed entirely, or one heavily spotted, comes off at its base so air moves and fungal spores lose a home. A leaf that is green and upright, however shabby its tip, is earning its keep. If the fans offend your sense of order, the compromise is a light trim of brown tips, not a haircut. Gardeners who shear iris fans to neat six inch stubs in June are choosing tidiness over next year's bloom count, and the plant will present the bill the following spring in the form of leaves and no flowers.
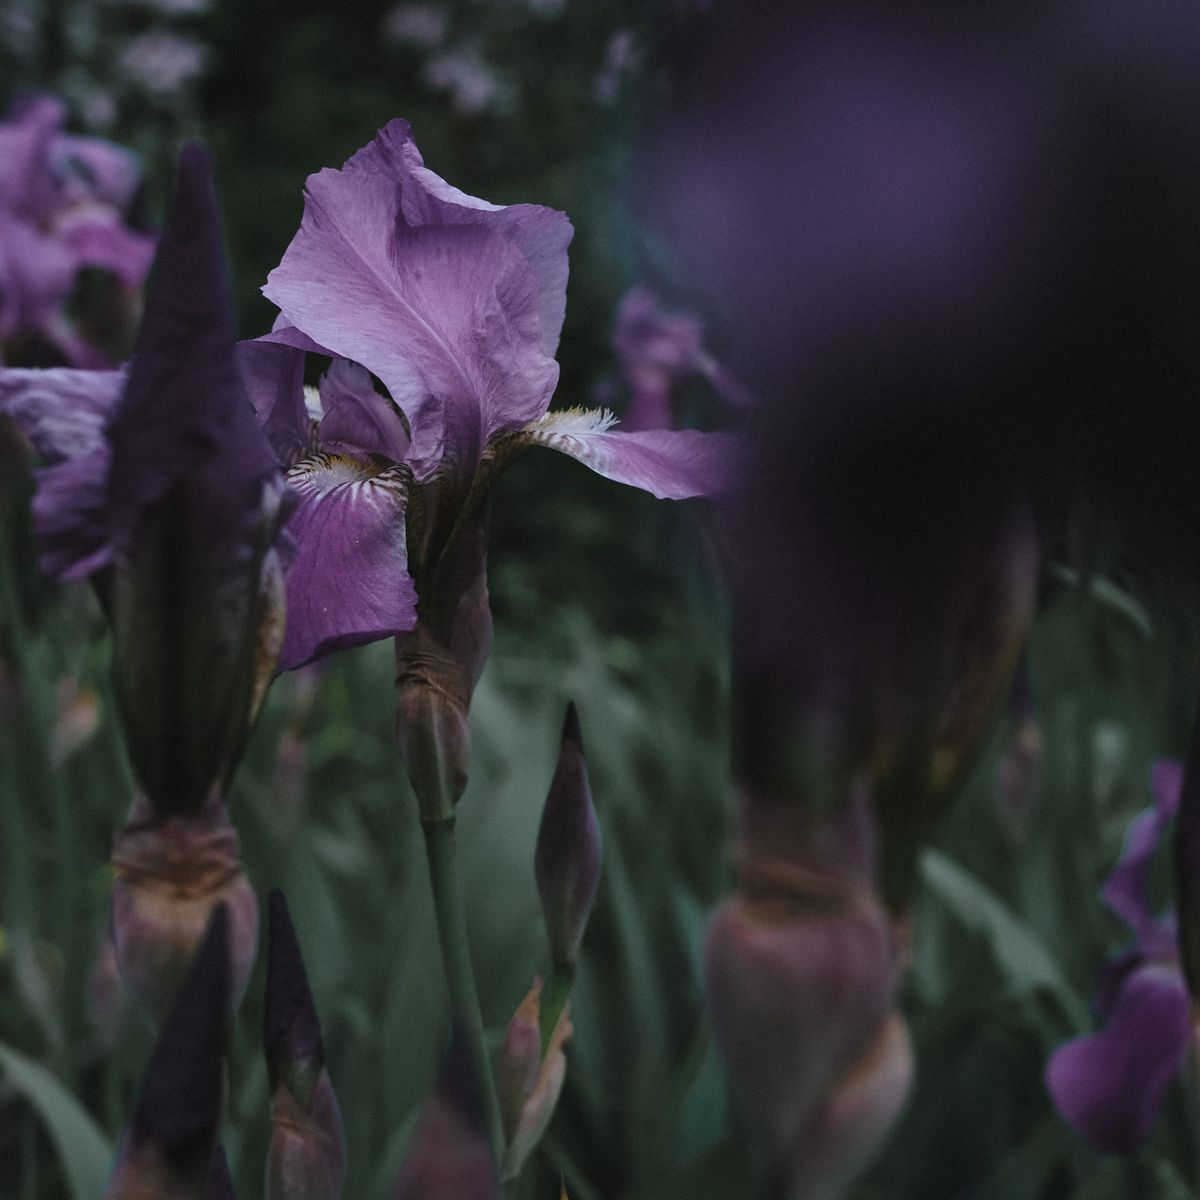
Purple iris flowers blooming outdoors in a garden border
Step 3: Feed Lightly, and Water Without Soaking
After bloom is the one feeding moment in the iris year, and it is a modest one: a light application of a low nitrogen fertilizer, a 5-10-10 style analysis being the classic figure quoted for irises, scratched in around the clump and watered in. Nitrogen restraint matters here as everywhere in the iris story, because heavy nitrogen pushes soft leaf growth and invites the rhizome rot that is this plant's great enemy. Water follows the same restraint: irises are drought tolerant once established, but a long dry spell in the post bloom weeks, when the rhizome is refilling and next year's buds are setting, deserves a deep drink every 7 to 10 days. Water at the base, in the morning, and do not keep the rhizomes themselves sitting wet; a soaked rhizome in hot soil is rot being scheduled.
Step 4: The Borer Check, While You Are There
The iris borer is the pest that makes experienced growers inspect their plants in spring and after bloom. The moth lays eggs on old foliage in fall; the larvae hatch in spring, chew into a leaf, and tunnel down into the rhizome, opening the door to bacterial soft rot. The signs: water soaked streaks on leaves in spring, notched and ragged leaf edges, and by summer a rhizome that is soft, hollowed, and foul smelling at its center, with pinkish caterpillars sometimes found inside. Prevention is sanitation, and fall is its season: remove and destroy all dead iris foliage and debris after frost, which is where the eggs overwinter. A rhizome found rotted gets cut back to firm, clean tissue, the cuts left in the sun to dry and callus before replanting. The borer is the strongest argument in this page for the fall cleanup, and for leaving summer foliage alone: the leaves you must not cut in June are the debris you must not leave in November, and confusing those two seasons is how both mistakes happen.
Step 5: Divide in the Window, 4 to 8 Weeks After Bloom
When a clump's center goes bare, flowering thins, and the rhizomes are riding up over each other like a crowd leaving a stadium, divide, and the window is 4 to 8 weeks after blooming, mid to late summer for most gardens. That timing is not arbitrary: the plant has refilled its stores, the weather is warm for fast healing, and the divisions get a long fall to root before winter. The method:
Lift the clump with a fork, working around it so the rhizomes come up whole.
Wash or shake off the soil and look at what you have: plump current rhizomes with fans, and older, darker sections behind them.
Cut or snap the rhizomes into divisions of 3 to 4 inches, each with a healthy fan of leaves and its own roots. Discard the old, leafless center sections and anything soft or borer tunneled.
Trim each fan back to about 6 inches, in an inverted V if you like the classic look; the trim reduces wind rocking and water loss while the roots re establish.
Replant with the rhizome top at or just above soil level, roots spread in the soil below and firmed in, spaced 12 to 18 inches apart. A rhizome buried deep is an iris being retired, slowly.
Water in well, and keep the divisions watered through dry spells for their first fall.
Share the surplus; iris divisions are the currency of garden friendship, and a clump divided on schedule produces more flowers in the donor bed than it did the year before, which still surprises people.
Step 6: The Fall Trim, and the Four Cause Diagnosis
After frost has knocked the foliage down, trim the fans to about 6 inches and clear all dead leaves and debris from the bed, the borer sanitation from step 4. Then leave the bed alone until spring.
If an iris has stopped blooming, work the four causes in order of likelihood. Too deep: the rhizome has been buried by settling soil or mulch and cannot sun itself; scrape the soil back until the rhizome top sits at the surface. Too shady: a shrub grew, a tree filled in, and the bed's sun quietly left; irises want full sun and sulk in shade by withholding flowers. Too crowded: years without division, rhizomes stacked on rhizomes, each too starved to bloom; divide in the window. Too much nitrogen: lawn fertilizer drifting in, or rich feeding, growing magnificent leaves and no flowers; move to the light 5-10-10 style feeding after bloom only. Diagnose honestly, fix the one cause that fits, and give the plant a season to answer. Irises are patient plants, and they repay the gardener who learns their one strange rule: the leaves are the plant, and the flowers are just its annual report.
Buying and Planting New Rhizomes, the Same Rules in Advance
Everything in the division steps applies, read forward, to a gardener planting irises for the first time, and late summer, the division window, is also the classic planting season for purchased rhizomes, which are sold as bare fans with trimmed leaves that look disappointingly like a ginger root with a haircut. That look is normal; the rhizome is the plant, and the fan is its receipt. Plant new rhizomes as soon as they arrive, at the spacing and depth this page has repeated until it should be carved over the potting bench: 12 to 18 inches apart, roots spread and firmed into the soil, rhizome top at or just above the surface, sitting like a duck on water rather than a submarine under it. A small mound of soil under the rhizome's center, with the roots draped down its sides, is the old planter's trick for getting the depth right. Water the new planting in and keep it watered through dry weather for its first fall, then leave it to the restraint of step 3. Planted in the late summer window, a purchased rhizome commonly flowers the following spring, lightly, and builds to full performance by its second and third year, because an iris clump, like most good perennials, sleeps its first year, creeps its second, and leaps its third. Gardeners in a hurry should buy more rhizomes rather than richer treatment; with this plant, time is the fertilizer, and the aftercare routine above is how you spend the time correctly.
Frequently Asked Questions
Can I cut iris leaves back after flowering?
No, and this is the central rule of iris aftercare. The foliage feeds the rhizome all summer, and next year's flowers are built from those stores. Remove only fully yellowed or heavily spotted leaves. The fans get their trim in fall, after frost, down to about 6 inches, when cleanup also removes the iris borer's overwintering eggs.
What do I do with the flower stalks after bloom?
Cut each spent stalk cleanly at its base as soon as its last flower finishes. Standing dead stalks invite rot and borers and give the plant nothing. Individual faded blooms can be snapped off as you pass, but the stalk itself goes once it is done.
When and how do I divide irises?
Divide 4 to 8 weeks after blooming, in mid to late summer, when clumps are crowded and flowering thins. Lift the clump, cut it into 3 to 4 inch rhizome pieces each with a leaf fan and roots, trim fans to about 6 inches, and replant 12 to 18 inches apart with the rhizome top at or just above soil level. Burying a rhizome deep is a classic cause of no flowers.
What fertilizer do irises want after flowering?
A light application of a low nitrogen fertilizer, the 5-10-10 style analysis is the classic quoted figure, scratched in and watered in after bloom. Restraint is the point: heavy nitrogen grows soft leaves and invites rhizome rot, and too much nitrogen is one of the four standard causes of an iris that will not bloom.
How often should I water irises after bloom?
They are drought tolerant, but during long dry spells in the post bloom weeks, give a deep drink every 7 to 10 days, at the base, in the morning. The rhizome is refilling and setting next year's buds then. Avoid keeping rhizomes sitting wet, which schedules the soft rot that is this plant's great enemy.
Why has my iris stopped blooming?
Work four causes in order: planted or settled too deep, with the rhizome buried instead of sunning at the surface; too much shade as nearby planting grew; too crowded from years without division; or too much nitrogen growing leaves instead of flowers. Fix the cause that fits and give the plant a season to respond.
Photo credits: Daphne L (Pexels); Nikolaeva Nastia (Pexels). Photos are served from this site; follow the credit to the library page for the original.