How to Grow Broccoli Sprouts: The Jar Method, With the Food Safety Steps
By the Windchime Walker editorial team
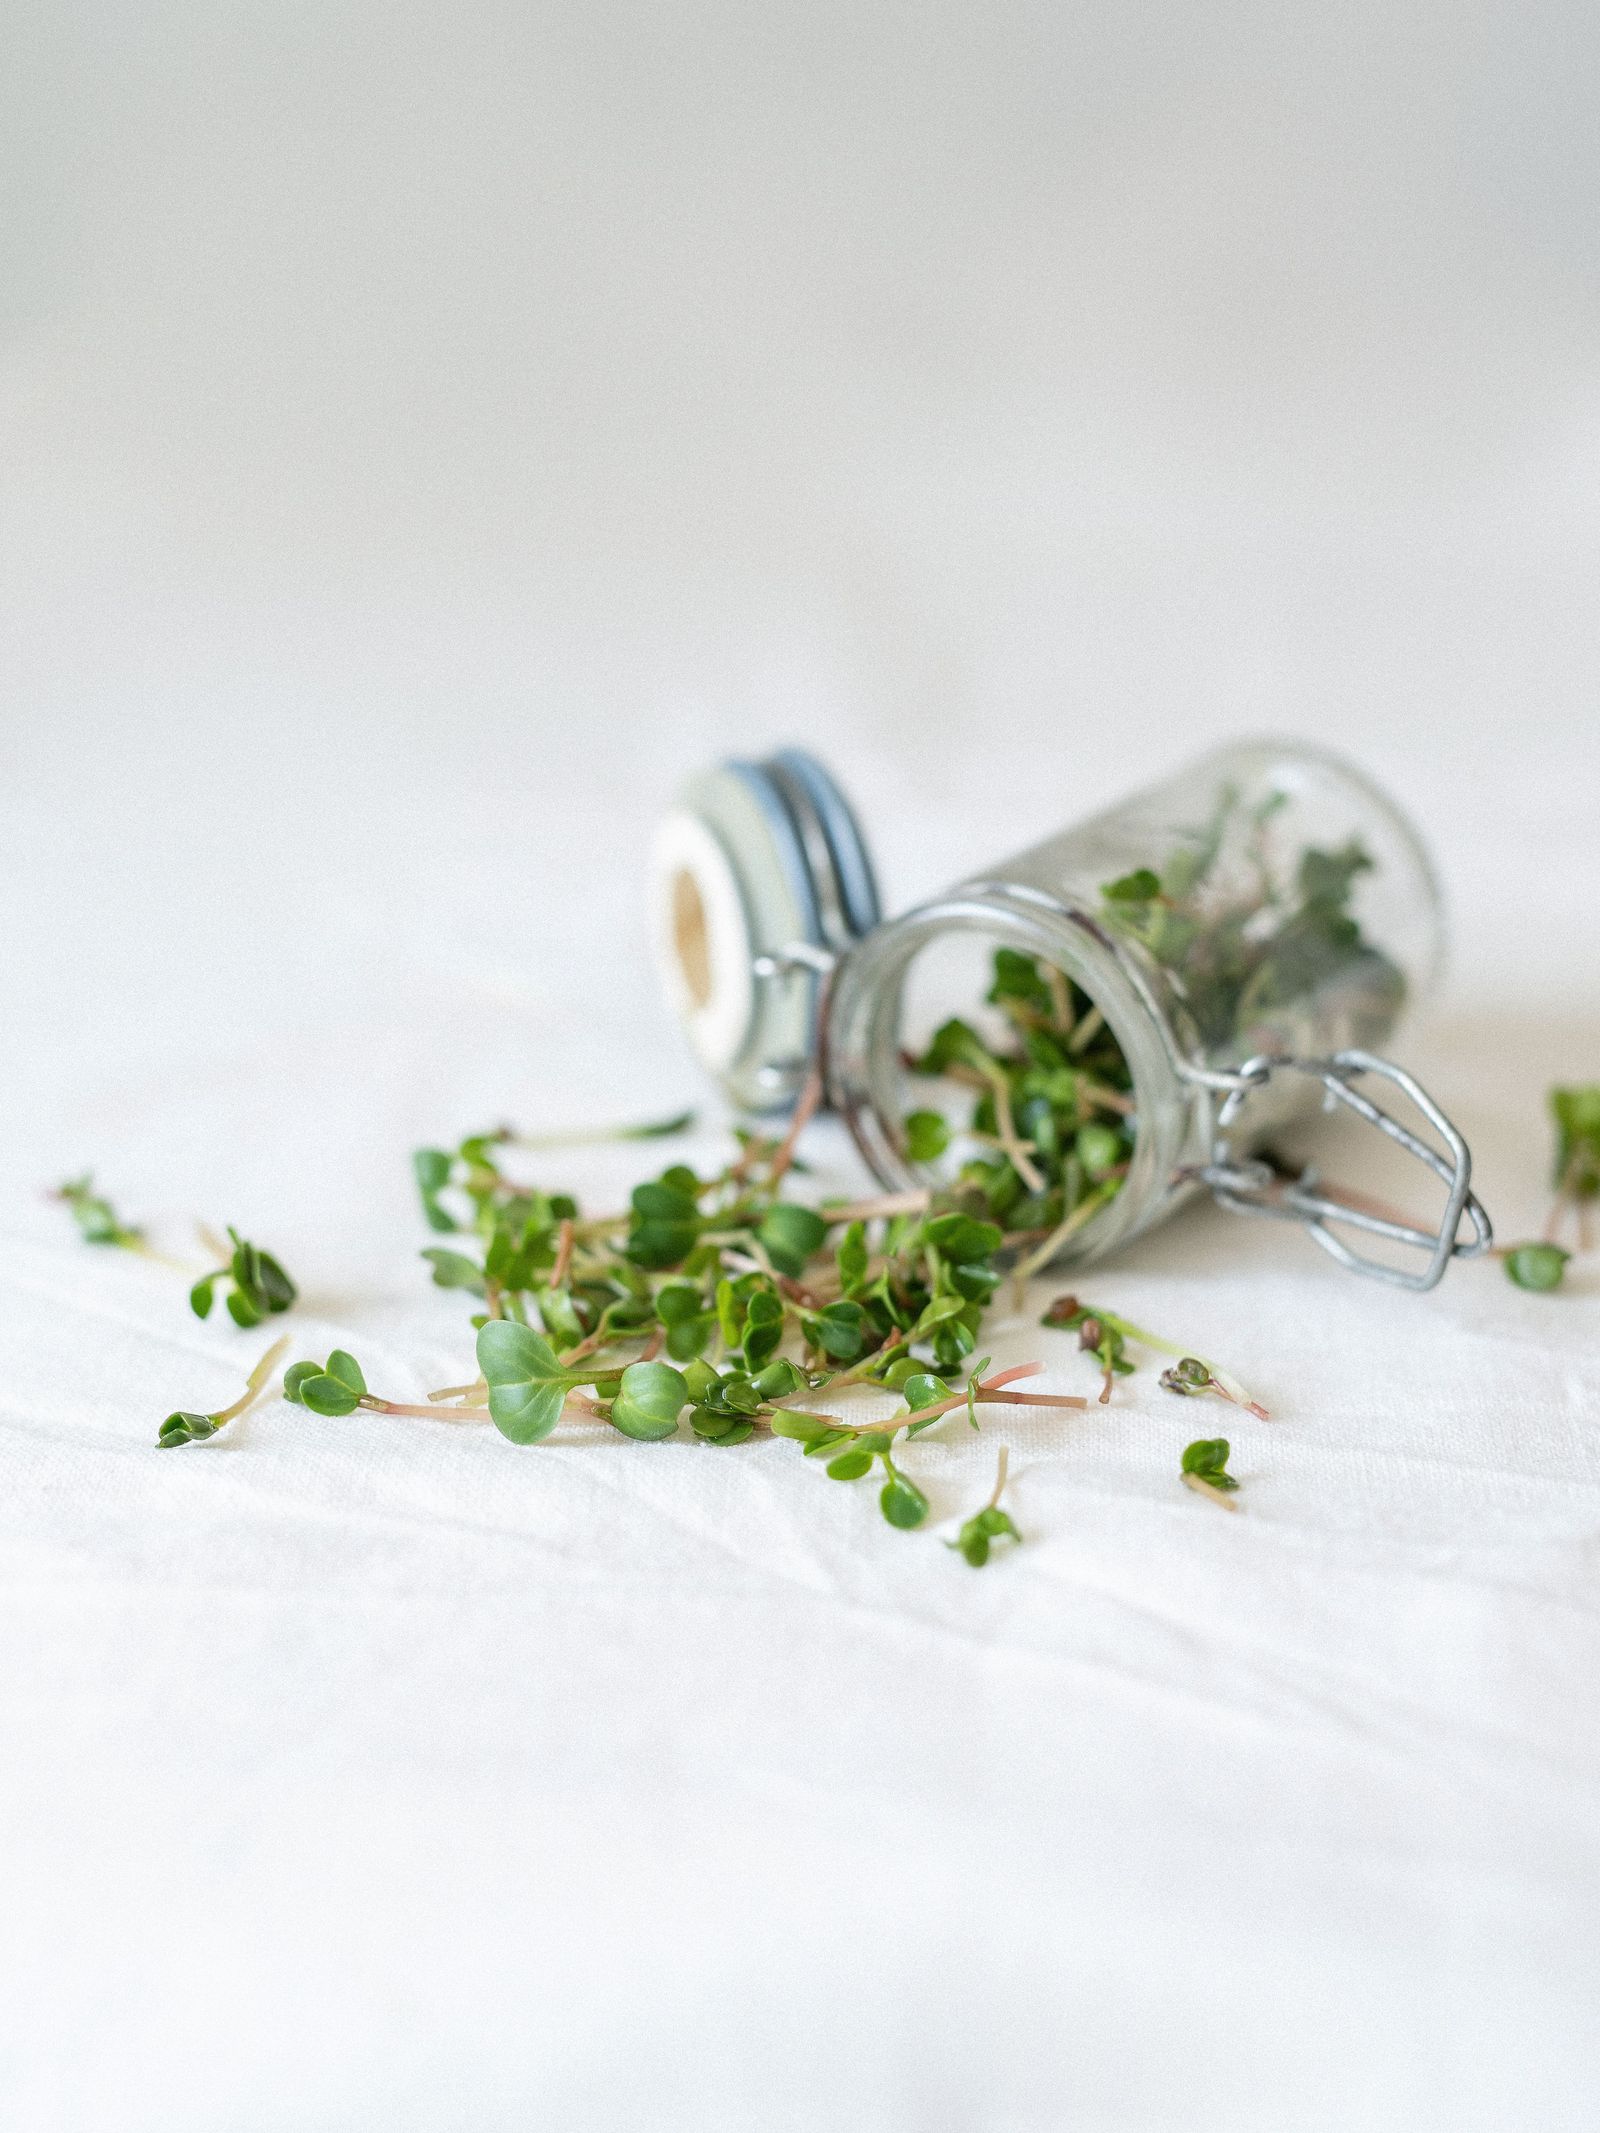
Photo: Oks Malkova / Pexels
A jar of broccoli sprouts is the fastest crop in this entire site: seed to harvest in less than a week, on a counter, in any season, with no soil and no light until the last day. It is also the one crop here where the method's safety steps are not decoration. Sprouts grow in exactly the warm, wet conditions that bacteria enjoy, which is why food safety authorities treat home sprouting as a skill with rules rather than a free for all. This page teaches both halves together: the jar method, and the safety system that makes it a sound habit. The mason jar and at home variants of this method that circulate as separate searches are the same method, and they live here.
Our microgreens guide owns the tray method, broccoli included. This page owns the jar.
Interactive tool
Sprout Jar Checklist
Check off each step as you finish it. Your progress stays on this page.
0 of 7 complete
0% done
What You Need
A wide mouth quart jar, a sprouting lid or a square of fine mesh or cheesecloth with a ring or rubber band, a bowl or rack the jar can rest in at an angle, and the ingredient that matters most: seed sold specifically for sprouting, from a seed house that tests it. That last requirement is the first safety step, not a shopping preference. Sprouting seed is produced and tested for the pathogens that matter in a sprouting jar; culinary broccoli seed and garden seed are not held to the same standard, and no rinse downstream can fully compensate for contaminated seed. Buy seed labeled for sprouting, store it dry, and treat the jar as a food surface from this point on, because it is one.
Step One: Sanitize the Jar
Before the first batch and between every batch, sanitize the jar and lid. The extension method quoted in sprouting guidance is a bleach solution of 3/4 cup plain household bleach per gallon of water: soak the jar and lid for 5 minutes, then rinse thoroughly and let them air dry. Wash your hands before handling seed and sprouts, and keep the jar out of the splash zone of raw meat and other kitchen contamination. These steps sound fussy written out; in practice they add five minutes to a five day crop, and they are the difference between a controlled process and a hopeful one. Anyone in the household who is pregnant, elderly, very young, or immunocompromised should skip home sprouts entirely, which is the standard public health advice for raw sprouts generally, home grown or store bought.
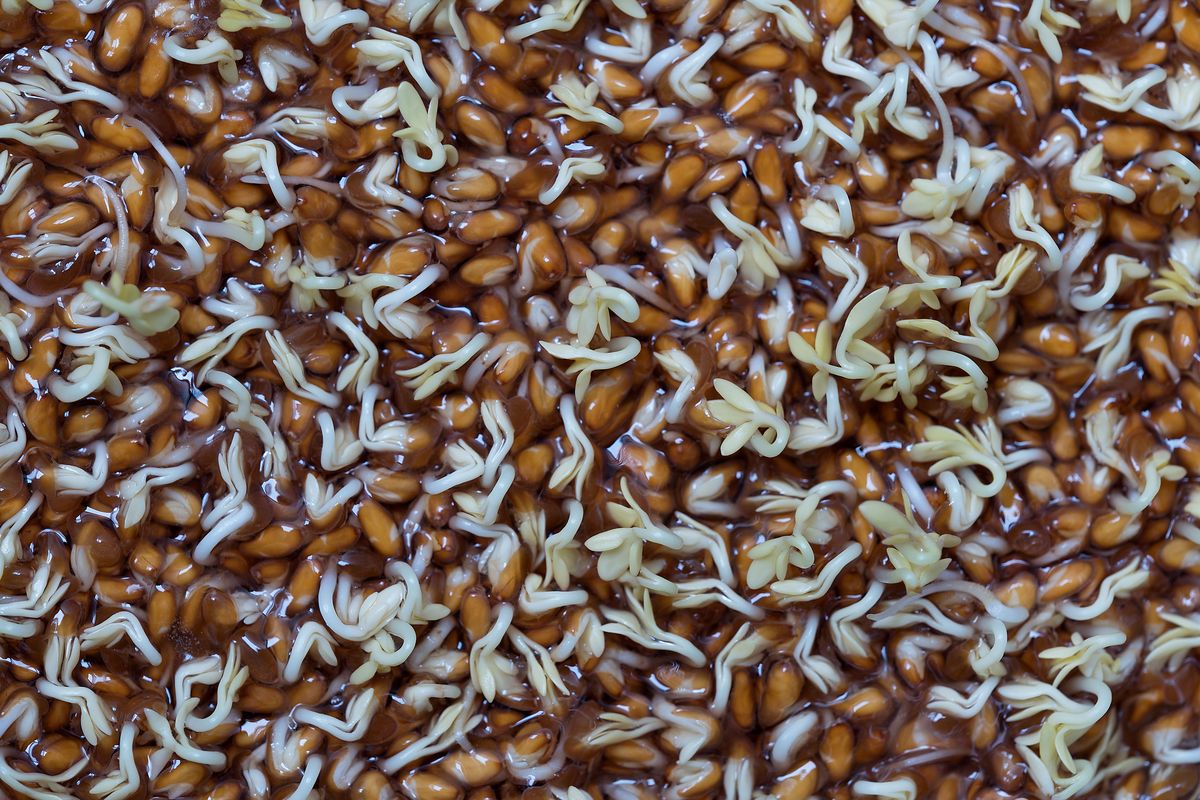
Sprouting seeds with white roots in a jar
Step Two: the Soak
Put about 2 tablespoons of broccoli sprouting seed in the quart jar. That measure is the Colorado State University Pueblo County Extension figure used in sprouting guidance, and it is calibrated to the jar: broccoli sprouts expand enormously, and a heavier hand fills the jar solid by day three, trapping moisture and defeating the drainage the method depends on. Cover the seed with several inches of clean water, swirl, and let it soak 8 to 12 hours, conveniently overnight. Drain the soak water off through the mesh, rinse once with fresh water, and drain again thoroughly. The crop is now planted, and the rest of the method is one repeated act.
Step Three: Rinse, Drain, Rest at 45 Degrees
Two to three times a day, every day of the grow: fill the jar with clean water, swirl gently, drain it completely through the mesh, and set the jar mouth down at about a 45 degree angle in its bowl or rack so the last water escapes and air circulates. Some extension guidance rinses as often as every 6 hours in warm conditions; 2 to 3 times daily is the workable standard for most kitchens, and the honest variable is your room: a hot kitchen in August wants the third rinse, a cool one in January does not. The angle is not a detail. A jar standing upright pools water in its base, and pooled water is where batches sour. The sprouts themselves will form a loose mass that clings to the jar; that is normal, and the rinse reaches them if you swirl before draining. Keep the jar out of direct sun at room temperature, in ordinary kitchen light or even a cupboard, for the first days: sprouts at this stage are growing roots and stems, not leaves, and darkness or dimness is traditional and harmless.
Root Hairs Versus Mold: the Identification That Matters
On day two or three the seeds develop a halo of fine white fuzz at the root end, and half the beginners who see it throw the batch away, while the other half would ignore actual mold. Learn the difference once and you will never confuse them. Root hairs are the plant's own fine water seeking threads: bright white, feathery, hugging the root tips, most visible when the sprouts are dry between rinses, and they flatten and nearly vanish when the sprouts are wet. They smell like nothing, or faintly green. Mold is gray, blue green, or black, grows in patches on the seed mass rather than at root tips, looks slimy or webby rather than feathery, persists wet or dry, and smells musty or sour. A batch that smells off at any point, or shows true mold, is discarded whole, without tasting, and the jar is sanitized before the next attempt. When in doubt, the nose decides: a healthy jar smells like fresh greens and water, and any other smell ends the batch.
Harvest at Day 3 to 5, With the Conflict Flagged
Most guidance harvests broccoli sprouts at day 3 to 5, when the sprouts have filled the jar loosely and the first tiny leaves are forming; some guides run 5 to 6 days for a leafier sprout. The difference is preference, not safety, within that window: earlier sprouts are milder and crunchier, later ones greener and more assertively broccoli flavored, since the compounds that make broccoli taste like broccoli concentrate as the sprout grows. On the final day, give the jar a few hours of indirect light if you want the leaves to green; it is cosmetic and nutritional at the margins, and entirely optional. Hulls, the papery seed coats clinging to the sprouts, are edible and harmless; to remove most of them, swish the harvested sprouts in a big bowl of water and skim the hulls that float. Drain the harvest thoroughly, spin or pat it dry, because storage life is decided by surface water, and refrigerate in a container lined with a paper towel or cloth. Home sprouts keep about 3 to 5 days refrigerated, and the rhythm that works is a new jar started as the old one is harvested, so the counter produces a batch a week with five minutes of attention a day.
Troubleshooting the Jar
Sour smell by day two. Usually drainage: check the jar is truly at its angle with the mesh unclogged, rinse an extra time daily, and confirm the room is not unusually hot. Seeds not sprouting. Old seed or cold soak water; sprouting seed stored dry germinates reliably for a year or more, and a fresh packet answers the question. Slime on the sprouts. Too much seed in the jar, too little rinsing, or pooled water; cut the seed to the 2 tablespoon measure and fix the angle. Bitter, harsh sprouts. Harvested late or grown hot; harvest a day earlier and move the jar to the coolest room temperature spot you have. Each failure teaches one variable, and the jar's mercy is that the tuition is five days and two tablespoons of seed.
Flavor, Use, and the Health Claims, Handled Honestly
Broccoli sprouts are sold with a health halo, concentrated in one compound: glucoraphanin, which converts to sulforaphane, and which broccoli sprouts contain at many times the concentration of mature broccoli, a finding from Johns Hopkins research that launched the sprouting seed industry. The honest handling of that fact on a gardening page is this: the concentration is real, the research into sulforaphane's effects is active and promising, and no sprout you grow is a medicine with a dose. Grow them because they are fresh, peppery, alive in a way no store produce in January is, and because a handful on a sandwich or a salad is a genuinely good use of a counter corner. Use them raw where their crunch survives, scattered over soups and eggs at the table rather than cooked into them, and blend them into smoothies where their assertiveness disappears into fruit. Freshness is the flavor argument: a sprout harvested an hour ago from your own jar tastes green and sharp in a way that the plastic box from the store, a week into its travels, does not, and that difference, not the halo, is what keeps the jar in rotation on real counters.
Frequently Asked Questions
How long do broccoli sprouts take to grow?
Three to five days from the end of the soak to harvest by most guidance, with some growers running 5 to 6 days for a leafier sprout. The soak itself is 8 to 12 hours before that clock starts. Few crops anywhere go from seed to plate faster.
How much seed do I put in a quart jar?
About 2 tablespoons of seed sold for sprouting, the Colorado State Pueblo County Extension figure. Broccoli sprouts expand dramatically; more seed packs the jar solid, traps water, and invites the sourness and slime that ruin batches.
Is it safe to grow sprouts at home?
It is safe when run as the system on this page: tested sprouting seed, a sanitized jar (the extension bleach mix is 3/4 cup plain bleach per gallon of water, 5 minutes), 2 to 3 rinses a day, complete drainage at a 45 degree rest, and discarding any batch that smells off or shows true mold. Public health guidance still advises that pregnant, elderly, very young, and immunocompromised people avoid raw sprouts altogether.
Are the white fuzzy bits on my sprouts mold?
Probably root hairs, not mold: they are bright white, feathery, hug the root tips, and nearly disappear when the sprouts are wet. Mold is gray or blue green, patchy, slimy, persistent when wet, and smells musty or sour. Smell is the tiebreaker: a healthy jar smells like fresh greens.
Do broccoli sprouts need light?
Not until the end, and then only optionally. Grow the jar in ordinary room light or dimness; a few hours of indirect light on the final day greens the tiny leaves. Direct sun overheats the jar and is avoided at every stage.
How do I store broccoli sprouts, and how long do they keep?
Dry them thoroughly first, since surface water decides storage life, then refrigerate in a container lined with a paper towel or cloth. They keep about 3 to 5 days. Starting a new jar as you harvest the old one keeps a fresh batch in rotation.
Can I grow other sprouts with the same jar method?
Yes: alfalfa, radish, mung bean, lentil, and the other brassicas all run on the same soak, rinse, and drain system, with two adjustments. The seed quantity changes with the seed's expansion (large seeds like mung and lentil want a smaller measure per jar), and the days change slightly, with most kinds landing in the same 3 to 6 day window. The safety system does not change at all: sprouting grade seed, a sanitized jar, full drainage, and the smell test on every batch.
Photo credits: Oks Malkova (Pexels); Fez Brook (Pexels). Photos are served from this site; follow the credit to the library page for the original.