Carrots have a reputation as the crop that humbles beginners, and it is undeserved. Carrots are not difficult. They are specific. They ask for four things and ask firmly: soil they can push through, a sowing that never dries out, room created by thinning in two passes, and patience while they germinate at their own unhurried pace. Give a carrot those four and it is one of the most reliable crops in the garden. Miss one and you get the forked, stunted, or missing carrots that built the reputation.
This guide covers the full craft in order, from preparing a carrot bed to pulling roots that look like the seed packet photograph. Every figure in it comes from extension guidance or the seed packet in your hand, because carrots reward precision more than enthusiasm.
The Plant Spacing Planner on this page carries carrots at the University of Georgia Cooperative Extension final spacing of 2 to 3 inches after thinning. Enter your bed size to see how much row your sowing will fill, and to plan how many short rows your household will actually eat.
Interactive tool
Plant Spacing Planner: The Carrot Bed
Carrots are in the crop list below at the University of Georgia Cooperative Extension final spacing of 2 to 3 inches after thinning. Enter your bed size to see how much row your sowing will fill.
8 tomato plants fit this bed
4 plants per row across 2 rows, on a 24 inch grid. Extension spacing for this crop: 24 in between plants, 48 in between rows.
The grid uses the in-row spacing in both directions, the standard square foot layout for raised beds. In open ground, keep the wider row spacing in the note above so you can walk and weed between rows.
Spacing figures: University of Georgia Cooperative Extension, Circular 963, Vegetable Planting Chart, source.
Step 1: Choose the Variety Your Soil Deserves
Carrots come in shapes because soils come in types, and matching the two is the first decision. Long, slender varieties need deep, loose, stone free soil to grow straight; in shallow or heavy ground they fork, stunt, or push themselves crooked around obstacles. Short, round, and half long varieties were bred for exactly those difficult soils and will give you handsome roots where a long variety gives you comedy.
Read your soil honestly. If your bed is deep, sandy or loamy, and you have loosened it well, grow the long types and enjoy the classic shape. If your soil is clay, shallow, or sits over hardpan or rubble, choose short or round varieties and succeed on the first try. Containers follow the same rule: a pot grows the carrot that fits its depth, so short and round types are the container carrot. There is no prize for growing a long variety in the wrong soil. There is only the harvest you actually get.
Step 2: Prepare a Loose, Stone Free Bed
A carrot root is a single taproot driving downward, and everything it meets shapes it. A stone makes it fork. A clod makes it bend. A hard layer makes it stop. So carrot beds get the most careful preparation in the garden: loosen the soil deeply, a full spade depth, and pick out stones and break up clods as you go, working the bed finer than you would for any other crop.
Work in compost as you prepare the bed, but avoid fresh manure or heavy fresh fertilizer in a carrot bed. Rich, unevenly distributed fresh material is a classic cause of forked and hairy roots, as the taproot branches around pockets of it. Finished compost, evenly mixed, is the right feed. If your soil is heavy clay, the honest options are a raised bed filled with loose blend, where you control the whole root zone, or the short varieties from Step 1 in the best loosened soil you can make.
Step 3: Sow Directly, Shallow, Where They Will Grow
Carrots are never transplanted. The taproot that makes the carrot cannot survive being moved, so seed is sown in the bed, in rows, where the roots will mature. Sow in spring as soon as the soil can be worked, since carrots are a cool season crop that tolerates light frost, and again in late summer for a fall crop, which many gardeners find the sweetest of the year.
Sow shallow. Carrot seed is tiny, and the general rule, plant a seed about two to four times as deep as the seed is wide, puts carrot seed barely below the surface; your packet prints its exact depth, and the packet wins. Sow thinly along the row if you can, though carrot seed is small enough that everyone sows some clumps, which is what thinning is for. Mark the row ends and label the sowing with variety and date, because carrots are slow to appear and an unlabeled row is a row that gets weeded by mistake or dug over in a fit of tidiness.
Mixing a few radish seeds into the carrot row is an old and honorable trick. Radishes sprout in days, marking the row, breaking the surface crust with their growth, and they are harvested and gone before the carrots need the room. If you try one gardener's trick this year, make it that one.
Step 4: Keep the Seedbed Moist: The Board Trick
Here is where most carrot sowings die. Carrot seed germinates slowly, taking two to three weeks in cool soil, sometimes longer, and the shallow seedbed dries out in a single sunny, windy day. A seed that has swollen and sprouted and then dried is dead, and the row comes up in patches or not at all. The entire craft of carrot germination is keeping the top layer of soil continuously moist for that whole window.
The board trick solves it with lumber. After sowing and watering the row well, lay a board, or any flat cover such as burlap or an old plank, directly over the row. The cover holds moisture in, keeps the surface from crusting, and shelters the seed from washing rain. Lift it every couple of days to check: the day you see the first green threads of sprouting, remove the cover for good, because the seedlings now need light. From then on, water gently whenever the surface begins to dry, and mulch between the rows once the tops are tall enough to allow it.
Gardeners without a board use burlap kept wet, or a light fabric row cover, and all versions obey the same law: the seedbed may not dry out until the carrots are up. Water with a fine, gentle spray that does not blast the shallow seed out of the soil.
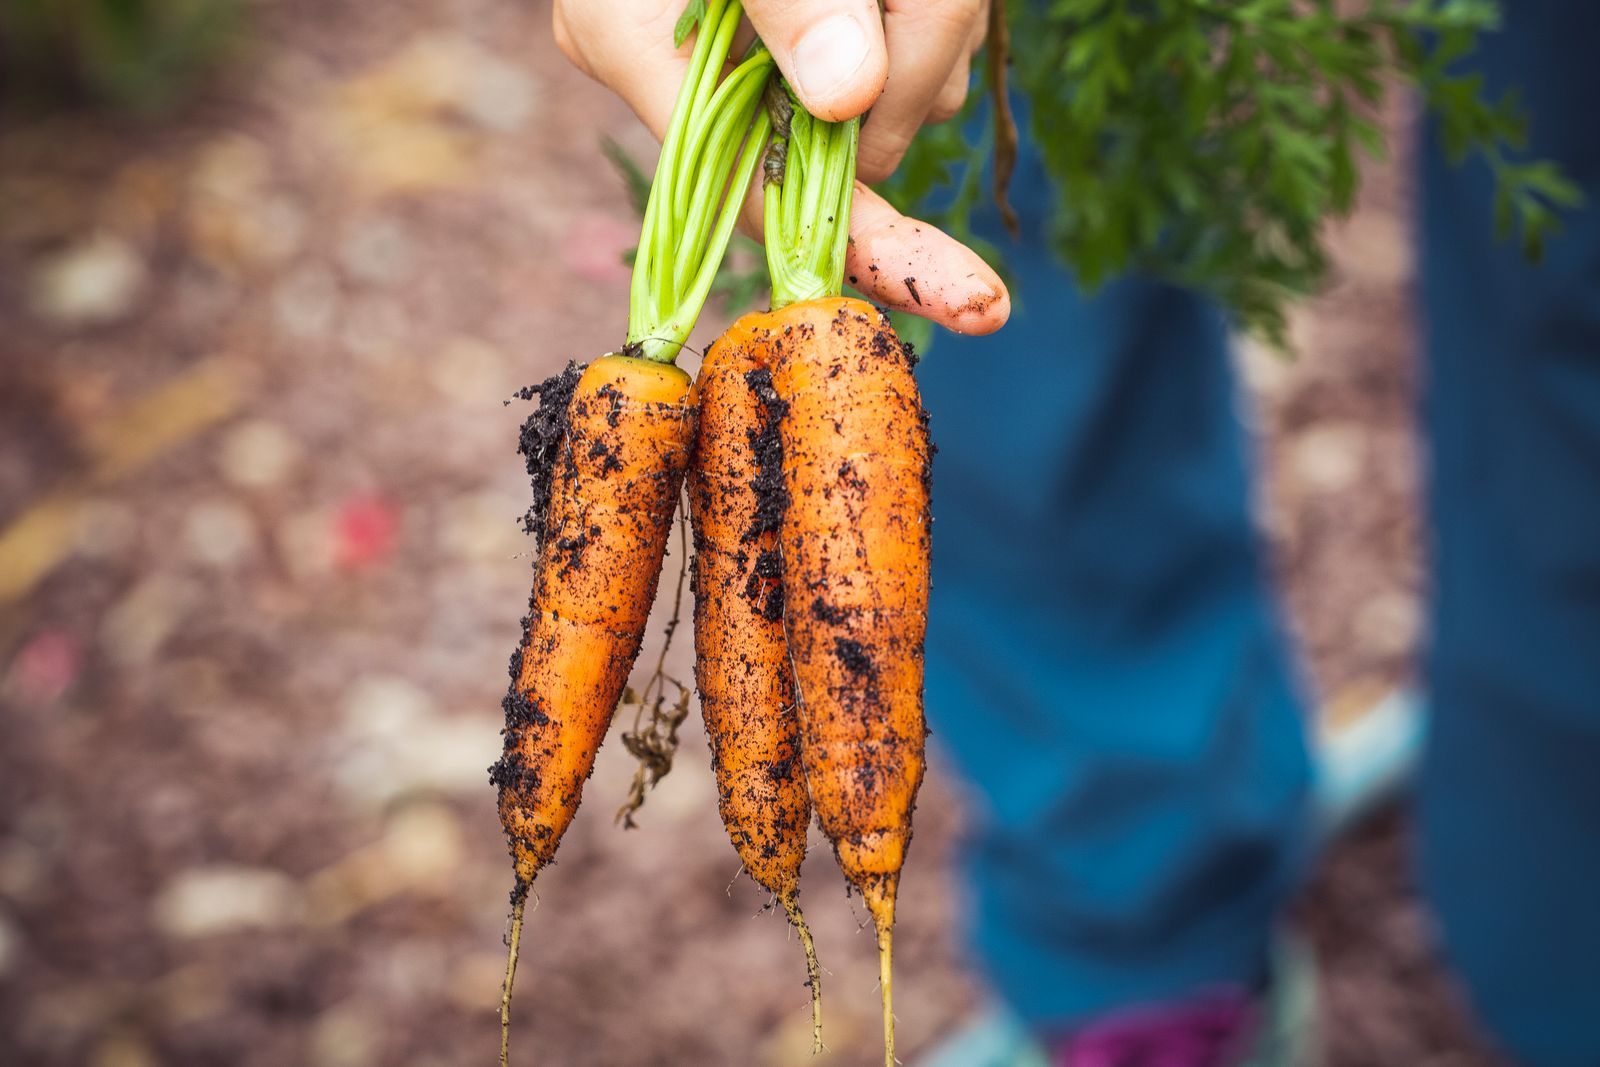
A hand holding freshly harvested carrots with the soil still on them, the payoff for a loose bed and patient thinning
Step 5: Thin in Two Passes to 2 to 3 Inches
Thinning is the step beginners skip, because pulling up healthy seedlings feels like waste, and it is the step that decides the harvest. A carrot that is not thinned stays a thin, woody thread, because a hundred roots sharing a foot of row share its food and water a hundred ways. The University of Georgia Cooperative Extension final spacing for carrots is 2 to 3 inches between plants, and reaching it in two passes is gentler than one.
First pass: when the seedlings are a few inches tall and you can tell carrot tops from weeds, thin the row so plants stand roughly a finger's width apart, removing the tightest clumps and the weakest seedlings. Snip crowded seedlings with scissors at soil level if pulling disturbs the neighbors; young carrot roots entwine, and a pulled seedling can drag its keeper out of line. Second pass: a couple of weeks later, when the tops have filled in, thin again to the final 2 to 3 inches. The thinnings from the second pass are often slender baby carrots, and they are delicious, which is the garden's way of paying you for the chore.
Water the row after thinning to settle disturbed soil, and firm any loosened seedlings back in with gentle fingers. From here the crop mostly needs steady moisture and a weeded row.
Step 6: Water Steadily and Weed Gently
Carrots in the ground follow the garden's standing water rule, about 1 inch of water per week from rain and watering combined, and they want it evenly. Swings between dry and soaked soil split roots and encourage forking at the surface. Mulch between rows once tops allow it, and keep the row weeded: carrots are slow, slender, and poor competitors, and weeds will take their light and water without a fight if you let them.
Shoulders of maturing carrots that push above the soil can green in the sun. Hill a little soil or mulch over exposed shoulders to keep them orange and sweet. It is a small job on your regular rounds and takes ten seconds a row.
Step 7: Harvest When the Shoulders Tell You
Your packet's days to maturity give the estimate, and the plant gives the confirmation: the top of the root, the shoulder, widens and colors at the soil line, and for most varieties a shoulder about as wide as your thumb means a carrot worth pulling. Loosen the row with a fork before pulling, especially in heavy soil, because a carrot snapped off at the shoulder is a carrot lost. Grasp the tops close to the root and pull with a gentle twist.
Carrots sweeten in cold soil, as the plant loads its root with sugars against the frost, so the fall crop can be left in the ground under a thick blanket of mulch and harvested as needed well into cold weather in many gardens. Twist off the tops before storing harvested carrots in the refrigerator, because the leaves draw moisture from the root. Homegrown carrots eaten the day they are pulled will recalibrate your opinion of the vegetable permanently.
Carrots in Containers and Raised Beds
Containers forgive nothing about depth and reward everything about control. Choose a pot at least as deep as your variety is long, which in practice means short and round varieties for most pots, and fill it with potting mix, never garden soil, loosened and free of clumps. The whole germination and thinning craft applies unchanged: sow shallow, keep the surface continuously moist through the slow sprouting window, and thin in two passes to the same 2 to 3 inches. Container carrots dry faster than bed carrots, so the board trick and your watering rounds matter even more, but the roots come out straight and clean in a way clay gardeners dream about.
Raised beds are the carrot's best home of all. The loose, deep, stone free blend a raised bed starts with is exactly the root zone carrots ask for, and because you never step in it, it stays that way year after year with only compost added. If your garden soil is heavy clay and your heart is set on long carrots, a raised bed is not an indulgence. It is the correct tool for the crop, and the first bed you build will pay for itself in straight roots.
The Fall Crop: Why Your Best Carrots Come Second
Spring carrots are good. Fall carrots are the ones gardeners write poems about. Sown in late summer, the fall crop germinates fast in warm soil, grows through cooling weather that slows its pests, and finishes in cold ground that triggers the plant to load its root with sugar as antifreeze. The result is a carrot noticeably sweeter than its spring sibling, harvested from a bed that also asks less of you in watering, because fall rain and cool air hold moisture longer.
Time the fall sowing by counting back from your first fall frost date using the packet's days to maturity, then add a margin for the slower growth of shortening days. Keep the seedbed moist with the board trick exactly as in spring; late summer sun dries a shallow row even faster than spring wind does. After frosts begin, blanket the row with a thick layer of straw or shredded leaves and harvest through it as needed. In mild winters, that mulched row is a root cellar you never had to build.
Storing the Harvest
For storage beyond the week, twist the tops off at pulling, because leaves left on draw moisture and life out of the root. Unwashed carrots keep best, brushed free of loose soil and stored cold and humid: a bag in the refrigerator's crisper serves for weeks. Washing is for eating day. Carrots intended for the freezer need blanching first, a job for the kitchen rather than this guide, but the garden's part of storage is simple: pull them sound, dry, and unbruised, and never store a cracked or forked root among the keepers, because damage spreads in storage. Eat the imperfect ones first, proudly. You grew them, and a forked carrot tastes exactly like a straight one.
Troubleshooting: Forks, Hair, and Missing Rows
Forked carrots mean the taproot met an obstacle or a pocket of fresh richness: stones, clods, fresh manure, or a hard layer. The fix is next year's bed preparation and variety choice. Hairy, fibrous roots point to overly rich or uneven soil and sometimes to dryness. Bitter or woody carrots usually grew too slowly in hot weather or stayed in the ground long past their prime; the fall sowing cures most bitterness complaints. A row that never appeared at all is almost always the seedbed drying during the slow germination window, which is why the board trick exists. Diagnose once, adjust once, and carrots become the crop you trust.
Rotation and Neighbors
Carrots belong to the same plant family as parsley, dill, parsnips, and celery, and they appreciate the same rotation logic as every other crop: do not plant them where their family grew last year, so soil borne problems lose their hosts and the bed's nutrients are drawn in a new pattern. A three or four year rotation around your beds is the standard home garden rhythm and costs nothing but a line in your notes.
As neighbors, carrots are undemanding. They share beds well with lettuce and radishes, which mature and leave before the carrots need the space, and the old claim that onions and carrots protect each other from each other's flies is repeated by generations of gardeners; whether or not the flies agree, the pairing harms nothing and uses space well. What carrots do not want beside them is aggressive competition: keep the row clear of vigorous weeds and thirsty, sprawling crops that shade the slender tops. Carrots lose every fight for light in their first weeks, so choose their neighbors the way you choose their soil, gently.
Frequently Asked Questions
How far apart should carrots be?
Thin them to a final spacing of 2 to 3 inches between plants, the University of Georgia Cooperative Extension figure, in rows spaced to suit your bed. Reach that spacing in two passes: first to about a finger's width when seedlings are a few inches tall, then to the final 2 to 3 inches a couple of weeks later. Unthinned carrots stay thin and woody no matter how long you wait.
Why did my carrots fork?
The taproot forked around something: a stone, a hard clod, a compacted layer, or a pocket of fresh manure or fertilizer. Prepare carrot beds by loosening a full spade depth and picking out stones, use finished compost rather than fresh manure, and match variety to soil: long types for deep loose beds, short and round types for heavy or shallow soil.
How long do carrots take to germinate?
Plan on two to three weeks, and sometimes longer in cold soil. That slow window is why carrot sowings fail: the shallow seedbed dries out before the seed finishes sprouting. Cover the sown row with a board or burlap to hold moisture, check every couple of days, and remove the cover the day the first seedlings show.
Can I transplant carrots or start them indoors?
No. The carrot is a taproot, and moving it damages the very part you harvest, producing stunted, forked roots. Carrots are always sown directly in the bed or container where they will mature. If your season is short, that is fine: carrots are a cool season crop sown as soon as soil can be worked in spring, and again in late summer for fall.
When are carrots ready to harvest?
Use the packet's days to maturity as the estimate and the root's shoulder as the confirmation: when the top of the root at the soil line has widened and colored, loosen the row with a fork and pull a test carrot. Fall carrots sweeten in cold soil and can stay in the ground under thick mulch for harvest as needed.
Why are my carrots small and thin?
Almost always crowding. A row that was never thinned divides its water and food among far too many roots, and every one of them stays slender. Thin in two passes to a final 2 to 3 inches, keep the row weeded because carrots compete poorly, and water steadily at about an inch a week. Size comes from space, not from extra fertilizer.
Photo credits: Markus Spiske (Pexels); Jasper Kortmann (Pexels). Photos are served from this site; follow the credit to the library page for the original.