Corn fails beginners in a way that looks like bad luck and is actually geometry. The plants grow tall and handsome, the ears form, and at harvest the kernels are scattered like missing teeth. The cause is pollination: corn is fertilized by wind, pollen falling from the tassels onto the silks, and a single row along a fence is a pollination desert, each plant too far from its neighbors for the pollen to arrive in quantity. Plant corn in a block, several short rows side by side, and the same garden produces full ears. That one decision, made before the seed goes in, is most of the crop.
The figures on this page follow the University of Georgia Cooperative Extension Circular 963, this site's standard for corn: rows 36 inches apart, plants 12 to 18 inches apart after thinning, seed sown 1 to 1.5 inches deep, 65 to 90 days to harvest by variety. Other guides publish rows at 30 to 36 inches and similar depths; we use the Georgia standard throughout and say so. The Plant Spacing Planner on this page is set to that standard, so you can lay out your block, count your rows, and check that the block is big enough before a single seed is sown.
Interactive tool
Plant Spacing Planner: The Corn Block
Corn is in the crop list below at the University of Georgia Cooperative Extension spacing of 12 to 18 inches between plants in rows 36 inches apart. Enter your block size and lay out at least four rows, because corn pollinates by wind and a single row fails.
8 tomato plants fit this bed
4 plants per row across 2 rows, on a 24 inch grid. Extension spacing for this crop: 24 in between plants, 48 in between rows.
The grid uses the in-row spacing in both directions, the standard square foot layout for raised beds. In open ground, keep the wider row spacing in the note above so you can walk and weed between rows.
Spacing figures: University of Georgia Cooperative Extension, Circular 963, Vegetable Planting Chart, source.
Step 1: Lay Out the Block Before Anything Else
A block means at least four rows, and more rows beats longer rows every time: a block of four rows each 10 feet long pollinates far better than two rows of 20 feet, because every plant stands within pollen range of many neighbors. The smallest block worth planting is about 4 rows by 4 plants; smaller plantings can be hand pollinated in a pinch (step 5), but the honest advice is to give corn its block or give the space to beans.
Use the planner to lay the block out on paper: rows 36 inches apart, stations every 12 to 18 inches along the row. A 12 by 12 foot block holds 4 rows of about 9 plants, 36 plants, which is a serious corn patch for a household. Mark the block in the sunniest ground you have; corn is a full sun crop with no shade compromise, and it grows tall enough to shade its neighbors, so it belongs on the north side of the garden where its shadow falls on the fence, not on the peppers.
Step 2: Sow into Warm Soil, Deeper Than You Think
Sow after your last frost, once the soil reaches at least 60 degrees; corn seed rots in cold ground and germinates slowly and unevenly below that line. Sow 1 to 1.5 inches deep at the Georgia standard, deeper in sandy or dry soil, because a corn seedling's first roots need moisture contact and shallow sown seed dries out at the surface. Sow 2 seeds per station and thin to the strongest one once the seedlings stand a few inches tall and a winner is obvious; thinning feels ruthless and is simply how a uniform block is made.
Work compost into the block before sowing. Corn is the garden's heavy feeder, a grass bred for size, and it grows in soil that would leave beans gasping. Gardeners with long seasons can sow a second block 2 to 3 weeks after the first to spread the harvest, because a block of corn ripens within a short window and 36 plants' worth of ears in one week is a preserving project, not a dinner plan.
Step 3: Feed and Water at the Stages That Decide Ears
Corn's appetite peaks as it grows: a side dressing of compost or balanced fertilizer when the plants reach knee height, and again when tassels appear, matches feeding to the growth that builds ears. Starved corn announces itself with pale, yellow striped leaves and small ears; the time to fix it is at knee height, not at harvest.
Water wants about 1 to 1.5 inches a week, and the critical window is the fortnight around tasseling and silking, when the ears are being pollinated and the kernels set. Drought in that window makes the missing teeth that beginners blame on the seed. Water deeply at the base, keep the block mulched once the plants are up, and treat a dry silking week as a watering emergency rather than a routine week. Before and after that window the crop is tougher than it looks; during it, water is yield.
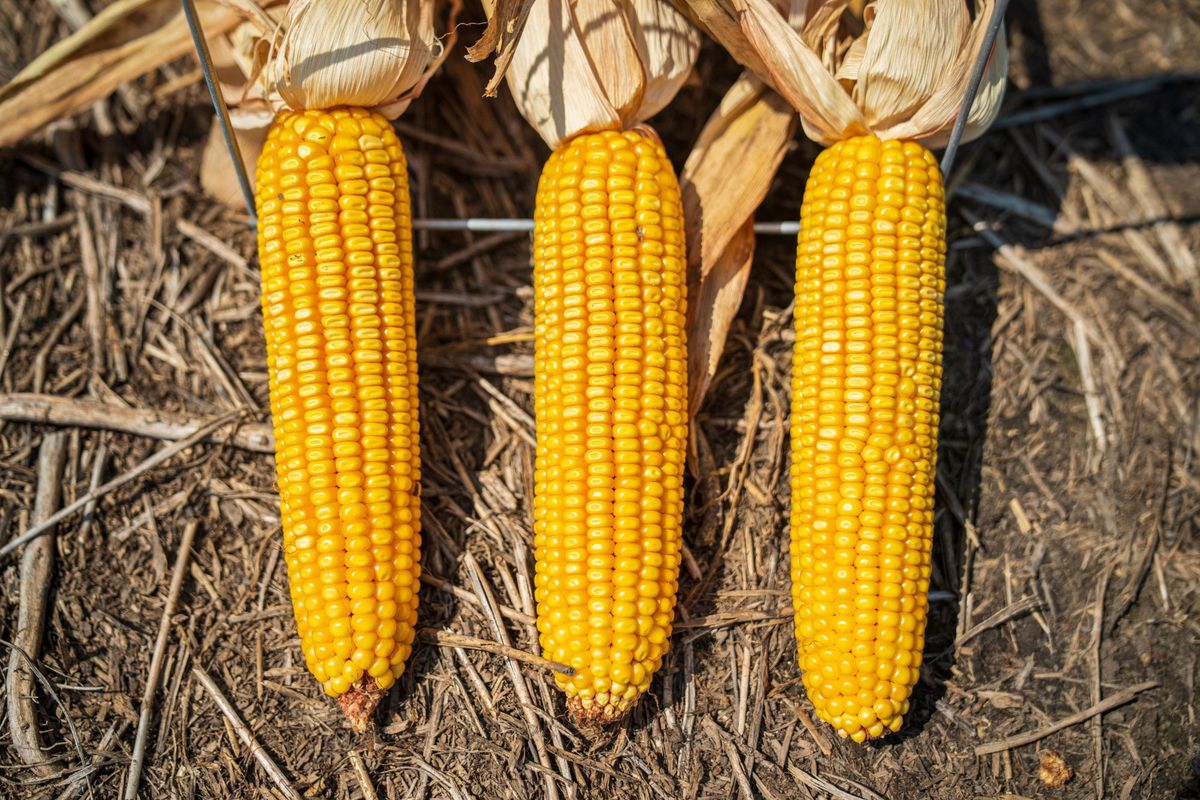
Three ripe ears of corn with dried husks resting on dry soil
Step 4: Watch the Silks, They Are the Calendar
Each ear sends out silks, one strand per potential kernel, and each strand must catch a grain of pollen to make its kernel. Silks appear over a few days per ear, green and sticky at first. The harvest clock starts here: ears are ready 17 to 24 days after the silks first appear, a range quoted across extension guides and the most useful number in this article. Write the silk date on the garden label or in your notes for each block, because in three weeks you will not remember which block silked first, and the whole harvest decision hangs on that count.
As the days pass, the silks dry and brown from the tips. That browning, plus the day count, plus the kernel test in step 5, is the harvest triangle. An ear picked on green silks is starchy and thin; an ear left until the silks are black and the husk yellows is past sweet and into dough. The window is a few days per ear, which is why a block ripens as a wave to surf daily, not a date to circle.
Step 5: The Milky Kernel Test, and Hand Pollination Insurance
The test: peel back a small window of husk on a candidate ear, press a thumbnail into a kernel mid ear, and read the juice. Clear and watery means wait. Milky white means pick, today, this is the moment sweet corn exists for. No juice and a doughy kernel means the ear is past its best for fresh eating and belongs in soup or the chickens' bowl. Test one ear per block per day once the count and the silks say you are close, and pick the block's ears as each passes the test rather than stripping the plants in one pass.
For small blocks and still, sheltered gardens where wind pollination falters, hand pollination is cheap insurance: on a dry morning when the tassels are shedding, shake each plant so pollen drifts down over the silks, or cut a tassel and brush it along the silks of several ears. Two minutes a day during the silking week visibly fills the tips, the part of the ear that pollinates last and fails first.
Step 6: Harvest, and Handle the Stalks After
Pick in the cool of the morning, when sugars are highest, by pulling the ear down and twisting it free of the stalk. Then move fast: sweet corn converts sugar to starch from the moment of picking, and the old instruction to have the pot boiling before you pick is only a slight exaggeration. Modern sweet varieties hold their sweetness longer than the heirlooms the proverb grew up with, but hours still matter, and corn picked at dawn and eaten at noon beats corn picked yesterday by any measure.
After the block is done, the stalks are a garden resource: chop them into the compost in pieces (whole stalks compost at geological speed), or leave them standing as a fall screen and winter bird perch and clear them in spring. The block's soil, fed all season, is rich and tired in specific ways; rotate next year's corn to a different part of the garden and plant the old block with beans or a cover crop that returns what corn withdrew.
Corn Problems, Read Honestly
Ears with bare tips were under pollinated at the tip, the last part to silk; the block was too small, the weather at silking was wet or still, or the planting was a row in disguise. Ears small overall with pale plants were underfed or under watered at the decision stages. Worms in the tip, corn earworm, are the tax this crop charges nearly everywhere; a drop of mineral oil on the silks as they dry is the old organic deterrent, and cutting away the tip at the table is the pragmatic one. Raccoons, where they live, harvest the night before you planned to, with a punctuality that would be admirable in a gardener; fencing and prompt picking at first ripeness are the partial answers, and every corn grower has the story. None of these change the fundamentals: block, warmth, food, water at silking, and the milky test will carry a beginner to a table full of corn.
The Smallest Block, and Corn with Companions
For gardeners whose space argues against even a 12 foot block, two honest options exist. The first is the intensive square: a single 4 by 4 foot raised bed planted in a tight grid of about 16 plants, closer than the Georgia row spacing, hand pollinated faithfully during the silking week. It produces a modest count of good ears and asks for rich soil and steady water in exchange for its density; it is a legitimate small garden method as long as the hand pollination is treated as a duty, not an option, because a 16 plant island cannot rely on the wind. The second option is the honest skip: give the space to crops that pay rent in small areas, and buy corn at the farm stand in August, where a dozen ears cost less than the seed, fertilizer, and water of a token planting. Knowing which crops not to grow in a given garden is a mark of the gardener, not a surrender, and corn is the crop that teaches it most kindly.
Companion planting with corn is the old tradition worth keeping: the three sisters arrangement, corn with beans climbing its stalks and squash shading its feet, works because the three crops genuinely partition the light, the soil, and the season. It asks for a block at the generous end, beans sown after the corn is up so they do not outrun it, and squash at the block's sunny edges. Gardeners with the room will find it the most satisfying corn planting they ever make; gardeners without the room should take the lesson abstractly, that corn is a social crop in every dimension, planted in company, pollinated by crowds, and happiest as the tall citizen of a planted community rather than a row of lonely flags along a fence.
Saving Seed Corn, for Gardeners Who Stay
Heirloom and open pollinated corn lets a gardener close the loop: leave the best ears on the stalk until the husks are fully dry, harvest, dry further under cover, and shell the seed from the middle of the ears, where the kernels are truest. The one discipline is population: corn is an outcrossing plant, and seed saved from a handful of plants in a small block narrows the genetics with each generation, so save from as many plants as the block holds, mixing seed from many ears rather than cherishing one perfect ear. Sweet corn hybrids do not come true from saved seed at all, which is not a flaw but their nature, and the seed saver plants an open pollinated variety deliberately. Either way, the block that fed the household can, with one dry October afternoon, also plant next year's, and the gardener who has done it once understands the crop entire, from pollen to pantry.
Frequently Asked Questions
Why does corn need to be planted in a block?
Corn is wind pollinated: pollen falls from the tassels to the silks below. In a block, every plant stands near many neighbors and the silks catch plenty of pollen. A single row leaves plants too isolated, and the result is ears with scattered, missing kernels. Four or more short rows is the working minimum.
How far apart do corn plants go?
At this site's standard, the University of Georgia Cooperative Extension Circular 963: rows 36 inches apart, plants thinned to 12 to 18 inches apart, seed sown 1 to 1.5 inches deep. The planner on this page uses those figures, 65 to 90 days to harvest by variety.
When do I sow corn?
After last frost, once the soil reaches at least 60 degrees. Cold soil rots the seed and stalls germination. Sow 2 seeds per station and thin to the strongest. A second block sown 2 to 3 weeks later spreads the harvest window.
How do I know when corn is ready to pick?
Count 17 to 24 days from when the silks first appeared, watch the silks dry and brown, then confirm with the kernel test: thumbnail pressure on a mid ear kernel should release milky white juice. Clear juice means wait; doughy means past prime.
How much water and food does corn need?
About 1 to 1.5 inches of water a week, with the fortnight around tasseling and silking treated as critical. Corn is a heavy feeder: compost at sowing and a side dressing at knee height and again at tasseling keeps the leaves green and the ears full.
Why are the tips of my ears bare?
The tip silks emerge last and pollinate last, so they miss when pollen is short: a too small block, wet or still weather at silking, or a disguised single row. Hand pollination during the silking week, shaking plants on a dry morning so pollen drifts onto the silks, fills tips in small plantings.
Photo credits: Nothing Ahead (Pexels); Mark Stebnicki (Pexels). Photos are served from this site; follow the credit to the library page for the original.