How to Grow Garlic: The Full Season, From Fall Planting to Storage
By the Windchime Walker editorial team
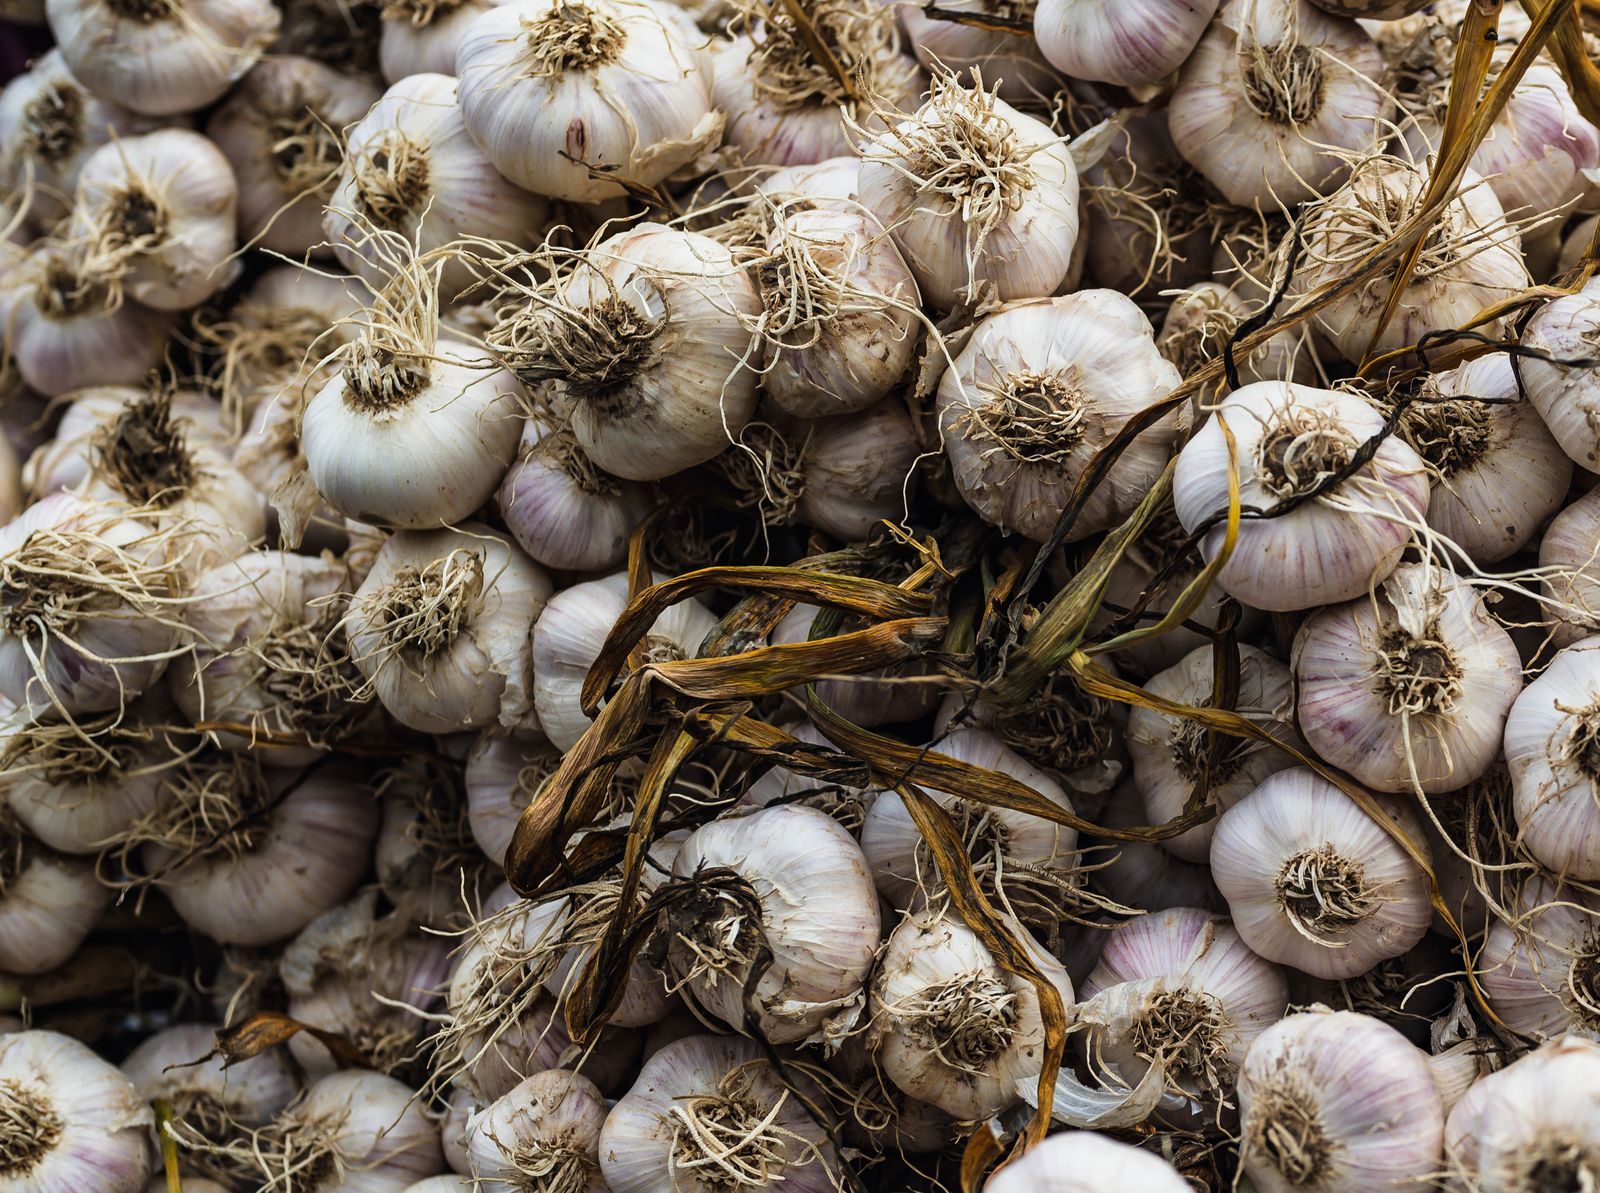
Photo: Chris F / Pexels
Garlic asks a beginner for one unusual thing: patience across a winter. You plant it in fall when everything else is being cleared away, it sits through the cold doing invisible work, and it pays you the following summer with the most storable harvest in the garden. Our companion guide on this site covers planting day in depth. This page owns the whole season that follows: the fall decision, the quiet winter, the spring care most guides compress into a sentence, the scape question, the harvest leaf count, and the curing and storage discipline that decides whether your harvest is still good in February.
The figures here follow the standard this site uses for garlic, the University of Minnesota Extension guidance quoted in our planting guide: hardneck types for cold winters, softneck for mild ones, cloves planted pointed end up with the base 2 to 3 inches below the surface, 4 to 6 inches apart, in well drained soil with a pH in the 6.0 to 7.0 range.
Interactive tool
Garlic Season Checklist
Check off each step as you finish it. Your progress stays on this page.
0 of 8 complete
0% done
Step 1: Choose Your Type by Your Winter
Garlic comes in two families and the choice is made by climate, not by taste. Hardneck garlic makes a stiff central stalk, produces the curly flower shoots called scapes in late spring, and needs a genuinely cold winter to bulb up well; it is the type for cold winter gardens. Softneck garlic makes no scape, braids beautifully, stores longest, and is the type for mild winter gardens where hardneck vernalization can fail. That cold requirement is not folklore: garlic needs roughly 1 to 2 months at 32 to 50 degrees to trigger proper bulb formation, a process called vernalization, which is why spring planted garlic so often makes one round undifferentiated bulb instead of a head of cloves. Buy seed garlic from a seed supplier or garden center, not the grocery store; grocery bulbs may be treated to resist sprouting and are bred for shipping, not for your soil.
Step 2: Plant in Fall, on the Frost's Schedule
Plant 1 to 2 weeks after your first killing frost, while the soil is still workable, so roots grow before the ground freezes but top growth stays minimal. Break the bulbs into individual cloves a day or two before planting, skins left on, and plant each clove pointed end up, base 2 to 3 inches below the surface, 4 to 6 inches apart, in rows you can hoe between. Plant the largest cloves and cook the small ones; clove size is the single best predictor of bulb size, because each clove is the new plant's lunch box for its first weeks. Water the bed in if the fall is dry, then mulch with 3 to 4 inches of straw or shredded leaves once the soil cools, to keep the ground frozen evenly rather than heaving the cloves out in freeze and thaw cycles.
Step 3: The Quiet Winter, and What to Do in It
Nothing, mostly, and that is a skill. The cloves root, may send up a green tip in a mild spell, and wait. Check after hard freeze and thaw cycles that no cloves have heaved out of the ground; any that have get pushed back in gently. Keep the mulch in place. Garlic's winter is the model for the crop's whole temperament: it rewards the gardener who set it up well in fall and then left it alone. If your winter is very cold with no snow cover, an extra few inches of mulch after the ground freezes is cheap insurance; snow itself is the best mulch of all and asks nothing of you.
Step 4: Spring Care, the Season Guides Compress
When green growth pushes through the mulch in spring, pull the mulch back from the rows a little so the soil warms, and start the crop's one feeding window: garlic is hungry in spring while it builds leaves, because the leaf count it makes now is roughly the wrapper count and size potential of the bulb later. A side dressing of compost or a balanced fertilizer as growth resumes, repeated once as the plants approach knee height, matches the appetite. Water becomes the second job: garlic wants steady moisture through spring, about an inch a week counting rain, and it wants the opposite at the end, which is step 6. Weed with real diligence in spring; garlic's thin upright leaves shade nothing, and a weedy garlic bed is the most reliably disappointing sight in the summer garden. Shallow hoeing or hand weeding only, because garlic roots run shallow too.
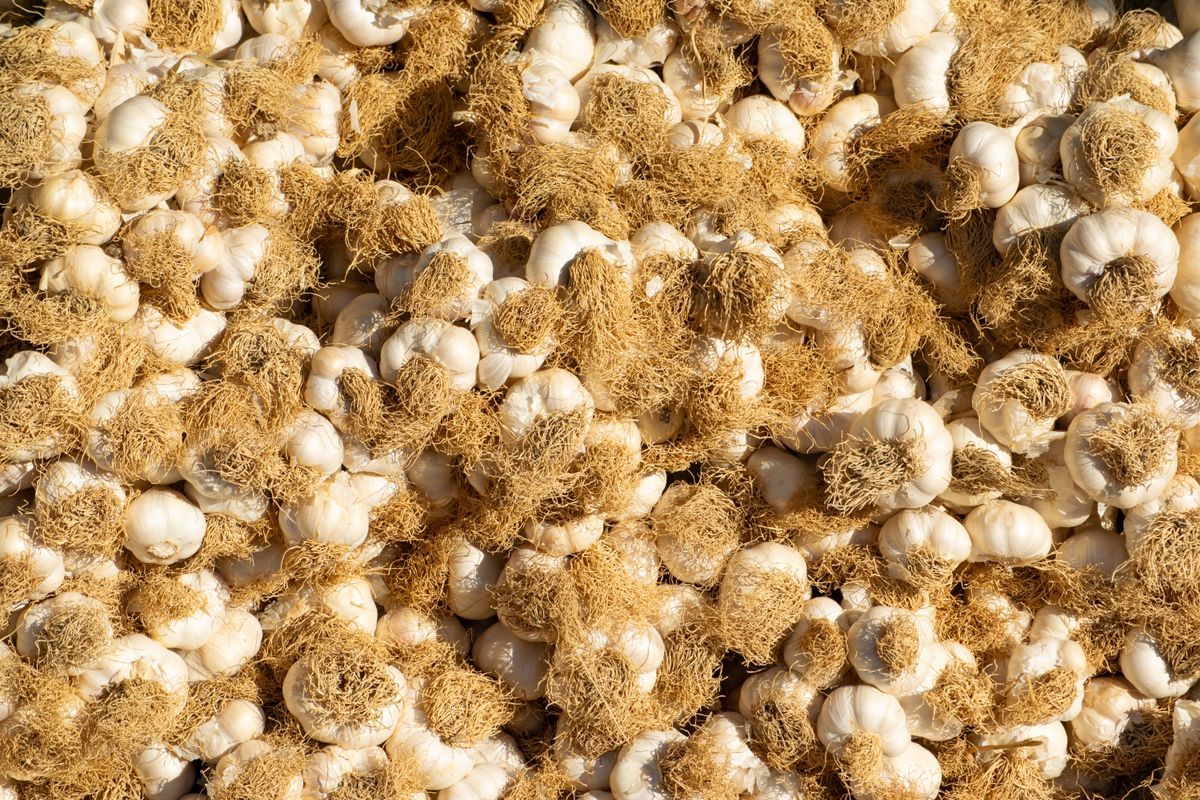
Fresh garlic bulbs with roots in natural light
Step 5: Scapes, the Hardneck Bonus and Decision
In late spring, hardneck plants send up a curling flower stalk, the scape. Cut scapes when they have made about one full curl. The reason is arithmetic: a plant building a flower stalk and bulbils is spending on reproduction what you want spent on the bulb underground, and removing the scape redirects that budget. The bonus is that scapes are a harvest in themselves, a mild garlic flavored green that cooks like a fragrant scallion, arriving weeks before the bulbs. Softneck growers skip this step entirely; their plants never make scapes, which is one of softneck's quiet conveniences. Leave one or two scapes standing if you want bulbils for a multi year experiment, knowing those plants will bulb smaller.
Step 6: Taper the Water, Then Read the Leaves to Harvest
As the bulbs size up in early summer, stop watering: the last couple of weeks before harvest should run dry, because wet soil at harvest invites stained wrappers and rot in storage. The harvest signal is in the leaves, not the calendar. Each green leaf corresponds to a wrapper layer around the bulb, and wrappers are the bulb's storage skin. Harvest when a third to a half of the leaves have browned, counting from the bottom up. Too early and the bulb is undersized with cloves that have not filled their skins; too late and the wrappers have rotted away in the ground, the cloves splay apart, and the bulb stores badly no matter how carefully you cure it. Dig, do not pull: loosen with a fork well under the bulb and lift, because a yanked stem tears the basal plate and opens the door to mold.
Step 7: Cure Like You Mean It, Then Store by Type
Curing is drying with airflow, and it is where storage life is made. Lay or hang the whole plants, leaves and roots attached, in a dry, shaded, airy place for 2 to 4 weeks, until the wrappers are papery, the necks are tight and dry, and the roots are wiry. Only then trim roots to about half an inch and cut softneck stems for braiding or trim hardneck stalks to an inch or two above the bulb. Store in mesh bags or open baskets in a cool, dry, dark place with air movement. Storage life splits by type, so label your harvest: hardneck keeps about 4 to 6 months, softneck up to a year, which argues for eating the hardneck first and letting the softneck carry you to spring. Any bulb that sprouts early or softens gets used immediately or planted as a fall experiment; it does not go back in the bag to teach its neighbors.
Garlic Problems, Read Honestly
Small bulbs at harvest trace back, in order, to small cloves planted, spring weeds, spring hunger, or a winter too mild for the type; the first three are yours to fix next fall. A single round bulb with no cloves means vernalization failed: the winter was too warm for that variety, or the garlic went in too late in spring. White rot, a fluffy white growth at the base with tiny black specks, is the one true catastrophe: it lives in soil for years, and the honest answer is to remove the affected plants with their soil and grow garlic elsewhere for a long rotation. Basal rot and moldy bulbs in storage usually began as wet harvest conditions or a rushed cure. None of these change the fundamentals: big cloves, fall timing, a fed and weeded spring, scapes cut, water tapered, leaves counted, and a patient cure will carry a beginner to a braid of garlic that outlasts the memory of the work.
Choosing Seed Garlic, and Reading a Catalog Like a Grower
Seed garlic is sold by the bulb or by weight, in named varieties whose descriptions reward a skeptical read. The useful lines in a catalog entry are the type (hardneck or softneck, and within hardneck the family, porcelain, rocambole, purple stripe), the bulb and clove size it typically makes, and any note about storage life, which maps directly onto the eating order in step 7. The poetry about flavor is real but secondary; a variety matched to your winter outyields a famous name matched to somebody else's. Order early, because popular varieties sell out by late summer, and order more than your bed count suggests, since you will plant your largest cloves and cook the runts, which is a selection program disguised as a shopping adjustment. When the box arrives, store the bulbs whole, dry, and ventilated until planting day, and resist breaking them into cloves until a day or two before they go in the ground. A gardener's second year trick closes the loop: save your own best bulbs as next fall's seed stock, choosing the largest, soundest heads from the cure, and your garlic begins adapting to your soil and your winters in a way no catalog can sell. That saved stock is also your insurance against a sold out favorite, and it is how garlic has actually been farmed for centuries, one garden's best bulbs becoming next year's planting.
Frequently Asked Questions
When exactly do I plant garlic?
In fall, 1 to 2 weeks after your first killing frost, while the soil can still be worked. The cloves root before the ground freezes, and the winter cold, roughly 1 to 2 months at 32 to 50 degrees, is required to trigger proper bulb formation. Spring planted garlic usually makes small, undivided bulbs.
Hardneck or softneck for my garden?
Hardneck for cold winters: it needs real cold to bulb well and gives you scapes as a bonus harvest. Softneck for mild winters: no scapes, braids well, and stores longest, up to a year versus hardneck's 4 to 6 months. Choose by your winter, not by the catalog photo.
How deep and how far apart do cloves go?
Pointed end up, base 2 to 3 inches below the surface, 4 to 6 inches apart, per the University of Minnesota Extension standard this site uses. Plant your largest cloves and cook the small ones; clove size is the best predictor of bulb size.
What are scapes and should I cut them?
Scapes are the curling flower stalks of hardneck garlic. Cut them at about one full curl so the plant spends its energy on the bulb instead of flowers, and cook them: they are a mild garlic flavored harvest in their own right, weeks before the bulbs are ready.
How do I know when to harvest?
Read the leaves: harvest when a third to a half have browned, counting from the bottom. Each leaf is a wrapper layer on the bulb; harvesting with enough green leaves left means enough wrappers remain for storage. Stop watering a couple of weeks before, and dig with a fork rather than pulling.
How long does home grown garlic keep?
Cured properly, 2 to 4 weeks of drying in shade with airflow, then stored cool, dry, dark, and ventilated: hardneck keeps about 4 to 6 months and softneck up to a year. Eat the hardneck first. Bulbs harvested late with rotted wrappers will not keep regardless of curing.
Photo credits: Chris F (Pexels); Çiğdem Bilgin (Pexels). Photos are served from this site; follow the credit to the library page for the original.