How to Grow Potatoes: The Season Is Built on Hilling
By the Windchime Walker editorial team
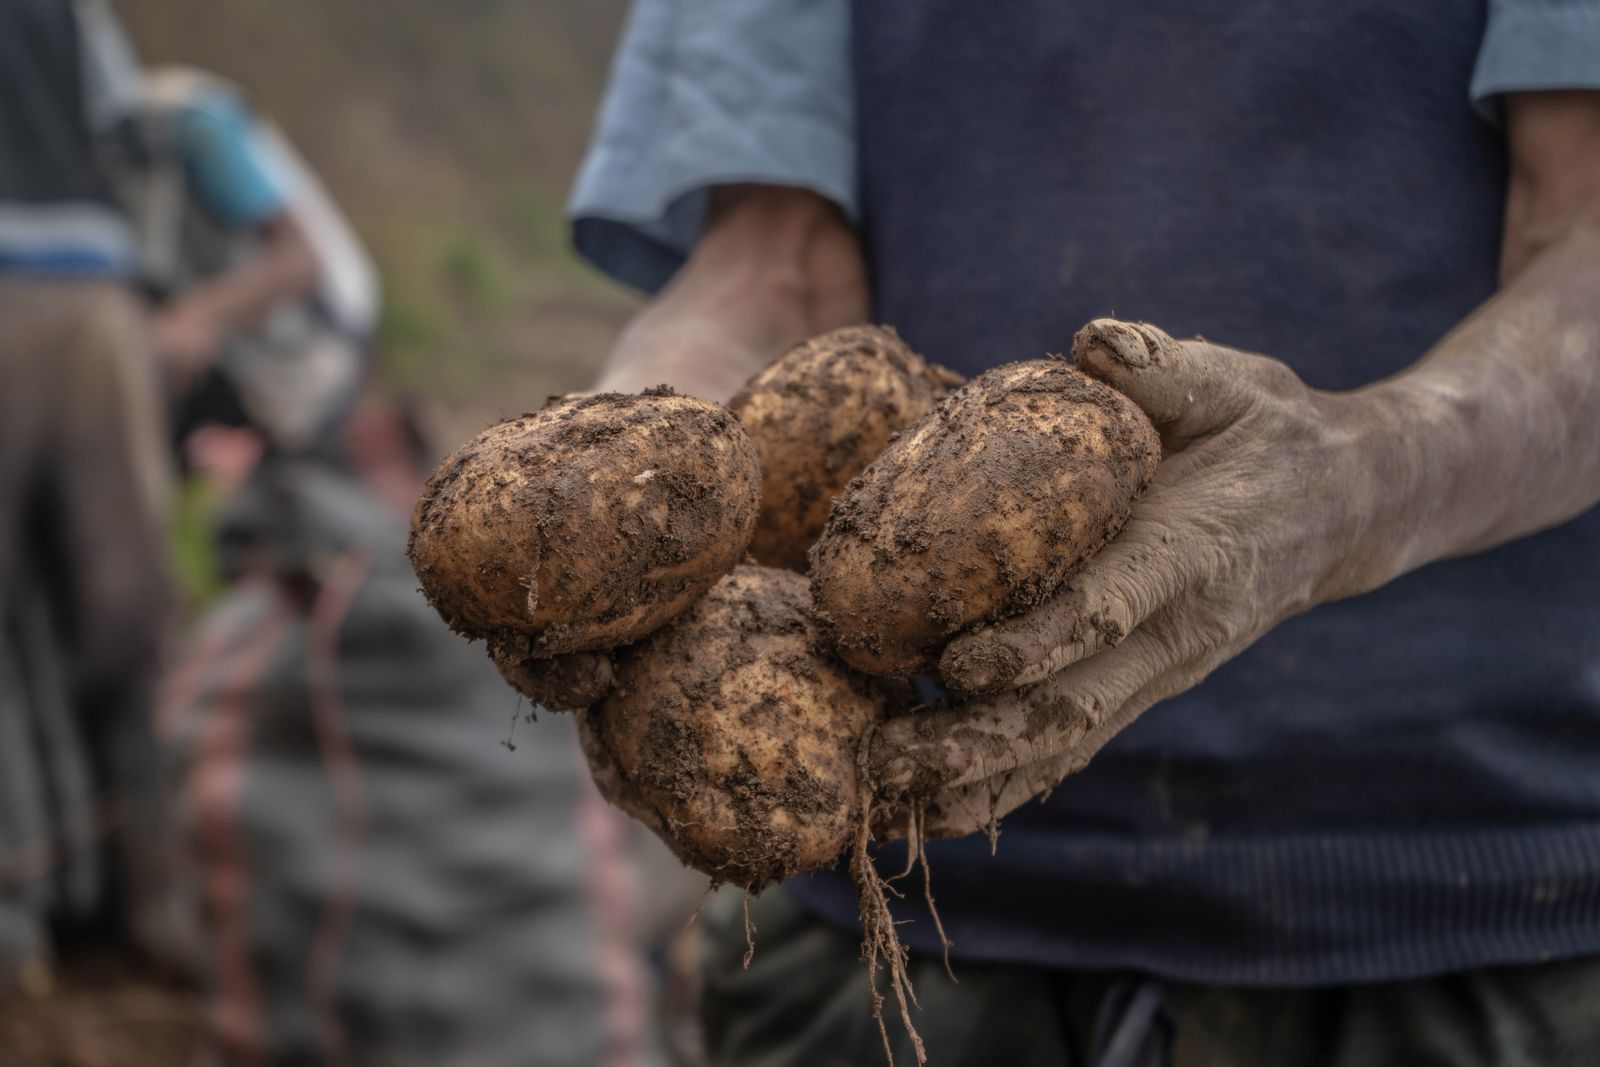
Photo: Shiwa Yachachin / Pexels
Potatoes are the rare crop that makes a beginner feel like a farmer. You plant pieces of potato in cool spring soil, you mound earth over the growing stems a few times, and in summer you dig up more potatoes than you planted, which never stops feeling like a magic trick. The whole craft of the crop is one skill, hilling, plus one purchase, certified seed, and the rest is a calendar simple enough to write on an index card.
The figures on this page follow the University of Georgia Cooperative Extension Circular 963, this site's standard for potato spacing and depth: plants 12 inches apart in rows 36 inches apart, planted 4 to 5 inches deep, with 70 to 90 days from planting to harvest. Other extension services publish slightly different depths, Illinois suggesting 1 to 3 inches of cover over the piece, Maryland 3 to 5 inches, Georgia 4 to 5 inches planted depth. We use the Georgia standard throughout and say so, rather than blending sources into a number nobody published. The Plant Spacing Planner on this page is set to that standard, so the row you lay out and the row in this article are the same row.
Interactive tool
Plant Spacing Planner: The Potato Row
Potatoes are in the crop list below at the University of Georgia Cooperative Extension spacing of 12 inches between plants. Enter your bed or row size and count your seed pieces before you buy the bag.
8 tomato plants fit this bed
4 plants per row across 2 rows, on a 24 inch grid. Extension spacing for this crop: 24 in between plants, 48 in between rows.
The grid uses the in-row spacing in both directions, the standard square foot layout for raised beds. In open ground, keep the wider row spacing in the note above so you can walk and weed between rows.
Spacing figures: University of Georgia Cooperative Extension, Circular 963, Vegetable Planting Chart, source.
Step 1: Buy Certified Seed Potatoes, Never Grocery Potatoes
A seed potato is not a special kind of potato; it is a potato grown and inspected as planting stock, certified free of the diseases that potatoes accumulate. Grocery potatoes fail as seed three ways: they may be treated to resist sprouting, they can carry diseases that then live in your soil for years, and they are varieties chosen for shipping, not for your garden. Buy certified seed potatoes from a garden supplier in late winter; the popular varieties sell out.
Choose your type by your kitchen. Early varieties mature fastest and are eaten fresh; maincrop varieties size up for storage. Waxy types hold together in salads and soups, floury types bake and mash into clouds, and all purpose types do a bit of both. For a first planting, one reliable all purpose variety, grown well, teaches more than four experiments grown thinly.
Step 2: Cut, Cure, and Time the Planting
Plant potatoes 2 to 4 weeks before your last frost date, once the soil has warmed to about 45 to 50 degrees and can be worked without smearing. Potatoes tolerate cool soil and a light frost on their first leaves; they rot in cold, wet ground, so a week of patience in a wet spring is a yield decision, not cowardice.
Prepare the seed a day or two before planting. Small seed potatoes, about the size of an egg, plant whole. Larger ones are cut into pieces, each piece roughly 2 ounces with at least two eyes, the dimples where sprouts emerge. Let the cut pieces sit in a cool, airy place for a day or two so the cut surfaces dry and skin over; this curing step is the difference between a piece that grows and a piece that rots in the row. Some gardeners also chit, or pre sprout, seed potatoes in a bright cool room for a few weeks before planting to get sturdy green shoots started; it is a genuine head start in short seasons and optional elsewhere.
Step 3: Plant 4 to 5 Inches Deep, 12 Inches Apart
Dig a trench about 5 inches deep along your row line, or dig individual holes in a bed. Set the pieces cut side down, eyes and sprouts up, 12 inches apart, in rows 36 inches apart per the University of Georgia Circular 963 standard in the planner on this page. Cover with soil to the original level, which puts the piece 4 to 5 inches deep. In a raised bed or a small garden, the same spacing works in a grid; potatoes forgive tight quarters less than most crops, because the harvest is underground and crowded plants make small tubers.
Water the row in if the soil is dry, then wait. Sprouts take two to three weeks to emerge, longer in cold soil, and the beginner's urge to dig and check is best resisted. Mark the row ends with the variety and date. You will want to know both at harvest, and by then the garden will have erased every other clue.
Step 4: Hill, the Skill the Whole Crop Hangs On
Potatoes form on stolons, underground stems that grow out from the buried part of the plant's stalk, above the seed piece. That one fact explains hilling. As the plant grows, you draw soil up around the stem, burying more of it, which creates more underground stem, which makes more potatoes. Hilling also keeps developing tubers covered, and a tuber exposed to light turns green and bitter with solanine, a compound you do not eat. Green potatoes are trimmed deeply or discarded; hilling prevents them.
Hill the first time when the plants are 6 to 12 inches tall: draw 3 to 4 inches of soil from between the rows up around the stems, leaving the top few inches of leaves showing. Repeat two or three times through the season as the plants grow, until the row is a rounded ridge 8 to 12 inches high. Work on a dry day when the soil crumbles rather than clumps, and take care not to slice the shallow stolons with the hoe. In containers and grow bags, the same principle applies with handfuls of soil or compost added as the stems rise, which is why bags are filled in stages, never all at once.
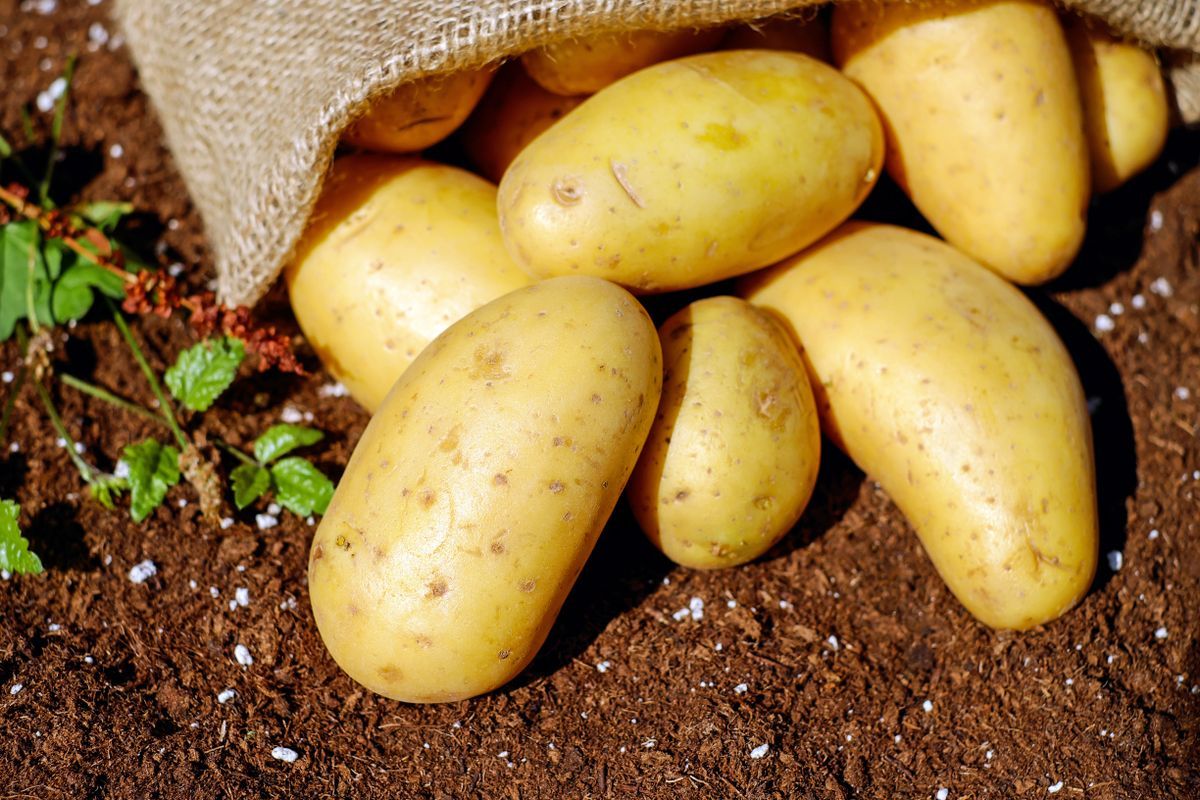
Golden potatoes spilling from a burlap sack onto rich soil
Step 5: Water, Feed Lightly, and Watch the Flowers
Potatoes want steady moisture, about 1 inch of water a week, and the critical window is from flowering onward, when tubers are sizing. Dry spells followed by drenching split tubers and make knobbly, hollow hearted potatoes; even moisture makes smooth ones. Mulch the ridge after the last hilling to hold moisture and keep the soil cool, since hot soil slows tuber growth. Fertilizer is a light touch: potatoes are not heavy feeders, and excess nitrogen grows magnificent tops and disappointing tubers. Work compost into the bed before planting and most soils carry the crop.
Flowering is your progress report. When the plants flower, new potatoes are forming beneath; when the flowers fade, the tubers are sizing. The pests to know are few: Colorado potato beetles, orange and black striped, handpicked into soapy water on a small planting, and late blight in wet summers, which blackens foliage fast and is a reason to harvest promptly and never compost the tops. Healthy foliage left alone is the goal; the crop does its work underground, out of sight, and asks mainly to be hilled, watered, and believed in.
Step 6: Two Harvests and a Cure
The first harvest is a theft, not a harvest: about two weeks after flowering, loosen the soil at the edge of a plant with your hand and rob a few small, thin skinned new potatoes, leaving the plant to grow on. New potatoes are a delicacy that storage never improves, so eat them the day they are dug.
The main harvest comes when the tops yellow and die back, the plant announcing it is done; wait about two weeks after the tops die completely before digging, so the skins toughen for storage. Dig on a dry day with a fork, starting well outside the hill and lifting from below, because every potato grower spears a few tubers and the fork's distance is the difference between a story and a supper. Let the harvest sit on the soil surface for an hour or two to dry, brush off the loose dirt without washing, and cure them in a dark, airy place at about 50 to 60 degrees for a week or two. Then store them dark, cool, and dry, checking occasionally and removing any that soften. A good maincrop, cured and stored well, keeps for months, and the gardener who planted pieces in cold soil in spring eats from the garden all winter.
Potatoes in Containers and Grow Bags
Everything in the steps above assumes a row in the ground, but potatoes are one of the best container crops, and the method translates with one change: the hilling becomes filling. Choose a large container, at least 10 gallons, or a fabric grow bag of similar size, with drainage that cannot fail. Put 4 to 6 inches of potting mix or compost rich soil in the bottom, set the seed pieces on it at the same spirit of spacing, two or three pieces to a bag, and cover with a few inches of mix. As the stems grow, add mix or compost in stages, unrolling the bag's sides as you go if it is fabric, keeping the top leaves in the light and burying more stem each time, exactly as you would hill a row. Stop adding when the container is nearly full, water faithfully, since containers dry far faster than ground, and harvest by tipping the whole thing onto a tarp and sorting through it like a treasure hunt, which children correctly identify as the best harvest in gardening.
Containers solve real problems: gardens with no open ground, soil with a disease history potatoes should avoid, and gardeners who want a modest crop without committing a row. They also forgive the beginner's worst scheduling sin, because a bag can be started a little late, moved to follow the sun, and dumped the day the tops die, with no fork work at all. The yield per plant runs smaller than a well hilled row in deep ground, and the honest trade is convenience for volume. For a first potato crop, that trade is often the right one, and the row can wait for the confidence the bag builds.
Choosing Varieties by the Kitchen, Not the Catalog
Seed potato catalogs list dozens of varieties, and the beginner's selection method should start at the stove. If your household boils and salads its potatoes, choose a waxy variety, the kind that holds its shape in water and slices cleanly. If you bake and mash, choose a floury, high dry matter variety that falls apart into fluff. If you roast, an all purpose type with a thin skin and a dense flesh is the compromise that roasts crisp and mashes acceptably. Then filter that choice by season length: early varieties mature in the shorter end of the 70 to 90 day range in the University of Georgia Circular 963 figures and suit short seasons and impatient gardeners, while maincrop varieties use the full season and store the longest.
Color is the last filter, and it is a legitimate one: yellow fleshed potatoes taste buttery to most palates, red skins please the eye in a potato salad, and the purple and blue types delight children and dinner guests while tasting, honestly, like potatoes. Grow one variety well in your first year, note how it cooked and how it stored, and let the second year's experiment be a single new variety against the known standard. Potato knowledge compounds like that, season over season, and it begins, as everything in this crop does, with a certified bag, a cool spring trench, and the discipline to keep the growing tubers buried in the dark.
Frequently Asked Questions
When should I plant potatoes?
Plant 2 to 4 weeks before your last frost date, once soil reaches about 45 to 50 degrees and can be worked. Potatoes tolerate cool soil and light frost on young leaves but rot in cold, wet ground. The University of Georgia Circular 963 standard used on this site gives 70 to 90 days from planting to harvest.
How deep and how far apart do potatoes go?
Plant pieces 4 to 5 inches deep, 12 inches apart, in rows 36 inches apart, per University of Georgia Cooperative Extension Circular 963. Other extensions publish slightly different depths, from 1 to 3 inches of cover in Illinois to 3 to 5 inches in Maryland; this site uses the Georgia standard rather than averaging them.
Can I plant potatoes from the grocery store?
No. Buy certified seed potatoes instead. Grocery potatoes may be treated to resist sprouting, may carry diseases that persist in your soil, and are varieties bred for shipping. Certified seed is inspected, disease free, and chosen for garden performance, and it is the cheapest insurance in the whole crop.
What is hilling, and why do potatoes need it?
Hilling is drawing soil up around the growing stems. Potatoes form on underground stems above the seed piece, so burying more stem creates more room for tubers, and it keeps tubers covered, because tubers exposed to light turn green and bitter. Hill when plants are 6 to 12 inches tall, and repeat until the row is a ridge 8 to 12 inches high.
How do I know when potatoes are ready to harvest?
For new potatoes, dig a few about two weeks after the plants flower. For the main crop, wait until the tops yellow and die back, then about two more weeks for the skins to toughen before digging. Dig with a fork from outside the hill on a dry day, cure the tubers in a dark, airy place at 50 to 60 degrees, and store them dark and cool.
Why are some of my potatoes green?
Light. A tuber that grows too close to the surface or is left uncovered by soil turns green and produces solanine, which is bitter and not safe to eat in quantity. Hill properly to keep tubers buried, store the harvest in the dark, and cut away any green parts deeply or discard green tubers.
Photo credits: Shiwa Yachachin (Pexels); Pixabay (Pexels). Photos are served from this site; follow the credit to the library page for the original.