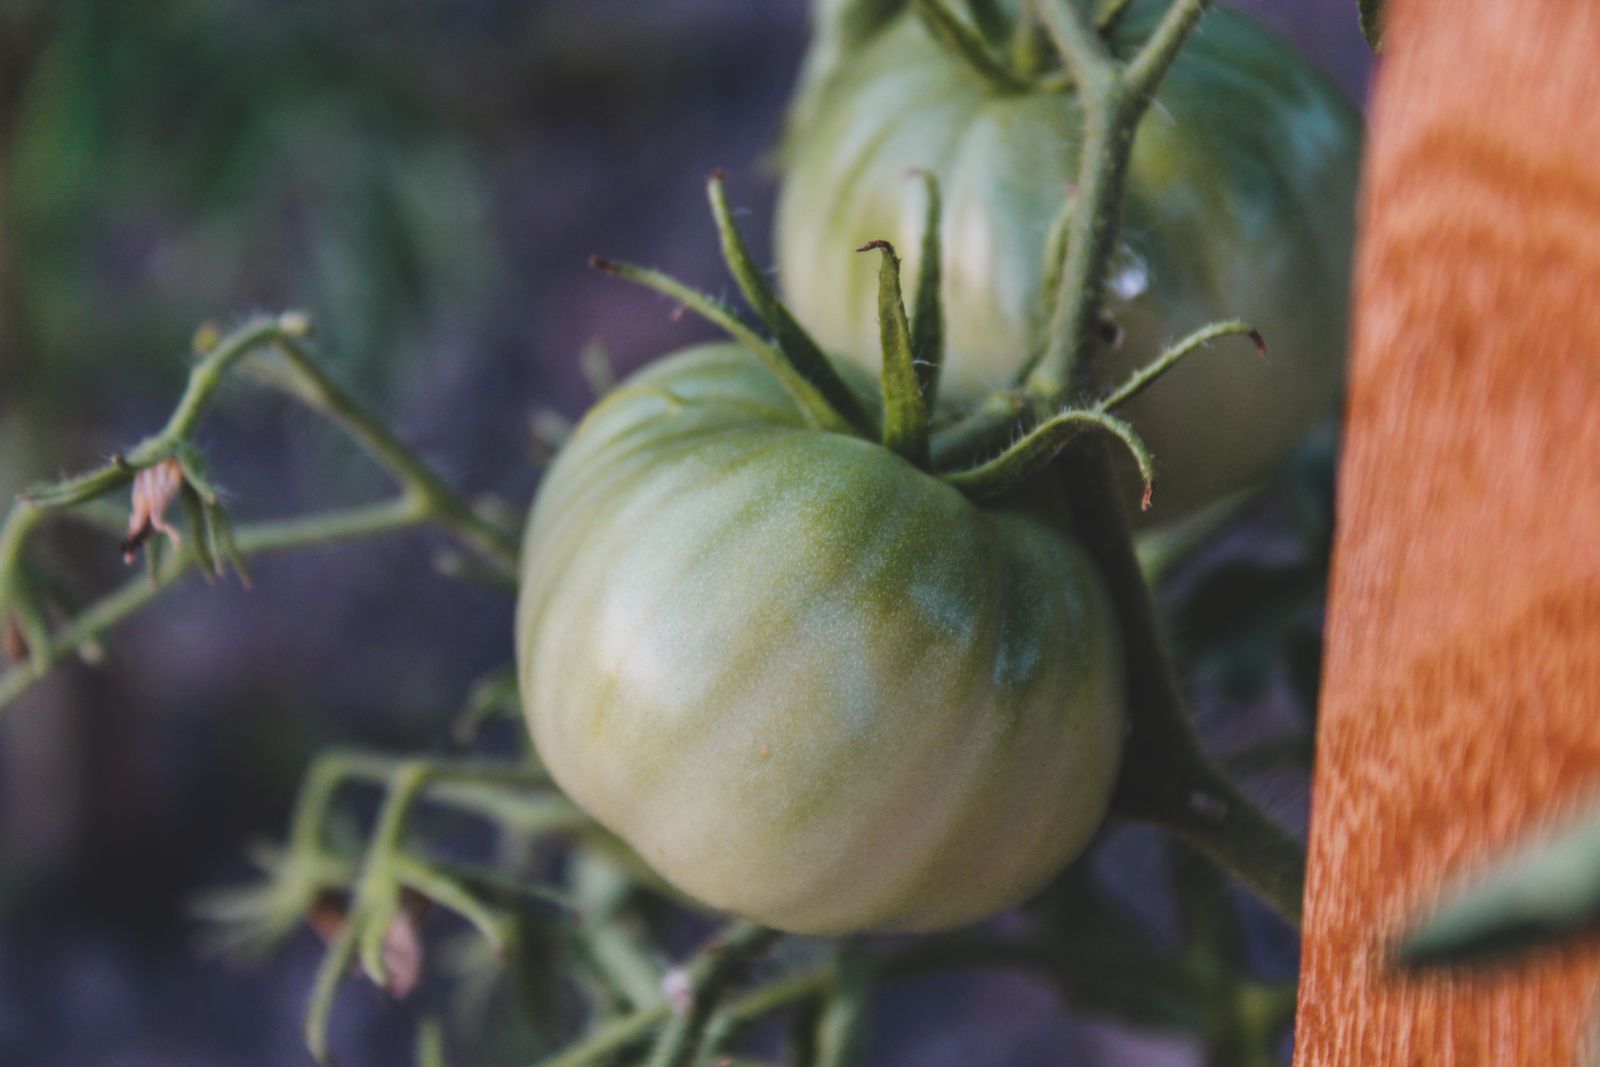
Tomatoes are the reason most gardens exist, and they have a reputation for being difficult that they only partly deserve. A tomato plant is a vigorous, forgiving vine that wants five things: strong sun, room to breathe, a deep planting, support from the day it goes in, and steady water at its roots. Give it those five and it will produce through troubles that would end fussier crops. Deny it two or three and it becomes the drama people warn you about.
This guide walks a first tomato season in the order the plant experiences it, from choosing a type at the garden center to picking ripe fruit and reading the three problems nearly every beginner meets. It is written for someone growing tomatoes for the first time, in a bed, with figures drawn from university extension guidance rather than folklore.
One tool first. The Plant Spacing Planner on this page is preset in its crop list with the University of Georgia Cooperative Extension tomato spacing of 24 inches between plants. Enter your bed size before you go shopping and it will tell you how many plants actually fit, which is the number that keeps a first tomato patch productive instead of crowded.
Interactive tool
Plant Spacing Planner: The Tomato Bed
Tomatoes are in the crop list below at the University of Georgia Cooperative Extension spacing of 24 inches between plants. Enter your bed size and see how many plants fit before you buy transplants.
8 tomato plants fit this bed
4 plants per row across 2 rows, on a 24 inch grid. Extension spacing for this crop: 24 in between plants, 48 in between rows.
The grid uses the in-row spacing in both directions, the standard square foot layout for raised beds. In open ground, keep the wider row spacing in the note above so you can walk and weed between rows.
Spacing figures: University of Georgia Cooperative Extension, Circular 963, Vegetable Planting Chart, source.
Step 1: Choose Your Type Before You Choose Your Variety
Tomatoes come in two growth habits, and the habit matters more than the variety name. Determinate tomatoes grow to a set size, flower and fruit in a concentrated window, and then wind down. They suit small spaces, containers, and gardeners who want one big harvest for sauce or canning. Indeterminate tomatoes grow as vines all season, flowering and fruiting continuously until frost, and they need real support and real room. Most home gardeners growing for fresh eating choose indeterminate types and pick tomatoes from midsummer to frost.
Inside those habits, size divides further. Cherry and grape tomatoes are the beginner's best friend: vigorous, early, generous, and more tolerant of imperfect conditions than the big slicers. Standard slicing tomatoes are the classic sandwich fruit and take longer to ripen. Paste tomatoes are meaty and dry fleshed for sauce. For a first season, grow one cherry type and one slicing type. You will harvest early and often from the cherry while the slicers teach you patience, and you will learn which kind your kitchen actually wants more of.
Buy transplants in year one. Tomatoes need a long, warm head start, about 6 weeks of indoor growing counted back from your last frost date per North Dakota State University Extension H1139, under light stronger than most windowsills provide. A bought transplant skips the riskiest weeks of the plant's life for a small price. Starting your own seed is a year two skill, and it will be waiting for you.
Step 2: Give Them the Sunniest Spot You Own
Tomatoes are sun plants without compromise. University of Maryland Extension guidance puts their need at at least 6 hours of direct sun a day, and more is better: fruit set, ripening speed, and disease resistance all climb with sunlight. A tomato in a part shade corner will grow, tall and green and hopeful, and ripen almost nothing. That is the single most common cause of the complaint that tomatoes do not work in someone's yard.
Put tomatoes in the sunniest bed you have, even if it means moving something else. Keep them away from large trees, whose roots compete and whose shade grows through spring. If your whole yard is short on sun, containers on the sunniest patio or driveway edge are an honest solution, because a pot can live where the sun actually falls.
Step 3: Time the Planting by Frost, Not by the Store Display
Tomatoes die in frost and stall in cold. Set transplants out about 2 weeks after your average last spring frost date, the offset in NDSU Extension H1139, when the forecast shows nights staying above about 50 degrees Fahrenheit and the soil has warmed to around 60 degrees. A tomato planted into cold soil sits and sulks, sometimes for weeks, while the same plant set out later into warm soil grows away immediately and often catches up.
If your transplants arrive early or the weather turns, hold them in their pots in a sheltered sunny spot, potting them up into larger pots if they outgrow the small ones, rather than gambling them against a cold week. A week of patience in spring is repaid in July. The companion guide on this site to when to plant tomatoes walks through the three check planting gate in full.
Step 4: Space at 24 Inches and Plant Deep
Here is where the planner earns its keep. Space plants 24 inches apart with rows about 48 inches apart, the University of Georgia Cooperative Extension figures for tomatoes. That spacing looks extravagant on planting day, when the transplants are a hand high, and it looks barely sufficient in August, when each plant is a shoulder high thicket. Air moving between plants is your cheapest disease control, and roots with room drink and feed without competing. Crowding tomatoes is the beginner mistake with the longest shadow.
Planting depth is the tomato's party trick. Unlike almost every other transplant, a tomato can be planted deeper than it grew in its pot, because the buried stem grows extra roots along its length. Dig the hole deep enough to bury the stem up to just below the first true leaves, or lay a leggy transplant sideways in a shallow trench with only its top few inches above ground, and the stem will root along the trench. More roots mean a steadier water supply, and a steadier water supply prevents half the problems in the troubleshooting section below.
Water the hole, set the plant, fill with soil, firm gently so roots meet soil without large air pockets, and water again thoroughly to settle everything in.
Step 5: Support Goes In the Same Day
A tomato plant becomes a heavy vine loaded with fruit, and support installed at planting takes two minutes while support installed later takes twenty and damages roots on the way in. Choose your system by habit. Indeterminate vines suit a tall stake, a sturdy trellis, or a tall cage they can be woven through as they climb. Determinate types suit a medium cage that holds the bush and its concentrated fruit load off the ground.
Whatever you choose, choose it before the plant needs it, and tie stems loosely with soft material as they grow, in a figure eight that lets the stem thicken without being strangled. Fruit that ripens on the ground rots, invites pests, and hides from you. Fruit held up in the air colors where you can see it and pick it. Support is not an accessory. On a tomato, it is half the harvest.
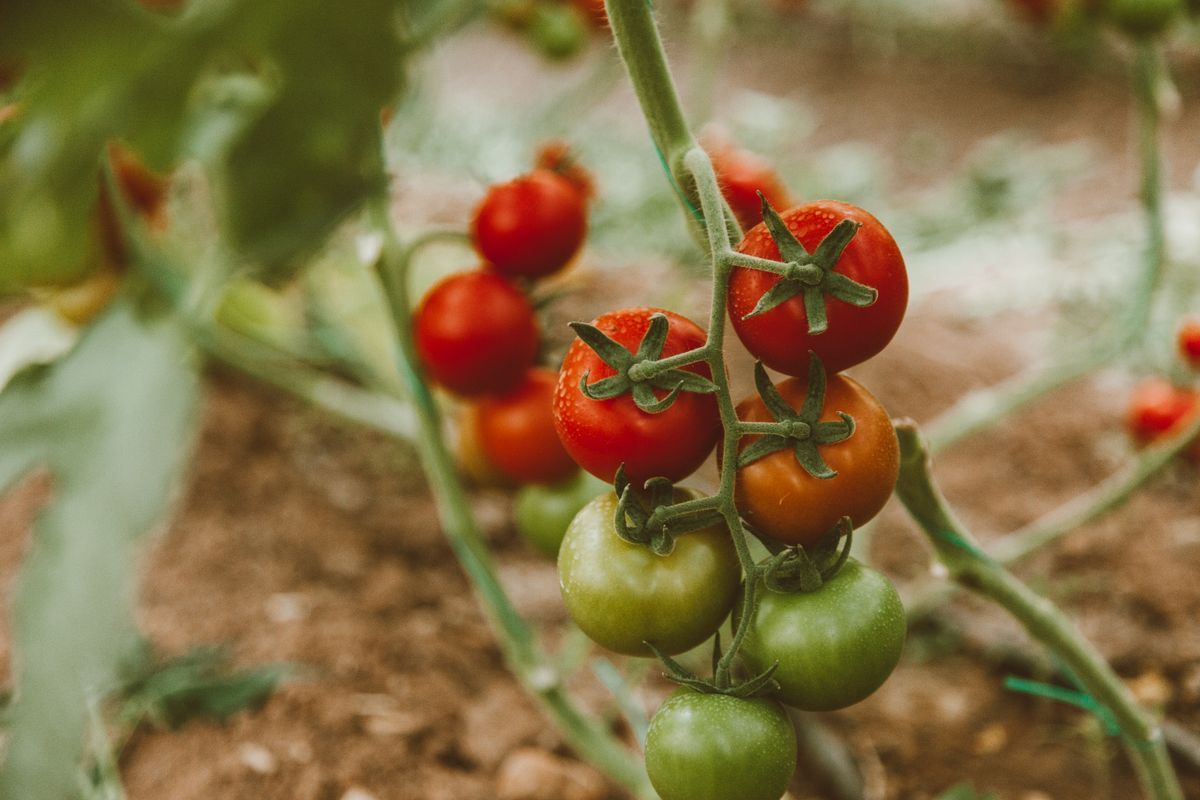
Ripe red and unripe green tomatoes on the vine, the continuous harvest an indeterminate plant gives when it is supported
Step 6: Water the Roots, About an Inch a Week
Tomatoes drink deeply and resent surprises. The standing rule for garden vegetables, from Mississippi State University Extension guidance, is about 1 inch of water per week from rain and watering combined, rising toward 2 inches in sandy soil or serious heat. Give it in deep soakings at the base of the plant, not sprinkled over the leaves. Wet foliage is an invitation to the fungal diseases tomatoes are famous for, and water on leaves in hot sun does the plant no good at all.
Consistency matters as much as quantity. Soil that swings from dry to flooded stresses the plant and is the direct cause of two classic problems, cracked fruit and blossom end rot, covered below. Mulch is your consistency tool: once the soil has warmed and plants are growing, spread mulch around them, kept a small distance from the stem, to hold moisture even between waterings and stop soil splashing onto lower leaves in rain. Check moisture with a finger a couple of inches down near the plant rather than watering by the calendar, and water in the morning when you can, so any wet leaves dry fast.
Step 7: Feed Lightly and Prune With Restraint
Tomatoes growing in a bed prepared with compost need less feeding than fertilizer marketing suggests. Excess nitrogen is a real tomato problem: it grows a magnificent dark green bush with few flowers and late fruit. Feed by evidence. A plant that is growing steadily, flowering, and setting fruit is fed enough. A pale, slow plant in poor soil may want a balanced feed, applied by the label directions. When in doubt, compost and patience beat another bottle.
Pruning advice fills books, so here is the beginner's version. Remove the suckers, the shoots that grow in the joint between stem and leaf branch, if you are training to a stake and want one or two main stems. If you cage your tomatoes, prune almost nothing: just any leaves that touch the soil and any growth that makes the center an airless thicket. Never strip a plant hard in hot weather, because the leaves shade the fruit, and sunscalded tomatoes are as real as shaded ones. In year one, prune less than every video urges you to. The plant knows how to be a tomato.
The Season's Rhythm: Flowers, Fruit Set, and Ripening
Expect the first flowers a few weeks after transplanting into warm soil, and the first ripe fruit, for most standard varieties, in the range the University of Maryland Extension gives of 65 to 90 days from transplant, with cherry types at the early end and big slicers at the late end. Fruit sets best in mild weather; in serious heat waves, blossoms may drop without setting, and the plant resumes when nights cool. This is normal, not a failure you caused.
Pick tomatoes when they have colored fully for their variety but still feel firm, or a touch earlier, at the stage where color has broken over most of the fruit, and let them finish on the counter. Counter ripening at that stage loses nothing in flavor and wins you fruit that birds, bugs, and cracking would otherwise claim. Never refrigerate a tomato you care about: cold dulls its texture and flavor permanently. As frost approaches in fall, pick remaining fruit at the mature green or breaking stage and ripen it indoors rather than losing it.
The Three Problems You Will Probably Meet
Blossom end rot shows as a dark, sunken, leathery patch on the bottom of the fruit. It looks like disease and is actually a calcium delivery problem inside the plant, caused most often by uneven soil moisture: the roots cannot move calcium steadily when the soil swings between dry and soaked. The cure is not a spray. It is even watering and mulch. Affected fruit will not recover; remove it and let the plant put its energy into the next trusses, which will be fine once moisture steadies.
Cracking is the skin splitting, often in rings around the stem, after a dry spell breaks with heavy rain or a deep watering. The fruit swells faster than its skin can stretch. Mulch, steady watering, and picking fruit at the breaking stage before a forecast downpour all reduce it. Cracked tomatoes are edible if used promptly; cut away the split and eat the rest the same day.
Tomato hornworms are large green caterpillars that can strip leaves with startling speed. They are also large, slow, and hand pickable, especially in the evening with a flashlight, and their droppings on leaves below betray them. Check plants during your regular rounds, remove what you find, and know that a hornworm wearing tiny white cocoons on its back has been parasitized by a beneficial wasp: leave that one, and let the wasps multiply.
Planting Day, Step by Step
On the day itself, work in this order and the plant will never know it moved. First, water the transplants in their pots an hour or so before planting, so each root ball holds together when it leaves the pot. Second, dig the hole deeper than the pot, deep enough to bury the stem up to just below the first true leaves. Third, ease the plant out by turning the pot and squeezing gently, keeping the root ball in one piece; if roots are circling tightly at the bottom, tease the lowest ones loose with your fingers so they grow outward instead of continuing the circle.
Fourth, set the plant in the hole, checking that the buried depth is right before you fill. Fifth, backfill with the soil you dug out, firming gently with your palms so the stem stands straight and the roots meet soil everywhere, with no large air pockets. Sixth, water the plant deeply right away, a slow soaking at the base, to settle the soil against the roots. Seventh, install the support now, while the roots are where you know they are, not next month through a root ball you can no longer see. Eighth, label the plant with its variety and the date. In August, when one variety outperforms the rest, that label is how you know what to buy again.
If the day is very hot or windy, plant in the late afternoon so the transplant gets a cool night to settle before its first full day of sun. If the transplant has spent its life indoors or in a greenhouse, harden it off first: give it increasing hours outdoors over several days, starting in shade, so sun and wind do not scorch leaves that have never met them.
End of Season: Green Tomatoes and Clearing Up
When the first fall frost threatens, the plant's account closes, but the fruit's does not have to. Pick every tomato that has reached mature size and shows any break of color, and ripen those indoors on a counter or in a paper bag, where they will color and soften over the following days. Fully green mature tomatoes ripen too, more slowly; small hard green ones are best cooked, fried, pickled, or composted rather than ripened.
Then clear the bed. Pull the plants entirely, roots and all, and do not compost diseased foliage in a home pile, which rarely heats enough to kill tomato pathogens; bag it with household waste or burn it where that is allowed. Clearing matters because many tomato diseases overwinter in debris and soil, and next year's tomatoes should not be planted in the same spot anyway: rotate tomato family crops, tomatoes, peppers, potatoes, and eggplants, around your beds on a multi year cycle so soil borne problems lose their hosts. The bed that grew tomatoes this year grows beans or greens next year, and your tomatoes move to fresh ground with a fresh start.
Frequently Asked Questions
How far apart should I plant tomatoes?
Space plants 24 inches apart in rows about 48 inches apart, the University of Georgia Cooperative Extension spacing. Use the Plant Spacing Planner on this page to count how many plants your bed honestly fits before you shop. Crowded tomatoes compete for light and water and hold damp air around their leaves, which invites disease. The wide spacing looks empty in May and barely enough in August.
How long do tomatoes take to ripen?
Most varieties ripen their first fruit 65 to 90 days after transplanting, the range given by University of Maryland Extension, with cherry types earliest and large slicing types latest. Warm, sunny weather speeds ripening; heat waves and cold spells slow it. Count from the day the transplant went into the ground, not from sowing, and judge by the days to maturity printed for your variety.
Should I start tomatoes from seed or buy plants?
In your first year, buy transplants. Tomato seed needs to be sown indoors about 6 weeks before your last frost date, per North Dakota State University Extension H1139, under strong light most windowsills cannot give, and the young plants are tender for all of it. A bought transplant skips that fragile stretch. Start your own seed in year two, when the rest of the routine is familiar.
Why are my tomato flowers falling off without making fruit?
Blossom drop is usually weather, not something you did. Tomatoes set fruit poorly in heat waves and in cold snaps, and the plant simply waits, dropping blossoms until nights return to a mild range. Keep watering steadily, do not add extra fertilizer in a panic, and expect fruit set to resume when the weather moderates. It almost always does.
How much water do tomatoes need?
About 1 inch of water per week from rain and watering combined, the standard extension rule of thumb, rising toward 2 inches in sandy soil or serious heat. What matters most is evenness: deep soakings at the base of the plant, soil kept consistently moist with mulch, and no swings between dust dry and flooded. Uneven moisture is behind both cracked fruit and blossom end rot.
Can I grow tomatoes in containers?
Yes, and for a sun starved yard a big pot on the sunniest pavement is the right answer. Choose the largest pot you can manage, fill it with potting mix, never garden soil, support the plant from day one, and expect to water far more often than a bed, sometimes daily in heat, because a pot's small soil volume dries fast. Determinate and cherry types are the most container friendly choices for a first attempt.
Photo credits: Czapp Árpád (Pexels); ROMAN ODINTSOV (Pexels). Photos are served from this site; follow the credit to the library page for the original.