How to Make a Garden Arch: A Beginner's Flat Top Build
By the Windchime Walker editorial team
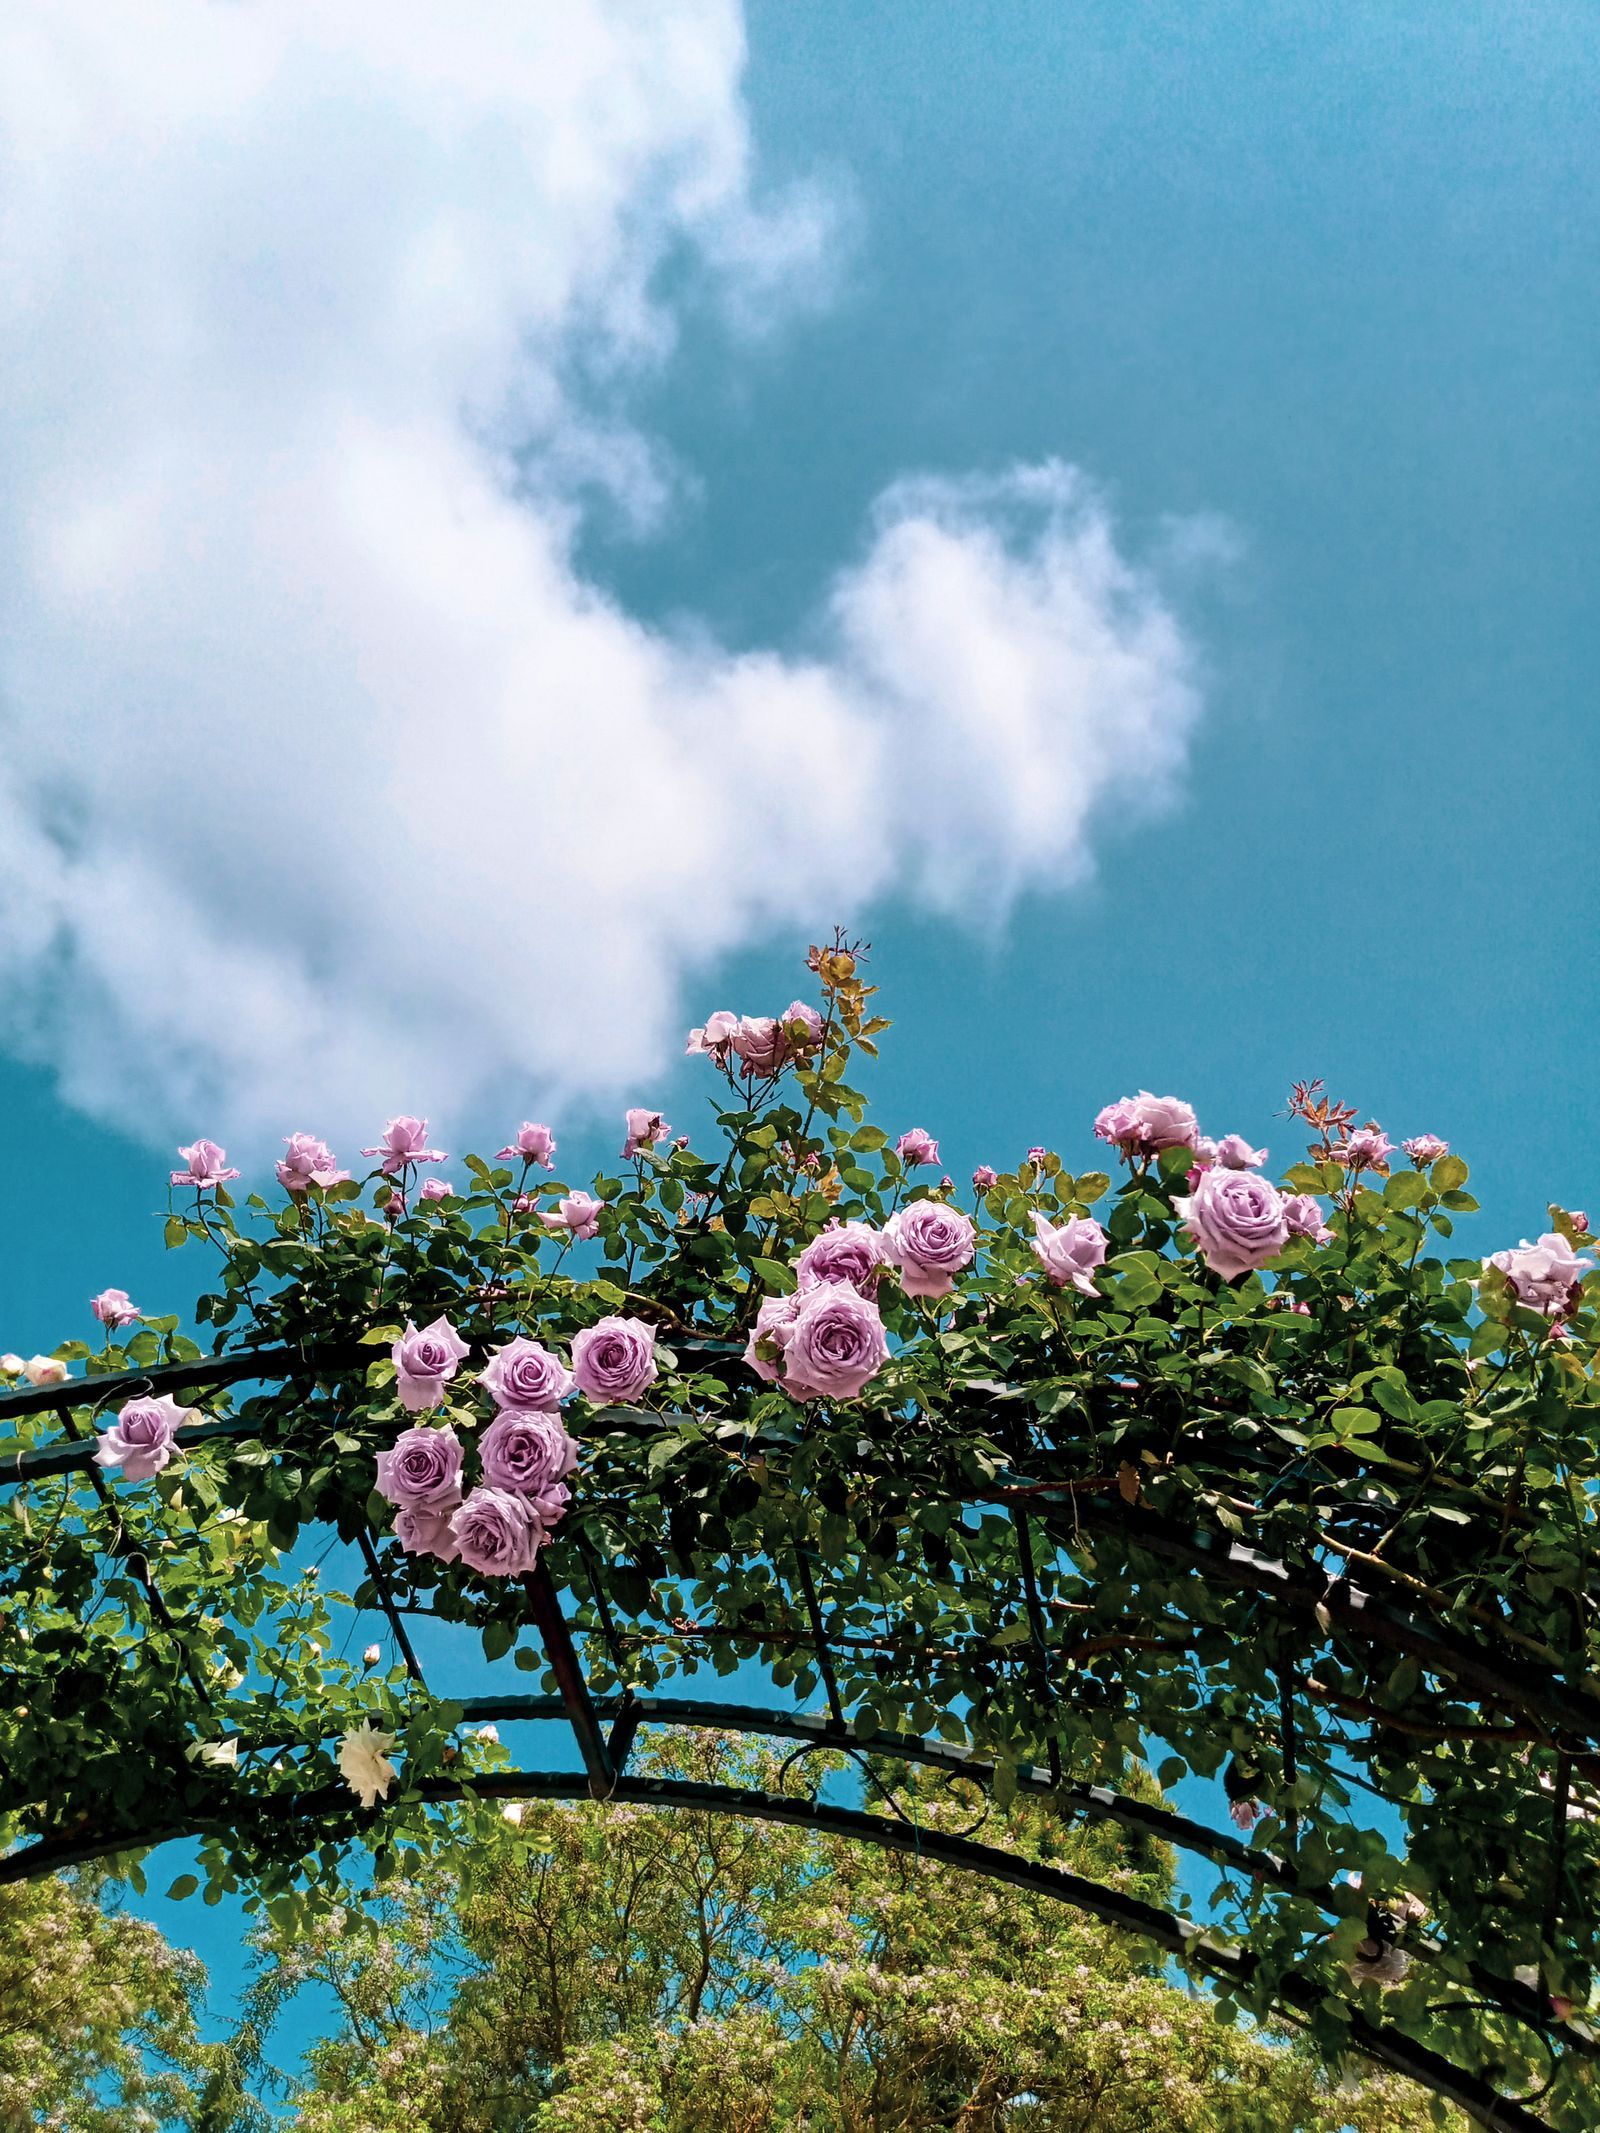
Photo: Sura Faris / Pexels
The curved top garden arch in the catalog photograph is a lovely thing, and it is also a piece of bent, laminated, or steam shaped carpentry that has ended many a beginner's weekend in frustration. This guide builds the arch you can finish: a flat top design, square posts, straight cuts, a ladder style top you assemble on the ground and lift into place. It looks classic rather than compromised, roses and sweet peas cover the joinery by midsummer, and every cut in it can be made with a handsaw by someone who has never built anything outdoors before.
An arch earns its place in a garden three ways. It marks a threshold, the moment a path becomes an entrance. It gardens upward, giving climbing plants a structure in a yard with no spare ground. And it frames a view, pointing the eye at whatever you place beyond it. Build it where a path already wants to go, between two beds, at the entrance to the vegetable garden, over a gate line, and it will look inevitable rather than installed.
The Garden Arch Build Checklist on this page follows the build in order, from choosing the spot and checking what is underground to planting the climbers. Tick each step as it lands; an arch is a small project with a strict sequence, and the checklist keeps the sequence honest when the posts are already in your hands.
Interactive tool
Garden Arch Build Checklist
Check off each step as you finish it. Your progress stays on this page.
0 of 7 complete
0% done
Choose the Spot and the Size Before You Buy Timber
Measurements decide whether an arch feels like a doorway or an obstacle, and the numbers are not arbitrary. The walk through opening wants at least 4 feet of clear width, and 5 feet is comfortable for two people or one person with a wheelbarrow. Height wants about 7 to 8 feet of clearance above the path, enough for a tall gardener carrying a hat and a harvest basket, with the top structure above that. Depth, front to back, of 2 to 3 feet gives climbers room and the arch stability; a single flat plane of an arch wobbles and looks mean.
Stand in the spot at the hour you will use the garden most and look along the path in both directions. The arch will frame whatever is at each end, so make sure at least one end deserves framing: a bench, a bed, a borrowed view of a neighbor's tree. Then check the unglamorous things. Call your local utility marking service before any digging if there is any chance of buried lines, and keep posts clear of them. Check the ground itself: an arch on a slope needs its posts cut to different lengths so the top lands level, which is easy on paper and annoying in mud, so a level spot is worth walking a few feet to find.
Sun matters for the plants, not the structure. Most climbers you will want, roses, clematis, sweet peas, honeysuckle, want sun on their tops and, in clematis's case, shade on their roots. A path running north to south gives both sides of the arch a share of the day. An east to west path leaves a permanently shaded north side, which is fine if you plant it with shade tolerant climbers and know that is what you are doing.
The Cut List: Everything, Before You Start
Buy pressure treated timber rated for outdoor use; an arch lives in weather and at soil line, which is where wood rots first. Here is the complete list for an arch 5 feet wide overall, about 7 and a half feet tall above ground, and 2 and a half feet deep. Four posts, 4 by 4 inches, 9 feet long, because about 2 feet of each post goes below ground or into its footing. Two side top rails, 2 by 4 inches, 3 feet long, one across the top of each pair of posts. Five top crossbars, 2 by 2 inches or 2 by 4 offcuts, 6 feet long, laid across the top to form the ladder the climbers will weave through. Two side trellis panels, bought as lattice or made from 1 by 2 inch battens, roughly 2 and a half feet wide and 6 feet tall, one for each side between the posts.
Add hardware: galvanized or stainless screws, 3 inch for the frame, because plain steel rusts and stains; two or four metal post spikes or post anchors, depending on the method below; and a handful of smaller screws for the trellis panels. Sandpaper the cut ends as you go. Pressure treated timber is splintery, and the person who will train roses through this arch with bare hands is you.
Step 1: Set the Posts, Spikes or Concrete
The posts are the whole foundation, and there are two honest ways to set them. The spike method drives or bolts a metal post spike into the ground at each corner and drops the post into its socket. It is faster, needs no digging or mixing, lets you remove or adjust the arch later, and suits most garden soils and beginner timelines. Its limit is soft or very stony ground, where spikes wander or refuse.
The concrete method digs a hole about 2 feet deep at each corner, sets the post in, checks it for plumb and alignment, and fills around it with concrete or compacted gravel. It is stronger and permanent, and it is the choice on slopes, in windy sites, and for a heavy arch intended to carry a mature climbing rose for twenty years. Gravel alone, tamped in layers, is a respectable middle path that drains better than concrete and holds nearly as well.
Whichever you choose, the discipline is the same: set the two posts of one side first, joined by their top rail on the ground as a single frame if you can, so the spacing cannot drift. Measure the diagonals between the four post positions and make them equal; equal diagonals mean a rectangle, and a rectangle means the top will fit. Check each post for plumb with a level on two faces. An arch that leans 2 degrees at the post leans forever at the top, and climbers do not straighten carpentry.
Step 2: Build the Top on the Ground, Then Lift It
Assemble the ladder top flat on the lawn: the two side rails with the five crossbars screwed across them at even spacing, overhanging each side by about 6 inches like the eaves of a roof. Assembling on the ground is the beginner's great advantage, because every screw goes in downward with the work supported, instead of overhead with the work wobbling on a ladder.
Then lift the finished top onto the posts, with a helper. This is a two person moment and not a heroic solo one; the top is not heavy but it is wide, and a dropped corner can crack a rail or a toe. Set it in place, check the overhangs are even, and screw down through the rails into the post tops. Step back and look from both ends of the path. The arch should read as a clean rectangle against the sky. Sight down the crossbars: they should be parallel, and if one wanders, now is the moment its screw comes out and goes back in true.
Step 3: Fit the Trellis Sides
The sides are what climbers actually climb, because a rose cannot grip a smooth 4 by 4 post and a sweet pea tendril needs something slender to hold. Fit a trellis panel on each side between the posts, lattice bought ready made or battens you screw up yourself in a grid. Leave a gap of about 6 inches between the bottom of the panel and the soil: that gap lets you mow or strim up to the arch without shredding the panel's base, and it keeps the trellis wood out of the wettest zone where rot starts.
Screw the panels to the posts at several points so they cannot rattle. If you build your own from battens, horizontal rails with verticals spaced a hand's width apart give tendrils and ties purchase at every height. Paint or stain, if you plan to, goes on now and ideally went on before assembly; an arch is far easier to finish as parts on a bench than as a structure wearing a climbing rose, and any finish should be one rated for exterior timber.
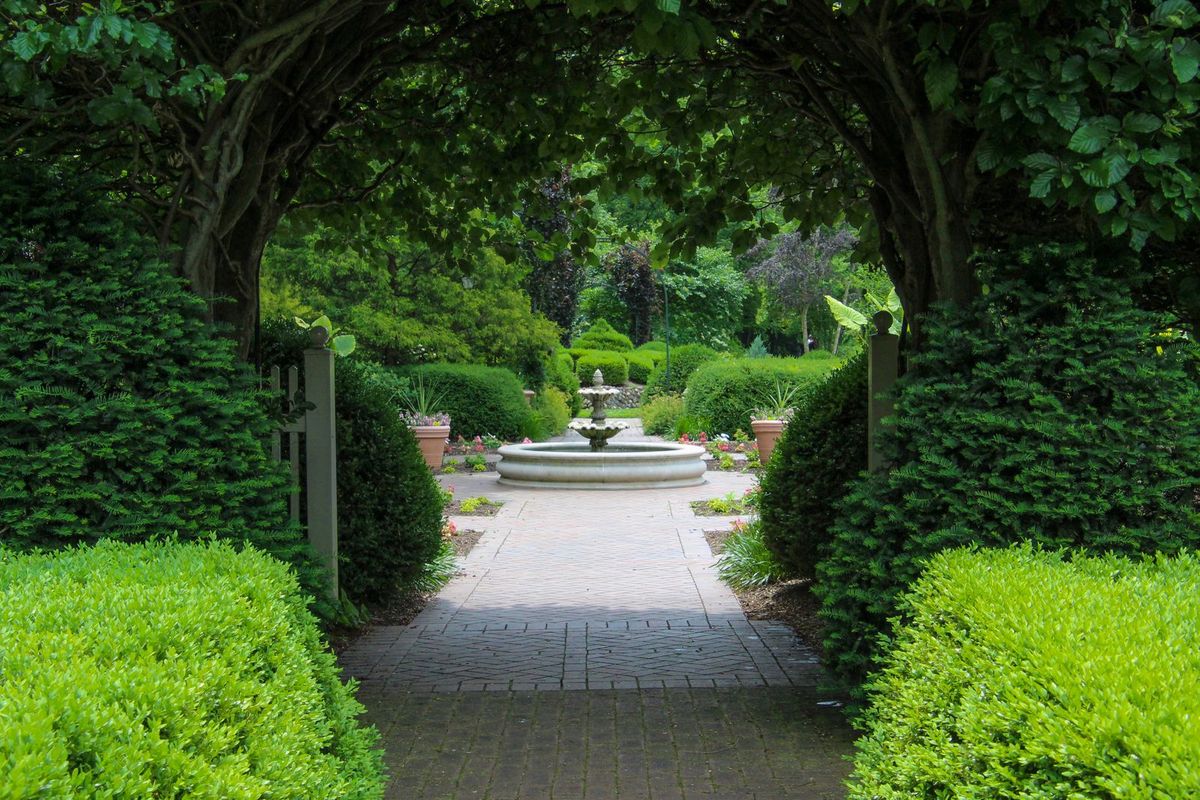
A garden pathway leading to a fountain under a lush natural arch
Step 4: Plant the Climbers
Plant each climber about 12 inches out from the base of its post, not hard against it. The soil at a post's foot is dry, shaded by the structure, and full of footing; a foot out, the roots get rain and room, and you lean the plant's stems back to the trellis at an angle. Dig the hole twice the pot's width, water the plant in its pot first, settle it at the same depth it grew in the pot, and water the hole thoroughly after planting.
Choose climbers by the arch's sun and your patience. An annual like sweet peas covers a new arch in its first summer while the permanent rose is still thinking, and the two can share: sweet peas this year, the rose taking over as it matures. Clematis wants its roots shaded, so plant a small shrub or a flat stone at its base. A climbing rose wants tying in as it grows, its long canes fanned across the trellis with soft ties, because a rose climbs only in the sense that it leans hopefully and waits to be attached.
Water new climbers weekly through their first season, the same deep rhythm as the rest of the garden, and mulch their roots, keeping mulch a few inches from the stems. By the second summer a well chosen climber makes the carpentry disappear, which is the arch's whole ambition: a doorway made of leaves, built on a rectangle you set true in an afternoon.
Keeping the Arch Standing: A Five Minute Annual Check
An arch fails slowly and then all at once, usually at the soil line in a winter storm, and a five minute check each spring prevents nearly all of it. Walk around the structure before the climbers leaf out, when you can still see the wood. Push each post firmly: a post that moves in its footing gets attention this year, not after the rose is in full sail and the wind takes both. Look at the soil line on each post, the inch above and below the surface, because that is where rot lives; wood that a screwdriver sinks into easily is wood scheduling its replacement, and a single post can be swapped in a morning if the rest of the frame is sound.
Check the fixings next. Screws in outdoor timber work loose as the wood swells and shrinks through the seasons; a quarter of them will want a turn. Tighten what is loose, replace anything rusted with galvanized or stainless, and look along the trellis panels for the batten that cracked under last year's rose. Then look up: the crossbars carry the whole weight of a mature climber plus its rain and snow load, and a bar that has begun to sag gets a sister piece screwed beside it before it gets a heavier season.
Do the same check on the plants while you are there. Cut out the dead wood in roses and clematis as their pruning rules dictate, tie in the strong new canes while they are flexible, and clear the mulch and leaf litter away from the post feet, where it holds moisture against the wood. Ten minutes, once a year, and the arch you built in a weekend becomes the arch that is simply always there, which is what garden structures are for.
Frequently Asked Questions
How wide and tall should a garden arch be?
Leave at least 4 feet of clear width to walk through, and 5 feet if two people or a wheelbarrow will pass. Height should clear about 7 to 8 feet above the path so a tall person passes under trailing growth without ducking. Depth of 2 to 3 feet, front to back, gives the structure stability and the climbers room to cover it.
Do garden arch posts need concrete?
Not always. Metal post spikes are faster, adjustable, and strong enough in most garden soils, and they let you move the arch later. Concrete or tamped gravel footings about 2 feet deep are the better choice on slopes, in soft or windy sites, and under a heavy permanent planting like a mature climbing rose. Either way, check posts for plumb and make the diagonals between them equal before fixing anything.
What wood should I use for a garden arch?
Pressure treated timber rated for outdoor use, because an arch lives in the weather and rots first at the soil line. Use 4 by 4 inch posts for strength, 2 by 4 rails, and galvanized or stainless screws, since plain steel rusts and streaks. Cedar is a prettier, naturally resistant alternative at a higher price.
How far from the post should I plant a climber?
About 12 inches out from the post base. The soil right at the foot of a post is dry, compacted by the footing, and shaded by the structure. A foot out, the roots get rain and room; lean the stems back to the trellis at an angle and tie them in loosely as they grow.
What are the easiest plants for a new garden arch?
Sweet peas are the fastest cover, flowering the first summer from seed, while a permanent climber establishes. Climbing roses are the classic long term choice and need their canes tied to the trellis as they grow. Clematis is reliable if its roots are shaded by a stone or a small plant at its base. Plant a fast annual and a slow perennial together and the arch is covered now and for years.
Can a beginner build a garden arch in a weekend?
Yes, if the design is a flat top with straight cuts, the top is assembled on the ground and lifted into place with a helper, and posts are set on spikes rather than in dug concrete footings. The full build, posts, top, trellis sides, and planting, fits in a day for most beginners, with a second morning for finishing touches and planting the climbers.
Photo credits: Sura Faris (Pexels); Karen F (Pexels). Photos are served from this site; follow the credit to the library page for the original.