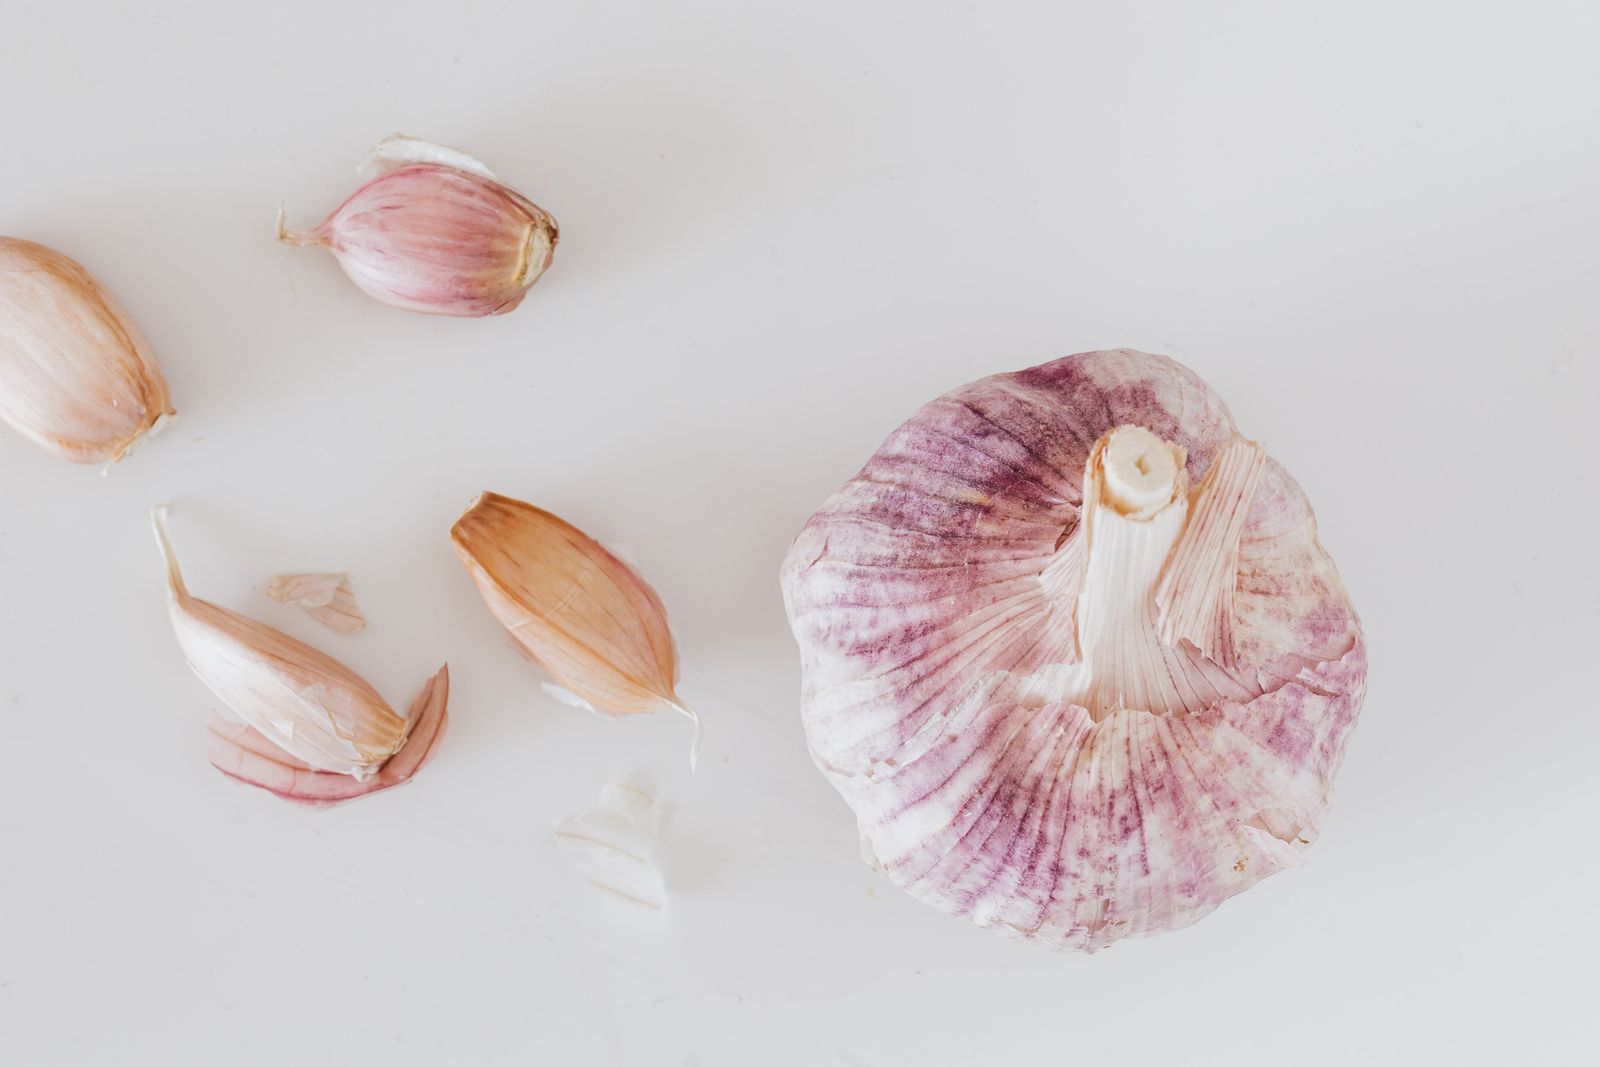
Garlic runs on a calendar that feels wrong to a spring gardener: you plant it in fall, in cooling soil, just as the rest of the garden is being put to bed, and you harvest it the following summer. Everything about that timing is the plant's own logic. Garlic needs a long cold period to form a proper bulb of separate cloves. Planted in spring, it grows a small, confused bulb, often a single round. Planted in fall, it roots before winter, waits under mulch through the cold it requires, and takes off in spring like it owns the place, because by then, it does.
The method below follows the University of Minnesota Extension's guidance for home garden garlic, and it is genuinely simple: the right planting stock, the right week, cloves set point up at the right depth, and a blanket of mulch. After that, garlic is one of the lowest attention crops in the garden for eight months, which is a fair trade for planting on a cold afternoon.
The Garlic Planting Checklist on this page follows the season in order, from buying seed garlic in late summer to lifting bulbs the next July. Garlic rewards the gardener who writes dates down, because its calendar is long enough to forget, and the checklist remembers for you.
Interactive tool
Garlic Planting Checklist
Check off each step as you finish it. Your progress stays on this page.
0 of 7 complete
0% done
Step 1: Buy Seed Garlic, Never Grocery Garlic
The garlic in a grocery store is grown for the shelf, not for your garden, and the University of Minnesota Extension is direct about it: buy seed garlic from a garden supplier or a local grower, and do not plant grocery store garlic. Supermarket bulbs may be treated to resist sprouting, may carry diseases adapted to garlic fields, and are usually softneck types bred for California's climate, which may have little to do with yours. Seed garlic is sold as whole bulbs in late summer and early fall, and it sells out; order it when the catalogs open, not when the frost arrives.
Choose your type by your winter. Hardneck garlic, the Rocambole, Purple Stripe, and Porcelain groups among them, is the cold hardy choice, built for northern winters, and it sends up a curling flower stalk called a scape in early summer that you will harvest as a bonus crop. Softneck garlic, the Artichoke and Silverskin groups, suits milder winters, stores longer, and braids beautifully. Both grow wherever winters give them a genuine cold period. In a warm climate with barely any frost, garlic struggles to bulb at all, and honesty requires saying so before you spend money on it.
Buy more than you think in one specific sense: the largest, soundest bulbs make the largest harvest. Garlic is planted as individual cloves, and big cloves grow big bulbs. Keep your biggest bulbs for planting stock each year and eat the small ones, and your garlic adapts to your garden a little more each season.
Step 2: Pick the Week, 1 to 2 Weeks After the First Killing Frost
Timing is the one decision garlic does not forgive casually. The University of Minnesota Extension plants garlic 1 to 2 weeks after the first killing frost, in fall, and the reasoning is a balance between two failures. Planted too early, in warm soil, the cloves sprout and push green shoots that winter then burns back, weakening the plant. Planted too late, into nearly frozen ground, the cloves cannot grow the roots they need before winter locks the soil, and a rootless clove heaves out of the ground in the freeze and thaw cycles and desiccates.
In that correct window, the clove roots quietly in cool soil, grows no top growth to speak of, and settles in for winter exactly as intended. For many northern gardens this lands in October or November; for milder ones, later into fall. If you miss the window by a little on the late side, plant anyway with extra mulch. Garlic planted late is behind; garlic held to spring is a different, smaller crop.
Prepare the bed before the window opens, so planting day is an hour rather than a project. Garlic wants well drained soil that holds moisture, in full sun, with a pH between 6.0 and 7.0 per the University of Minnesota Extension. It rots in ground that stays wet through winter, so the raised bed or the well drained corner is its home, and working compost into the bed at planting feeds a crop that will grow in it for eight months.
Step 3: Plant Cloves Point Up, 2 to 3 Inches Deep, 6 Inches Apart
On planting day, break each bulb into individual cloves, keeping the papery skin on each clove, and do it the same day you plant, not a week before, so the cloves do not dry out. Sort as you go: plump, firm cloves are planting stock; small, soft, or damaged ones go to the kitchen. A clove grows the bulb it has the reserves for, and planting runts grows runts.
Set each clove with its point up and its flat root end down. This sounds too simple to matter and it matters completely: a clove planted upside down must grow its shoot around itself, emerging late, weak, and often deformed. The base of the clove sits 2 to 3 inches below the surface, per the University of Minnesota Extension, which in practice means a hole about 3 to 4 inches deep for a typical clove. Space cloves 6 inches apart, in double rows on beds about 30 inches apart in the Extension's layout, a spacing that gives each bulb room to swell while keeping the bed dense enough to shade its own soil.
Water the bed after planting if the soil is dry, to settle soil around the cloves and start the rooting. Then label the bed with the variety and date, in something that survives winter. You will not remember in April which end was the Rocambole. Nobody does.
Step 4: Mulch 3 to 4 Inches, and Let Winter Happen
Mulch is not decoration on a garlic bed; it is insulation doing a specific job. Cover the bed with 3 to 4 inches of clean straw or shredded leaves, per the University of Minnesota Extension, after planting. The mulch buffers the soil against the freeze and thaw cycles that heave cloves out of the ground, holds moisture, and keeps the soil temperature steadier through the wild swings of late fall and early spring. In the coldest gardens, gardeners go heavier; in mild ones, the Extension's 3 to 4 inches is the measured standard, and piling on far more in a wet climate can hold too much moisture against the bulbs.
Then walk away. Garlic needs nothing through winter. In spring, green shoots push up through the mulch, earlier than almost anything else in the garden, which is one of the great pleasures of the crop. Pull the mulch back from the rows a little as growth strengthens if your spring is wet, or leave it in place as weed suppression in a dry one. The bed will want about 1 inch of water a week through the growing season, the garden's standard measure, and very little else.
Hardneck growers get the scape harvest in early summer: the curling flower stalk, cut when it has made a full curl, is a delicacy, and cutting it sends the plant's energy back into the bulb for its final sizing. Softneck growers skip this step entirely, which is the whole of the difference in care between the types.
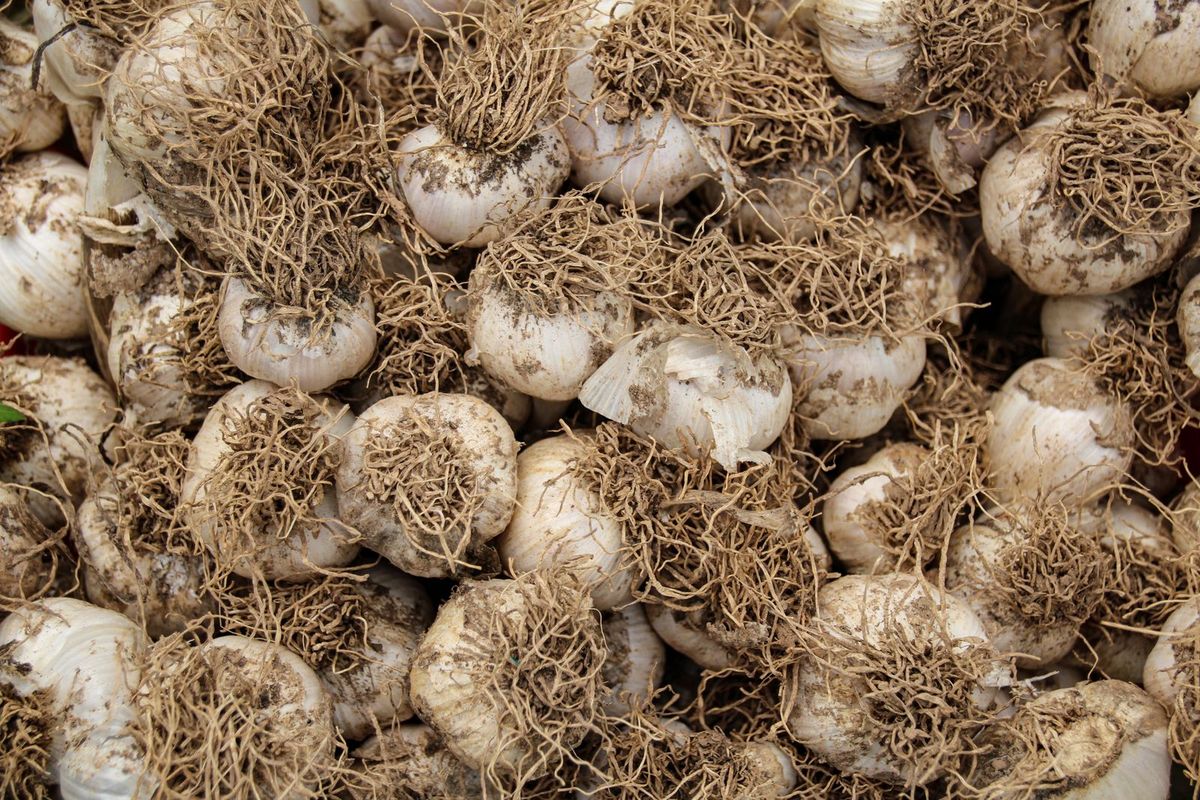
A pile of freshly harvested garlic bulbs with roots and dirt still on them
Garlic in Small Spaces and Mild Winters
Garlic asks for one thing a small garden may not obviously have, a bed it can occupy for eight months, and the planning answer is to give it ground that would otherwise rest: the bed the lettuce finished in, the strip along the fence, the raised bed you are not wintering anything else in. It also grows respectably in deep containers, a pot or grow bag with at least 8 inches of soil depth and drainage that never fails, watered through dry spells because a container's soil dries and freezes faster than the ground's. The cloves go in at the same depth and spacing, the mulch goes on the same way, and the pot moves against a sheltered wall for the worst of winter in cold gardens, because a root ball in a pot experiences colder temperatures than the same roots in the earth.
Mild winter gardeners face the plant's one non negotiable need: cold. Garlic bulbs form properly after a sustained period of cold weather, and in climates where winter barely frosts, the standard advice is to choose softneck types, which need the least cold of any garlic, plant them later in fall so they get what cold there is, and accept smaller bulbs as the climate's honest price. Some warm climate growers chill seed garlic in a refrigerator for several weeks before planting to simulate the winter the sky will not provide; results vary, and the experiment costs one bulb's worth of cloves to try. What does not work, anywhere, is spring planting as a substitute and expecting fall planted results. The plant's calendar is its biology, and the gardeners who succeed with garlic are the ones who surrender to it cheerfully, planting in the cold months for a harvest in the warm ones.
Either way, the crop's great virtue survives every adaptation: between the mulching of fall and the green shoots of spring, garlic asks for nothing at all. In a garden that measures most crops in weekly chores, a crop measured in seasons is a rest for the gardener as much as a yield.
Step 5: Harvest in Summer, When the Bottom Leaves Yellow
Garlic planted in fall is harvested the next summer, late June to late July in the University of Minnesota Extension's northern calendar, varying with your variety and zone. The signal is in the leaves, and it is a count, not a color: harvest when the bottom leaves have yellowed and died back but the plant still holds several green leaves up top. Each green leaf corresponds to a papery wrapper around the bulb, and a bulb harvested with wrappers intact stores for months. Wait until all the leaves die and the wrappers have rotted in the ground; the bulb splits and stores badly. Dig too early and the bulb is small and its wrappers thin.
Lift bulbs with a fork, loosened from below, never pulled by the tops, which snap and leave the bulb to be speared by the fork on the second try. Cure the harvest out of direct sun in moving air, on a screen or hung in bunches, for several weeks until the wrappers are crisp and the roots dry. Then trim, brush off the loose soil, never wash, and store in a cool, dry, airy place. Eat the damaged and small bulbs first. Keep the biggest, as agreed, for October, when the whole quiet cycle begins again with a handful of cloves and a cold afternoon.
Frequently Asked Questions
When exactly should I plant garlic?
Plant 1 to 2 weeks after the first killing frost in fall, per the University of Minnesota Extension. Planted earlier, cloves sprout tops that winter burns; planted later, they cannot root before the soil freezes and may heave out of the ground. In many northern gardens the window falls in October or November.
How deep and how far apart do garlic cloves go?
Set each clove point up with its base 2 to 3 inches below the surface, spaced 6 inches apart, in double rows on beds about 30 inches apart, per the University of Minnesota Extension. Point up matters: an upside down clove must grow around itself and emerges late and weak.
Can I plant garlic from the grocery store?
The University of Minnesota Extension advises against it: buy seed garlic from a garden supplier or local grower instead. Grocery garlic may be treated to resist sprouting, may carry disease, and is usually a softneck type bred for a very different climate. Seed garlic is sold in late summer and sells out, so order early.
What is the difference between hardneck and softneck garlic?
Hardneck types, including Rocambole, Purple Stripe, and Porcelain, are the cold hardy choice for northern winters and produce an edible curling stalk called a scape in early summer. Softneck types, including Artichoke and Silverskin, suit milder winters, store longer, and braid well. Choose by your winter: hardneck where winters are genuinely cold.
How much mulch does garlic need?
About 3 to 4 inches of clean straw or shredded leaves, per the University of Minnesota Extension, applied after planting. The mulch insulates against freeze and thaw cycles that heave cloves from the soil and holds moisture through winter. In the coldest gardens a heavier blanket is common; in wet mild ones, avoid piling on far more, since excess holds moisture against the bulbs.
How do I know when garlic is ready to harvest?
Watch the leaves, not the calendar: harvest when the bottom leaves have yellowed and died back while several green leaves remain, typically late June to late July for fall planted garlic in northern gardens. Each remaining green leaf is a wrapper on the bulb, and wrappers are what let garlic store for months. Lift bulbs with a fork rather than pulling the tops.
Photo credits: Kaboompics (Pexels); Rachael Holzman (Pexels). Photos are served from this site; follow the credit to the library page for the original.