Roses intimidate beginners out of proportion to their actual demands, and the intimidation concentrates on planting day, because planting is the one part of rose care you cannot redo. A rose pruned badly regrows; a rose fed badly recovers; a rose planted at the wrong depth, in the wrong spot, spends years declining for reasons the gardener cannot see. The good news is that planting day itself is short, orderly work: choose the spot, soak if bare root, dig wide, set the bud union at the depth your climate dictates, settle with water, and mulch. This page covers that day and only that day, in order, because a rose planted right is a plant that mostly takes care of itself afterward.
Our best flowers for beginners guide deliberately leaves roses off the beginner list and sends readers here, because roses reward a gardener who does this one day carefully. The Rose Planting Checklist on this page follows the order below, and the step that deserves your full attention is Step 3, the bud union, the knobbly graft joint at the base of the plant where the rose variety meets its rootstock. Its depth is decided by your winters, and both conventions are named below, because rose advice from a warm climate will quietly kill a rose in a cold one.
Interactive tool
Rose Planting Checklist
Check off each step as you finish it. Your progress stays on this page.
0 of 7 complete
0% done
Step 1: Choose the Spot and the Day
Roses want sun, at least 6 hours of direct light a day, and they value morning sun above the rest, because morning sun dries the dew off the leaves early, and leaves that dry fast resist the fungal diseases, black spot above all, that plague roses in humid weather. Give the plant air circulation for the same reason, but not a wind tunnel. Keep roses away from the root competition of large trees and from the drip line of eaves. Soil should drain: a spot where water stands after rain grows a short lived rose. If your only spot is heavy clay, the planting method below, a wide hole and compost in the backfill, is your compensation, and raised beds grow fine roses for the same reason.
Plant in spring or fall, when the soil is workable and the weather mild. Bare root roses, sold dormant without soil, plant in early spring in cold climates and in late winter to early spring, or fall, in mild ones, timed so roots establish before hard cold or hard heat. Potted roses plant any time the ground is workable, with spring and fall still the kindest seasons.
Step 2: Soak Bare Root Roses, Then Dig Wide
A bare root rose arrives looking like a bundle of thorny sticks with roots, and it is thirsty from its journey. Soak the roots in a bucket of water for several hours, up to overnight, before planting; never let the roots dry out at any point in the day, and keep the plant in shade while you dig. A potted rose skips the soak but wants watering in its pot an hour before planting, so the root ball holds together.
Dig the hole about twice as wide as the root ball or the spread of the bare roots, and roughly as deep as the roots are long. The width matters more than the depth: the rose's new roots grow outward into loosened soil, and a wide hole in compacted ground is the difference between a plant that establishes in a season and one that lives in a flowerpot shaped prison for years. Loosen the soil at the bottom of the hole rather than leaving a glazed surface, and if your soil is poor or heavy, plan to mix compost into the backfill, about a third compost to two thirds dug soil.
Step 3: Set the Bud Union at Your Climate's Depth
Find the bud union: the swollen, knobbly joint near the base of the canes where the variety was grafted onto the rootstock. (Own root roses, grown from cuttings, have no union, and plant at the depth they grew in the pot; ask when you buy if you cannot find a graft.) The union's planting depth is the climate decision. In warm regions with mild winters, plant with the bud union at soil level, right at the surface. In cold regions, plant it 1 to 3 inches below the surface, so the soil itself insulates the graft through winter; guidance for the New York metro area, from the New York Botanical Garden, puts it at 2 to 3 inches below. The logic is simple: the union is the plant's most cold sensitive point and the source of its true variety's canes, and a buried union in a cold climate is the difference between a rose that survives a hard winter and a rootstock that grows back alone, blooming the wrong flower, in spring.
For a bare root rose, build a firm mound of soil in the center of the hole, set the plant on it, and spread the roots down the mound's sides like a skirt, so no root doubles back or circles. Adjust the plant's height on the mound until the union sits at your climate's depth. For a potted rose, set the root ball in the hole with the union at depth, and gently loosen any roots circling the ball's outside. Roses prefer soil with a pH around 6.0 to 6.5, slightly acidic; a soil test, if you have one, tells you whether your backfill needs amending, and most garden soils near that range grow roses without adjustment.
Step 4: Backfill, Settle With Water, and Do Not Fertilize
Backfill the hole halfway with your soil and compost mix, firming it gently around the roots with your hands to remove large air pockets, then water the half filled hole deeply and let it drain; this settling wash pulls soil into every gap around the roots better than any tamping. Finish backfilling to the final level, firm lightly, and water again deeply. The finished surface should sit level, with no basin that ponds against the canes and no mound that sheds water away from the roots.
Then, the counterintuitive rule: no fertilizer at planting. A new rose needs roots, not top growth, and fertilizer salts around fresh roots do harm while fertilizer driven canes outrun the root system that must support them. The compost in the backfill is food enough for the first weeks. Begin feeding once the plant is growing strongly, typically after its first flush of bloom, with a rose fertilizer or compost according to the label, and keep the plant watered deeply through its first season, about an inch a week, while its roots colonize the wide hole you dug.
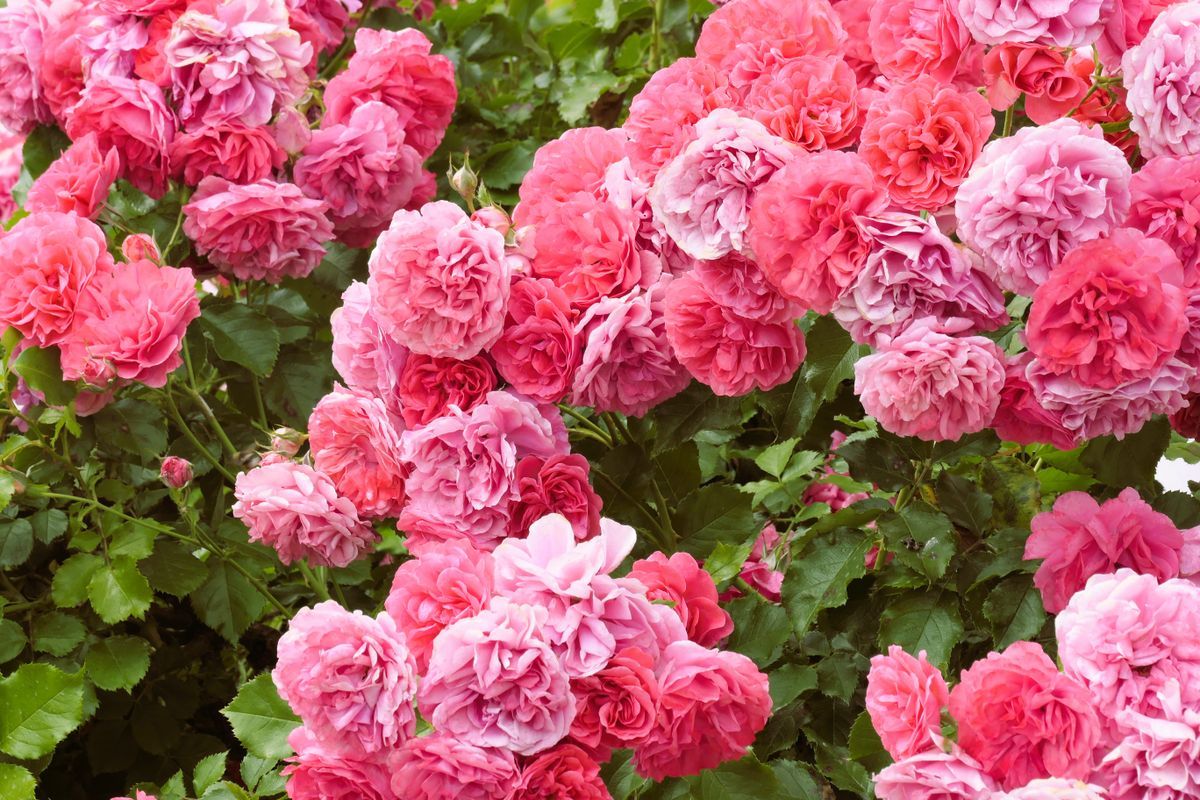
Pink rose bushes blooming in a garden
Step 5: Mulch, and Keep It Off the Canes
Finish planting day with mulch: 2 to 3 inches of shredded bark, wood chips, or compost over the root zone, spread wide to the hole's edge and beyond, and kept a few inches clear of the canes themselves. Mulch against the canes holds moisture where it invites rot and shelters insects at the plant's base; mulch over the roots holds moisture where it feeds growth, moderates soil temperature, and suppresses the weeds that would compete with a root system still establishing. Bare root roses in cold spring ground get one extra kindness: mound soil or mulch loosely over the canes' bases for the first few weeks, until buds break, to keep the dormant wood from drying in wind and sun before the roots wake up. Pull the mound away gently once growth is clearly moving.
Planting day ends there. The rose now needs a season of steady water, a watch for the first black spot lessons, and its first real pruning next spring, all of which are ordinary gardening. What it needed from you today was a sunny spot, a wide hole, roots that never dried, and the bud union buried or surfaced according to your winters. Get those four right and the famous difficulty of roses mostly evaporates; they are hungry, thirsty, sun loving shrubs that repay a careful first day with decades of flowers, some garden roses outliving the gardeners who planted them.
Bare Root Versus Potted: The Differences That Matter on the Day
The two forms of rose ask slightly different things of planting day, and knowing which you hold prevents the classic errors. A bare root rose is all urgency about moisture and timing: it arrives dormant, in the cool season, and its roots must never dry from the moment the package opens, which is why the soak, the shaded bucket, and the soil mound method exist. Its advantages are price, variety, and a root system that grows straight into your soil without ever knowing a pot. Its deadline is real: plant it within days of arrival, while it is still fully dormant, and if weather or life intervenes, heel it in, meaning bury the roots temporarily in a shallow trench of soil or compost, rather than leaving the plant in its packaging.
A potted rose is all forgiveness about timing: it is already growing in soil, so it plants whenever the ground can be worked, and its planting day risk is different, the root ball itself. Check it before planting: roots circling densely inside the pot should be teased loose or lightly scored so they grow outward into your hole rather than continuing their circle underground, and a ball that is dry at the center, common in neglected nursery stock, should be soaked in its pot until it wets through, because dry potting mix repels water even when buried in a well watered hole. Set a potted rose at the same bud union depth as a bare root one, judging the union's position against the surrounding soil, not against the pot's rim, since nursery soil levels and garden soil levels rarely agree. Both forms then converge on the same finish: backfill in stages, settle with water, no fertilizer, mulch clear of the canes. The form changes the first hour of planting day. It changes nothing about what the rose needs from the ground it will live in for decades.
The First Six Weeks After Planting
Planting day ends, and a short establishment season begins, whose whole content is water and watching. Water deeply whenever the soil at a few inches down is dry, which in a dry spring may mean twice a week, and keep the mulch intact as the plant's moisture insurance. Expect a bare root rose to sit apparently motionless for two to four weeks while its roots wake and grow; the buds then break, and growth, once started, is fast. A rose that leafs out and then stalls is usually thirsty at the root zone despite surface watering, so water longer, not more often, and check that your watering is reaching the depth of the roots rather than running off the mulch.
Resist two temptations in these weeks. Do not fertilize early to hurry things, for the reasons planting day established: the roots are the project, and top growth forced ahead of them borrows against a small account. And do not prune or tidy beyond removing a clearly dead or broken cane; the plant needs every leaf it can grow to feed its root building. The first flowers, when they come, may be modest and slightly misshapen, which is normal for a plant investing underground. By the end of the first season, a rose planted by this page's method will have doubled its root system and set its structure, and from the second spring onward it behaves like what it is: a long lived shrub that was given, on one careful day, everything it needed.
Frequently Asked Questions
Where is the bud union, and why does its depth matter?
The bud union is the swollen, knobbly joint at the base of the canes where the rose variety was grafted onto its rootstock. Its depth decides winter survival: plant it at soil level in warm regions, and 1 to 3 inches below the surface in cold regions, where soil insulates the graft. New York Botanical Garden guidance for the New York metro area specifies 2 to 3 inches below.
How wide and deep should a rose planting hole be?
About twice as wide as the root ball or the spread of the bare roots, and roughly as deep as the roots are long. Width matters most, because new roots grow outward into loosened soil. For bare root roses, build a soil mound in the hole's center and spread the roots down its sides; set the bud union at your climate's depth.
Should I soak a bare root rose before planting?
Yes, soak the roots in water for several hours, up to overnight, before planting. Bare root roses arrive dormant and dry from shipping, and rehydrating the roots is essential. Never let the roots dry out during planting day; keep the plant shaded and the roots in water or wrapped while you dig.
How much sun do roses need?
At least 6 hours of direct sun a day, with morning sun especially valued because it dries dew from the leaves early, discouraging black spot and other fungal diseases. Good air circulation helps for the same reason. Roses in too little sun grow leggy, bloom sparsely, and suffer more disease.
Should I fertilize a rose when I plant it?
No. Fertilizer at planting can burn fresh roots and pushes top growth the new root system cannot support. The compost mixed into the backfill, about a third of the fill, is enough for the first weeks. Begin feeding after the plant is growing strongly, typically after its first flush of bloom.
What soil pH do roses prefer?
Roses prefer slightly acidic soil, about pH 6.0 to 6.5, and most garden soils in or near that range grow them without adjustment. If you have a soil test showing strongly alkaline or acidic soil, amend gradually. Drainage matters as much as chemistry: roses decline in spots where water stands after rain.
Photo credits: betül nur akyürek (Pexels); Michaela St (Pexels). Photos are served from this site; follow the credit to the library page for the original.