Every garden season is decided before the first seed goes in, in the hour or two you spend on the soil. Plants live with their roots in whatever you hand them, and roots are not forgiving tenants. They need moisture they can reach, air pockets to breathe through, nutrients in steady supply, and physical room to push outward. Soil preparation is simply the act of handing them all four at once, and for a home garden bed it takes one afternoon, not a weekend of suffering.
This guide gives you that afternoon in order: clear, test, loosen, feed, level, rest. The steps are written for an in ground bed, with notes for clay, sand, and raised beds along the way. None of it needs special equipment beyond a fork or shovel, a rake, and compost. What it needs is sequence. Loosening before clearing buries the weeds. Feeding before loosening wastes the compost on the surface. The order below is the order that works.
Before you start, open the Soil Preparation Checklist on this page and keep it beside you. It lists the afternoon's steps with the decision points marked, including the squeeze test that tells you whether today is a soil day at all. Tick the boxes as you go and the bed will be ready in one pass, with nothing forgotten and nothing done twice.
Interactive tool
Soil Preparation Checklist
Check off each step as you finish it. Your progress stays on this page.
0 of 6 complete
0% done
What Soil Preparation Actually Does
It helps to know what you are building. Soil is not dirt in the sense of something inert. It is a structure: mineral particles of sand, silt, and clay, held in crumbs with spaces between them, and those spaces are where the garden happens. Water sits in the small spaces. Air fills the larger ones. Roots grow through both, and the balance between water and air in that structure is the difference between a bed that grows food and a bed that grows disappointment.
Preparation improves that structure in three ways. Loosening opens the spaces in soil that feet, rain, and last season's harvest have pressed shut. Compost adds organic matter, which acts like a sponge in sandy soil and like a wedge in clay, holding crumbs apart and feeding the worms and microbes that keep the structure alive. Leveling and resting let the rebuilt structure settle so seeds and roots meet firm, moist contact instead of air pockets. Every step below serves one of those three jobs.
Before You Start: The Squeeze Test
Soil has a working window, and working outside it undoes your labor. Too wet, and every forkful smears the structure into a dense mass that dries like pottery. Too dry and hard, and you will exhaust yourself chipping at it while barely improving it. The test takes ten seconds and requires no equipment.
Pick up a handful of soil from a few inches down and squeeze it. If water drips out or the handful holds a shiny, slick shape that smears when you poke it, the soil is too wet: stop, and come back after a few dry days. If the handful forms a loose ball that crumbles apart when you poke it, the soil is in the working window. If it will not form a ball at all and runs through your fingers like dry sand, your soil is sandy and workable, though it will want water soon after planting.
This is the rule that saves beginners the most grief: never work wet soil. A bed prepared wet in March is still paying for it in July, in clods that roots cannot enter and a surface that crusts after every rain. Waiting three days for the window costs nothing. The structure you protect is the whole point of the afternoon.
Step 1: Clear the Bed
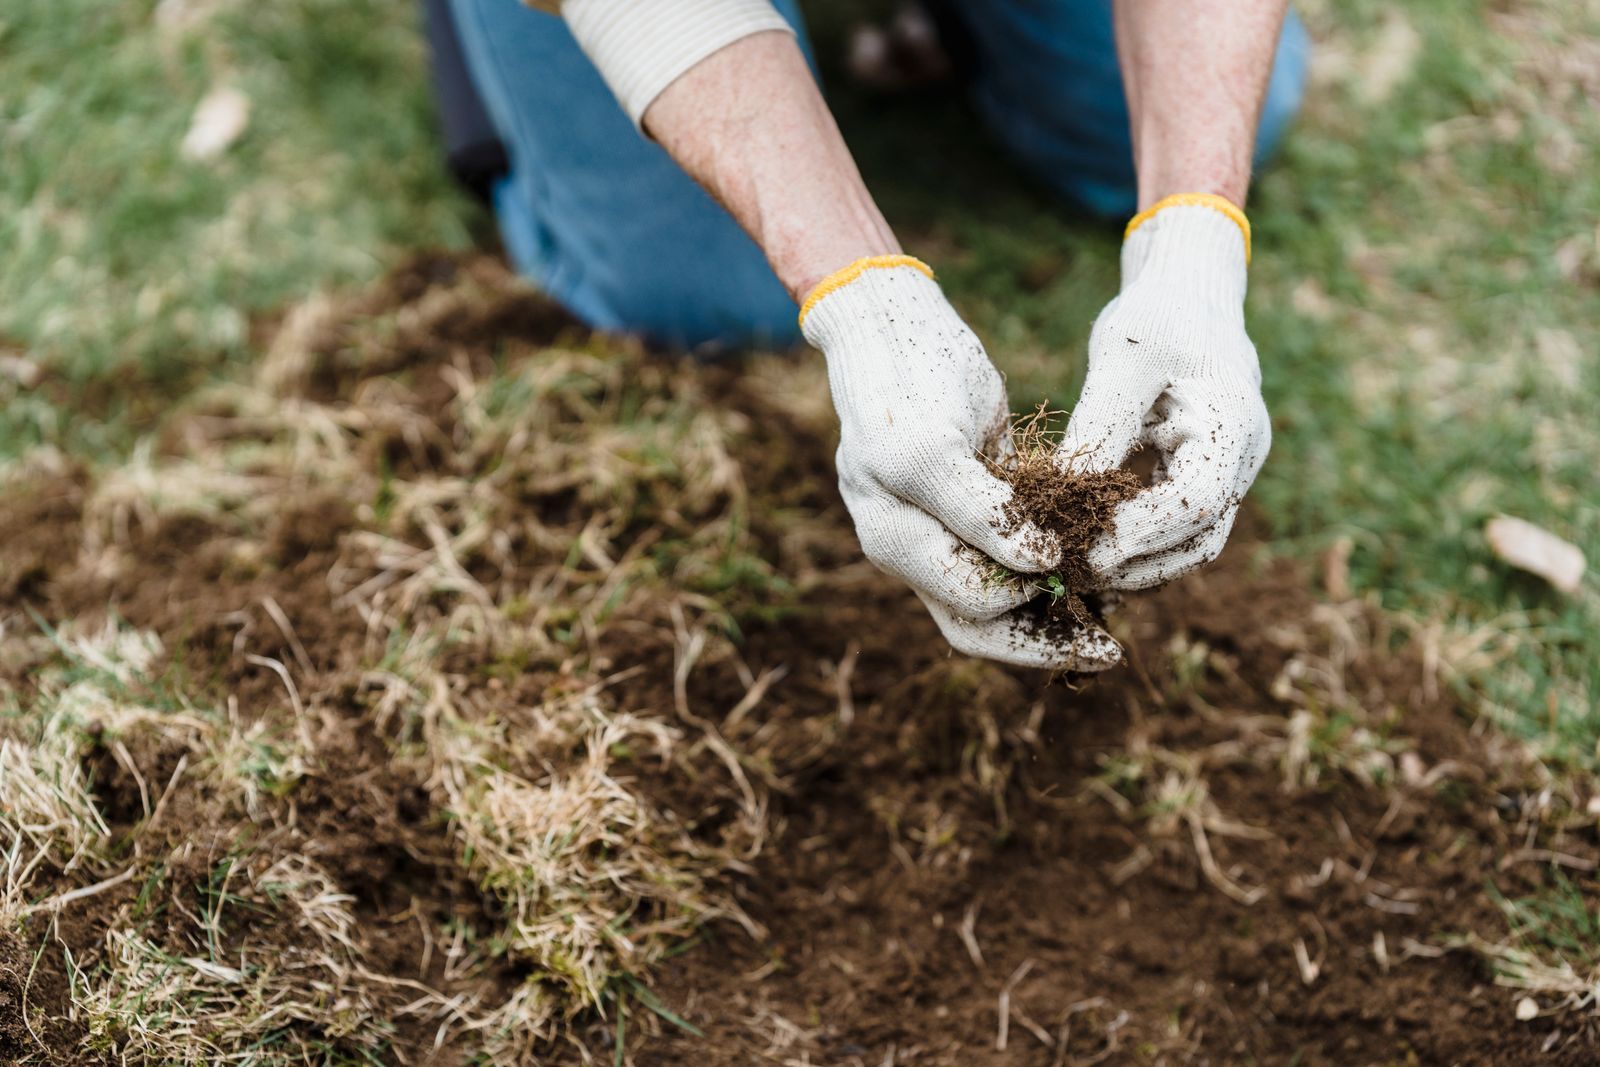
Start by removing what you do not want growing. Pull or dig out existing weeds and grass, roots and all where you can, because many weeds regrow from root fragments left behind. Pick out large stones, old roots, and debris as you go. If the bed is new and currently lawn, the grass has to come off or be smothered well in advance; for a first bed, cutting the sod away in strips with a spade is the honest one afternoon method, and the removed sod can compost elsewhere, grass side down.
Work the clearing a little beyond the bed's edges if you can. Weeds creep inward from borders all season, and a cleared margin slows them down. When you can see bare soil across the whole bed, you are ready to loosen.
Step 2: Loosen to a Spade Depth
Push your fork or spade into the soil to its full depth, about a spade's length, and lever it gently to crack the soil open. Work across the bed in rows, moving backward so you never step on soil you have already loosened. You are not trying to pulverize the bed into powder. You are cracking it open so air, water, and roots can enter, leaving crumbs and small clods intact.
If you meet a hard layer partway down, a common legacy of construction or years of foot traffic, work through it gradually rather than fighting it. Compacted layers block roots and hold water like a bowl, and even partial loosening helps. In a bed you will keep for years, this first deep loosening is the hardest it will ever be. Next year's preparation is a light version of the same afternoon, because soil that is fed and never stepped on stays open.
A note on tilling: a rototiller can do this step, but for a home bed a fork does it better, slower and with less damage. Tilling wet soil is the fastest way to destroy structure, and tilling dry soil to dust creates a bed that crusts. The fork keeps you honest about the squeeze test, too. If the soil is too wet to fork, it is too wet, full stop.
Step 3: Add Compost Into the Top 6 to 8 Inches
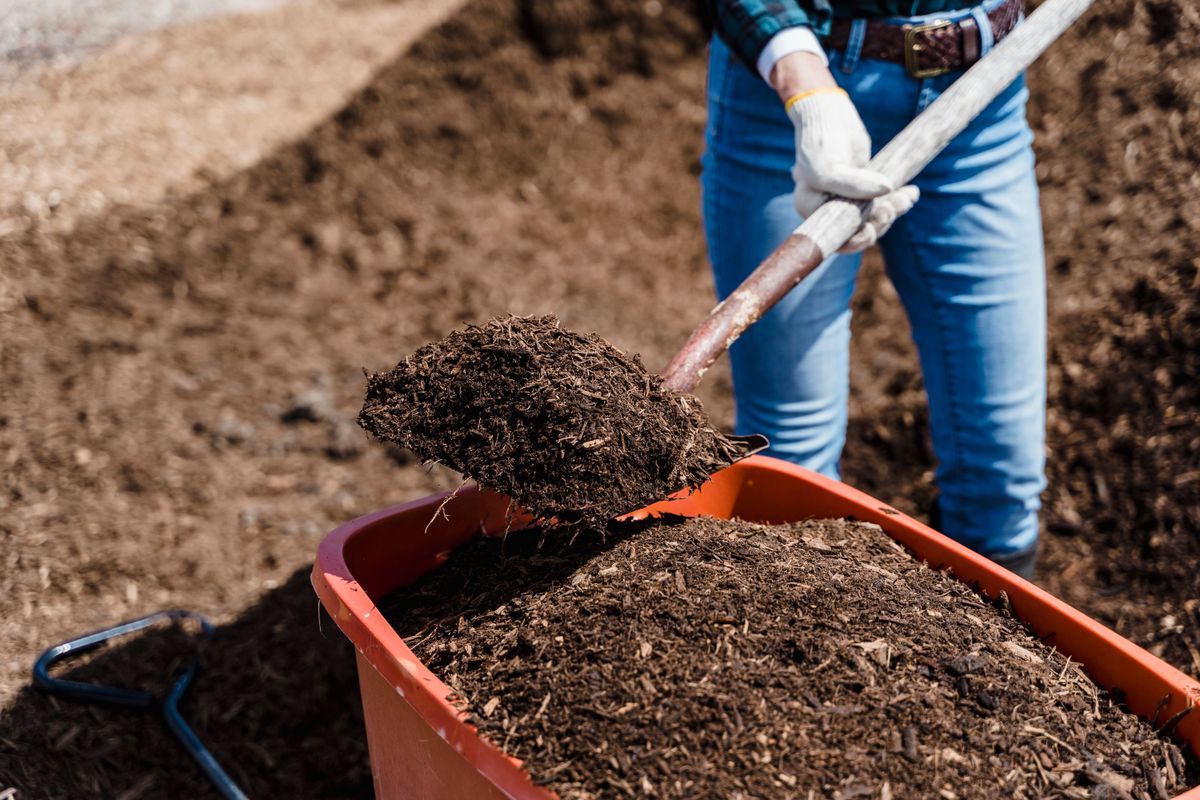
Now feed the bed. Spread compost over the loosened surface in a layer of 2 to 4 inches, then work it into the top 6 to 8 inches of soil with your fork, mixing as evenly as you can without turning the bed into soup. Those figures, 2 to 4 inches of compost worked into the top 6 to 8 inches, are the working recommendation in extension soil preparation guidance, and they scale: a small bed needs a few bags or a modest pile, not a truckload.
Compost is the one amendment that helps every soil it touches. In clay, it wedges particles apart and improves drainage and workability season by season. In sand, it acts as the sponge the soil lacks, holding water and nutrients in root reach instead of letting them wash through. In any soil, it feeds the living community that turns raw nutrients into forms roots can absorb. If you only ever add one thing to your beds, make it compost, added every year.
If you garden with raised beds, this is also your annual rhythm: beds settle and lose volume as organic matter breaks down, so topping up with compost each spring restores both the level and the feeding. For a brand new raised bed, fill it with a raised bed soil blend rather than dug yard soil, which compacts in a box and drains poorly.
A shovel moving compost into a red container in the garden, ready to spread on a prepared bed
Step 4: Rake Level and Shape the Surface
Rake the bed level, breaking the largest remaining clods with the back of the rake and pulling stones and root scraps to the edges. A level bed waters evenly: no dry hilltops, no puddled hollows where seeds drown. If your bed sits on a slope, level across the slope in a shallow terrace rather than fighting the whole hill.
This is also the moment to decide your rows or planting pattern and mark them lightly with the rake handle or a string line. Seeds sown into a freshly raked bed settle into fine contact with moist soil, which is what germination asks for. If you are planting transplants instead, the same level surface lets you set each plant at the right depth without guessing against a lumpy baseline.
Step 5: Rest, Water, and Let the Bed Settle
A freshly worked bed is full of air pockets, and roots and seeds do poorly against air. Water the finished bed well, or let the next rain do it, and give it a short rest, a day at minimum and a few days if your schedule allows, before planting. The water settles soil around itself, firms the seedbed, and wakes the biology your compost fed.
If planting day must be the same day, water the bed thoroughly after preparing it and plant into the settled surface, then water again gently after planting to close the last gaps around roots and seeds. The rest is a preference, not a law. The watering is the law.
Working With Clay Soil
Clay soil is not bad soil. It is rich soil with a structure problem: tiny particles packed tight, slow to drain, sticky when wet, and hard as brick when dry. The preparation rules bend in clay's favor. Respect the squeeze test absolutely, because wet clay worked once stays clodded for a season. Add compost at the generous end of the range, 4 inches rather than 2, and repeat every year; clay improves steadily under that treatment and rarely needs anything else.
Never add sand to clay hoping to loosen it. Sand and clay together, without large amounts of organic matter, make something closer to mortar than to soil. The fix for clay is organic matter, patience, and never stepping on the bed. Gardeners with old, compost fed clay beds would not trade them: once the structure opens, clay holds water and nutrients better than any other soil.
Working With Sandy Soil
Sand is clay's opposite: loose, free draining, easy to work in almost any weather, and hungry. Water and nutrients pass through it before roots can collect them, so preparation aims at retention. Compost at the generous end of the range is again the answer, worked in the same way, because organic matter is the sponge sand lacks. Mulch matters more in sandy beds too, slowing the surface drying that sand does so quickly.
Sandy beds also warm earlier in spring, a genuine advantage for early planting, and they are kind to root crops like carrots that need loose depth. Feed them yearly and they produce generously. The yearly compost habit is not optional in sand; it is the whole strategy.
Should You Test Your Soil?
A soil test is the one piece of paperwork worth doing. Most vegetables grow best in soil that is slightly acid to neutral, around pH 6.0 to 6.8, and a test tells you where your soil sits and what, if anything, it lacks. Your local extension office typically offers testing for a small fee, and home kits give a rougher reading of the same numbers.
Test before you add anything beyond compost. Gardeners waste real money and sometimes do real harm adding lime, sulfur, or fertilizer blends on a guess. If your test comes back near the target range with reasonable nutrient levels, compost and mulch are all a home bed needs. If it flags a genuine problem, you will fix the actual problem instead of a imagined one, once, correctly.
What Not to Do
Do not work the soil wet, covered above, but worth repeating as the first commandment of preparation day. Do not step on the prepared bed afterward: lay a board to kneel or stand on if you must reach the middle, and design beds narrow enough, about 4 feet, to work from the edges. Do not bury fresh wood chips or uncomposted material in the bed, because decomposers will borrow nitrogen from your plants to do their work; chips belong on the surface as mulch, not in the root zone. And do not aim for powder. Fine dust is not a seedbed; it is a crust waiting for rain. Crumbs are the goal.
Timing: When in the Year to Prepare
Spring is the famous preparation season, but fall is the better one when you can manage it. A bed prepared in fall, cleared, loosened, and fed with compost, spends the winter letting weather and worms finish the mixing, and it meets spring settled, moist, and ready weeks before a spring worked bed. Fall preparation also spreads the labor: the heavy afternoon happens in cool weather, and spring becomes planting, not digging.
Spring preparation still works perfectly well; just respect the squeeze test, because spring soil is often wet, and wait for the working window instead of forcing a date on the calendar. In warm climates with a fall and winter growing season, the calendar flips and late summer preparation serves the cool season crops. The principle survives every calendar: prepare when the soil is workable, feed it, and let it settle before seeds and roots move in.
Preparing a Brand New Bed From Lawn
A new bed on lawn adds one act to the afternoon: removing the grass. The fastest honest method is to cut the sod. Mark the bed's outline, slice under the grass with a spade in strips, and roll or lift the strips away, taking the grass and its shallow roots with them. The stripped sod is not waste: stack it grass side down in an out of the way corner and it rots into usable soil over a season.
Under the sod you will usually find compacted, pale soil that has never been fed. Loosen it a full spade depth, twice the patience of an established bed, and use the generous end of the compost range. New beds also reward a soil test in their first year, because construction era yards can hide surprises, from buried debris to genuinely odd pH. Expect the first year to be the bed's apprenticeship: it will grow food, and it will grow better every year after as the compost habit compounds.
The alternative, smothering the grass under cardboard and mulch, works well but on a calendar of months, not an afternoon. Choose it when you are planning a bed a season ahead. Choose sod cutting when you want to plant this spring. Both are legitimate; only the schedule differs.
Preparing an Established Bed: The Lighter Annual Version
Once a bed exists, preparation shrinks. Clear the remains of last season's crops, pulling roots of finished plants but leaving fine roots of healthy ones to rot in place where disease was not a problem. Loosen only the top few inches, spread a thinner layer of compost, an inch or two, rake it in lightly, and plant. The deep work is done; you are maintaining a structure now, not building one.
The established bed's enemies are compaction and habit. Never step on it, work from the edges or from a board, and rotate what grows where, so the same family of crops does not draw the same nutrients and host the same diseases in the same soil year after year. Annual preparation plus rotation plus mulch is the entire long term care program, and it fits in an afternoon a year.
Frequently Asked Questions
How deep should I loosen garden soil?
About a spade depth for a new bed, then work your compost into the top 6 to 8 inches. Roots of most vegetables live in that upper layer, and loosening to a spade depth breaks the compacted layer that blocks them and traps water. In established beds that are never stepped on, a lighter annual loosening of the top layer is enough.
How much compost does a bed need?
Spread 2 to 4 inches over the surface and work it into the top 6 to 8 inches of soil, the range extension soil preparation guidance uses. Use the generous end, closer to 4 inches, for clay and sandy soils, which both improve most from organic matter. Repeat a lighter addition every year, because compost breaks down and the bed settles.
Can I prepare soil the same day I plant?
Yes, with one adjustment: water the prepared bed thoroughly and let it settle briefly before planting, then water again after planting to settle soil against roots and seeds. A rest of a few days is nicer, because the bed firms and biology wakes up, but a well watered same day bed grows fine.
How do I know if my soil is too wet to work?
Use the squeeze test. Squeeze a handful of soil from a few inches down. If it drips or holds a shiny, slick shape, it is too wet: wait for a few dry days. If it forms a loose ball that crumbles when poked, it is in the working window. Working wet soil smears its structure into clods that can take a whole season to forgive.
Is it worth getting a soil test?
Yes, especially before spending money on amendments. Most vegetables prefer soil around pH 6.0 to 6.8, and a test through your local extension office or a home kit shows your pH and nutrient levels. With results in hand, compost alone covers most beds, and any real problem gets fixed once and correctly instead of guessed at every spring.
My soil is heavy clay. Is it hopeless?
Not at all. Clay is nutrient rich; it only lacks structure. Work it only when the squeeze test says it is ready, never wet, add compost at the generous 4 inch end of the range every year, mulch the surface, and never step on the bed. Do not add sand, which turns clay toward mortar. Within a few seasons of this treatment, clay beds become some of the most productive soil a gardener owns.
Photo credits: Greta Hoffman (Pexels); Greta Hoffman (Pexels). Photos are served from this site; follow the credit to the library page for the original.