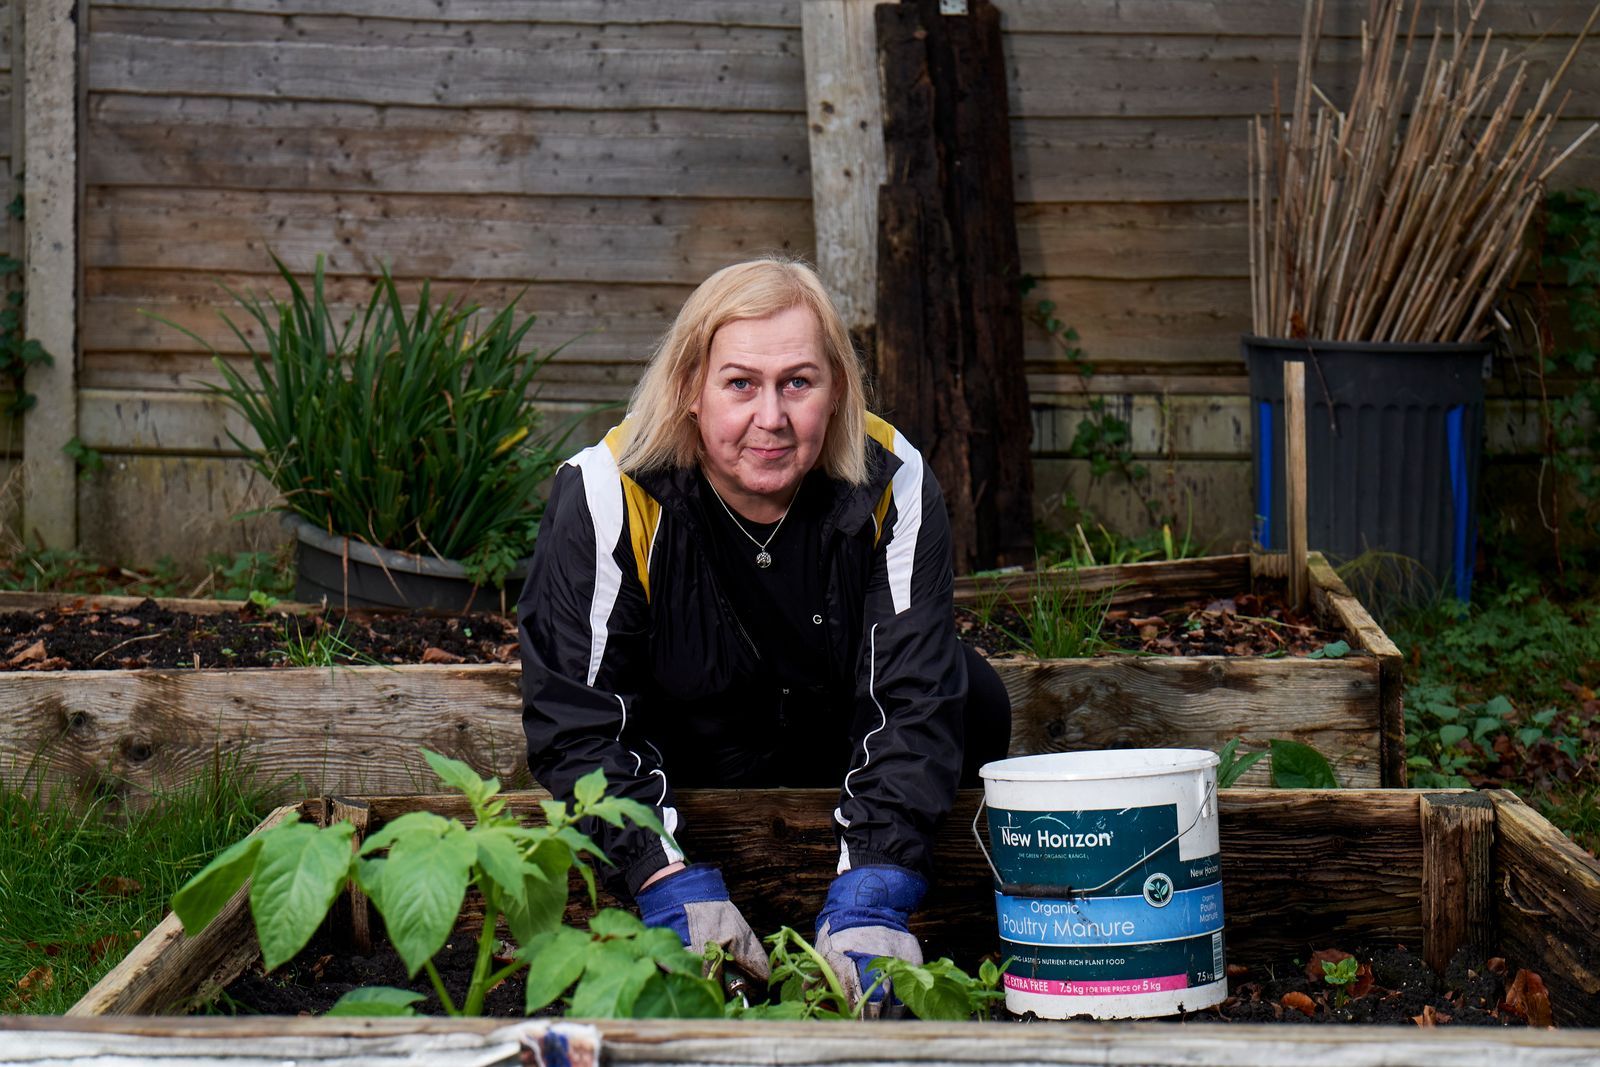
Starting a garden looks complicated from the outside because advice arrives all at once. Soil tests, zones, frost dates, fertilizers, and plant catalogs all shout at the same time, and none of them tells you what to do first. The truth is simpler. A first garden is a short chain of decisions made in the right order, and each decision is small. Pick what you want to eat. Find the sun in your yard. Build one small bed. Give the plants decent soil and enough room. Water the roots, not the leaves. Watch the garden for a few minutes most days. Do those things and you will harvest food in your first season, even if almost everything else is imperfect.
This guide walks that chain in order, from an empty patch of yard to a planted bed. It is written for a total beginner. You do not need experience, a big yard, or a shed full of tools. You need one small space you can reach easily, a few plants matched to your season, and a willingness to start smaller than your first idea. Small is not a compromise here. A small garden you tend well will teach you more, and feed you more, than a large garden that overwhelms you by July.
Before you buy a single plant, work through the First Garden Readiness Checklist below. It turns the advice in this guide into boxes you tick against your own yard: sun checked, water source confirmed, bed type chosen, soil plan made, plant list written, and planting date set. When every box is ticked, you are ready to plant, and you will know it instead of guessing.
Interactive tool
First Garden Readiness Checklist
Check off each step as you finish it. Your progress stays on this page.
0 of 7 complete
0% done
Step 1: Decide What You Want to Grow
Start with your kitchen, not a seed catalog. Write down the vegetables and herbs you actually buy and eat. A garden built around food you love gets watered, weeded, and harvested. A garden built around plants that sounded interesting in March gets ignored by June. For most beginners, a list of five to eight crops is plenty for year one.
Then check that list against your season. Warm season crops such as tomatoes, peppers, beans, cucumbers, and basil need warm soil and no frost. Cool season crops such as lettuce, radishes, peas, kale, and carrots prefer spring and fall weather and can handle light frost. You do not need to memorize this split. Your seed packet or plant tag states the planting time for each crop, and your local planting calendar, covered in Step 6, tells you which group your current weather belongs to.
Keep the first list forgiving. Radishes are one of the quickest root crops and teach you seed spacing in a few weeks. Leaf lettuce can be picked a little at a time over many weeks. Bush beans have large, easy to handle seeds and need no trellis. Kale and Swiss chard keep producing leaves for a long season. Basil rewards a beginner because picking it often makes the plant branch and grow more. Tomatoes and peppers are best bought as young transplants in year one, which is covered in Step 7, rather than started from seed on a windowsill.
Step 2: Find the Sun Before You Dig Anything
Sunlight is the one input you cannot fix later. Fertilizer cannot replace sun, and a plant that needs strong light will survive in shade without ever producing well. So the second step happens before any digging: watch your yard and learn where the sun actually falls.
Most fruiting vegetables, including tomatoes, peppers, beans, cucumbers, and squash, perform best with at least 6 hours of direct sunlight a day, and 6 to 8 hours is the range most beginner guides and extension planting guides use as the target for a vegetable bed. Leafy greens and many herbs can produce with somewhat less. In very hot climates, strong morning sun with some afternoon protection can help, but for a first garden in most places, the rule is simple: pick the sunniest open spot you have.
Do a one day sun check. Pick a day you are home and look at your candidate spot at about 9 in the morning, at noon, at 3 in the afternoon, and at 6 in the evening. Each time, note whether the spot is in full sun or in shade. Four quick notes give you a rough total of sun hours, and that total decides what the bed can grow. Also note what casts the shade. A fence shadow moves with the seasons. A tree shadow grows as the tree leafs out in spring, so a spot that looks sunny in early spring can be shaded by late May. When in doubt, place the bed away from large trees, which also keeps roots and fallen leaves out of your soil.
Pick a spot you will walk past every day, close to the house if you can. A garden you see is a garden you water. The best first garden location is convenient, level enough to work, and not in a low place where water stands after rain. Standing water after a storm is a warning sign for drainage, and roots sitting in waterlogged soil cannot get the oxygen they need.
Step 3: Choose One Bed Type and Start Small
You have three honest choices for a first garden, and all three work. The right one is the one that fits your yard, your soil, and your back.
Bed type
Best when
Watch out for
In-ground bed
Your soil is workable and drains after rain
Needs the most soil improvement in year one
Raised bed
Soil is poor, rocky, or hard to dig, or you want a defined edge
Dries out faster and needs bought soil to fill
Containers
You have only a patio, balcony, or deck
Small soil volume dries and heats quickly, so watering is frequent
For a first in-ground or raised bed, one bed of 4 by 8 feet is a proven starter size. It is big enough to grow a real variety of food and small enough to tend in short visits. The 4 foot width matters: most adults can reach about 2 feet in from an edge, so a 4 foot bed can be worked from both sides without stepping on the soil. Stepping on bed soil compacts it, and compacted soil is hard for roots and water to move through. If you build in the ground, mark the same 4 by 8 foot outline and leave paths around it for your feet.
Resist the urge to double the size because the work looks easy in spring. Every extra square foot is weeding, watering, and harvesting all season. You can always add a second bed next year, and by then you will know exactly what you wish you had planted more of.
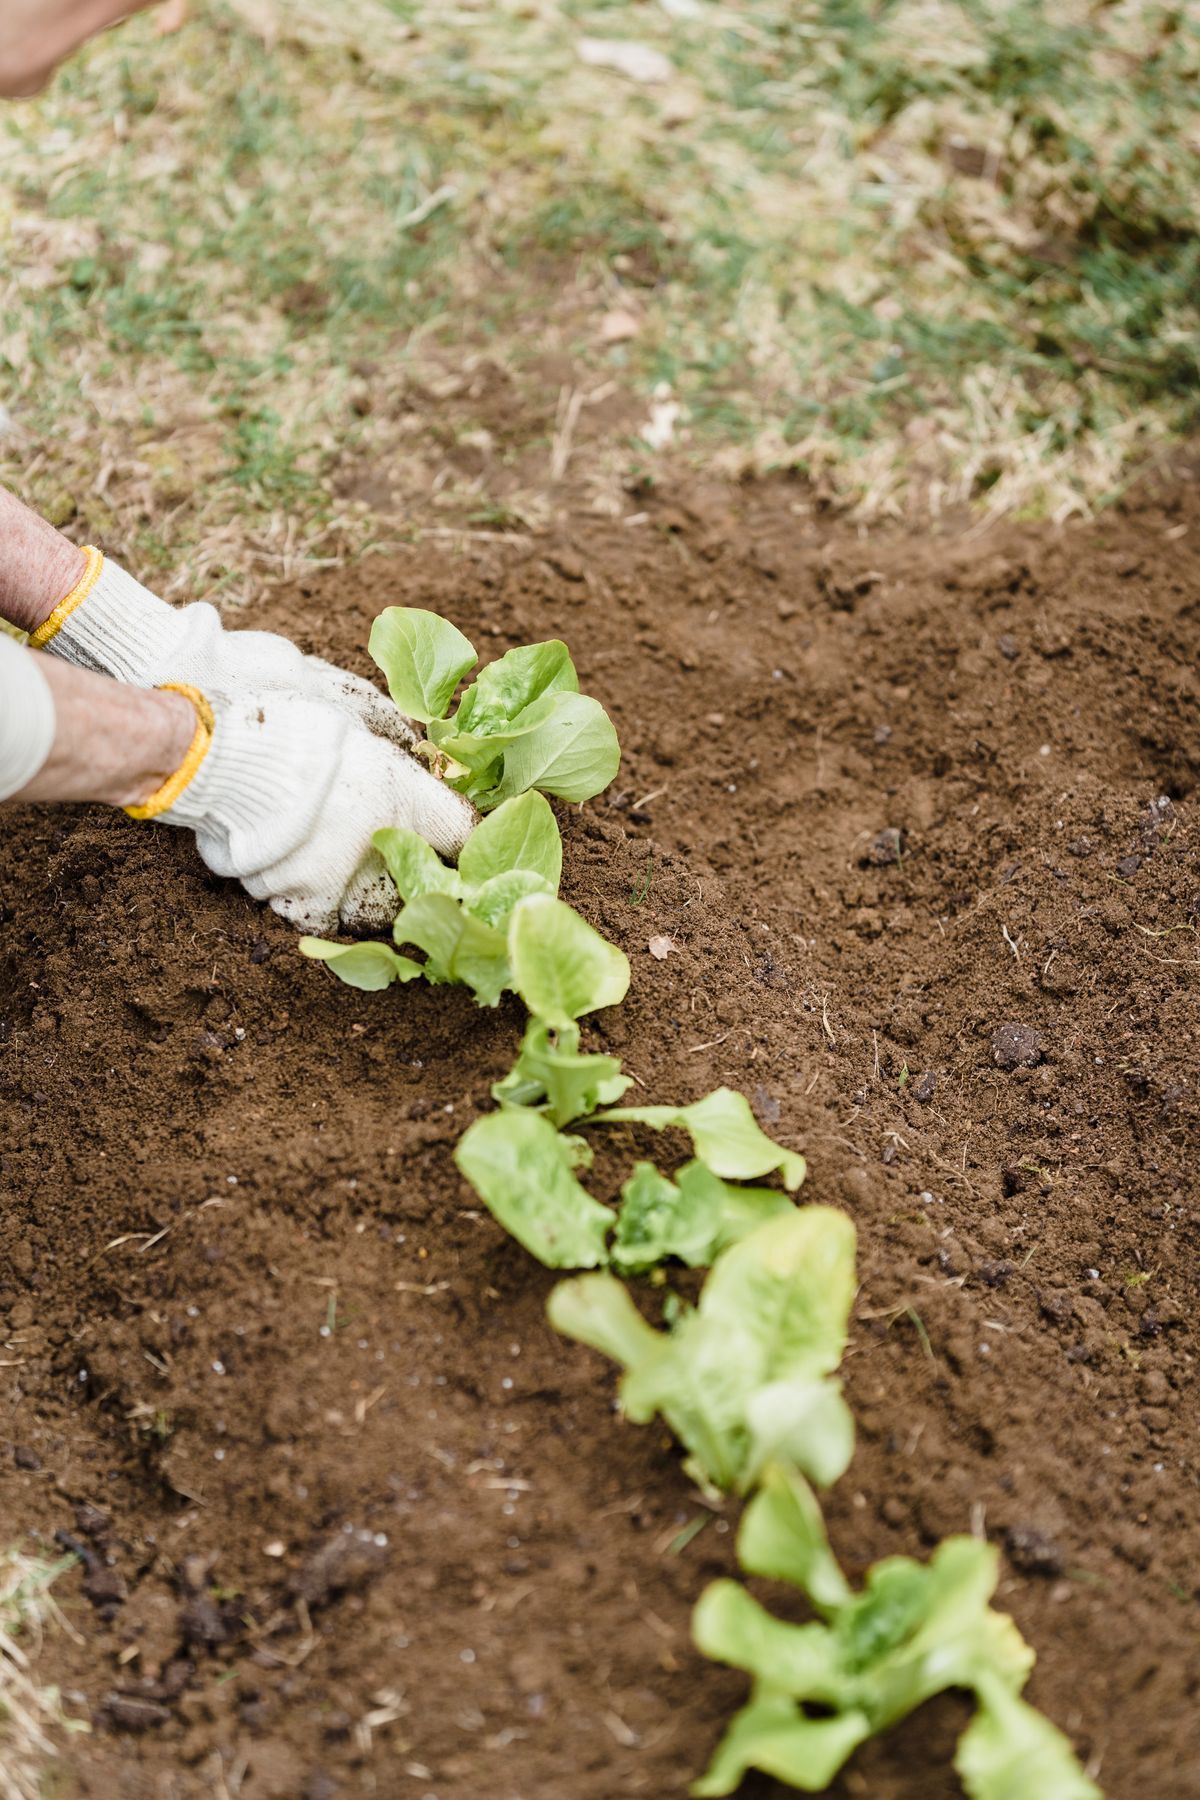
A gardener planting lettuce seedlings in a neat row in a first vegetable garden bed
Step 4: Prepare the Soil Without Overcomplicating It
Soil is where most gardening success begins, because roots live there. Roots need four things from soil: moisture, oxygen, nutrients, and physical room to grow. Your job in year one is not to create perfect soil. It is to loosen the ground, add organic matter, and avoid the two beginner traps: planting into hard, unworked ground, and filling containers or raised beds with the wrong material.
For an in-ground bed, loosen the soil to about a spade depth with a fork or shovel, remove large rocks and roots, and spread a layer of compost over the surface, then mix it into the loosened soil. A layer of 3 to 4 inches of compost worked into a bed is a common recommendation in beginner guides and gives new soil life, nutrients, and better water holding in one step. If your soil is heavy clay that stays sticky, or sand that drains before plants can drink, compost helps both, and you will add more each year.
For a raised bed, do not fill it with soil dug from your yard. Yard soil in a box compacts and drains poorly. Fill it with a raised bed soil blend or a mix sold for raised beds, which is made to stay loose and drain freely. For containers, use potting mix, never garden soil, for the same reason: container plants need a light, free draining medium, and heavy soil in a pot suffocates roots.
If you want one test in year one, test your soil through your local extension office or with a home kit before adding anything beyond compost. Most garden crops prefer soil near neutral, around pH 7, and a test tells you whether your ground is far from that mark. Skip specialty fertilizers in your first season unless a test or clear plant symptoms point to a need. More fertilizer is not always better, and a struggling plant is just as often thirsty, crowded, or sun starved as it is hungry.
Step 5: Gather the Short Tool List
A first garden needs a short list of tools, and buying more does not make the garden better. Start with these and add only when a job proves you need something else.
Tool
The job it does
Hand trowel
Digging planting holes and moving seedlings
Garden fork or shovel
Loosening soil and turning in compost
Watering can or hose with a gentle nozzle
Watering at the base of plants without blasting soil
Hand hoe or cultivator
Scraping small weeds while they are tiny
Gloves
Protecting hands from blisters, thorns, and rough soil
Tape measure or marked stick
Spacing plants at the distance on the tag
That is the whole starter kit. A kneeling pad or a bucket to sit on is a comfort, not a requirement, and it earns its place quickly if your knees complain. Keep tools where the garden is, not across the yard, because a two minute job that needs a trip to the garage often does not happen.
Step 6: Set Your Planting Date From Your Frost Dates
Timing is local. There is no single planting date for the whole country, because last frost dates run weeks apart between towns, and elevation and nearby water shift them further. Plant warm season crops out too early and one cold night can kill them. Plant too late and you lose growing time you cannot get back.
Find your average last spring frost date from your local extension office, a regional almanac frost table, or the planting calendar your state extension publishes. Treat that date as an average, not a promise: late cold snaps still happen in many springs. Cool season crops such as lettuce, peas, radishes, and kale can go in before that date, because they tolerate cool soil and light frost. Warm season crops such as tomatoes, peppers, beans, and basil wait until after the date, when nights are reliably mild and the soil has warmed.
Your USDA hardiness zone is useful background, mainly for choosing perennial plants that must survive your winters. For annual vegetables, frost dates and soil warmth matter more than the zone number. When the seed packet, the plant tag, and a general guide disagree, follow the most local source you have. Local advice beats a national website, including this one, every time.
Step 7: Plant Seeds and Transplants the Right Way
You will plant in two ways. Some crops are sown directly in the bed as seed: beans, peas, radishes, carrots, and lettuce are good direct sown crops. Others are easier in year one as transplants, the young plants sold in small pots at a garden center: tomatoes, peppers, and many herbs are the usual examples. Transplants cost more per plant and give you a head start of several weeks, which is a fair trade in a first season.
To plant a transplant, water it in its pot about an hour before planting so the root ball holds together. Dig a hole a little wider than the pot. Ease the plant out, keeping the root ball intact, and set it in the hole so the top of the root ball sits level with the surrounding soil. Tomatoes are the exception: they can be planted deeper, because the buried stem grows extra roots. Fill around the plant, firm the soil gently with your hands so there are no large air pockets, and water well right away to settle soil against the roots.
To sow seed, follow the depth on the packet. A useful general rule when a packet is missing is to plant a seed about two to four times as deep as the seed is wide, but the packet always wins. Sow a little extra seed for crops you will thin later, such as carrots and radishes, because not every seed sprouts. Space plants at the distance printed on the tag or packet, measured for the mature plant, not the small seedling in front of you. A tiny tomato transplant at wide spacing looks lost for two weeks and correct by July. Crowded plants compete for light, water, and root room, and they hold damp air around their leaves, which invites disease.
Label every row and planting spot the day you plant, with the crop and the date. In three weeks, two kinds of seedlings can look alike, and your future self will not remember which row was which.
Step 8: Water the Roots, Mulch the Surface, and Watch
Watering is the habit that carries a first garden. The goal is consistent moisture in the root zone, not a rigid calendar. A common rule of thumb is that garden plants need about 1 inch of water per week during the growing season, from rain and watering combined, but weather, wind, plant size, and soil type all move the real need up or down. Containers and raised beds dry faster than in-ground soil and need checking more often.
Check before you water. Push a finger into the soil near a plant. If it is moist a couple of inches down, wait. If it is dry at that depth, water. When you water, water deeply at the base of the plant, slowly enough to soak in rather than run off. Deep, less frequent watering encourages roots to grow down. Light daily sprinkling wets only the surface and trains shallow roots that suffer in the first hot week. Morning is a good time to water, because leaves dry quickly and less water is lost to midday heat.
Once seedlings are up and transplants are settled, cover bare soil with mulch such as straw or shredded leaves. Mulch slows evaporation from the surface, softens the impact of heavy rain, and keeps soil from splashing onto leaves. Keep mulch a small distance from stems rather than piled against them.
Finally, watch. Spend a few minutes in the garden most days, looking at leaves, checking soil moisture, and pulling weeds while they are small enough to remove with two fingers. Most garden problems, thirst, pests, yellowing leaves, and the first flowers, announce themselves early and quietly. A two minute look today is cheaper than a rescue next week. And keep simple notes: what you planted, where, and when, plus what worked. Those notes are the most valuable thing your first garden produces, after the food.
Frequently Asked Questions
How big should a first garden be?
Start with one bed of about 4 by 8 feet, or a few large containers. That size grows a real variety of food, can be reached from both sides without stepping on the soil, and can be tended in short daily visits. Grow a small garden well in year one and expand next year, when you know what your kitchen actually uses.
How much sun does a vegetable garden need?
Most fruiting vegetables, including tomatoes, peppers, beans, and cucumbers, do best with at least 6 hours of direct sun a day, with 6 to 8 hours as the usual target. Leafy greens and many herbs can produce with less. Do a simple sun check at four times of day before you choose the spot, because sun cannot be fixed later with fertilizer or water.
Should a beginner start with seeds or transplants?
Use both. Sow easy, fast crops directly in the bed, such as beans, peas, radishes, carrots, and lettuce. Buy tomatoes, peppers, and tender herbs as young transplants in your first year, because they need a long, warm start that is hard to give on a windowsill. The transplant costs more and removes the riskiest weeks from your first season.
How often should I water a new garden?
Check the soil instead of following a fixed schedule. As a starting rule of thumb, garden plants need about 1 inch of water per week from rain and watering combined. Push a finger into the soil: if it is dry a couple of inches down, water deeply at the base of the plants. Containers and raised beds dry faster than in-ground beds and need more frequent checks.
What is the most common mistake new gardeners make?
Starting too big, then crowding the plants they do grow. A large bed becomes a burden by midsummer, and seedlings planted at their small spring size grow into each other, compete for light and water, and hold damp air that invites disease. Start small, space plants for their mature size as printed on the tag, and let one good season teach you what to expand.
Photo credits: Centre for Ageing Better (Pexels); Greta Hoffman (Pexels). Photos are served from this site; follow the credit to the library page for the original.