How to Start a Lavender Garden: Fix the Drainage Before the Plants
By the Windchime Walker editorial team
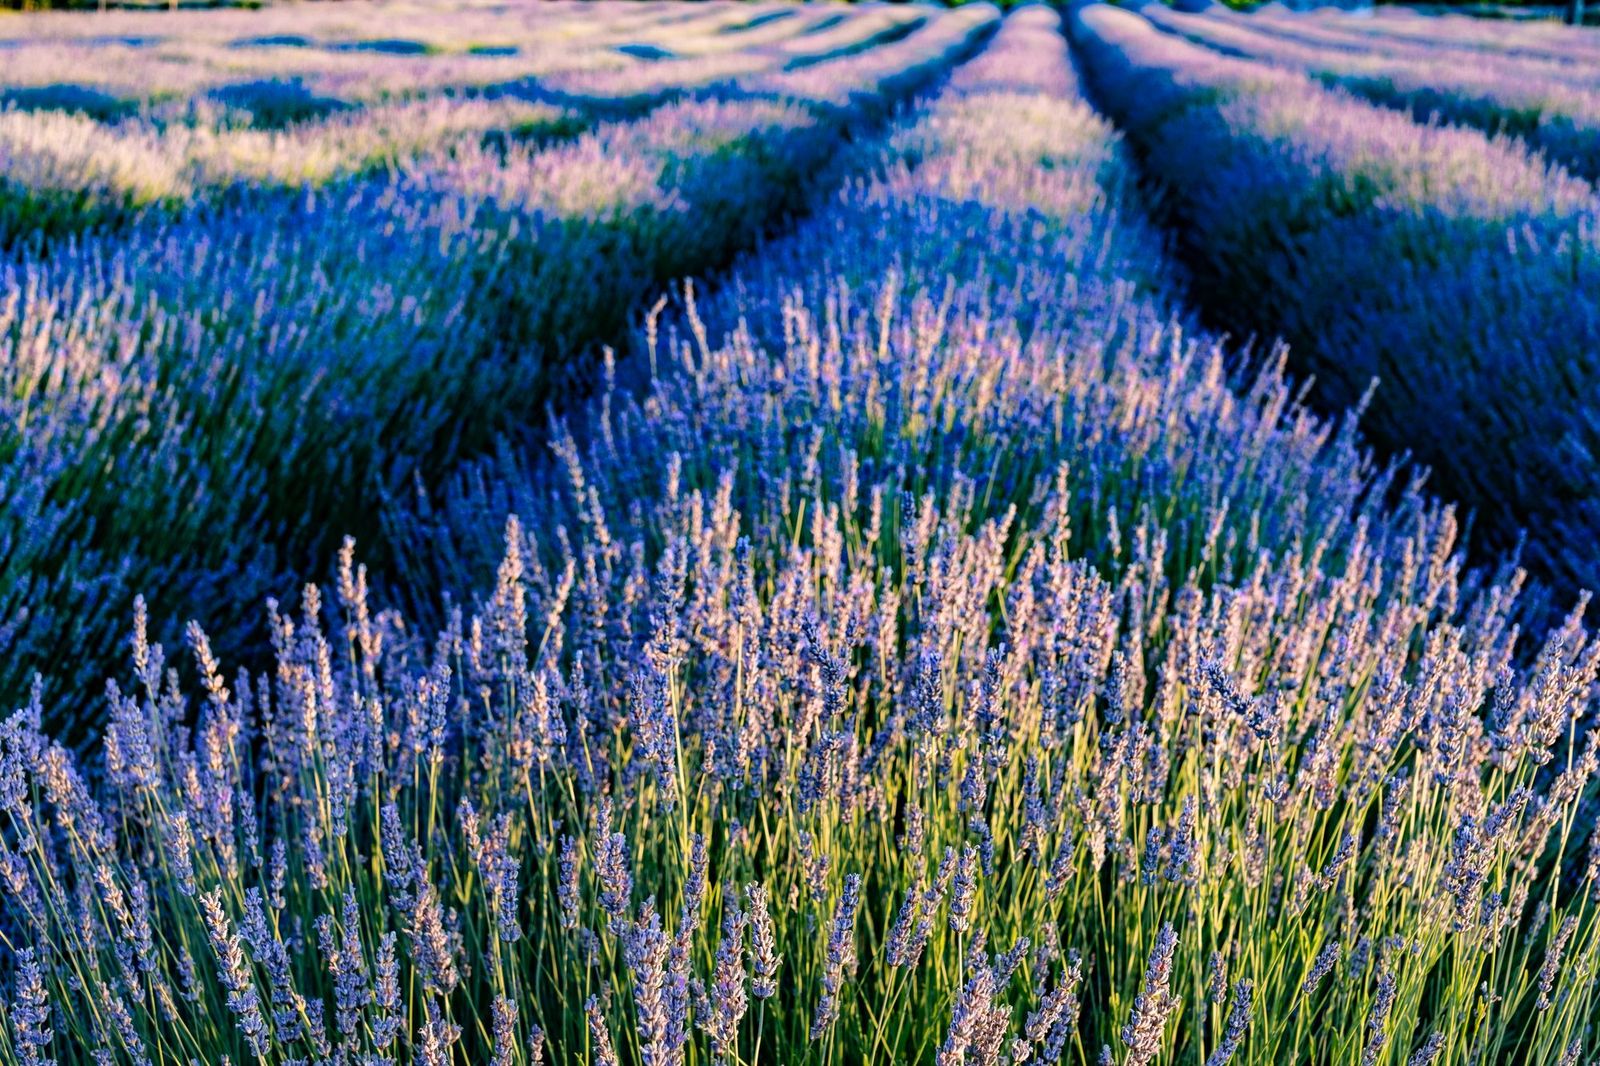
Photo: Volker Meyer / Pexels
Lavender has a public relations problem: it is sold as a carefree cottage plant and then dies, quietly and commonly, in gardens that were too kind to it. The killer is almost never cold, neglect, or bad luck. It is wet feet. Lavender evolved on dry, stony, sun baked hillsides around the Mediterranean, and it brings those expectations with it into your garden. A lavender garden, a bed or row of it rather than one anxious plant, succeeds when the gardener builds the hillside first: sun, drainage, and lean soil, in that order, before a single plant is purchased.
This page builds the bed, then plants it. Single plant lavender care exists all over the internet; the garden scale decisions are what beginners miss: how to test and fix drainage before planting, why one variety mass planted beats a collection of singles, how far apart the plants really go when they become shrubs, and the watering restraint that feels like neglect and is actually the whole craft. Get the site right and lavender is genuinely one of the easiest plantings in the garden. Get it wrong and no variety, however expensive, survives the second wet winter.
Interactive tool
Lavender Bed Checklist
Check off each step as you finish it. Your progress stays on this page.
0 of 7 complete
0% done
Step 1: Read the Site Like a Hillside
Start with sun: lavender wants 6 to 8 hours of direct sun, and more is better. Walk your candidate spot across a summer day and count honestly; a bed that gets morning shade from the house loses the hours that dry the dew, and lavender in part shade grows leggy, flops, and mildews in the humidity it cannot shake off. South or west facing ground, open to the air, is lavender's home turf in a home garden.
Then read the slope and the soil. A gentle slope is a gift, because water leaves it. Heavy clay that puddles is the enemy in its natural form. Soil pH should sit around 6.5 to 7.5, slightly alkaline leaning; lavender tolerates ordinary garden soil that is not strongly acidic, and a soil test tells you where you stand before you amend anything. If your spot fails the sun test, stop here and choose a different spot or a different plant; no amendment fixes shade. If it passes sun and fails drainage, proceed: drainage, unlike sun, can be built.
Step 2: The Drainage Test, Then the Fix
Dig a hole about a foot deep and a foot wide in the bed, fill it with water, let it drain completely, then fill it again and time the second draining. Water that empties within the hour describes soil lavender can live in. Water still standing after several hours describes a bathtub, and lavender planted in a bathtub is a countdown.
Fix drainage before planting, in this order of preference. Best is a raised bed or a bermed row, lifting the crowns 8 to 12 inches above the surrounding grade so water always has somewhere to go; our raised bed guides cover the building, and lavender is one of the strongest reasons to build one. Second is amending the planting area broadly: work coarse grit or fine gravel and compost through the top foot of soil across the whole bed, not just in each planting hole, because a amended hole in clay is a sump with a plant in it. Third, for containers and small plantings, is a gritty, free draining mix in large pots, which sidesteps the native soil entirely. What never works is the gravel layer in the bottom of the hole, an old myth that creates a perched water table exactly where the roots sit.
Step 3: Choose One Variety and Buy Starts, Not Seed
Choose English lavender (Lavandula angustifolia) for a beginner garden: it is the hardiest of the lavenders, the most reliably fragrant, and the type bred into named varieties for different heights and flower shades. Lavandins, the big hybrid types, grow larger and bloom later and suit warm, dry gardens; French and Spanish lavenders are tender and belong in pots in cold climates. For a first garden, one English variety, planted in a group, gives the woven, silvery drift that lavender plantings are loved for, and a group of one variety blooms all at once, which is what makes the harvest and the photograph.
Buy starts, not seed. Lavender seed is slow and erratic, taking up to a month to germinate unevenly, and seedlings take their time becoming plants. A tray of healthy starts in spring becomes a planting the same season; a packet of seed becomes a science project. Garden centers sell starts cheaply in spring precisely because the professionals also start from cuttings. Take the hint the industry is giving you.
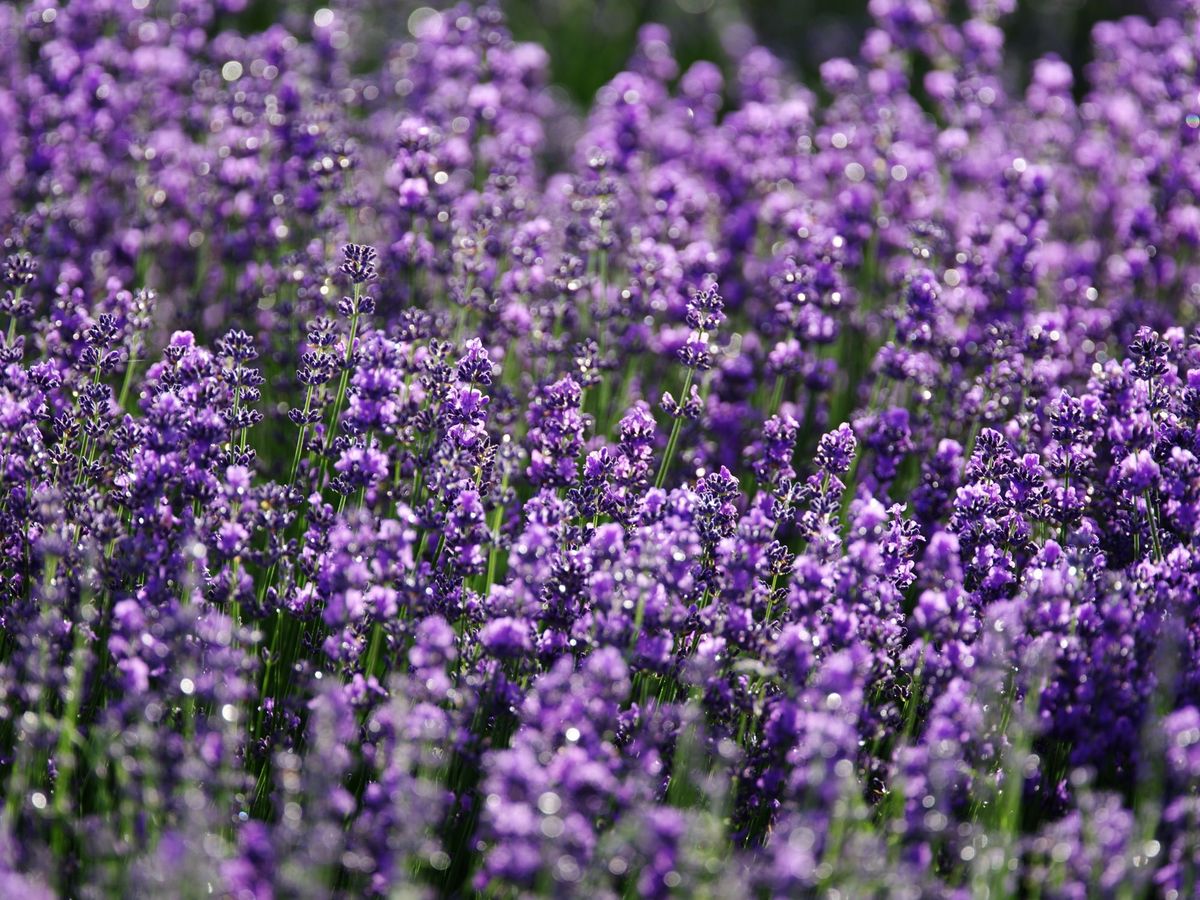
Close view of bright purple lavender flowers in a sunny field
Step 4: Plant at Shrub Spacing
Space the plants 2 to 3 feet apart, in staggered rows if the bed is wide. This looks absurd in spring, a few gray green sprigs rattling around in a large bed, and it is correct by the second summer, when each plant is a rounded shrub 2 feet across and the planting closes into a hedge of foliage. Crowded lavender traps humid air at its center, and the center dies out in a gray, woody hollow; spacing is disease control disguised as generosity.
Set each start at the same depth it grew in its pot, firm the soil, and water in once, deeply, to settle the roots. Then mulch with the lavender exception: not bark, not leaf mold, but a light gravel or coarse grit mulch an inch or two deep around the plants. Stone mulch keeps the crown dry, reflects heat up into the plant the way a Mediterranean hillside does, and never holds moisture against the stems. In a mixed border where gravel looks wrong, keep organic mulch pulled back from the crowns at least, and accept a slightly higher risk with open eyes.
Step 5: Water Rarely, on Purpose
New plants need water while they establish: a deep drink when the soil is dry a few inches down, for the first season. Established lavender, from the second year, wants to be left nearly alone in most climates, watered deeply only in long droughts. The beginner's failure mode is the sprinkler schedule set for the lawn and the annuals, visiting the lavender weekly with shallow water; roots stay shallow, crowns stay damp, and the fungal diseases that lavender is famous for dying of move in.
Judge by the plant and the soil together. Slight graying and a pause in growth during a dry spell is lavender behaving normally. Wilting that recovers overnight is thirst talking; water deeply in the morning and then leave it alone for weeks again. If your summers are humid and rainy, your job is not watering at all but drainage and airflow, which is why steps 2 and 4 matter more than anything in this step.
Step 6: Prune After Flowering, Never Into Old Wood
Lavender is pruned once a year, just after the main flowering: take off about a third of the green growth, shaping the plant into a neat mound, and remove the spent flower stems. The mound shape is not vanity; it keeps the center open to light and prevents the plant from splaying into the woody, hollow centered shrub that old, unpruned lavender becomes.
The one rule that cannot be broken: never cut back into the bare old wood below the green growth. Lavender rarely sprouts from old wood, and a hard renovation prune is how a healthy plant becomes firewood. Prune lightly every year instead, and the plant stays compact for a decade. In cold climates, do the prune in late summer rather than fall, so no tender new growth is pushed before winter, and leave the foliage standing through winter for insulation; tidying waits for spring there.
The First Two Years, Honestly
Year one is establishment: modest growth, a light first flowering, and roots doing the real work underground. Resist judging the planting by its first summer and resist feeding it into lushness; rich soil and fertilizer grow soft, floppy, short lived lavender. Year two is the transformation, when the mounds close, the flowering turns generous, and the bed begins to smell warm on still evenings. From year three, a well sited lavender garden asks for one prune, occasional deep water in drought, and nothing else, which is the carefree plant the catalogs promised, delivered on the installment plan of site preparation.
Harvest for drying, when you want it, by cutting stems just as the buds show color but before the flowers fully open, in the morning after the dew dries; hang small bunches upside down in a dark, airy place. A garden scale planting produces armfuls, which is the practical difference between a lavender garden and a lavender plant: the garden gives you a harvest to give away, and giving away lavender is one of gardening's reliable pleasures.
Lavender Beyond the Bed: Hedges, Paths, and Pots
Once the bed succeeds, lavender starts asking for other jobs, and it is worth knowing which it does well. As a low hedge along a path, it is nearly perfect: the plants hold their mounds with the annual prune, the foliage releases scent when legs brush it, which is the oldest trick in garden design, and a path edge of one variety planted at the close end of the spacing range knits into a continuous ribbon by the third year. Keep the path's drainage as honest as the bed's, because a hedge is only a bed in a line and fails the same wet way.
In pots, lavender suits the gardener whose soil will never drain and the renter whose garden must be portable. The rules concentrate: a large pot (small pots dry to crisis in summer heat), the grittiest mix you can assemble, a clay pot preferred for its breathing and weight, and watering that is deep, rare, and followed by an emptied saucer. A potted lavender overwinters in cold climates in an unheated garage or against a sheltered wall where an in ground plant would have faced the wet; moved under cover in the wettest months, it dodges the killer entirely, which is why some experienced gardeners in rainy climates grow all their lavender in pots on purpose and consider the bed a fair weather gamble.
The harvest scales with the planting, and a garden's worth of lavender finds its uses: bunches dried for drawers and gifts, buds for baking and simple syrup, stems for the linen cupboard, and the prunings themselves, too fragrant to compost without a moment's regret. None of this is available to the gardener whose lavender died in its first wet winter, which returns the page to its first sentence. The hillside is the whole secret; build it once, in a bed, a hedge line, or a row of honest pots, and the plant does the rest for a decade.
Frequently Asked Questions
Why does my lavender keep dying?
Almost always wet soil, especially wet winter soil. Lavender dies of root and crown rot in ground that stays damp, far more than it dies of cold or drought. Run the drainage test in step 2, lift the planting into a raised bed or berm, switch to a gravel mulch, and stop watering on a schedule.
Can I grow lavender from seed?
You can, but beginners should not: seed takes up to a month to germinate, unevenly, and seedlings are slow. Professionals propagate lavender from cuttings, and garden centers sell the resulting starts cheaply. Buy starts and have a planting this season.
How far apart do lavender plants go?
Two to three feet apart. It looks sparse the first spring and is correct by the second summer, when each plant is a shrub about 2 feet across. Crowding traps humid air, kills the plant centers, and shortens the planting's life.
What soil does lavender need?
Free draining soil, pH around 6.5 to 7.5, lean rather than rich. Fix heavy soil across the whole bed with grit and compost, or raise the bed. Never plant into an amended hole in clay, which becomes a sump, and skip the gravel layer myth in the bottom of the hole.
When and how do I prune lavender?
Once a year, just after the main flowering: remove about a third of the green growth and the spent stems, shaping a mound. Never cut into the bare old wood below the green growth, because lavender rarely resprouts from it. In cold climates, prune in late summer, not fall.
Is lavender hardy in cold winters?
English lavender is the hardy type and survives cold winters in well drained soil; wet winter soil kills more of it than low temperatures do. Lavandins are less hardy, and French and Spanish lavenders are tender pot plants in cold climates. Drainage first, variety second.
Photo credits: Volker Meyer (Pexels); Guangxi Liu (Pexels). Photos are served from this site; follow the credit to the library page for the original.