The gardener who drapes netting directly over a crop learns the two failures by heart: the material lies on the leaves, where birds peck straight through it and insects lay eggs through the mesh onto the crop, and the first windy night redistributes it across the garden. A cover that works is held up, off the plants, on a structure, and building that structure is this page's whole subject. It is worth separating from its sibling topic: the garden bed cover guide covers the materials themselves, the weights and grades of fabric and what each is for. This page builds the frames those materials mount on: the hoop tunnel, the hinged lid, and the framed mesh panel, each with its build, its honest strengths, and its failure mode. Build one frame well and it serves a decade of covers; the materials are consumables, the structure is the asset.
Home / Garden Projects and Outdoor Living
How to Build a Raised Bed Cover: Hoops, Lids, and Mesh
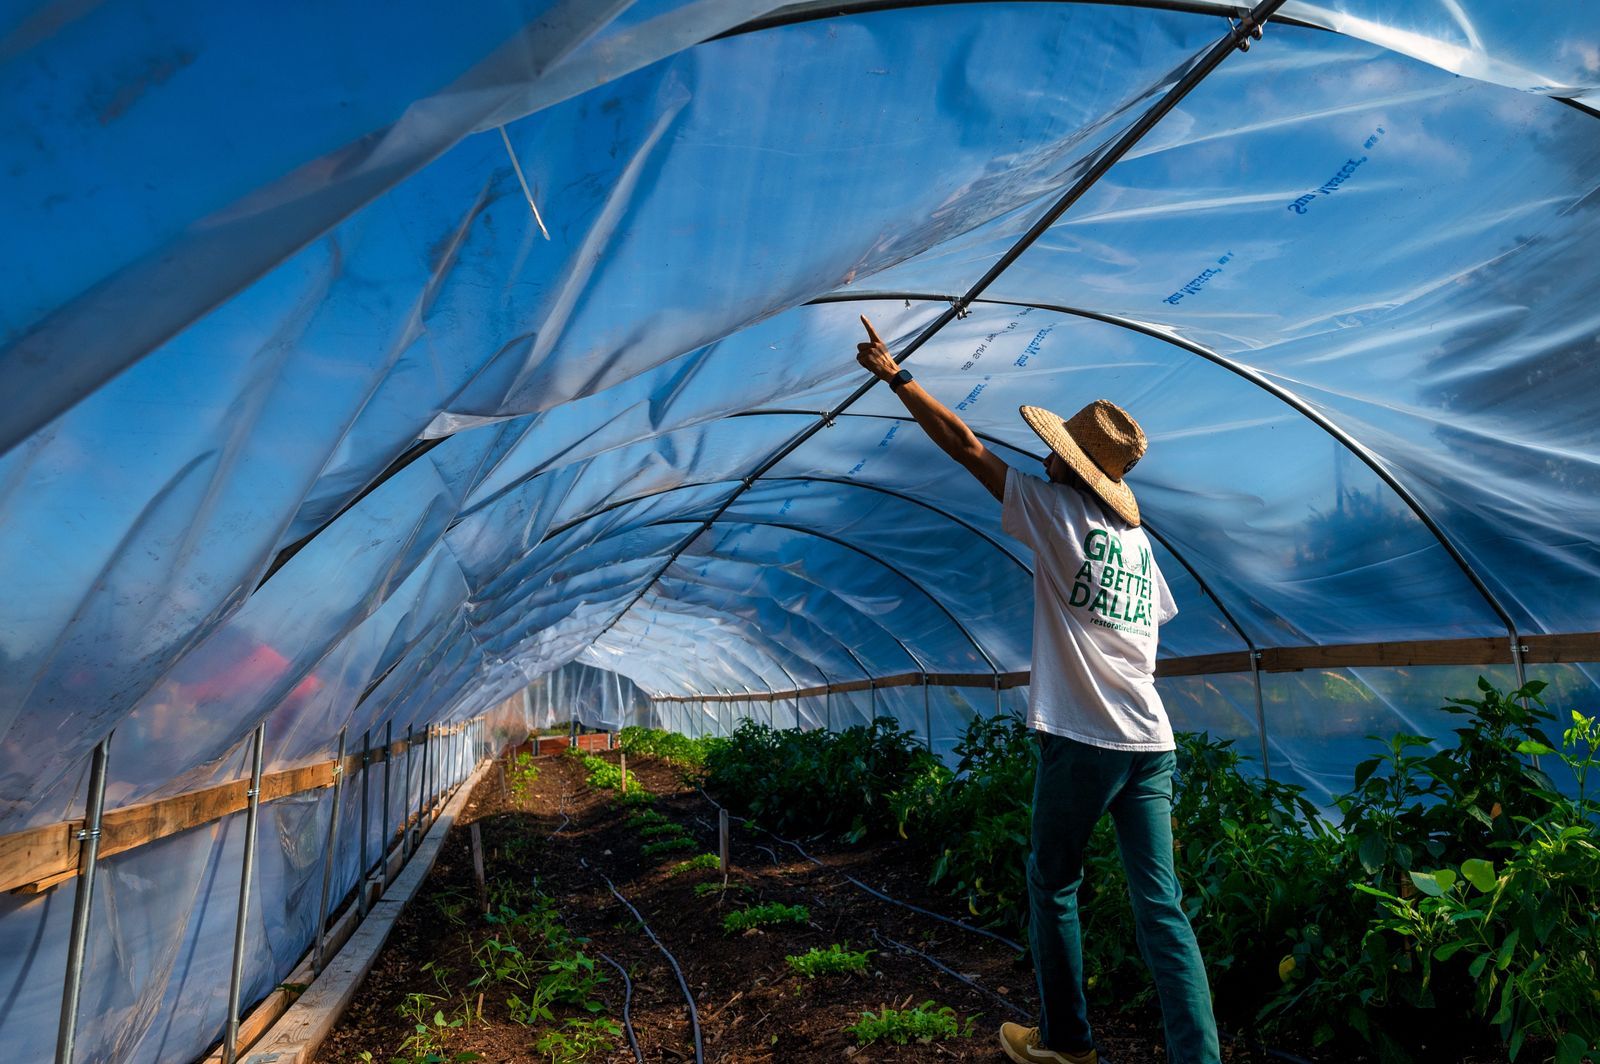
Photo: Alfo Medeiros / Pexels
Raised Bed Cover Build Checklist
Check off each step as you finish it. Your progress stays on this page.
0 of 8 complete
0% done
The Checklist in Brief
The tracker above runs the decision and the build: pick the structure by the bed's main enemy and your access pattern, cut and bend or join the frame to the bed's exact dimensions, fit the cover material with enough slack to clip rather than stretch, add the fastening system that survives wind, and store the panels flat when they come off. The builds follow, in ascending order of carpentry and descending order of flexibility.
The Hoop Tunnel: The Default Build
The hoop tunnel is the standard because it is cheap, fast, and adaptable: lengths of half inch PVC pipe, flexible conduit, or bent metal rod, pushed into the soil inside the bed or socketed into short vertical pipes screwed to the bed's inner walls, arching over the crop every 2 to 3 feet, with the cover material draped over the arches and clipped or weighted at the edges. The socketed version is the one to build: short pipe sockets fixed permanently to the bed let you set and strike the hoops in minutes, season after season, and store them as a bundle of identical arches. Height is set by the pipe length: a low tunnel a foot over the crop for insect netting on greens, a tall tunnel for brassicas that will stand 2 feet by harvest. The honest weaknesses are two. A hoop tunnel opens from the side, by lifting the drape, which is fine for harvesting greens and annoying for daily picking. And in snow country a plastic covered hoop tunnel is a structure carrying a snow load it was never designed for; strike the plastic before winter storms or accept the flattened hoops as a spring rebuild.
| Structure | Build time | Access | Best enemy | Watch out for |
|---|---|---|---|---|
| Hoop tunnel | 1 to 2 hours | Lift the drape from the side | Insects, light frost | Snow load on plastic; side access only |
| Hinged lid frame | Half a day | Whole bed opens at once | Birds, cats, digging pests | Weight when large; needs hinges and a prop |
| Framed mesh panels | Half a day | Panels lift off individually | Cats, birds, squirrels | Storage space; carpentry accuracy |
The Hinged Lid: The Access Champion
A hinged lid is a rectangular frame of light timber, covered in mesh or netting, hinged along one long side of the bed so the whole top opens like a chest. For a bed you work daily, kitchen greens, salad, herbs, there is no better cover: one motion gives you the entire bed, both hands free, no drapes to fight, and the lid's weight holds it against wind that strips a tunnel. Build the frame from 1 by 2 or 2 by 2 stock, squared carefully, because a racked lid neither seals nor hinges well; cover it with galvanized hardware cloth for a cat and bird proof top that also defeats digging, or with insect mesh on a lighter frame where insects are the enemy. Fit two hinges at minimum, three on an 8 foot lid, and a prop or a chain to hold it open, because a lid that falls on a gardener's back once is a lid that gets left open forever after. The lid's limits are its weight at large sizes, split an 8 foot bed into two 4 foot lids, and its flat top, which sheds neither snow nor heavy rain pooling; in wet climates give the lid a slight camber or accept lifting it after storms to dump the puddle.
Framed Panels: The Modular Answer
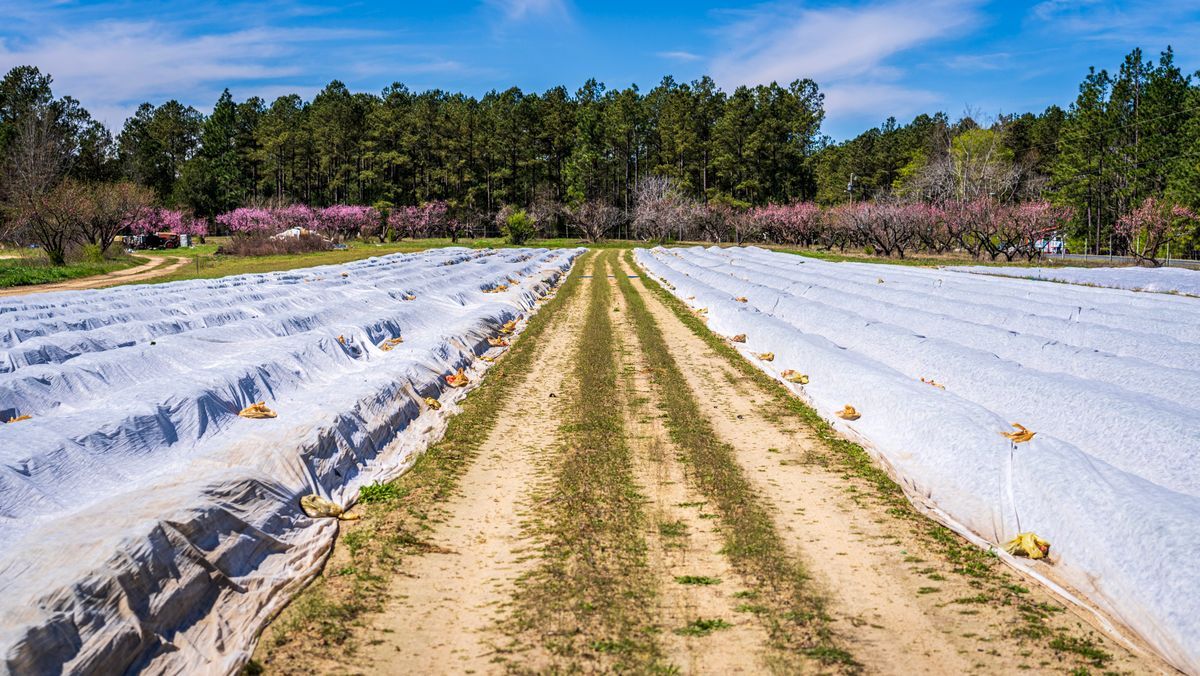
Framed panels split the difference: individual mesh covered frames, sized to the bed's divisions, that lift off one at a time and stack flat against a wall for storage. They suit the gardener whose beds change jobs through the year, because panels can cover half a bed, follow a succession planting down its length, and leave the rest open for pollinators or harvest. The build is the lid build repeated at smaller scale, with one addition: consistency. Cut every panel to the same dimensions on a jig, because interchangeable panels are a system and six nearly identical panels are a puzzle you will solve angrily every spring. Panels are the best answer for cats, the enemy that defeats drapes entirely, since a cat treats a draped tunnel as a hammock and a rigid panel as a floor it cannot dig through. Their cost is storage and the carpentry accuracy the interchangeability demands.
Fitting the Material to the Frame
Whichever structure you build, the material fitting follows the same rules. Cut the cover with slack: a drape that must be stretched tight over hoops tears at the clips and lifts in wind, while a generous drape, clipped along the hoops with snap clamps or spring clips and weighted or buried at the ground edge, rides out weather and comes off without a fight. Insect mesh must seal at every edge, because the cabbage white butterfly needs only a gap at the corner to undo the entire exercise, and sealing is a property of the edges, not the mesh: check the corners and the ends of the tunnel as carefully as the middle. Plastic for season extension needs the opposite attention, a vent: a sealed plastic tunnel on a sunny spring day cooks the crop it was protecting, so prop the ends open on warm days or fit the plastic to the hinged lid, which vents by being cracked on its prop. Every material gets labeled and stored dry and out of sunlight at season's end, folded or rolled on its frame or a tube, because ultraviolet and damp storage, not use, are what consume covers.
Which Structure for Which Bed
Match the frame to the bed's working life. A brassica bed, planted once and harvested over months under insect mesh, takes the hoop tunnel and never regrets the side access. A salad and greens bed, cut daily, takes the hinged lid and repays its carpentry in the first month. A bed in a garden patrolled by cats takes rigid panels or a hardware cloth lid, the only covers that answer digging. A bed doing season extension at both ends of the year takes hoops, because the same sockets hold fleece in March, mesh in June, and plastic in October, and no other structure swaps jobs as fast. Many mature gardens end with all three systems running on different beds, which is not indecision; it is the correct answer arrived at bed by bed, and the frames, once built, make the question cheap to answer differently next year.
Sizing, Storage, and the Second Bed Problem
Build the frame to the bed's inside or outside dimension deliberately, and write the choice on the frame itself with a marker, because a cover built to the outside of one bed will not fit the inside of its twin, and gardens accumulate twin beds. Hoops store as a bundle, lids store flat against a wall or hung on two pegs, and panels stack; all three want a dry, shaded store, because the frames themselves, PVC and timber alike, degrade fastest in the same sun and damp that degrade the covers. The second bed problem is the pleasant one: a system that works gets copied, and the second build is where standardization pays. Build bed two's frames to bed one's dimensions exactly, even if the beds differ slightly, shimming the odd bed rather than orphaning a set of frames, because interchangeable covers across every bed in the garden are worth more than a perfect fit on one. Label each material with its bed, its job, and its year, in marker on the hem, and the spring setup becomes an exercise in reading rather than remembering.
Costs, and the Frame You Should Build First
The hoop tunnel is the cheapest structure in the garden: a handful of pipe lengths, sockets, clips, and the material itself, for less than a single bag of premium compost in most cases, and an afternoon's unhurried work. The lid and the panels cost real timber and hardware and half a day each. The sensible progression for a garden new to covers is hoops everywhere the first year, because the year teaches you which beds you actually open daily and which enemies actually arrive, and then the lid built in the second year for the one bed that earned it, with the panels following if a cat has voted in the matter. Building all three systems in advance of the evidence is the only real waste available in this project, and it is a waste of carpentry, which is the one currency a gardener cannot buy back in spring.
Related guides
These guides sit closest to this one on the garden path:
- Garden Bed Cover: Which Cover for Which Job, by Weight, Grade, and Season
- How to Build a Cold Frame for a Raised Bed: Sized to the Bed You Own
- DIY Raised Bed Greenhouse: The Hoop Build, the Materials List, and the Venting Rule That Saves the Crop
- How to Build a Raised Bed With Storage Underneath
Frequently Asked Questions
What is the best cover structure for a raised bed?
It depends on the bed's job. The hoop tunnel is the best default: cheapest, fastest, and it swaps materials across the seasons, fleece, insect mesh, plastic, in the same sockets. The hinged lid is best for beds you harvest daily, because the whole bed opens in one motion. Rigid framed panels or a hardware cloth lid are best against cats and digging pests, which defeat any draped cover.
How do I stop birds pecking through netting on my raised bed?
Hold the netting off the crop on a structure. Birds peck through material that lies on the leaves, reaching the fruit or leaf directly beneath; the same netting held 6 inches above the crop on hoops or a frame defeats them, because the peck lands on empty air. Insect mesh needs the same support, since butterflies lay eggs through mesh that touches the leaves.
How far apart should hoops be on a raised bed tunnel?
Every 2 to 3 feet along the bed. Closer spacing carries snow and wind load better and keeps the drape from sagging onto the crop between arches; wider spacing sags and pools water. Socket the hoops into short pipes fixed to the bed's inner walls so the whole tunnel sets up and strikes in minutes, and strike plastic covers before winter snow, which a light tunnel cannot carry.
Can one cover frame handle both frost protection and insect protection?
Yes: the frame is neutral, the material is the job. The same hoop sockets that hold fleece or plastic for spring frost hold insect mesh all summer and plastic again in fall. Fit each material with slack, clip it to the hoops, seal insect mesh completely at the edges, and vent plastic on sunny days, since a sealed plastic tunnel in spring sun cooks the crop it protects.
How do I keep cats off a raised bed?
With a rigid cover they cannot dig through or collapse: framed panels or a hinged lid covered in galvanized hardware cloth. Draped netting fails completely, because a cat treats it as a hammock and digs under its edges. A rigid top also ends bird and squirrel digging. If a full cover is too much build, panels over just the newly sown sections protect the vulnerable stage, since cats dig fresh soil, not established plants.
Photo credits: Alfo Medeiros (Pexels); Mark Stebnicki (Pexels). Photos are served from this site; follow the credit to the library page for the original.