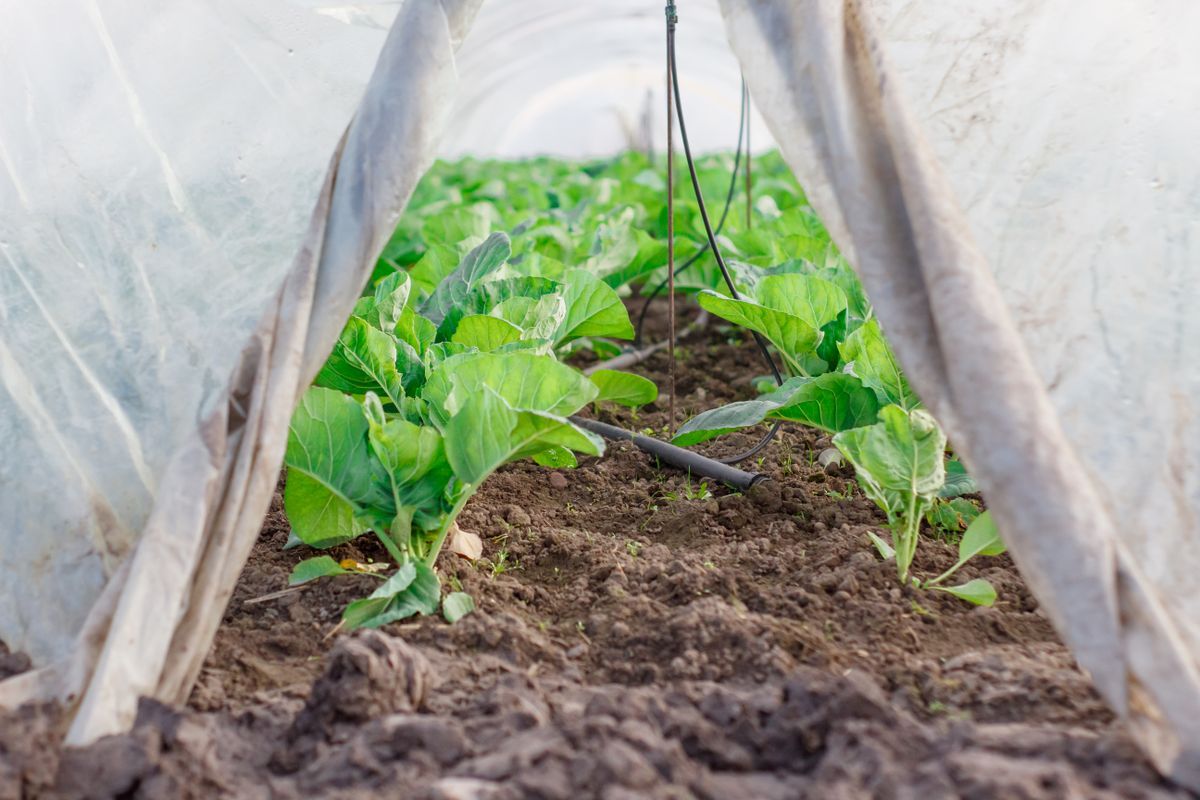
A raised bed greenhouse is not a small greenhouse. It is a hoop house, a tunnel of plastic film over hoops, fitted to a raised bed you already have, and it behaves like one: it warms the soil, blocks wind and driving rain, keeps frost off the leaves, and extends your season by weeks at both ends. What it does not do, and Epic Gardening is blunt about this, is regulate temperature like a real greenhouse; a bed cover raises soil temperature and humidity only slightly compared to a glazed structure, and its air temperature swings hard with the weather. Build it with that honest expectation and it is one of the best value projects in the garden. Build it expecting a thermostat and the first sunny April day will cook your seedlings by lunch. This page is the full hoop build over an existing bed. If what you actually want is a small lidded box for hardening off and early greens, this site's cold frame build is that project, and the garden bed cover page compares cover types; this page assumes you want the tunnel.
Home / Garden Projects and Outdoor Living
DIY Raised Bed Greenhouse: The Hoop Build, the Materials List, and the Venting Rule That Saves the Crop
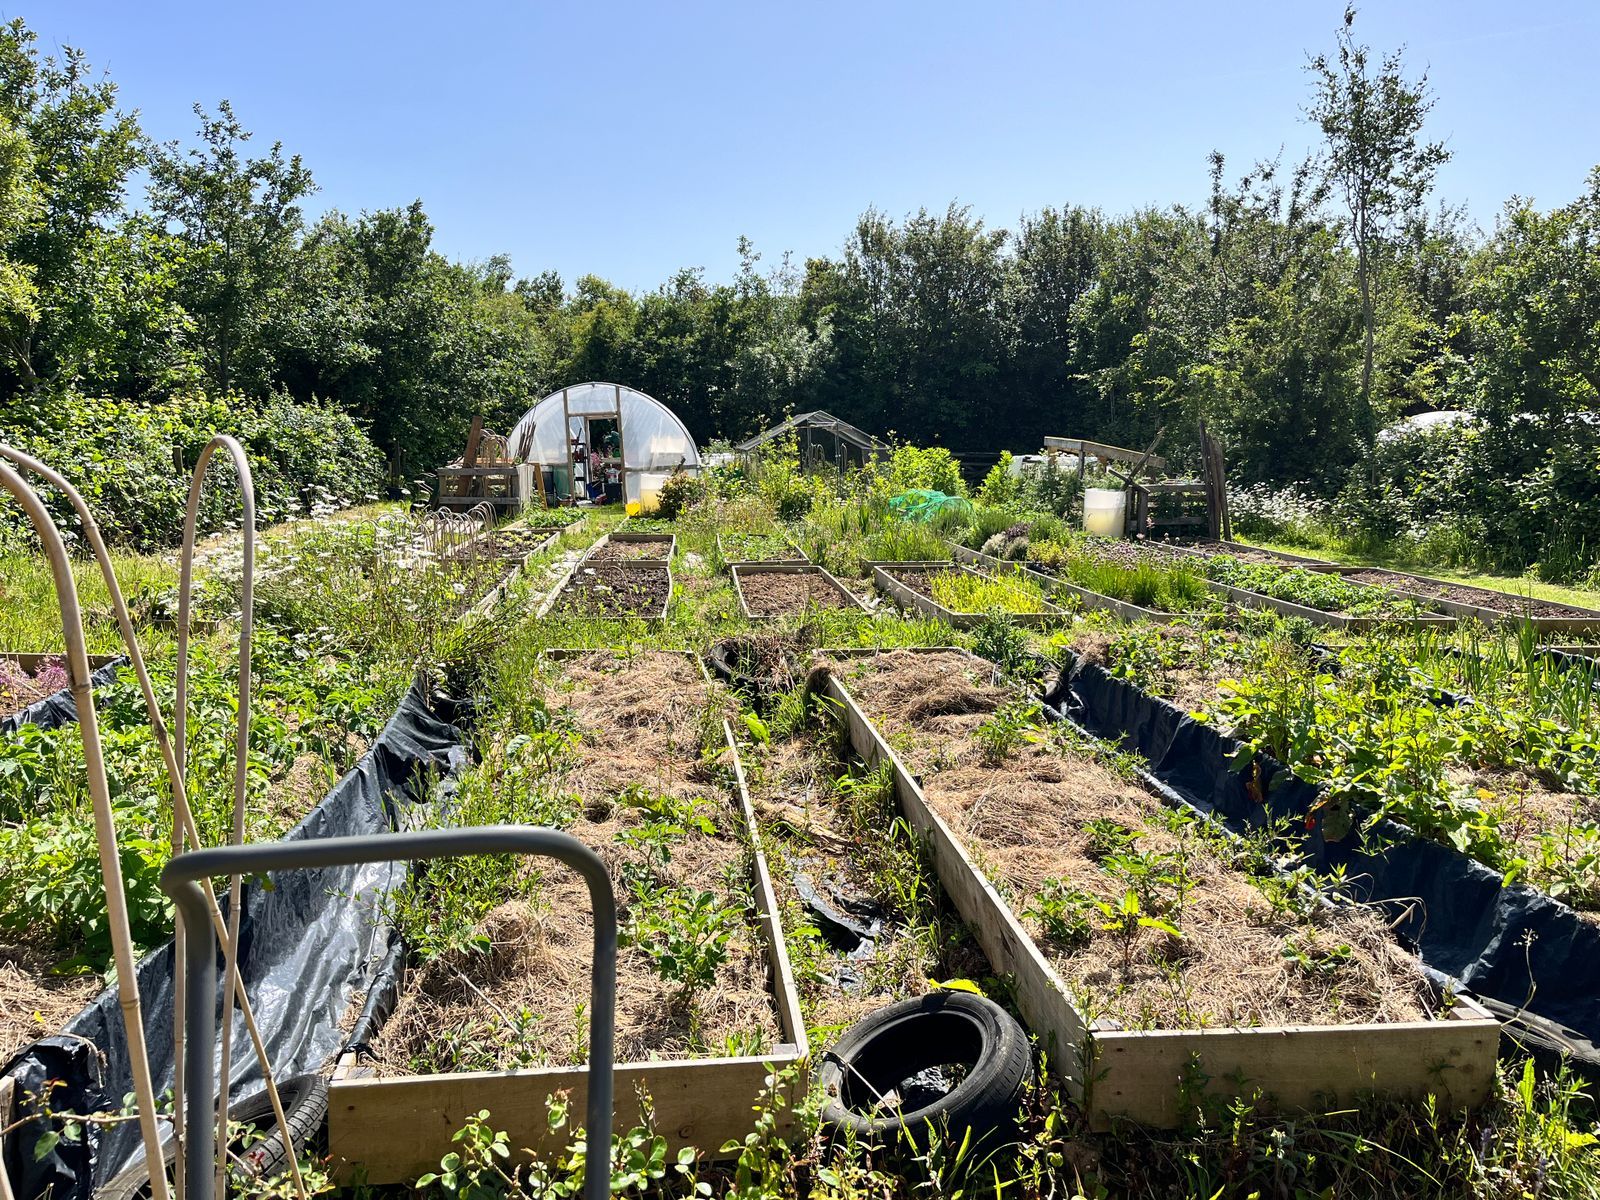
Photo: Kerri Mansfield / Pexels
Raised Bed Greenhouse Build Checklist
Check off each step as you finish it. Your progress stays on this page.
0 of 8 complete
0% done
Materials and Cut List for a 4 by 8 Foot Bed
For a standard 4 by 8 foot raised bed, the build needs: five lengths of half inch PVC pipe or electrical conduit, 10 feet long, one per hoop at the 2 foot spacing below; one roll of 6 mil UV rated greenhouse film, cut to about 10 by 12 feet so it covers the arc with working slack at the ground on both sides; snap clamps sized to your pipe, two per hoop, or wiggle wire and channel if the bed gets a permanent rail; two pieces of lumber or PVC for the end frames, or rope and stakes to gather and tie the ends; a ridge pole, one 8 foot length of pipe or lumber, lashed or clamped along the crown; and ground staples or boards to weight the skirt. Two material notes carry the project. The film must be real greenhouse film, UV stabilized and rated for seasons outdoors; the clear painter's plastic from the hardware store goes brittle and shreds within a season, and replacing film mid spring is a miserable job. And half inch pipe is the minimum; in snow country or an exposed site, step up to three quarter inch or metal conduit, because the hoops are the structure and there is nothing else.
The Build: Hoops, Ridge, Film, Ends
Measure the bed's outside width first; the hoops anchor to the bed, not to the soil. Drive or screw a short sleeve of larger pipe, or a pair of screws as stops, at each hoop position on the inside faces of the bed's long sides, then bend each 10 foot length into an arc and set its ends into the sleeves. Space the hoops every 2 feet along the 8 foot bed, which gives five hoops including both ends. The spacing is a deliberate choice, covered in its own section below. Run the ridge pole along the crown and lash or clamp it to every hoop; the ridge turns five separate arcs into one structure and stops the film from sagging into water pockets between hoops. Drape the film over the top on a calm morning, center it, and fix one long side first with clamps or a batten screwed through the film into the bed side. Pull the other side snug, not drum tight, and fix it the same way, leaving the skirt weighted so the side can be rolled up for venting. Frame the ends last: either build simple rectangular end frames with a door flap of film, or gather the film at each end, tie it, and stake it down, accepting that opening the end means untying. However you close them, both ends must open. That is not a convenience feature; it is the ventilation system.
Hoop Spacing: The Two Foot Choice, and the Flagged Alternative
Published builds disagree on hoop spacing, and this page flags it rather than averaging it. One common DIY specification spaces hoops every 2 feet; Epic Gardening's raised bed greenhouse guidance runs hoops every 3 to 4 feet. The difference is load. At 3 to 4 feet, a span of 6 mil film carries rain and wet snow in sagging pockets between hoops, and wind works the longer unsupported runs harder. At 2 feet, the structure is stiffer, the film is supported, and a ridge pole ties it together into something that shrugs off weather. This build uses 2 feet as the bench, and the extra hoops for an 8 foot bed cost a few dollars of pipe. The wider spacing has one honest use: a sheltered bed in a mild climate, covered for a short shoulder season and taken down before storm season, where the film is a rain hat rather than a structure. If that is your case, 3 feet is defensible. Know which case you are in before you copy a number.
The Venting Rule: The Whole Point of the Build
Here is the failure that kills more hoop house crops than frost ever will. On a sunny day, even a cool one, the air inside a sealed film tunnel climbs fast, and tender greens and seedlings that were happy at dawn are heat stressed by mid morning and dead by afternoon in a bad case. The rule is mechanical: vent on every sunny day, without exception, and build the venting into your morning routine like watering. Open both ends first; that alone creates a through draft. On warm days, roll the sides up as well, which is why the skirt was left weighted rather than fixed. A minimum and maximum thermometer inside the tunnel turns the routine from guesswork into readings: if the overnight minimum is your frost question, the daytime maximum is your cooking question, and most new owners are surprised by the second number, not the first. Automatic vent openers exist for the ends and are worth it if your weekdays take you away from the garden; a hoop house you cannot vent on a workday is a hoop house that should be left open on workday mornings whenever the forecast is sunny. The checklist above puts the vent plan where it belongs, in the build, before the first crop goes in.
What It Grows, and the Frost Night Plan
Used honestly, the tunnel earns its keep at the season edges: salad greens, spinach, and Asian greens weeks earlier in spring and weeks later in fall; transplants of peppers and tomatoes set out ahead of the last frost with a safety margin; carrots and herbs carried deep into autumn. It is not a winter greenhouse for tender crops in a cold climate, and it is not a summer structure at all in a hot one; take the film off when the season turns, store it out of the sun, and the same film serves several years. On a frost night, know the cover's limit: film alone buys a few degrees, which saves a crop at 30 degrees and does not save it at 22. The standard reinforcement is a layer of floating row cover draped directly over the plants inside the tunnel, two covers in series, which is cheap insurance stored with the bed. Water the bed before a cold night as well; moist soil stores the day's heat and gives it back slowly, and a dry bed is the coldest version of itself. Season extension is a stack of small advantages, and this build, vented faithfully and reinforced on the hard nights, stacks them about as well as a home garden can.
Related guides
These related guides round out the picture:
- DIY Raised Bed Ideas: The Material Families Priced in Soil and Years, the Reach Law, and the Depth Ladder
- How to Build a Hugelkultur Raised Bed: the Wood List, the Layers, and the Year One Truth
- DIY Raised Bed Watering System: Whole Garden Plumbing, Pressure Rules, and the Per Bed Ledger
- Compost Bin DIY: Three Builds, One Rule of Size
- DIY Raised Bed Irrigation System: One Bed, One Afternoon, Drip Done Right
- How to Build a Raised Bed Cover: Hoops, Lids, and Mesh
Frequently Asked Questions
How is a raised bed greenhouse different from a cold frame?
Size and system. A cold frame is a small lidded box, glazed with a rigid or semi rigid top, used for a few plants, hardening off, and the earliest greens; this site's cold frame article builds one. A raised bed greenhouse is a film tunnel over a whole bed, hoops and plastic, covering a full crop area. The cold frame is sturdier and easier to vent with a propped lid; the tunnel covers far more ground for far less money per square foot.
What plastic should I use?
Six mil greenhouse film, UV rated for outdoor seasons. It is sold as greenhouse plastic, and the rating is the point: ordinary clear painter's plastic and cheap tarps degrade in sunlight, go brittle, and shred within a season, usually mid crop. Real film costs a little more and lasts several seasons if you take it down and store it out of the sun when the tunnel is not in use.
How far apart should the hoops be?
Every 2 feet on this build, for wind, rain, and snow load on the film spans. Epic Gardening's guidance runs hoops every 3 to 4 feet, and that wider spacing has one defensible use, a sheltered bed in a mild climate covered briefly in the shoulder seasons. The two figures are flagged here, not averaged; pick by your exposure, and add a ridge pole either way.
Do I really have to vent it every day?
On every sunny day, yes. A sealed film tunnel in sun overheats by mid morning even when the day itself is cool, and heat kills faster than the frost the cover was built against. Open both ends as the baseline and roll the sides up on warm days. Put a minimum and maximum thermometer inside, and if your schedule keeps you away, use automatic vent openers or leave the tunnel open on sunny workday mornings.
How much frost protection does the cover give?
A few degrees from the film alone, which protects against a light frost and not a hard freeze. For a serious cold night, add a layer of floating row cover over the plants inside the tunnel and water the bed beforehand, since moist soil releases stored heat overnight. Expect the tunnel to extend the season by weeks at both ends, not to carry tender crops through a cold climate winter.
Photo credits: Kerri Mansfield (Pexels); Aleksander Dumała (Pexels). Photos are served from this site; follow the credit to the library page for the original.