Two garden builds use logs and raised beds, and they are constantly confused. Hugelkultur, which has its own build guide in the hugelkultur raised bed page, buries logs and brush as a core inside a soil mound, where the wood rots down and feeds the bed from within. This page is the other build: logs as the wall, standing at the bed's perimeter, holding the soil back the way boards or blocks do in the site's other material builds. The log wall is the oldest raised bed of all, the one a homestead builds from what the land provides: storm fallen trunks, thinnings, firewood rounds too crooked to split well. Built with split logs, flat side facing in, seated in a shallow trench and screwed to corner posts, it is a real structure with a decade of service in it, and it looks like it grew on the site, which for many gardens is the entire point.
Home / Garden Projects and Outdoor Living
How to Build a Raised Bed with Logs: Walls from the Woodpile
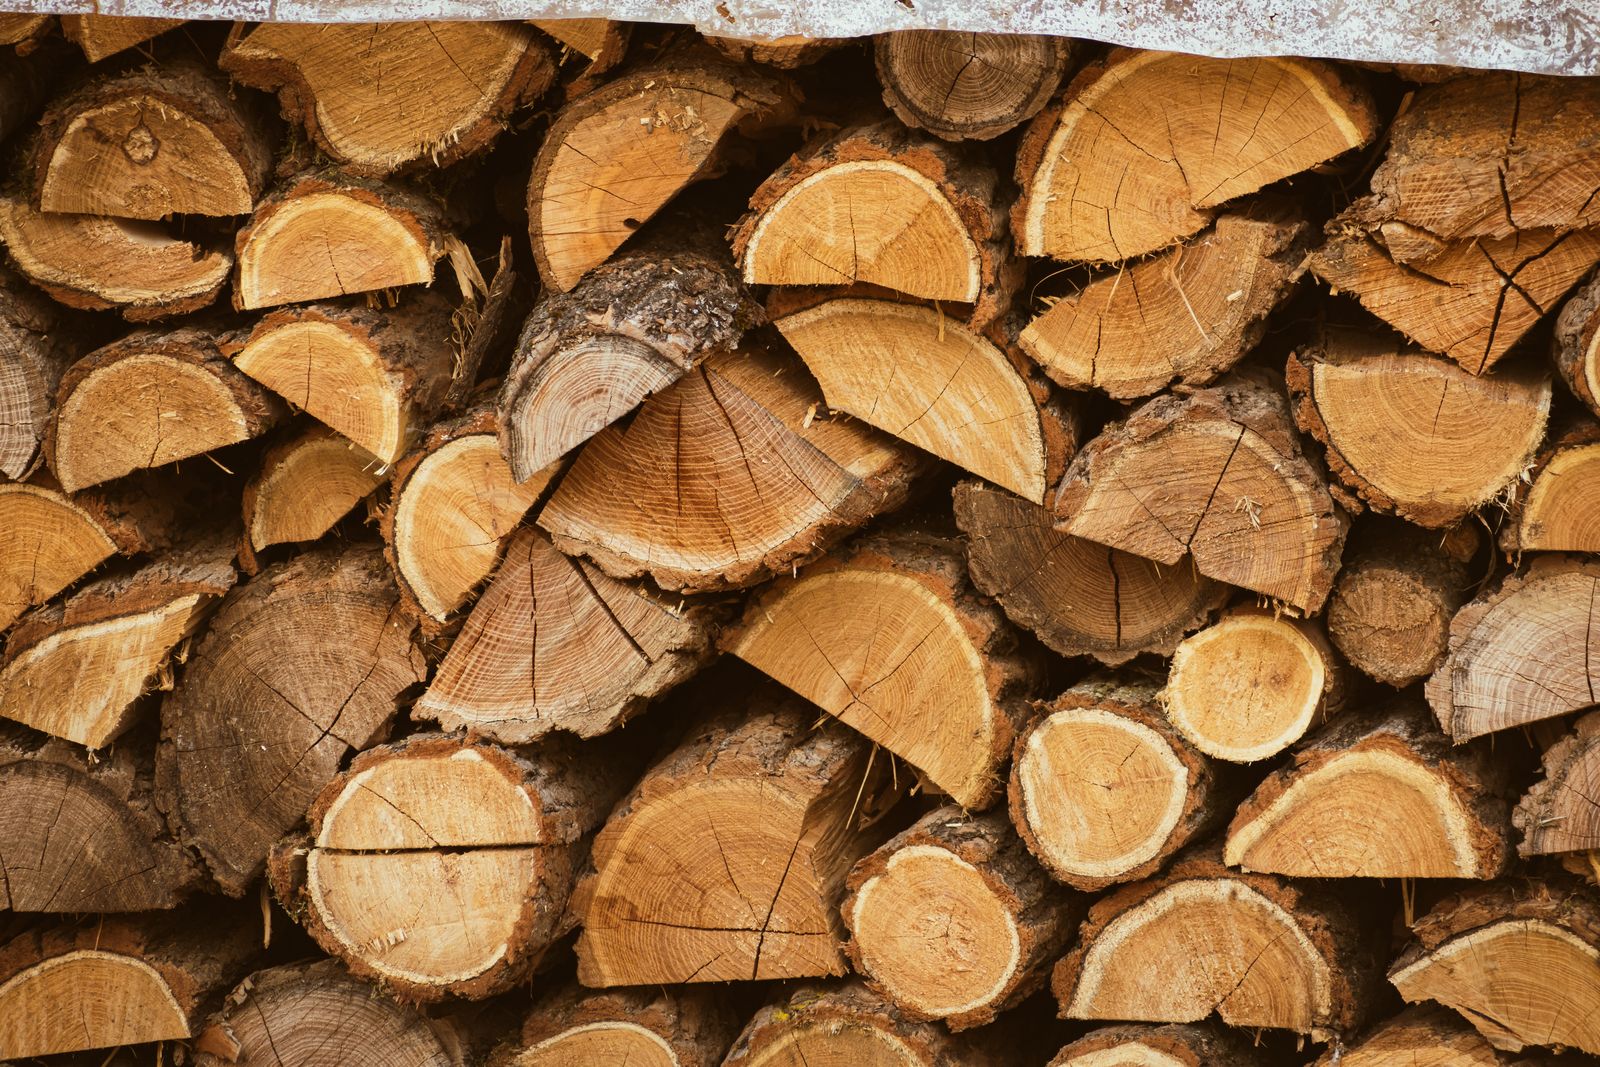
Photo: Nikolett Emmert / Pexels
Log Raised Bed Build Checklist
Check off each step as you finish it. Your progress stays on this page.
0 of 8 complete
0% done
Choosing Logs: Species and the Walnut Exclusion
Almost any straight log of 4 to 8 inches in diameter works, and the species sets the service life. Rot resistant hardwoods, black locust above all, then oak, cedar, and osage orange, give the longest service, well past a decade in ground contact. Softwoods and light hardwoods, pine, poplar, and their kin, give 10 to 12 years by the practical homestead guides' accounting, which for a garden bed is a respectable life, roughly matching untreated lumber and costing nothing but labor. One exclusion is absolute: black walnut. Walnut wood carries juglone, the compound walnut roots use to suppress competing plants, and walnut logs in a bed wall leach it into the soil at exactly root depth; tomatoes and their relatives are especially sensitive. Know your logs before you build with them, and when a log's species is unknown and walnut is possible on the site, do not gamble a bed on it. Avoid wood that is already punky or fungal through, which starts the wall's clock half spent, and avoid creosoted or treated timber of any kind near food soil.
Split Logs, Flat Side In
The refinement that turns a pile of rounds into a wall is the split. A log split lengthwise in half gives a flat face, and the flat face goes inward, against the soil: the wall's inside becomes a plane that holds soil evenly and takes a liner or backfill without gaps, while the round bark side faces out with the rustic look the build is for. Practical Self Reliance's log bed guidance runs on this pattern, and STIHL's own raised bed instructions build the same way, split logs screwed flat side in to corner pillars. Whole round logs can be stacked cabin style, but they leave lens shaped gaps between courses that leak soil and water until they are chinked, and the bed's corners become joinery projects. Splitting is one afternoon with a maul and wedges for a bed's worth of logs, and it halves the wood needed, since each log yields two wall pieces. Bark on or off is a judgment call: bark left on rots and harbors insects against the wall, and most builders peel it for the wall's life, accepting the cleaner look as the trade.
Seating the First Course: The Shallow Trench
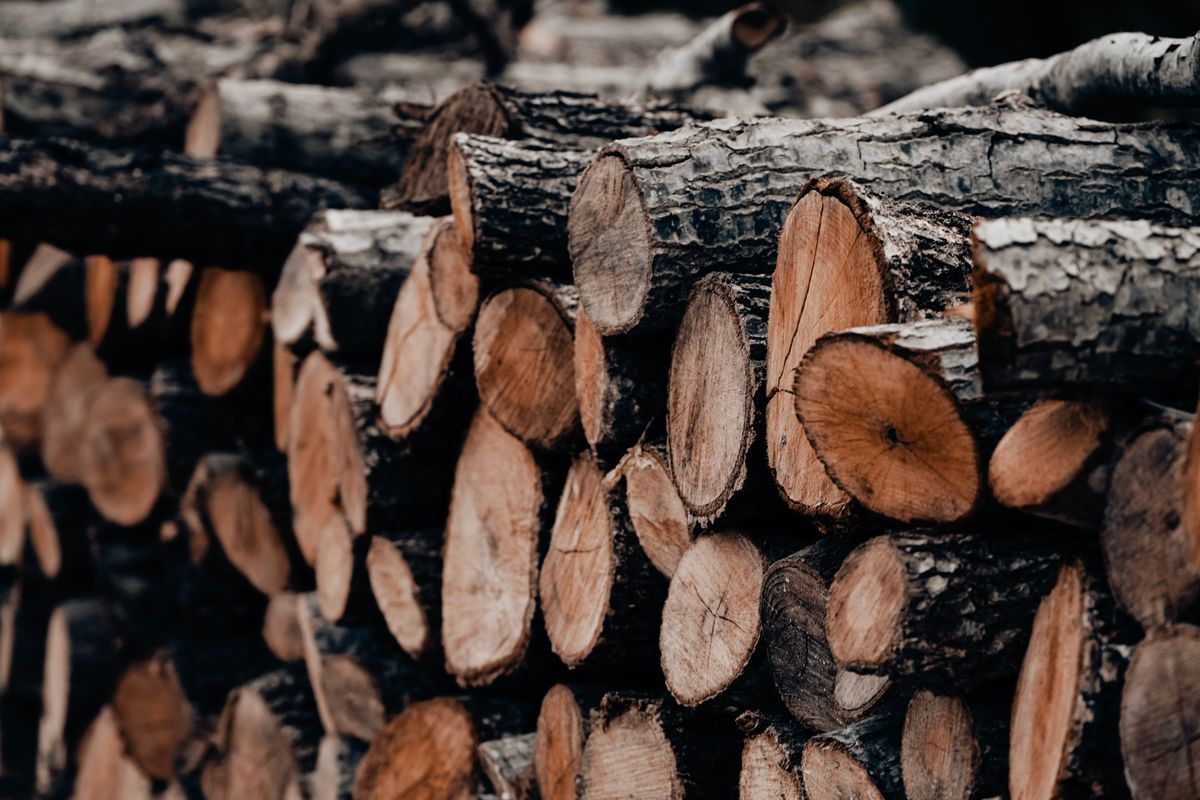
A log wall's first course does not sit on the ground; it sits in it. Dig a shallow trench around the bed's perimeter, 3 to 4 inches deep and a log's width wide, level along its run, and seat the first course of split logs in it, flat side in, checking level as you go. The trench does three jobs: it stops the bottom course from rolling or being kicked out of line, it puts the wall's base below the frost and splash line where casual damage happens, and it gives the whole structure a keyed in foundation that a surface laid wall lacks. On a slope, step the trench in level sections rather than following the grade, and let the wall's courses step with it, the same discipline as the raised bed on a slope build. Backfill the trench firmly around the seated logs before stacking the second course. A bed site stripped of turf and leveled first makes all of this twice as fast; building the trench into sod is the version of this job everyone regrets by the second wall.
Corner Posts and Fastening
The wall becomes a structure at its corners and joints. Set a stout post, a short log section or a 4 by 4, at each corner, inside the bed, and screw every course's end into it with long exterior screws or lag screws, two per log end, pre drilled in hardwood to stop splitting. Butt the log ends at the posts rather than attempting corner joinery; the post carries the corner, and the butt joints disappear inside the bed's silhouette. On walls longer than about 6 feet, add a mid span post inside, or drive a stake outside the wall's middle and screw through, because soil pressure finds the middle of a long wall exactly as it does in the decking board build. Stagger the butt joints course to course where logs meet along a wall, so no vertical seam runs the wall's height. Check each course for level and for flat side alignment as you stack; a log wall forgives small irregularities as charm and large ones as leaks.
Height, Filling, and Service Life
Two to four courses of 6 inch logs give a bed 12 to 24 inches high, and two courses is the sweet spot for most logs and backs: higher log walls are heavy work with diminishing returns, and the rustic look reads best at modest height. Fill as with any bed, in two watered lifts, using the soil volume guide to size the load, and expect a little soil sifting at the seams in the first waterings until the wall's inside silts itself shut; a liner of landscape fabric inside the wall, kept off the bottom, stops the early leaks without trapping the wall in plastic. Then the honest accounting: a softwood log wall is a 10 to 12 year structure. It will not fail at once; a bottom course log softens, gets replaced in an hour by jacking the wall a fraction and sliding a fresh split log in, and the bed goes on. Gardeners who want the look permanently choose locust or cedar and buy the extra years at the woodpile. The bed outlives its first wall either way, which is the log build's quiet advantage over every material that fails as a system: this one repairs a piece at a time, from the same free material it was built from.
The Vertical Variation: Palisade Log Walls
Logs can also stand on end, and the palisade wall is the variation worth knowing because it solves the two sites the horizontal wall handles worst. Short log sections, cut to a uniform length, are stood vertically side by side in a trench, a third of their length buried, and backfilled tight; the wall that results follows curves the horizontal courses cannot, wrapping a round bed or a serpentine edge as easily as a straight run, and it uses short wood, the firewood length offcuts and crooked pieces that splitting rejects. The trench does all the structural work in a palisade, so it is dug deeper, a foot or more, and the backfill is rammed in lifts; a palisade log that can rock in its socket is a wall already failing. Height is set by the cut length, which makes a palisade the easiest log wall to build level on uneven ground, since each piece is trued individually as it is set. The costs are wood volume, a palisade consumes far more timber per foot than a split log wall, and end grain at the top, which drinks rain and starts the rot clock sooner, mitigated by cutting the tops at a slight angle to shed water or capping the wall with a half round rail. For a curved herb bed near the house or a child's garden with a storybook fence of logs, the palisade is the right build. For the long straight vegetable beds that are most raised beds, the split log wall remains the economical structure, and the choice between them is the site's geometry, not a hierarchy of quality.
Related guides
These guides sit closest to this one on the garden path:
- How to Build a Raised Bed Against a Wall: Never Use the Wall
- DIY Raised Bed Greenhouse: The Hoop Build, the Materials List, and the Venting Rule That Saves the Crop
Frequently Asked Questions
Is a log raised bed the same as hugelkultur?
No. Hugelkultur buries logs as a core under a mound of soil, where they rot down inside the bed. A log walled bed stands logs at the perimeter as the wall itself, holding soil back like boards or blocks. The two builds use wood in opposite places and are covered in separate guides on this site.
What logs should I avoid for a raised bed?
Black walnut, absolutely: its wood carries juglone, which suppresses many garden plants, tomatoes especially, and a walnut wall leaches it at root depth. Also avoid already rotten logs, which start the wall half spent, and any creosoted or treated timber near food soil.
How long does a log raised bed last?
Softwood and light hardwood walls give about 10 to 12 years of service; rot resistant species like black locust, oak, and cedar last well beyond that. The bottom course goes first and can be replaced log by log in an hour, so the bed itself outlives its first wall.
Do logs need to be split for a raised bed wall?
Splitting is strongly recommended. A split log presents a flat face to the soil, which holds the fill evenly and stacks without the gaps whole rounds leave, and one log yields two wall pieces. Flat side goes in, round bark side out, screwed to corner posts.
How do I stop soil leaking between the logs?
Seat the first course in a shallow trench, keep flat faces aligned inward, and stagger the butt joints. A strip of landscape fabric inside the wall stops the early sifting while the seams silt shut in the first waterings. Never wrap the wall in plastic, which traps water against the wood.
Photo credits: Nikolett Emmert (Pexels); Ugur Tandogan (Pexels). Photos are served from this site; follow the credit to the library page for the original.