How to Start a Garden Bed on Grass: Sheet Mulching Step by Step
By the Windchime Walker editorial team
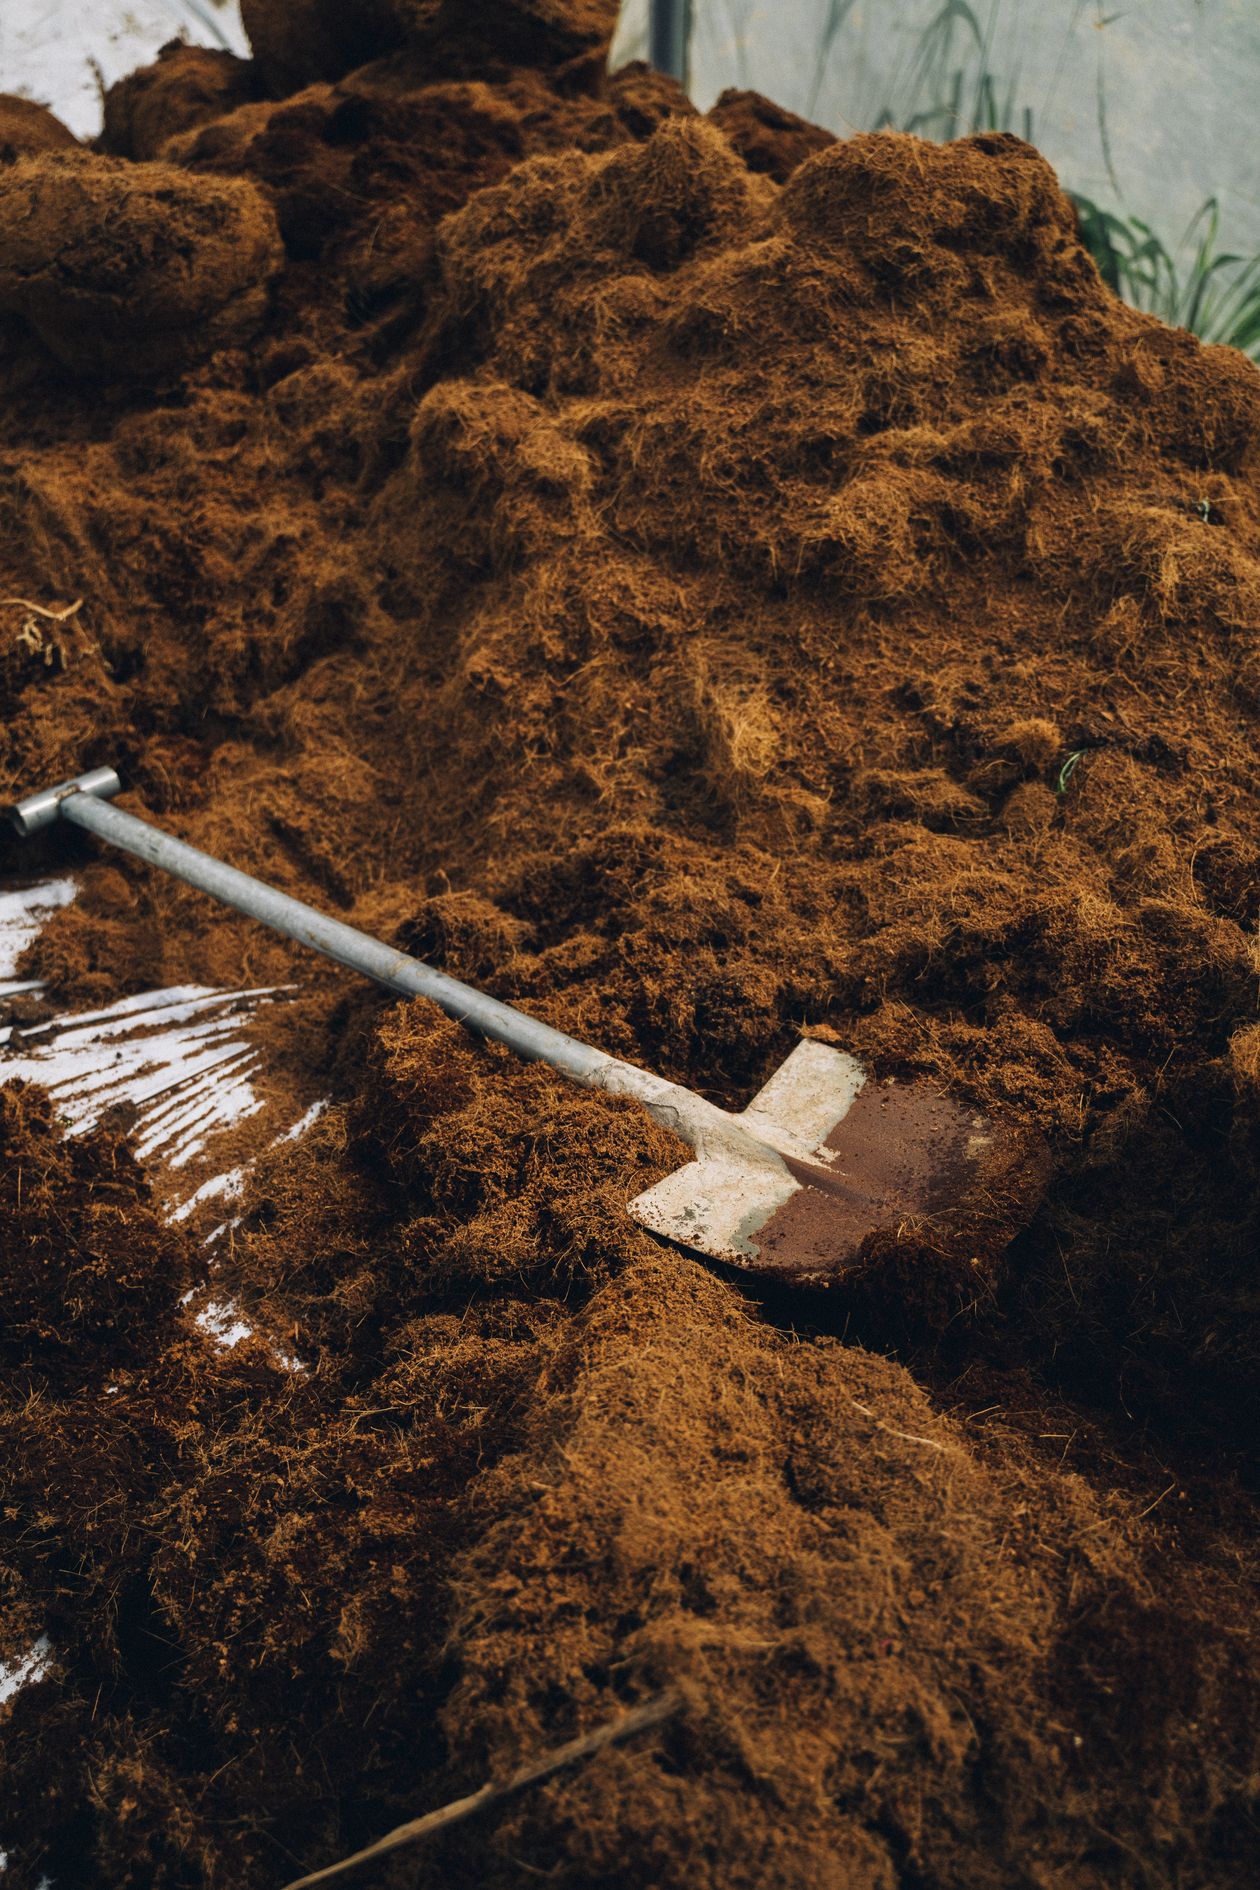
Photo: Anna Tarazevich / Pexels
You do not need to strip sod or rent a tiller to start a garden bed on grass. The method university extension services teach, with the same basic recipe at UC, Cornell, NC State, and Ohio State, is sheet mulching (also called lasagna gardening): smother the grass under cardboard and mulch and let darkness, moisture, and time do the killing. Mow first, lay the cardboard with generous overlaps, wet everything as you build, cap it with compost and mulch, and the grass underneath dies and composts in place, feeding the soil it used to occupy.
The timeline is the honest part. A bed sheet-mulched in spring over actively growing grass can be plantable through the layers immediately for transplants, with the grass fully gone in about 2 to 3 months. A bed built in fall overwinters and is clean soil by spring, roughly 5 to 6 months. Tough perennial grasses and warm-season runners like Bermuda grass can take up to 12 months and may need a double cardboard layer. The checklist sequences the build day; the sections below cover the layer recipe, the planting-through technique, and the edge cases.
Interactive tool
Garden Bed on Grass: Sheet Mulch Checklist
Check off each step as you finish it. Your progress stays on this page.
0 of 8 complete
0% done
The layer recipe
Layer
Material
Depth or spec
Job
0
Mowed grass
Scalped as low as the mower goes
Removes top growth so layers sit flat
Optional
Compost or manure
1 to 3 inches
Feeds soil life and speeds decomposition
1
Cardboard (or thick newspaper)
Overlap edges 4 to 8 inches
The light barrier that kills the grass
2
Compost or topsoil
2 to 3 inches
Planting medium and weight
3
Mulch (wood chips, straw, shredded leaves)
2 to 3 inches
Moisture, weed suppression, finished look
Cardboard overlap is the spec where sources differ slightly, from 4 to 8 inches, and this guide flags it rather than splitting the difference silently: grass exploits any gap, and stoloniferous grasses exploit small gaps aggressively. Use 8 inches of overlap for running grasses and anywhere the cardboard must piece around curves, and 4 to 6 inches is acceptable for tame lawn mixes on flat ground. Remove all tape and labels from boxes, because tape does not decompose and surfaces in your soil for years.
Wet every layer as you build it. Dry cardboard repels water and sheds your irrigation off the bed; soaked cardboard hugs the ground, starts softening immediately, and begins the decomposition the whole method depends on. A bed built dry on a windy day is also a neighborhood cardboard distribution event. Wet it down, layer by layer, no exceptions.
Planting through the layers
You do not have to wait for the grass to die before planting. For transplants, cut an X in the cardboard at each planting spot, fold the flaps back, dig into the soil below, set the plant at the depth from how to plant flowers (crown at soil level), and fold the cardboard back around the stem. The plant grows in real soil from day one while the grass dies in the dark around it. Water transplants directly at the base, because the cardboard layer sheds overhead water until it softens.
Direct seeding needs a soil surface, so for seed beds either wait until the cardboard has rotted (a season) or build the bed with an extra-deep compost layer (3 to 4 inches) and sow into that, accepting that the first year's roots stay shallow. Most gardeners sheet-mulch in fall for spring seed beds, or sheet-mulch and transplant in the same season for instant gardens. Both are legitimate; the calendar decides.
Edges: where sheet mulching succeeds or fails
Grass invades from the edges, always. Define the bed's border physically: a mowed strip, steel or stone edging, or a shallow trench edge cut with a spade. Extend the cardboard 4 to 6 inches beyond the intended planting area under the edging, so the margin dies too. Running grasses (Bermuda, zoysia, quackgrass) justify violence here: double cardboard, maximum overlap, and a wider dead margin, because a single surviving runner at the edge re-colonizes the bed from the border inward.
Fall is the master move: build the bed in autumn, let winter moisture and soil life do the work, and plant into clean, improved soil in spring with zero spring labor beyond planting. Spring builds work too, with the transplant-through method above. Summer builds over actively growing grass succeed if you keep the layers moist; a sheet mulch that dries out completely pauses its decomposition until it is wet again.
Soil life is the workforce. Earthworms migrate up into the layers, eat the cardboard's cellulose, and till the bed for free. A bed built on healthy lawn over decent soil often shows dramatic worm activity within weeks. On compacted or sterile subsoil, add the optional compost layer under the cardboard; it inoculates the system and gives the worms a reason to move in.
What sheet mulching does not do
It does not remove perennial weed roots instantly; bindweed and dandelion crowns under the layers are suppressed, not executed, and can push through weak spots for a season. It does not fix drainage or turn pure sand or heavy clay into loam in one pass, though repeated annual layers genuinely improve both over years. And it does not work if the layers stay dry, blow away, or get skipped at the edges. Within those limits, it is the highest-return, lowest-effort bed-building method extension services teach, and the soil under a finished sheet mulch is measurably richer than the soil under the lawn it replaced.
Troubleshooting: when grass pokes through
Grass blades appearing through the mulch in the first month mean a gap, not a failure. Lift the mulch at the spot, slide a fresh piece of cardboard under the existing layer with wide overlap, wet it, and replace the mulch deeper there. Shoots that emerge through planting holes are opportunists using the light you cut for your transplants; a ring of extra mulch around each stem closes most of them.
Persistent runners arriving from outside the bed mean the edge margin was too narrow. Widen the dead zone: lay another band of cardboard 12 inches wide along the outside of the border, mulch it, and let that sacrificial strip absorb the invasion while the bed itself stays clean. For Bermuda grass, treat this perimeter defense as permanent infrastructure rather than a temporary fix.
Yellow, sulking transplants in a fresh sheet-mulch bed are usually thirsty rather than sick, because the cardboard sheds rain until it softens. Water at the base of each plant, directly through its planting hole, for the first month. Once the cardboard has gone pulpy (test by pushing a finger through it at an edge), overhead watering reaches the soil normally and the bed behaves like any other garden bed.
Sheet mulching versus the alternatives, honestly
Stripping sod is faster (a bed in a day) but exports your topsoil and organic matter with the sod, and it is brutal work without a sod cutter. Tilling is fast and initially satisfying, but it chops perennial weed roots into propagules, destroys soil structure, and brings a fresh bank of weed seeds to the surface with every pass. Solarizing with clear plastic kills grass in hot climates in 4 to 8 weeks but also cooks soil life and produces a plastic waste stream. Sheet mulching is the slowest of the four and the only one that improves the soil while it works, which is why extension services keep teaching it. Choose speed when you must; choose sheet mulch when you can.
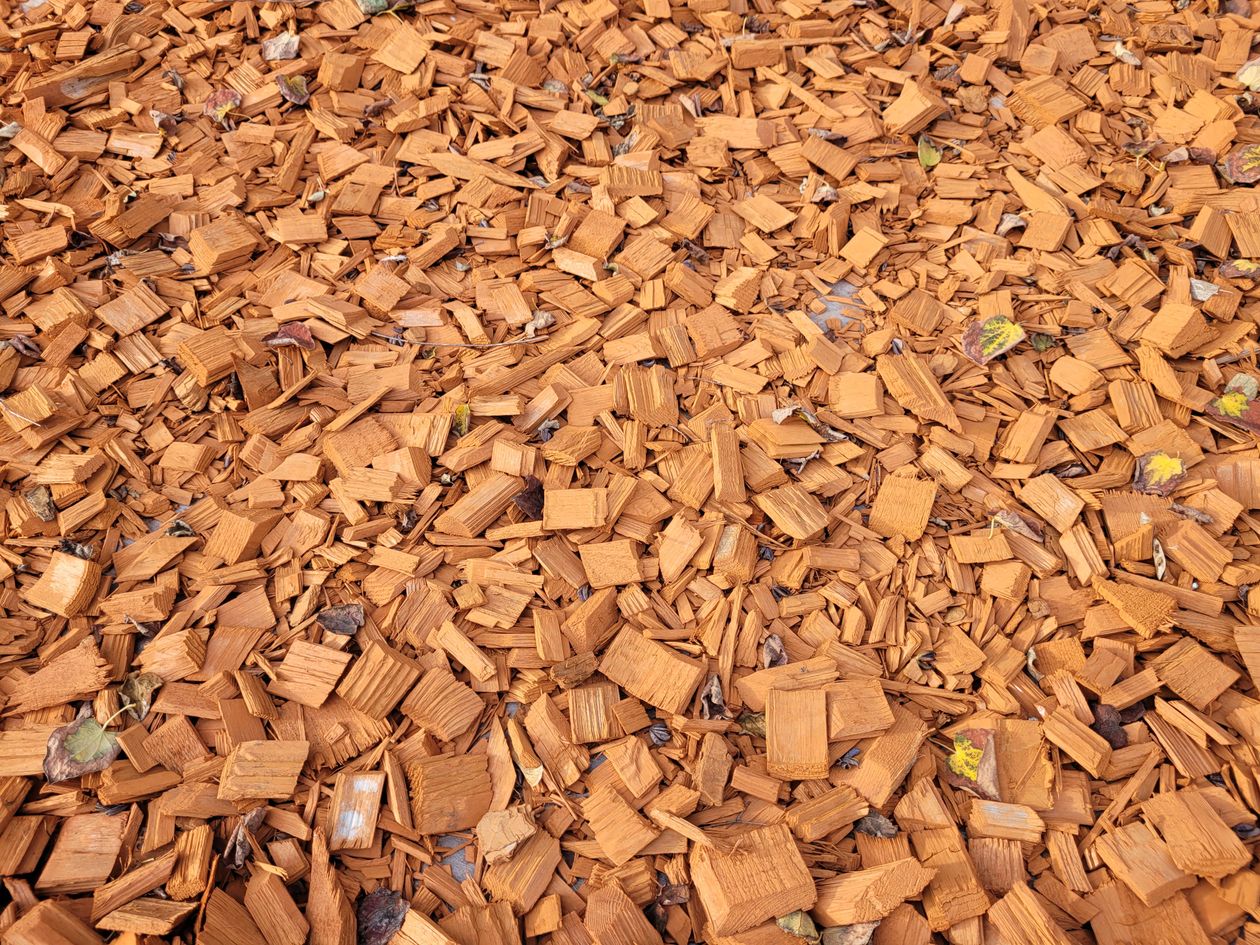
Close-up of natural wood chip mulch, the top layer of a sheet mulched bed
Actively growing lawn grass under a properly built sheet mulch dies in about 2 to 3 months in spring and summer. A fall-built bed is clean by spring, roughly 5 to 6 months. Tough warm-season runners like Bermuda grass can take up to 12 months and justify a double cardboard layer with maximum overlap.
Can I plant immediately after sheet mulching?
Yes, transplants can go in the same day: cut an X in the cardboard, plant into the soil below at the correct depth, and fold the cardboard back around the stem. Seeds need a soil surface, so either wait a season for the cardboard to rot or sow into an extra-deep compost layer on top.
How much should cardboard overlap in sheet mulching?
Extension sources give 4 to 8 inches. Use the full 8 inches for running grasses like Bermuda and around curves and seams, and 4 to 6 inches for tame lawn mixes on flat ground. Gaps are the number one failure point, because grass finds every slit of light. Remove tape and staples before laying boxes.
Do I need to remove the grass first?
No. Removing the sod defeats the method's purpose. Mow the grass as low as possible, optionally scalp it with a string trimmer, and lay the layers directly over it. The grass dies in the dark and composts in place, returning its nutrients to the bed instead of to a landfill.
Will cardboard harm my soil?
Plain corrugated cardboard breaks down into carbon that soil life consumes readily, and extension services recommend it for exactly this use. Avoid waxed, glossy, or heavily printed boxes, and remove tape and labels. Within a season the cardboard is gone and the earthworm population under it is usually thriving.
Photo credits: Anna Tarazevich (Pexels); Jakub Grygier (Pexels). Photos are served from this site; follow the credit to the library page for the original.