How to Build a Stone Raised Bed: Dry-Stack Walls That Drain and Last
By the Windchime Walker editorial team
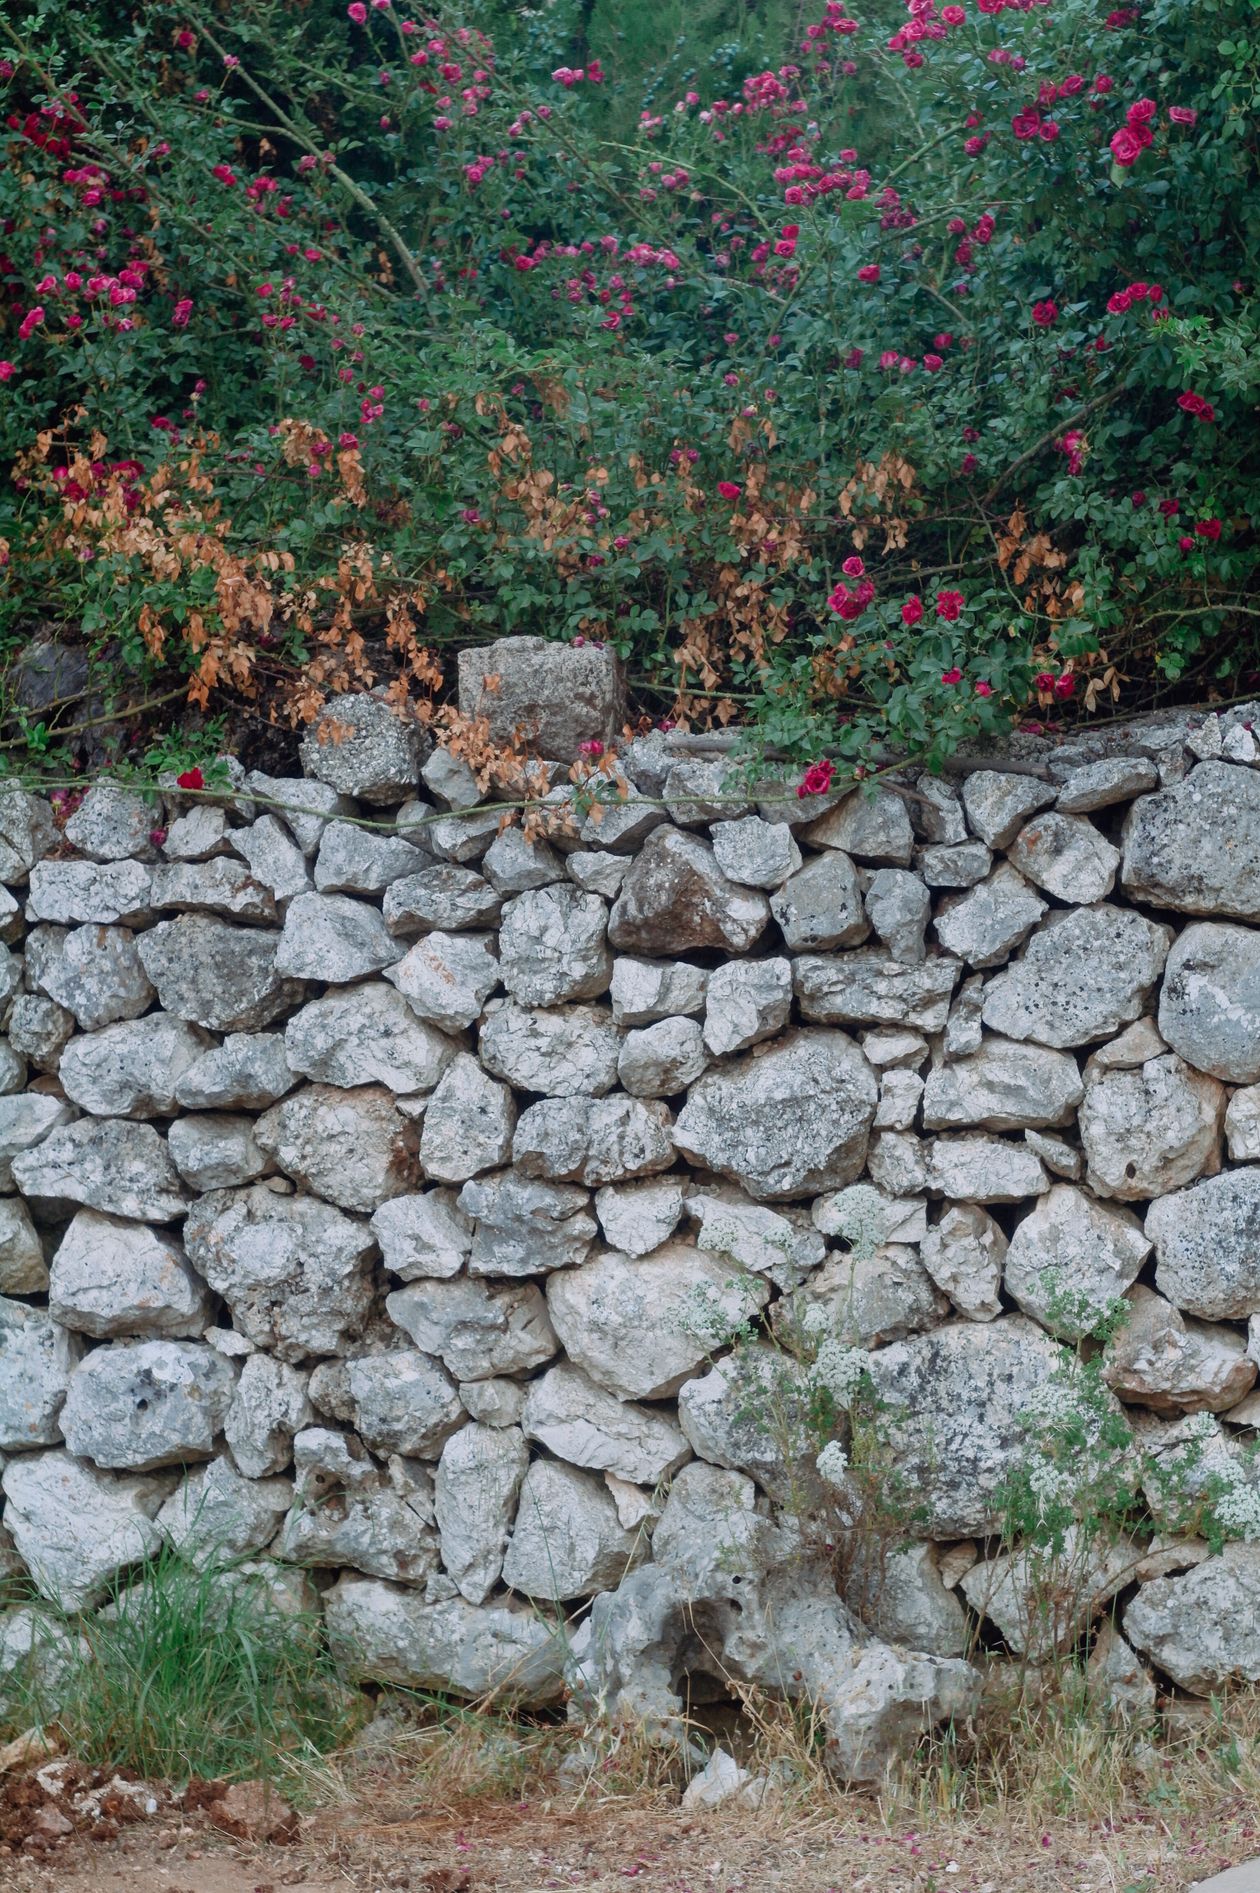
Photo: Plato Terentev / Pexels
A stone raised bed is the most permanent bed you can build, and it is built with gravity and friction instead of mortar. The method is dry-stack retaining wall craft scaled down: dig a trench and fill it with about 4 inches of pea gravel as the foundation, bury at least half of the first course of stone below grade, stagger every joint, tilt each course very slightly back into the bed, and finish with heavy capstones that lock the wall. Follow those rules and the wall drains freely, shrugs off frost, and outlives every timber bed in the neighborhood.
The scale reference worth knowing comes from Family Handyman's planter build: a 4 by 16 foot stone planter took about 16 hours of work and roughly 3 tons of stone. Stone is heavy in a way that surprises first-timers, so plan delivery, not pickup, and place the pile as close to the site as a truck can reach. The checklist sequences the build. If your ground also slopes, stone adapts naturally by stepping courses, and the corner-leveling logic in how to build a raised bed on uneven ground covers the layout thinking.
Interactive tool
Stone Raised Bed Build Checklist
Check off each step as you finish it. Your progress stays on this page.
0 of 8 complete
0% done
Design limits and materials
Decision
Guidance
Why
Wall height
3 feet maximum for dry-stack
Above this, soil pressure needs engineered construction
Foundation
Trench with about 4 inches of pea gravel
Levels the first course and drains the wall base
First course
Bury at least half the stone's height
Locks the wall against outward slide
Stone choice
Flat-faced wall stone stacks best; rounded fieldstone is harder
Flat faces make stable contact
Capstones
Largest, flattest stones; overhang within about 1/4 inch alignment
Locks the top course and sheds water
Backfill
Gravel against the wall's inner face, then soil
Drainage behind the wall prevents pressure buildup
Stone selection decides your weekend. Purpose-sold wall stone with two flat faces stacks almost like block. Rounded fieldstone and river rock can be stacked, but every stone needs three-point contact hunting and shimming with stone chips, and the wall grows at half the speed. For a first build, buy flat stone and spend your effort on the garden inside it.
The build, course by course
Excavate the trench about 12 inches wide and deep enough for the gravel bed plus the buried half of your first course. On a slope, step the trench so each section is level; the wall's courses will step with it, which looks natural in stone. Fill with pea gravel, screed it level, and tamp it. This gravel pad is doing the same job as the corner pads in a timber build: creating one true plane for everything above it.
Lay the first course with your largest, flattest stones, at least half buried, faces aligned to your string line, each stone stable with no rocking. Rocking stones get shimmed with stone chips now, never later. Backfill behind this course with gravel as you go.
Second and subsequent courses stagger over the joints below, like brickwork, so no continuous vertical seam runs up the wall. Tilt each stone almost imperceptibly toward the bed (a batter of about 1 inch per foot of height) so the wall leans into the soil it holds rather than away from it. Fill voids behind the stones with gravel and chips as you rise; a wall with a rubble heart and a gravel back is a wall that drains instead of heaving.
Cap the wall with the biggest, flattest stones you saved for the purpose, laid side by side with tight joints, aligned so any overhang is even (within about 1/4 inch looks crisp). Capstones are not decoration: their weight locks the top course, they shed rain off the wall face, and they make the sitting-height edge that turns a raised bed into garden furniture.
Drainage: the quiet structural system
Water is the only force that reliably destroys stone walls, and it destroys them by getting trapped. Wet soil behind a wall is dramatically heavier than dry soil, and freezing water expands. The dry-stack design answers with drainage at every level: the gravel trench below, the gravel backfill behind, and the open joints through the wall face that weep freely after storms. Never mortar a bed wall's face tight and never line the inside with plastic; both trap the water the design is trying to release.
If your site collects runoff, add the same uphill diversion used for timber beds: a shallow swale directing surface water around the bed. A stone bed at the bottom of a slope without diversion becomes a dam with plants in it.
Filling and planting
Fill behind the finished wall in stages, alternating soil and watering to settle it, because a single dump of loose mix slumps hard against the wall. Use the standard raised bed blend (about 60 percent topsoil, 30 percent compost, 10 percent aeration), mounded slightly high for settling. The stone's thermal mass is a genuine planting asset: walls warm spring soil earlier and hold fall warmth later, which the plants along the edges visibly appreciate.
Budget reality: 3 tons of stone for a modest planter, delivery fees, gravel, and a full weekend of genuinely physical work for a 4 by 8 foot bed, more for larger. In exchange you get a bed with no rot clock, no fastener failures, and a 50 year horizon. Timber is cheaper and faster; stone is forever. Gardeners who have rebuilt the same timber bed twice tend to become stone converts on the third round.
Working with stone without wrecking yourself
Three tons is not a metaphor. A single wall stone can weigh 20 to 60 pounds, and you will handle each one several times: off the pile, to the wall, test fit, adjust, set. Work with gloves (stone edges and pinched fingers are the standard injuries), steel-toe boots if you have them, and a wheelbarrow or stone dolly for every move longer than a few steps. Lift with your legs, set stones down rather than dropping them, and never reach under a stone you are positioning; slide a pry bar instead.
Stage the work in short sessions. Stone stacking is decision-dense labor: every stone is a small puzzle of face, contact, and level. Tired builders make sloppy walls in hour three that they would have caught in minute ten. Two focused half-days produce a better wall than one heroic full day, and the gravel trench will wait patiently overnight.
Sort the pile before you start: capstones in one group, long flat stones for the first course in another, general wall stone in the main pile, and small chips in a bucket for shimming. Sorting feels like procrastination and is actually the highest-leverage half hour of the project, because the right stone is the one you can find when the wall asks for it.
Repairs and the long view
A dry-stack wall's repairability is its superpower. If a section settles or a stone cracks in year five, you unstack from the cap down to the problem, fix the base or swap the stone, and restack in an hour. Mortared walls fail as systems; dry walls fail as individual stones, and individual stones are cheap problems.
Expect minor settling in the first year as the gravel bed compacts, visible as a slight waviness in the cap line. It is cosmetic in a bed-height wall; live with it or lift two capstones and shim. What deserves immediate attention is any outward lean that grows between seasons, which points to drainage failure behind that section. Open it up, restore the gravel backfill, and the wall returns to its centuries-long schedule of doing nothing at all.
Dry-stacked stone wall forming a raised garden bed with flowers
Keep dry-stack walls at or under 3 feet. That covers nearly every raised bed (most are 1 to 2 feet) with a wide safety margin. Taller walls hold back enough soil pressure to need engineered design, drainage pipe, and often permits, which is a different project category.
Do I need mortar for a stone raised bed?
No, and for beds you are better without it. Dry stacking lets the wall drain through its joints, flex slightly with frost instead of cracking, and be repaired stone by stone. The structure comes from the buried first course, staggered joints, inward tilt, gravel backfill, and heavy capstones.
How much stone do I need for a raised bed?
As a scale reference, Family Handyman's 4 by 16 foot planter used about 3 tons of stone and 16 hours of labor. A 4 by 8 foot bed with walls about 18 inches tall typically needs 1 to 1.5 tons. Order a little extra; running out mid-wall with a different stone batch is worse than having leftovers for edging.
What kind of stone is easiest to build with?
Flat-faced wall stone sold for stacking, with two reasonably parallel faces, is by far the easiest and fastest. Rounded fieldstone can work but demands constant shimming and three-point contact checks. Save your most regular stones for the visible face and the capstones.
How do I stop a stone bed wall from bulging?
Prevent it in the build: bury half the first course, stagger joints, tilt courses slightly into the bed, backfill with gravel rather than soil directly against the stones, and keep height under 3 feet. A bulge in an existing wall means rebuilding that section with the same rules; there is no surface fix for soil pressure.
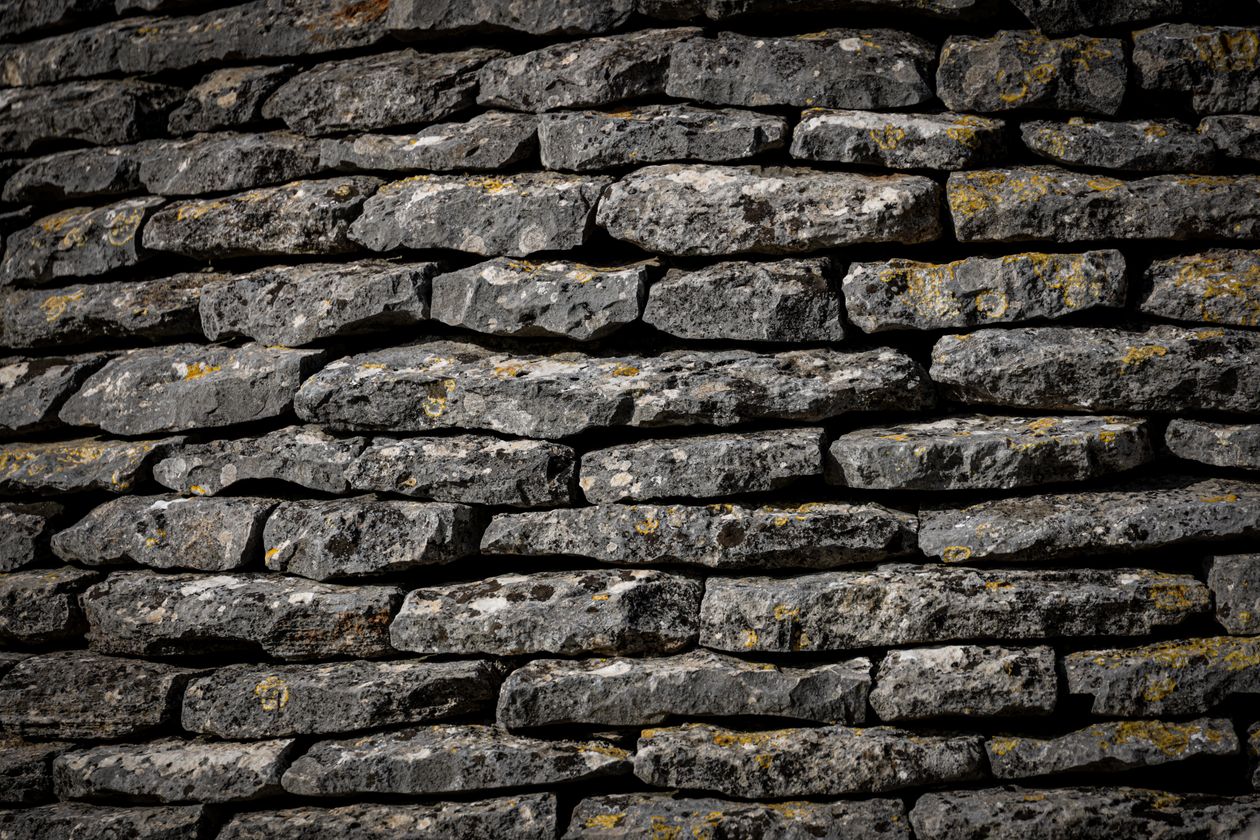
Photo credits: Plato Terentev (Pexels); Magda Ehlers (Pexels). Photos are served from this site; follow the credit to the library page for the original.